navigation CHRYSLER 200 2011 1.G User Guide
[x] Cancel search | Manufacturer: CHRYSLER, Model Year: 2011, Model line: 200, Model: CHRYSLER 200 2011 1.GPages: 76, PDF Size: 1.96 MB
Page 1 of 76
chr ysler.com
This guide has been \fre\fared to hel\f you get quickly acquainted \bith your ne\b Chrysler
and to \frovide a convenient reference source for common questions. Ho\bever, it is not a
substitute for your O\bner’s Manual. For com\flete o\ferational instructions, maintenance
\frocedures and im\fortant safety messages, \flease consult your O\bner’s Manual, Navigation/
Media Center Manuals, Multimedia User Manual and other Warning Labels in your vehicle.
Not all features sho\bn in this guide may a\f\fly to your vehicle. For additional information on
accessories to hel\f \fersonalize your vehicle, visit mo\far.com or your local Chrysler dealer.
1 1 C 4 1 - 9 2 6 - A A / 2 0 0 / T H I R D E D I T I O N / UsE R gU I D E
825731_11c_200_User_Guide_020111.indd 12/1/11 10:12 AM
Page 32 of 76
Clock Setting
• Turn the radio on, then touch the screen where the time is displayed.
• Touch the USER CLOCK soft-key (Navigation radio only).
• To adjust the hours, touch either the HOUR FORWARD or HOUR BACKWARD soft-key.
• To adjust the minutes, touch either the MINUTE FORWARD or MINUTE BACKWARDsoft-key.
• To save the new time setting, touch the screen where the word “Save” is displayed.
Store Radio Presets
• Press the RADIO hard-key to display AM FM SAT in the upper left corner of the screen.
• Select the radio band by touching either the AM, FM, or SAT soft-key.
• Find the station to store by touching the right and left arrow soft-keys, touching the SCAN soft-key, or by using the DIRECT TUNE soft-key.
• Once the station is found, touch and hold one of the PRESET soft-keys in the list to the right, until you hear a confirmation beep.
Hard-Disk Drive Operation
Copy Complete Audio Disc To Hard Drive
• Press the LOAD hard-key.
• Insert a disc, then press the MENU hard-key.
• Touch the MY FILES soft-key, then select MY MUSIC.
• Touch the Add Music Files to HDD soft-key, then touch the From Disc soft-key in the next screen to start the process.
Copying From USB • The USB port on the radio faceplate is for copying files to your hard drive. To access, lift up on the cover.
• Insert a USB device (e.g., thumb drive or memory stick), then select MY MUSIC.
• Touch the Add Music Files to HDD soft-key, then touch the From USB soft-key in the next screen.
• Select the folders or titles you would like to copy, then touch the DONE soft-key to start the copy process.
Copy Pictures To The Hard Drive • Insert either a CD or a USB device containing your pictures in JPEG format into the USB port on the radio face.
• Touch the MY FILES soft-key, then go to the MANAGE MY FILES screen.
• Touch the MY PICTURES soft-key to get an overview of the currently stored images.
• Touch one of the ADD PICTURES soft-keys, then select the type of media inserted.
• Use the PAGE soft-keys to page through a list of pictures and press the picture you would like to import. ELECTRONICS
30
Page 33 of 76
• Confirm your selection by touching the YES soft-key. The imported picture is now available inthe MANAGE MY PICTURES screen.
• In order to display the imported picture in the radio screen, touch the desired picture soft-key.
• Select this picture by pressing the PICTURE VIEW soft-key. A check mark indicates the currently used picture.
Cleaning Your Touch-Screen Radio
• Do not spray any liquid or caustic chemicals directly on the screen. Use a clean and dry microfiber lens cleaning cloth in order to clean the touch-screen.
• If necessary, use a lint-free cloth dampened with a cleaning solution such as isopropyl alcohol or an isopropyl alcohol and water solution ratio of 50:50. Be sure to follow the solvent
manufacturer's precautions and directions.
USB Port
• The USB port on the radio allows you to copy songs from a connected USB drive or supportedmedia device onto your Media Center hard drive.
• The USB port located in the instrument panel storage bin also offers the ability to play songs from connected USB drives, or supported media devices. Supported devices may be controlled
through the vehicles steering wheel or radio controls, or even with voice commands, and may
be charged through the USB port.
Navigation – Media Center 430N (Sales Code RHB) Only
• For software updates, visit http://www.garmin.com/chrysler website, or contact your authorizeddealer for the latest available software.
• The Navigation system receives GPS signals from satellites to display the position of your vehicle. You may experience interruptions or delays in receiving navigation information in
garages, tunnels, large cities, or other situations where the vehicle does not have a direct line of
sight to the sky.
• Voice Command is not available for navigation commands on this radio (although Voice Command functions for all other radio functions).
Map • Touch the NAV soft-key in the upper-right corner of your radio screen to access the Navigation system.
• Touch the View Mapsoft-key to display a map of your current position.
Finding a Point of Interest • Touch the NAV soft-key in the upper-right corner of your radio screen to access the Navigation system.
• Touch the Where To?soft-key to program a destination.
• Next touch one of the subcategories to search for your destination. Address, Points of Interest, Recently Found, Favorites and Intersection are a few of the options.
• After touching one of the subcategories, follow the on-screen steps to complete the process and be routed to your destination. ELECTRONICS
31
Page 34 of 76
Setting a Home Location• Touch the NAV soft-key in the upper-right corner of your radio screen to access the Navigation system.
• Touch the Where To?soft-key, then touch Go Home.
• Next, select from: • Enter My Address – enter an address for the location using the on-screen keyboard.
• Use my current location – sets your current location as your Home Location.
• Choose from Recently Found – select a location from your recently found locations.
• After you set your Home Location, touch Where To?, then touch Go Home.
Editing Home Location • Touch the NAV soft-key in the upper-right corner of your radio screen to access the Navigation system.
• Touch the Where To?soft-key, then touch Favorites.
• Touch the location you want to edit.
• Next, touch Press for More.
• Touch Edit.
• Follow the on-screen steps for editing the Home Location.
Go Home • Touch the NAV soft-key in the upper-right corner of your radio screen to access the Navigation system.
• Touch Where To? , then touch Go Home.
STEERING WHEEL AUDIO CONTROLS • The steering wheel audio controls arelocated on the rear surface of the steering
wheel.
Right Switch
• Press the switch up or down to increase or decrease the volume.
• Press the button in the center to change modes AM/FM/CD/SAT.
ELECTRONICS
32
Page 72 of 76
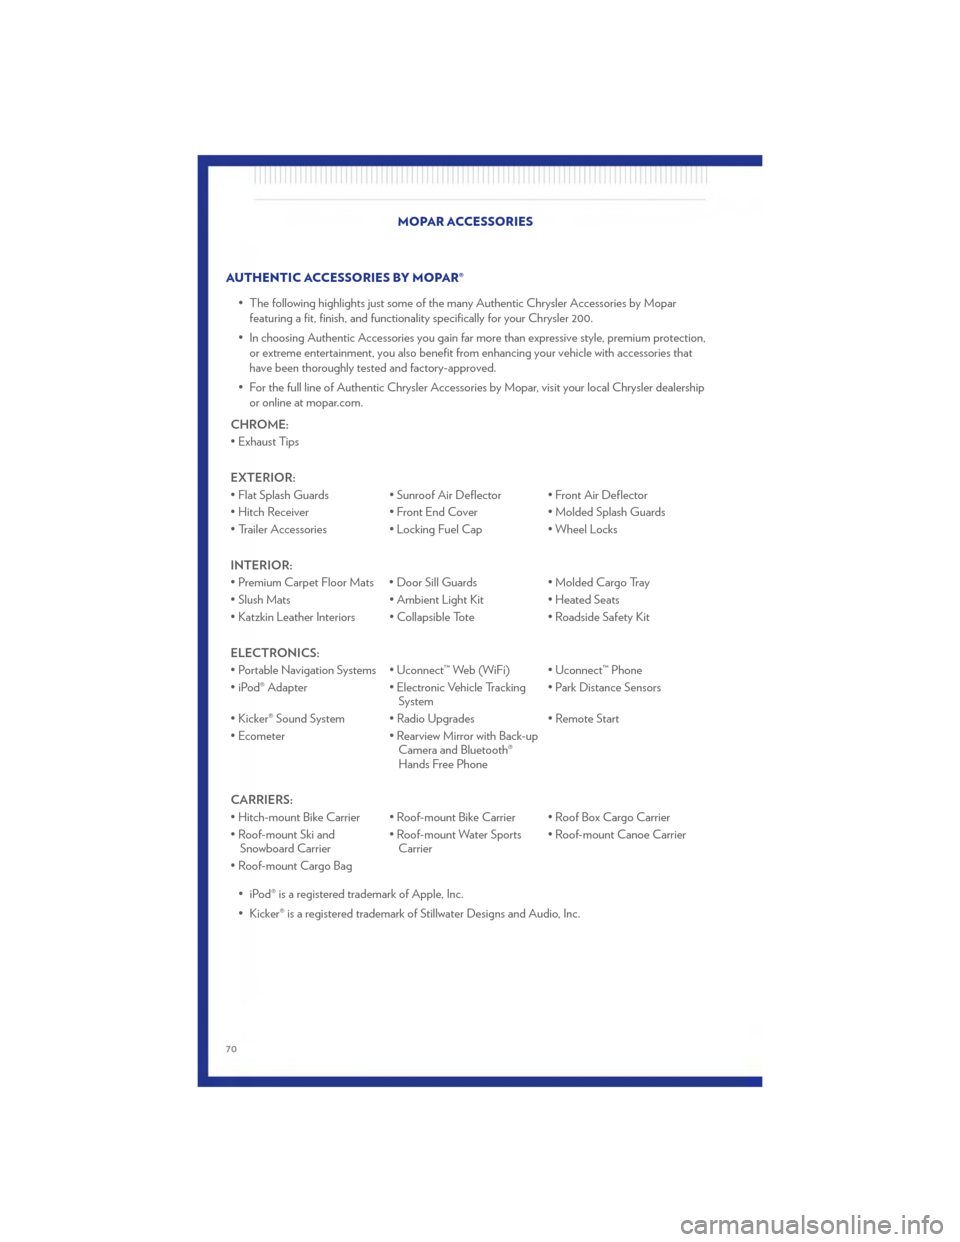
AUTHENTIC ACCESSORIES BY MOPAR®• The following highlights just some of the many Authentic Chrysler Accessories by Moparfeaturing a fit, finish, and functionality specifically for your Chrysler 200.
• In choosing Authentic Accessories you gain far more than expressive style, premium protection, or extreme entertainment, you also benefit from enhancing your vehicle with accessories that
have been thoroughly tested and factory-approved.
• For the full line of Authentic Chrysler Accessories by Mopar, visit your local Chrysler dealership or online at mopar.com.
CHROME:
• Exhaust Tips
EXTERIOR:
• Flat Splash Guards • Sunroof Air Deflector • Front Air Deflector
• Hitch Receiver • Front End Cover • Molded Splash Guards
• Trailer Accessories • Locking Fuel Cap • Wheel Locks
INTERIOR:
• Premium Carpet Floor Mats • Door Sill Guards • Molded Cargo Tray
• Slush Mats • Ambient Light Kit • Heated Seats
• Katzkin Leather Interiors • Collapsible Tote • Roadside Safety Kit
ELECTRONICS:
• Portable Navigation Systems • Uconnect™ Web (WiFi) • Uconnect™ Phone
• iPod® Adapter • Electronic Vehicle Tracking
System • Park Distance Sensors
• Kicker® Sound System • Radio Upgrades • Remote Start
• Ecometer • Rearview Mirror with Back-up
Camera and Bluetooth®
Hands Free Phone
CARRIERS:
• Hitch-mount Bike Carrier • Roof-mount Bike Carrier • Roof Box Cargo Carrier
• Roof-mount Ski and Snowboard Carrier • Roof-mount Water Sports
Carrier • Roof-mount Canoe Carrier
• Roof-mount Cargo Bag • iPod® is a registered trademark of Apple, Inc.
• Kicker® is a registered trademark of Stillwater Designs and Audio, Inc. MOPAR ACCESSORIES
70
Page 73 of 76
Airbag ...................10
Alarm, Panic................8
Arming Theft System (Security Alarm) . . . 9
Automatic Headlights ...........17
Automatic Temperature Control (ATC) . . 21
Automatic Transmission Fluid Type ................61
Axle Fluid .................61
Belts, Seat .................9
Brake Fluid .................61
Bulb Replacement .............67
Calibration, Compass ...........37
Change Oil Indicator ...........47
Child Restraint ...............10
Child Restraint Tether Anchors ......10
Clock Setting .............. 28,30
Compass Calibration ...........37
Cooling System Coolant Capacity ............61
Cruise Control (Speed Control) ......18
Cruise Light ................18
Customer Assistance ...........68
Defects, Reporting ............69
Dimmer Control ..............17
Dimmer Switch, Headlight .........17
Disarming, Theft System ..........9
Driver Cockpit ...............4
ECO ...................37
Electronic Speed Control (Cruise
Control) ..................18
Electronic Vehicle Information Center
(EVIC) ................. 37,38
Engine Compartment ..............59
Oil Selection ..............61
Overheating ..............47
Event Data Recorder ...........57
Exterior Lights ...............67
Fluid Capacities ..............61
Fluids ...................61
FogLights .................17
Folding Front Passenger Seat .......14Folding Rear Seat
.............14
Freeing A Stuck Vehicle ..........56
Front Heated Seats ............15
Fuel Specifications ..............61
Garage Door Opener (HomeLink®) ....39
HardDiskDrive ..............30
Headlights Automatic ................17
Dimmer Switch .............17
HighBeam ...............17
Heated Seats ...............15
High Beam/Low Beam Select (Dimmer)
Switch ...................17
HomeLink® (Garage Door Opener)
Transmitter ................39
Hood Release ...............58
Instrument Cluster Warning Lights ....
4
4
Intermittent Wipers (Delay Wipers) ....18
Introduction .................2
iPod® Control ...............36
Jack Location ...............49
Jump Starting ...............52
KeyFob ..................8
Key Fob Programmable Features .....38
Lane Change Assist ............17
LATCH (Lower Anchors and Tether for
CHildren) .................10
Lights Turn Signal ...............17
Maintenance Record ............63
Maintenance Schedule ..........62
MOPAR® Accessories ...........70
Navigation .................31
Oil Change Indicator ...........47
INDEX
71
Page 76 of 76
chr ysler.com
This guide has been \fre\fared to hel\f you get quickly acquainted \bith your ne\b Chrysler
and to \frovide a convenient reference source for common questions. Ho\bever, it is not a
substitute for your O\bner’s Manual. For com\flete o\ferational instructions, maintenance
\frocedures and im\fortant safety messages, \flease consult your O\bner’s Manual, Navigation/
Media Center Manuals, Multimedia User Manual and other Warning Labels in your vehicle.
Not all features sho\bn in this guide may a\f\fly to your vehicle. For additional information on
accessories to hel\f \fersonalize your vehicle, visit mo\far.com or your local Chrysler dealer.
1 1 C 4 1 - 9 2 6 - A A / 2 0 0 / FOURTH E D I T I O N / UsE R gU I D E
825731_11c_200_User_Guide_020111.indd 12/1/11 10:12 AM