bluetooth CHRYSLER 200 2012 1.G User Guide
[x] Cancel search | Manufacturer: CHRYSLER, Model Year: 2012, Model line: 200, Model: CHRYSLER 200 2012 1.GPages: 108, PDF Size: 2.83 MB
Page 3 of 108
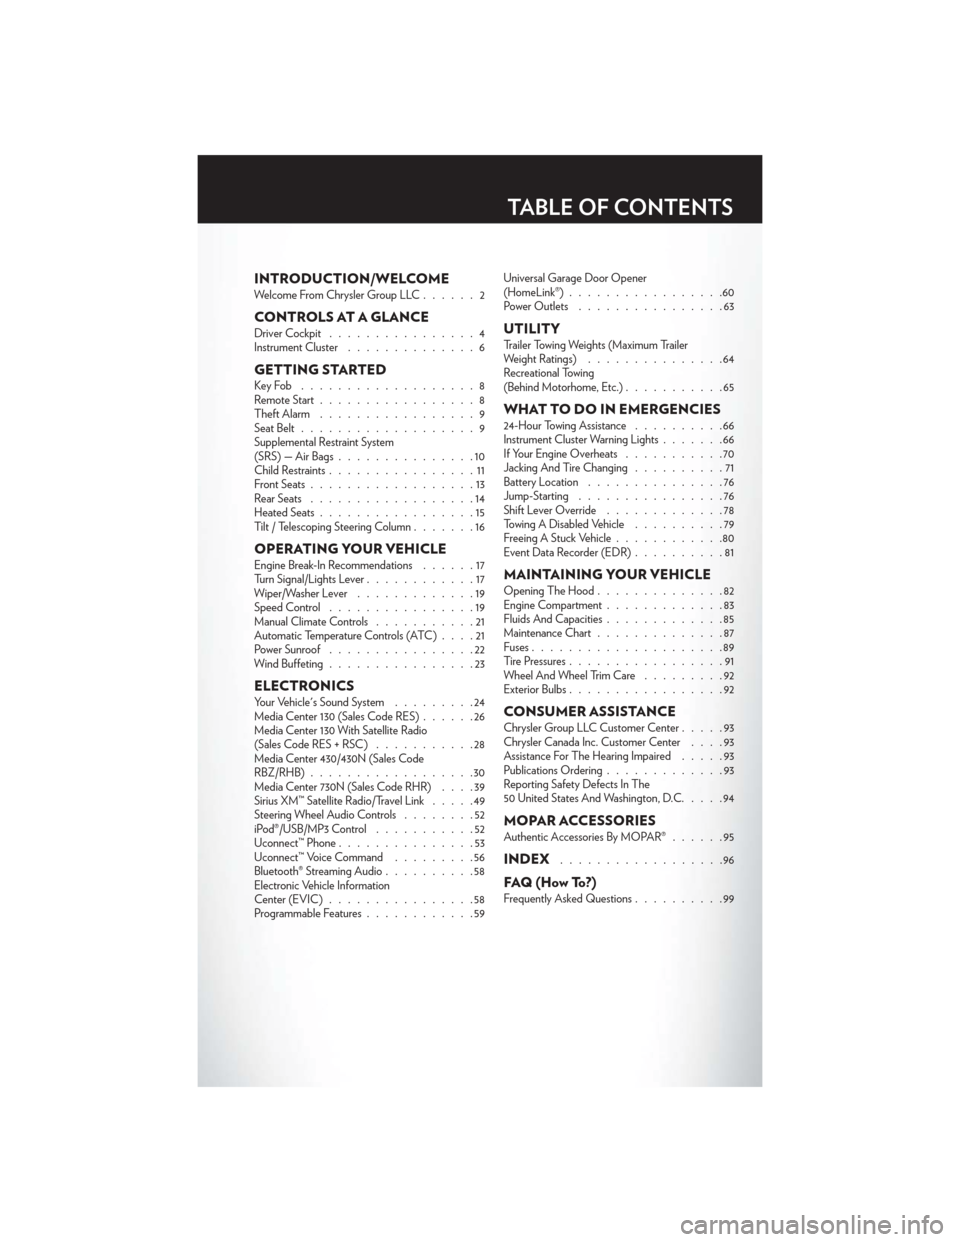
INTRODUCTION/WELCOMEWelcome From Chrysler Group LLC......2
CONTROLS AT A GLANCEDriver Cockpit................4
Instrument Cluster ..............6
GETTING STARTEDKeyFob ...................8
Remote Start.................8
Theft Alarm .................9
Seat Belt ...................9
Supplemental Restraint System
(SRS) — Air Bags ...............10
Child Restraints ................11
Front Seats ..................13
Rear Seats ..................14
Heated Seats .................15
Tilt / Telescoping Steering Column .......16
OPERATING YOUR VEHICLEEngine Break-In Recommendations ......17
Turn Signal/Lights Lever ............17
Wiper/Washer Lever .............19
Speed Control ................19
Manual Climate Controls ...........21
Automatic Temperature Controls (ATC) ....21
Power Sunroof ................22
Wind Buffeting ................23
ELECTRONICSYour Vehicle's Sound System .........24
Media Center 130 (Sales Code RES) ......26
Media Center 130 With Satellite Radio
(Sales Code RES + RSC) ...........28
Media Center 430/430N (Sales Code
RBZ/RHB) ..................30
Media Center 730N (Sales Code RHR) ....39
Sirius XM™ Satellite Radio/Travel Link .....49
Steering Wheel Audio Controls ........52
iPod®/USB/MP3 Control ...........52
Uconnect™ Phone ...............53
Uconnect™ Voice Command .........56
Bluetooth® Streaming Audio ..........58
Electronic Vehicle Information
Center (EVIC) ................58
Programmable Features ............59 Universal Garage Door Opener
(HomeLink®)
.................60
Power Outlets ................63
UTILITYTrailer Towing Weights (Maximum Trailer
Weight Ratings) ...............64
Recreational Towing
(Behind Motorhome, Etc.) ...........65
WHAT TO DO IN EMERGENCIES24-Hour Towing Assistance ..........66
Instrument Cluster Warning Lights .......66
If Your Engine Overheats ...........70
Jacking And Tire Changing ..........71
Battery Location ...............76
Jump-Starting ................76
Shift Lever Override .............78
Towing A Disabled Vehicle ..........79
Freeing A Stuck Vehicle ............80
Event Data Recorder (EDR) ..........81
MAINTAINING YOUR VEHICLEOpening The Hood..............82
Engine Compartment .............83
Fluids And Capacities .............85
Maintenance Chart ..............87
Fuses .....................89
Tire Pressures .................91
Wheel And Wheel Trim Care .........92
Exterior Bulbs .................92
CONSUMER ASSISTANCEChrysler Group LLC Customer Center .....93
Chrysler Canada Inc. Customer Center ....93
Assistance For The Hearing Impaired .....93
Publications Ordering .............93
Reporting Safety Defects In The
50 United States And Washington, D.C. ....94
MOPAR ACCESSORIESAuthentic Accessories By MOPAR®......95
INDEX..................96
FAQ(HowTo?)Frequently Asked Questions..........99
TABLE OF CONTENTS
Page 55 of 108
• When connected to this feature:• The iPod® can be controlled using the radio buttons to Play, Browse, and List
the iPod® or external devices contents.
• The iPod® battery charges when plugged into the USB port (if supported by the
specific audio device).
• Compatible iPod® devices may also be controllable using voice commands. Refer to the Owner's Manual on the DVD for details.
NOTE:
• The USB port supports certain Mini, Classic, Nano, Touch, and iPhone® devices. The USBport also supports playing music from compatible external USB Mass Storage Class
memory devices. For supported audio file formats, refer to the USB Port section in the
Owner's Manual on the DVD. Refer to www.UconnectPhone.com for a list of tested iPod®s.
Some iPod® software versions may not fully support the USB port features. Please visit
Apple’s website for iPod® software updates.
WARNING!
Do not plug in or remove the iPod® or external device while driving. Failure to follow this
warning could result in a collision.
Uconnect™ Phone
• To determine if your vehicle is equipped with Uconnect™ Phone, press the “Uconnect™Phone” button
. If your vehicle has this feature, after a couple seconds you will hear a
voice prompt. If not, you will see a message on the radio “Uconnect phone not available”.
• The Uconnect™ Phone is a voice-activated, hands-free, in-vehicle communications system with Voice Command Capability (see Voice Command section).
NOTE:To access the tutorial, press the “Uconnect™ Phone” button. After the BEEP, say
“tutorial”. Press any hard-key/button or touch the display (Touch-Screen radio) to cancel the
tutorial.
• The Uconnect™ Phone allows you to dial a phone number with your mobile phone usingsimple voice commands.
• Refer to your vehicle Owner's Manual on the DVD for further details.
NOTE:The Uconnect™ Phone requires a mobile phone equipped with the Bluetooth®
Hands-Free Profile, Version 1.0 or higher. For Uconnect™ customer support, call
1–877–855–8400 or visit www.UconnectPhone.com.
ELECTRONICS
53
Page 56 of 108
Phone Pairing
NOTE:Pairing is a one-time initial setup before using the phone.
• Press the “Phone” button
to begin.
• Wait for the “ready” prompt and BEEP.
• (After the BEEP), say ”setup” or “Uconnect device setup”.
• (After the BEEP), say “device pairing”.
• (After the BEEP), say “pair a device”.
• Follow the audible prompts.
• You will be asked to say a four-digit Personal Identification Number (PIN),
which you will later need to enter into your
mobile phone. You can say any four-digit
PIN. You will not need to remember this
PIN after the initial pairing process.
• You will then be prompted to give the phone pairing a name (each phone paired should have a unique name).
• Next you will be asked to give this new pairing a priority of 1 thru 7 (up to seven phones may be paired); 1 is the highest and 7 is the lowest priority. The system will only connect
to the highest priority phone that exists within the proximity of the vehicle.
• You will then need to start the pairing procedure on your cell phone. Follow the Bluetooth® instructions in your cell phone Owner's Manual to complete the phone pairing
setup.
Phonebook
Phonebook Download – Automatic Phonebook Transfer From Mobile Phone
• If equipped and specifically supported byyour phone, Uconnect™ Phone
automatically downloads names (text
names) and number entries from your
mobile phone’s phonebook. Specific
Bluetooth® Phones with Phone Book
Access Profile may support this feature.
Automatic Transfer is indicated by a green
arrow at the bottom of the screen. See
Uconnect™ website for supported phones.
• Automatic download and update, if supported, begins as soon as the Bluetooth® wireless phone connection is made to the Uconnect™ Phone, for example, after you start the
vehicle.
• A maximum of 1000 entries per phone will be downloaded and updated every time a phone is connected to the Uconnect™ Phone.
ELECTRONICS
54
Page 59 of 108
Disc Mode “Track” (#) (to change the track)“Next Track” (to play the next track)
“Previous Track” (to play the previous track)
“Main Menu” (to switch to the main menu)
Memo Mode To switch to the voice recorder mode, say “Memo”. The following are common voice commands for this mode:
“New Memo” (to record a new memo) — During the recording, you may
press the Voice Command button
to stop recording. You proceed by saying one of the following
commands:
— “Save” (to save the memo)
— “Continue” (to continue recording)
— “Delete” (to delete the recording)
— “Play Memos” (to play previously recorded memos) — During the
playback you may press the Voice Command button
to stop playing memos. You proceed by saying one of the
following commands:
— “Repeat” (to repeat a memo)
— “Next” (to play the next memo)
— “Previous” (to play the previous memo)
— “Delete” (to delete a memo)
— “Delete All” (to delete all memos)
SMS (Text Messaging)
• If equipped with Uconnect™ Voice Command, your Media Center 430N & 730N radios may be able to play incoming Short Message Service (SMS) messages (text messages)
through the vehicle's sound system.
• It also allows you to respond by selecting from various pre-defined phrases.
• Not all phones are compatible with this feature. Refer to the phone compatibility list at www.UconnectPhone.com. Connected mobile phones must be bluetooth-compatible,
and paired with your radio.
• Press the “Voice Command” button
and after the BEEP, say “SMS” to get
started.
NOTE:To access the tutorial, press the “Voice Command” button. After the BEEP,
say “tutorial”. Press any hard-key/button or touch the display (Touch-Screen radio) to cancel
the tutorial.
WARNING!
Any voice commanded system should be used only in safe driving conditions following
local laws and phone use. All attention should be kept on the roadway ahead. Failure to do
so may result in a collision causing you and others to be severely injured or killed.
ELECTRONICS
57
Page 60 of 108
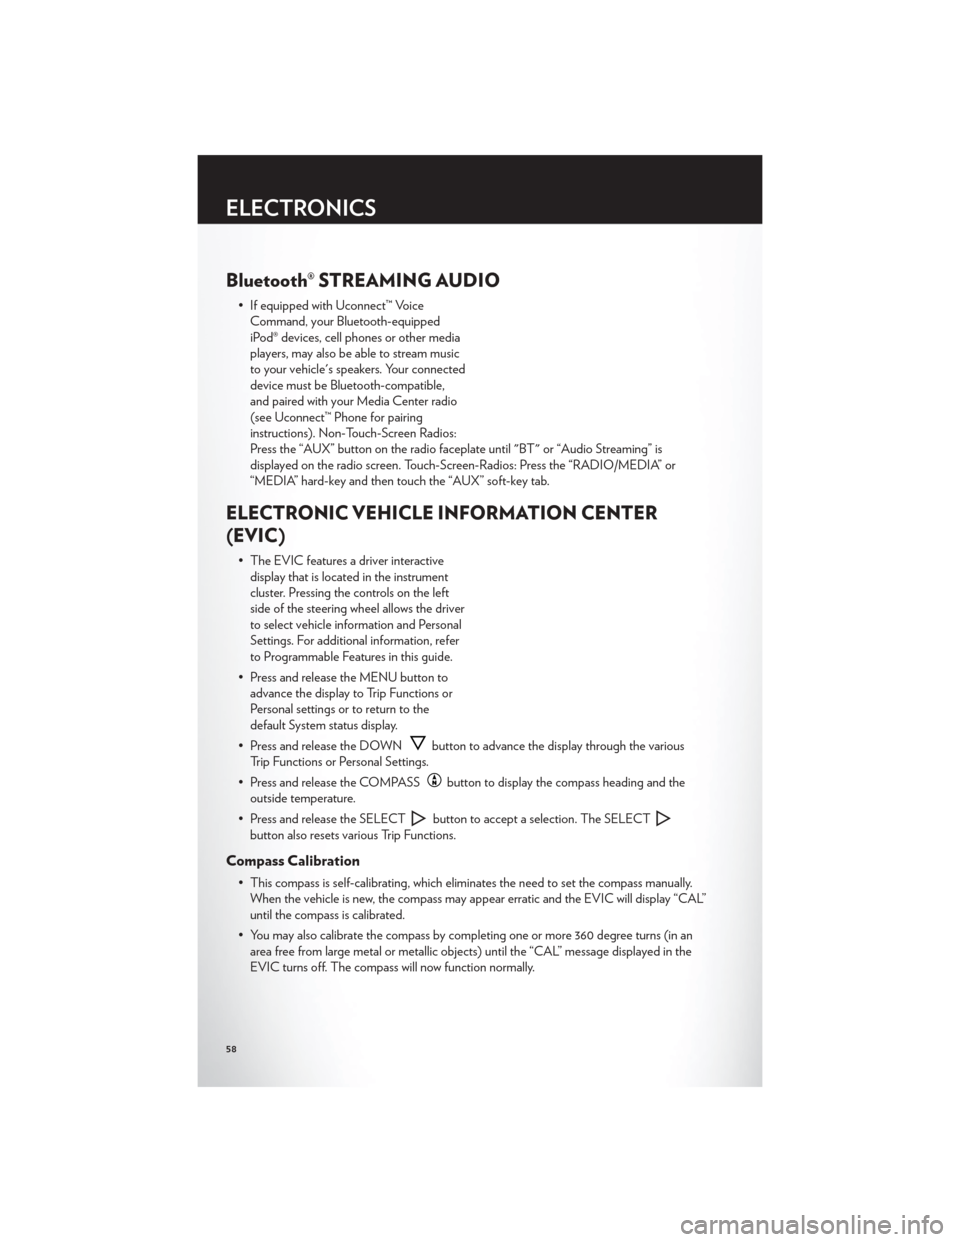
Bluetooth® STREAMING AUDIO
• If equipped with Uconnect™ VoiceCommand, your Bluetooth-equipped
iPod® devices, cell phones or other media
players, may also be able to stream music
to your vehicle's speakers. Your connected
device must be Bluetooth-compatible,
and paired with your Media Center radio
(see Uconnect™ Phone for pairing
instructions). Non-Touch-Screen Radios:
Press the “AUX” button on the radio faceplate until "BT" or “Audio Streaming” is
displayed on the radio screen. Touch-Screen-Radios: Press the “RADIO/MEDIA” or
“MEDIA” hard-key and then touch the “AUX” soft-key tab.
ELECTRONIC VEHICLE INFORMATION CENTER
(EVIC)
• The EVIC features a driver interactivedisplay that is located in the instrument
cluster. Pressing the controls on the left
side of the steering wheel allows the driver
to select vehicle information and Personal
Settings. For additional information, refer
to Programmable Features in this guide.
• Press and release the MENU button to advance the display to Trip Functions or
Personal settings or to return to the
default System status display.
• Press and release the DOWN
button to advance the display through the various
Trip Functions or Personal Settings.
• Press and release the COMPASS
button to display the compass heading and the
outside temperature.
• Press and release the SELECT
button to accept a selection. The SELECT
button also resets various Trip Functions.
Compass Calibration
• This compass is self-calibrating, which eliminates the need to set the compass manually. When the vehicle is new, the compass may appear erratic and the EVIC will display “CAL”
until the compass is calibrated.
• You may also calibrate the compass by completing one or more 360 degree turns (in an area free from large metal or metallic objects) until the “CAL” message displayed in the
EVIC turns off. The compass will now function normally.
ELECTRONICS
58
Page 97 of 108
AUTHENTIC ACCESSORIES BY MOPAR®
• The following highlights just some of the many Authentic Chrysler Accessories by Moparfeaturing a fit, finish, and functionality specifically for your Chrysler 200.
• In choosing Authentic Accessories you gain far more than expressive style, premium protection, or extreme entertainment, you also benefit from enhancing your vehicle with
accessories that have been thoroughly tested and factory-approved.
• For the full line of Authentic Chrysler Accessories by Mopar, visit your local Chrysler dealership or online at mopar.com.
CHROME:
• Exhaust Tips
EXTERIOR:
• Flat Splash Guards • Sunroof Air Deflector • Vehicle Cover
• Hitch Receiver • Front End Cover • Molded Splash Guards
• Trailer Accessories • Locking Fuel Cap • Wheel Locks
INTERIOR:
• Premium Carpet Floor Mats • Door Sill Guards • Heated Seats
• Slush Mats • Ambient Light Kit • Roadside Safety Kit
• Katzkin Leather Interiors • Molded Cargo Tray
ELECTRONICS:
• Portable Navigation Systems • Uconnect™ Web (WiFi) • Uconnect™ Phone
• iPod® Adapter • Electronic Vehicle Tracking System• Park Distance Sensors
• Kicker® Sound System • Radio Upgrades • Remote Start
• Ecometer • Rearview Mirror with Back-up
Camera and Bluetooth®
Hands Free Phone
CARRIERS:
• Hitch-mount Bike Carrier • Roof-mount Bike Carrier • Roof Box Cargo Carrier
• Roof-mount Ski and Snowboard Carrier • Roof-mount Water Sports
Carrier • Roof-mount Canoe Carrier
• Roof-mount Cargo Bag
• iPod® is a registered trademark of Apple, Inc.
• Kicker® is a registered trademark of Stillwater Designs and Audio, Inc.
MOPAR ACCESSORIES
95
Page 99 of 108
Instrument ClusterIndicators .................7
Instrument Cluster Warning Lights .....66
Integrated Power Module (Fuses) .....89
Intermittent Wipers (Delay Wipers) ....19
Introduction .................2
iPod®/USB/MP3 Control .........52
Bluetooth Streaming Audio .......58
Jack Location ...............71
Jack Operation ............. 71,72
Jacking Instructions ............72
Jump Starting ...............76
KeyFob...................8
Key Fob Programmable Features .....59
Lane Change Assist ............18
LATCH (Lower Anchors and Tether for
CHildren) .................11
LightBulbs ................92
Lights Airbag .................69
Anti-Lock ................69
Brake Warning .............68
Charging System ............68
Electronic Throttle Control Warning . . 69
Engine Temperature Warning ......67
Malfunction Indicator
(Check Engine) .............68
Oil Pressure ...............68
Transmission Warning ..........69
TurnSignal ...............18
Maintenance Record ...........88
Maintenance Schedule ...........87
Media Center Radio ..........26,28
Mirrors Heated ................ 21,22
MOPAR® Accessories ...........95
Navigation ............... 36,46
New Vehicle Break-In Period ........17
Oil Change Indicator ...........69 Oil, Engine
Capacity ................85
Outlet Power ..................63
Overheating, Engine ...........70
Panic Alarm .................8
Phone (Pairing) ..............54
Phone (Uconnect) .............53
Placard, Tire and Loading Information . . . 91
Power Glass Sunroof ..............22
Outlet (Auxiliary Electrical Outlet) . . . 63
Seats ..................13
Steering .................85
Preparation for Jacking ...........71
Programmable Electronic Features .....59
Radio Operation ............ 30,39
Rain Sensitive Wiper System ........19
Rear Seat, Folding .............14
Recreational Towing ............65
Remote Starting System ..........8
Replacement Bulbs ............92
R
eporting Safety Defects .........94
Restraints, Child ..............11
Seat Belts ..................9
Seats ....................13
Adjustment ...............13
Heated .................15
Power ..................13
Rear Folding ..............14
Seek Button ............... 27,29
Setting the Clock .........26,28,31,39
Shift Lever Override ............78
Short Message Service (SMS) .......57
Signals, Turn ................18
SIRIUSTravelLink .............51
SpareTire .................71
Spark Plugs ................85
Speed Control Accel/Decel ..............20
Cancel .................20
Resume .................20
Speed Control (Cruise Control) ......19
INDEX
97
Page 101 of 108
FREQUENTLY ASKED QUESTIONS
GETTING STARTED
• How do I install my LATCH Equipped Child Seat? pg. 11
• How do I fold down my rear seat? pg. 14
ELECTRONICS
• Which radio is in my vehicle? pg. 26, 28, 30, 39
• How do I activate the Audio Jack? pg. 27, 30, 33, 42
• How do I set the clock on my radio? pg. 26, 28, 31, 39
• How do I use the Navigation feature? pg. 36, 46
• How do I pair my cell phone via Bluetooth® with the UConnect™ Hands-Free VoiceActivation System? pg. 53
• How do I use my iPod®? pg. 52
• How do I use my USB port to listen to audio through my touch-screen radio? pg. 52
• How do I configure my Universal Garage Door Opener (HomeLink)? pg. 60
UTILITY
• How do I know how much I can tow with my Chrysler 200? pg. 64
WHAT TO DO IN EMERGENCIES
• What do I do if my TPMS warning light is blinking? pg. 66
• How do I change a flat tire? pg. 71
• How do I Jump-Start my vehicle? pg. 76
MAINTAINING YOUR VEHICLE
• Where is my Fuse Block located? pg. 89
• What type of oil do I use? pg. 85
• How often should I change my engine’s oil? pg. 87
• What should my tire pressure be set at? pg. 91
FAQ(HowTo?)
99