warning light CHRYSLER 200 2014 1.G User Guide
[x] Cancel search | Manufacturer: CHRYSLER, Model Year: 2014, Model line: 200, Model: CHRYSLER 200 2014 1.GPages: 516, PDF Size: 3.52 MB
Page 110 of 516
When you are finished adjusting the mirror, turn the
control to the center position to prevent accidentally
moving a mirror.
Adjusting Side View Mirrors
Outside Mirror — Driver Side
Adjust the outside mirror to center on the adjacent lane of
traffic, with a slight overlap of the view obtained on the
inside mirror.
Outside Mirror — Passenger Side
Adjust the convex outside mirror so you can just see the
side of your vehicle in the part of the mirror closest to the
vehicle.
WARNING!
Vehicles and other objects seen in the passenger side
convex mirror will look smaller and farther away
than they really are. Relying too much on your
passenger side convex mirror could cause you to
(Continued)
Mirror Directions
108 UNDERSTANDING THE FEATURES OF YOUR VEHICLE
Page 111 of 516
WARNING!(Continued)
collide with another vehicle or other object. Use your
inside mirror when judging the size or distance of a
vehicle seen in the passenger side convex mirror.
Some vehicles will not have a convex passenger side
mirror.
Exterior Mirrors Folding Feature
All exterior mirrors are hinged and may be moved either
forward or rearward to resist damage. The hinges have
three detent positions: full forward, full rearward and
normal.
Heated Mirrors — If Equipped
These mirrors are heated to melt frost or ice. This
feature can be activated whenever you turn on the
rear window defroster (if equipped). Refer to “Rear
Window Features” in “Understanding The Features Of
Your Vehicle” for further information.
Illuminated Vanity Mirrors — If Equipped
An illuminated vanity mirror is on each sun visor. To use
the mirror, lower the sun visor and rotate the mirror
cover upward. The lights will turn on automatically.
Closing the mirror cover turns off the lights.
3
UNDERSTANDING THE FEATURES OF YOUR VEHICLE 109
Page 126 of 516
•If supported, this number may be programmable on
some systems. To do this, press the
button and say
“Setup,” followed by “Emergency.”
• The Uconnect® Phone does slightly lower your
chances of successfully making a phone call as to that
for the mobile phone directly.
WARNING!
To use your Uconnect® Phone System in an emer-
gency, your mobile phone must be:
• turned on,
• paired to the Uconnect® System,
• and have network coverage.
Roadside Assistance/Towing Assistance
If you need roadside assistance:
• Press the
button to begin. •
After the “Ready” prompt and the following beep, say
“Towing Assistance.”
NOTE: You should program the desired Towing Assis-
tance phone number using the Voice Command system.
To do this, press the button and say “Setup,” followed by
“Towing Assistance.” When prompted say 1-800-521-
2779 for U.S./Canada, say 55-14-3454 for Mexico City
and 1-800-712-3040 for outside Mexico City in Mexico.
Paging
To learn how to page, refer to “Working with Automated
Systems.” Paging works properly except for pagers of
certain companies, which time out a little too soon to
work properly with the Uconnect® Phone.
Voice Mail Calling
To learn how to access your voice mail, refer to “Working
with Automated Systems”.
124 UNDERSTANDING THE FEATURES OF YOUR VEHICLE
Page 155 of 516
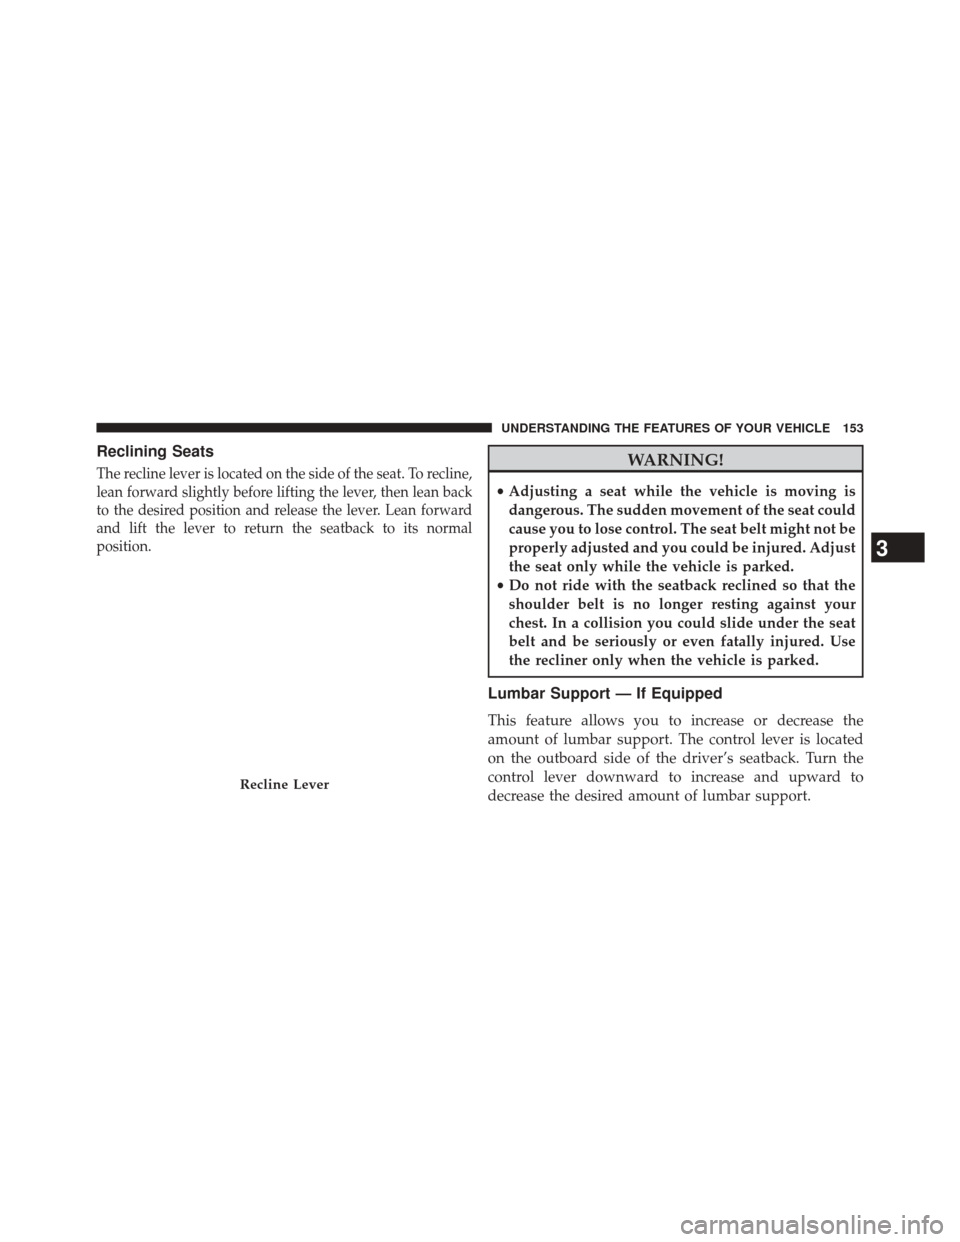
Reclining Seats
The recline lever is located on the side of the seat. To recline,
lean forward slightly before lifting the lever, then lean back
to the desired position and release the lever. Lean forward
and lift the lever to return the seatback to its normal
position.WARNING!
•Adjusting a seat while the vehicle is moving is
dangerous. The sudden movement of the seat could
cause you to lose control. The seat belt might not be
properly adjusted and you could be injured. Adjust
the seat only while the vehicle is parked.
• Do not ride with the seatback reclined so that the
shoulder belt is no longer resting against your
chest. In a collision you could slide under the seat
belt and be seriously or even fatally injured. Use
the recliner only when the vehicle is parked.
Lumbar Support — If Equipped
This feature allows you to increase or decrease the
amount of lumbar support. The control lever is located
on the outboard side of the driver’s seatback. Turn the
control lever downward to increase and upward to
decrease the desired amount of lumbar support.
Recline Lever
3
UNDERSTANDING THE FEATURES OF YOUR VEHICLE 153
Page 164 of 516
CAUTION!
To prevent possible damage, do not slam the hood to
close it. Use a firm downward push at the center of
the hood to ensure that both latches engage.
WARNING!
Be sure the hood is fully latched before driving your
vehicle. If the hood is not fully latched, it could open
when the vehicle is in motion and block your vision.
Failure to follow this warning could result in serious
injury or death.
LIGHTS
Multifunction Lever
The multifunction lever controls the operation of the
parking lights, headlights, headlight beam selection,passing light, fog lights, instrument panel light dimming
and turn signals. The multifunction lever is located on
the left side of the steering column.
Multifunction Lever
162 UNDERSTANDING THE FEATURES OF YOUR VEHICLE
Page 174 of 516
WARNING!(Continued)
the windshield during freezing weather, warm the
windshield with defroster before and during wind-
shield washer use.
Mist Feature
Push down on the wiper control lever to activate a single
wipe to clear the windshield of road mist or spray from
a passing vehicle. As long as the lever is held down, the
wipers will continue to operate.
NOTE:The mist feature does not activate the washer
pump; therefore, no washer fluid will be sprayed on the
windshield. The wash function must be used in order to
spray the windshield with washer fluid.
Headlights With Wipers Feature (Available With
Automatic Headlights Only)
When this feature is active, the headlights will turn on
approximately 10 seconds after the wipers are turned on
if the multifunction lever (on the left side of the steering
Mist Control
172 UNDERSTANDING THE FEATURES OF YOUR VEHICLE
Page 177 of 516
NOTE:In order to ensure proper operation, the Elec-
tronic Speed Control System has been designed to shut
down if multiple Speed Control functions are operated at
the same time. If this occurs, the Electronic Speed Control
System can be reactivated by pushing the Electronic
Speed Control ON/OFF button and resetting the desired
vehicle set speed.
To Activate
Push the ON/OFF button. The Cruise Indicator Light in
the instrument cluster will illuminate. To turn the system
off, push the ON/OFF button a second time. The Cruise
Indicator Light will turn off. The system should be
turned off when not in use.
WARNING!
Leaving the Electronic Speed Control system on
when not in use is dangerous. You could accidentally
set the system or cause it to go faster than you want.
You could lose control and have an accident. Always
leave the system OFF when you are not using it.
To Set A Desired Speed
Turn the Electronic Speed Control ON. When the vehicle
has reached the desired speed, press the SET (-) button
and release. Release the accelerator and the vehicle will
operate at the selected speed.
NOTE: The vehicle should be traveling at a steady speed
and on level ground before pressing the SET (-) button.
3
UNDERSTANDING THE FEATURES OF YOUR VEHICLE 175
Page 180 of 516
WARNING!
Electronic Speed Control can be dangerous where the
system cannot maintain a constant speed. Your ve-
hicle could go too fast for the conditions, and you
could lose control and have an accident. Do not use
Electronic Speed Control in heavy traffic or on roads
that are winding, icy, snow-covered or slippery.
GARAGE DOOR OPENER — IF EQUIPPED
HomeLink® replaces up to three hand-held transmitters
that operate devices such as garage door openers, motor-
ized gates, lighting or home security systems. The
HomeLink® unit is powered by your vehicles 12 Volt
battery.The HomeLink® buttons, located on either the overhead
console, headliner or sunvisor, designate the three differ-
ent HomeLink® channels. The HomeLink® indicator is
located above the center button.
HomeLink® Buttons/Overhead Consoles
178 UNDERSTANDING THE FEATURES OF YOUR VEHICLE
Page 195 of 516
WARNING!
To avoid serious injury or death:
•Only devices designed for use in this type of outlet
should be inserted into any 12 Volt outlet.
• Do not touch with wet hands.
• Close the lid when not in use and while driving the
vehicle.
• If this outlet is mishandled, it may cause an electric
shock and failure.
CAUTION!
• Many accessories that can be plugged in draw
power from the vehicle’s battery, even when not in
use (i.e., cellular phones, etc.). Eventually, if
plugged in long enough, the vehicle’s battery will
discharge sufficiently to degrade battery life and/or
prevent the engine from starting.
• Accessories that draw higher power (i.e., coolers,
vacuum cleaners, lights, etc.) will degrade the bat-
tery even more quickly. Only use these intermit-
tently and with greater caution.
• After the use of high power draw accessories, or
long periods of the vehicle not being started (with
accessories still plugged in), the vehicle must be
driven a sufficient length of time to allow the
generator to recharge the vehicle’s battery.
3
UNDERSTANDING THE FEATURES OF YOUR VEHICLE 193
Page 200 of 516
NOTE:
•A notch in the front of the console base allows for use
of a cellular phone while it is plugged into the power
outlet with the armrest latched down.
• The power outlet can also energize the cigar lighter in
the optional cup holder ash receiver.
WARNING!
Do not operate this vehicle with a console compart-
ment lid in the open position. Driving with the
console compartment lid open may result in injury in
a collision.
CARGO AREA FEATURES
The 60/40 split-folding rear seat provides cargo-carrying
versatility. The seatbacks fold down easily by pulling
nylon tabs between the seatbacks and the bolsters. When
the seats are folded down, they provide a continuous,
nearly flat extension of the load floor.
When the seatback is folded to the upright position, make
sure it is latched by strongly pulling on the top of the
seatback above the seat strap.
WARNING!
• Be certain that the seatback is securely locked into
position. If the seatback in not securely locked into
position, the seat will not provide the proper sta-
bility for child seats and/or passengers. An improp-
erly latched seat could cause serious injury.
(Continued)
198 UNDERSTANDING THE FEATURES OF YOUR VEHICLE