mirror CHRYSLER 200 2015 2.G Owner's Manual
[x] Cancel search | Manufacturer: CHRYSLER, Model Year: 2015, Model line: 200, Model: CHRYSLER 200 2015 2.GPages: 220, PDF Size: 3.7 MB
Page 74 of 220
Purchasing WiFi Hotspot While In Your Vehicle
You must set up a Uconnect® Access Payment Account online (log in tomoparownerconnect.com, go
to Edit Profile, then Uconnect® Payment Account, to set up and manage your Payment
Account).
1. To purchase WiFi while in your vehicle, ensure the vehicle is running and in Park. Press the “Apps” button on the touchscreen, then select WiFi within the “Apps” menu. Follow the
on-screen instructions. When asked for your payment PIN, use the 4-digit PIN you established
when setting up your payment account on Mopar Owner Connect.
NOTE:
This may be different than the Uconnect® Security PIN you established for using features such as
Remote Vehicle Start. After purchasing WiFi, it may take up to 30 minutes (with the vehicle
running) before the WiFi will be active in your vehicle.
2. Select WiFi again, then note the hotspot name. Select this network when connecting devices to the hotspot. Also click on View/Edit Passphrase, then note the security passphrase you will
need to connect to the network on each device.
If your devices cannot see the WiFi Hotspot network after 30 minutes, please contact Uconnect®
Care by pressing the ASSIST button on the rearview mirror, or by calling 1-855-792-4241.
Using Uconnect® Access
Getting Started With Apps
Applications (Apps) and features in your Uconnect® Access system deliver services that are
customized for the driver and are certified by Chrysler Group, LLC. Two different types are:
1. Built-In Features — use the built-in 3G Cellular Network on your Uconnect® 8.4AN radio.
2. Uconnect® Access Via Mobile (if equipped) — Via Mobile uses the Uconnect® Access app
and your smartphone's data plan to access your personal Pandora®, iHeartRadio, Aha™ by
HARMAN and Slacker Radio accounts from the vehicle and control them using the vehicle
touchscreen. Customer’s data plan charges will apply. Available on Uconnect® 8.4A and
8.4AN Radios (if equipped).
Get started with your Uconnect® Access apps by pressing the Uconnect® “Apps” button on the
menu bar at the bottom right corner of the radio touchscreen. Available apps and features are
organized by the tabs on the left of the screen:
Favorite Apps — This is the default screen when you first press the “Apps” button on the
touchscreen, and is a good place to put the apps you use most frequently. To make an App
a “favorite”, press the “settings” button on the touchscreen to the right of the app, and select
“Make a favorite.”
ELECTRONICS
72
Page 76 of 220
Selling Your Vehicle
When you sell your vehicle, we recommend that you remove your Uconnect® Access Account
information from the vehicle. You can do this using the radio touchscreen in the vehicle or on the
Mopar Owner Connect website (moparownerconnect.com). Removing your account informa-
tion cancels your subscription and makes your vehicle factory-ready for a new owner/subscriber.
1. From your vehicle’s radio touchscreen, select “Uconnect® Store” from the Apps Menu.
2. Select “My Apps,” then “Settings.” Press “Remove Uconnect® Account.”
3. Enter your Uconnect® Security PIN, and select “Continue.”
For additional information on Uconnect®:
• U.S. residents - visit DriveUconnect.com or call 1-877-855-8400.
• Canadian Residents - visit DriveUconnect.ca or call, 1-800-465-2001 (English) or1-800-387-9983 (French).
Built-In Features (Uconnect® 8.4AN Only)
CAUTION!
• Ignoring the rearview mirror light could mean you may not have 9-1-1 Call service if needed. If the rearview mirror light is illuminated, have an authorized dealer service the
9-1-1 Call system immediately.
• The Occupant Restraint Controller (ORC) turns on the Air Bag Warning Light on the
instrument panel if a malfunction is detected in any part of the air bag system. If the Air
Bag Warning Light is illuminated, the air bag system may not be working properly and the
9-1-1 system may not be able to send a signal to a 9-1-1 operator. If the Air Bag Warning
Light is illuminated, have an authorized dealer service your vehicle immediately.
• If anyone in the vehicle could be in danger (e.g., fire or smoke is visible, dangerous road
conditions or location), do not wait for voice contact from a 9-1-1 operator. All occupants
should exit the vehicle immediately and move to a safe location.
• Do not add any aftermarket electrical equipment to the vehicle’s electrical system. This
may prevent your vehicle from sending a signal to initiate an emergency call. To avoid
interference that can cause the 9-1-1 Call system to fail, never add aftermarket equipment
(e.g., two-way mobile radio, CB radio, data recorder, etc.) to your vehicle’s electrical
system or modify the antennas on your vehicle. IF YOUR VEHICLE LOSES BATTERY
POWER FOR ANY REASON (INCLUDING DURING OR AFTER AN ACCI-
DENT), THE UCONNECT® FEATURES, APPS AND SERVICES, AMONG OTH-
ERS, WILL NOT OPERATE.
ELECTRONICS
74
Page 77 of 220
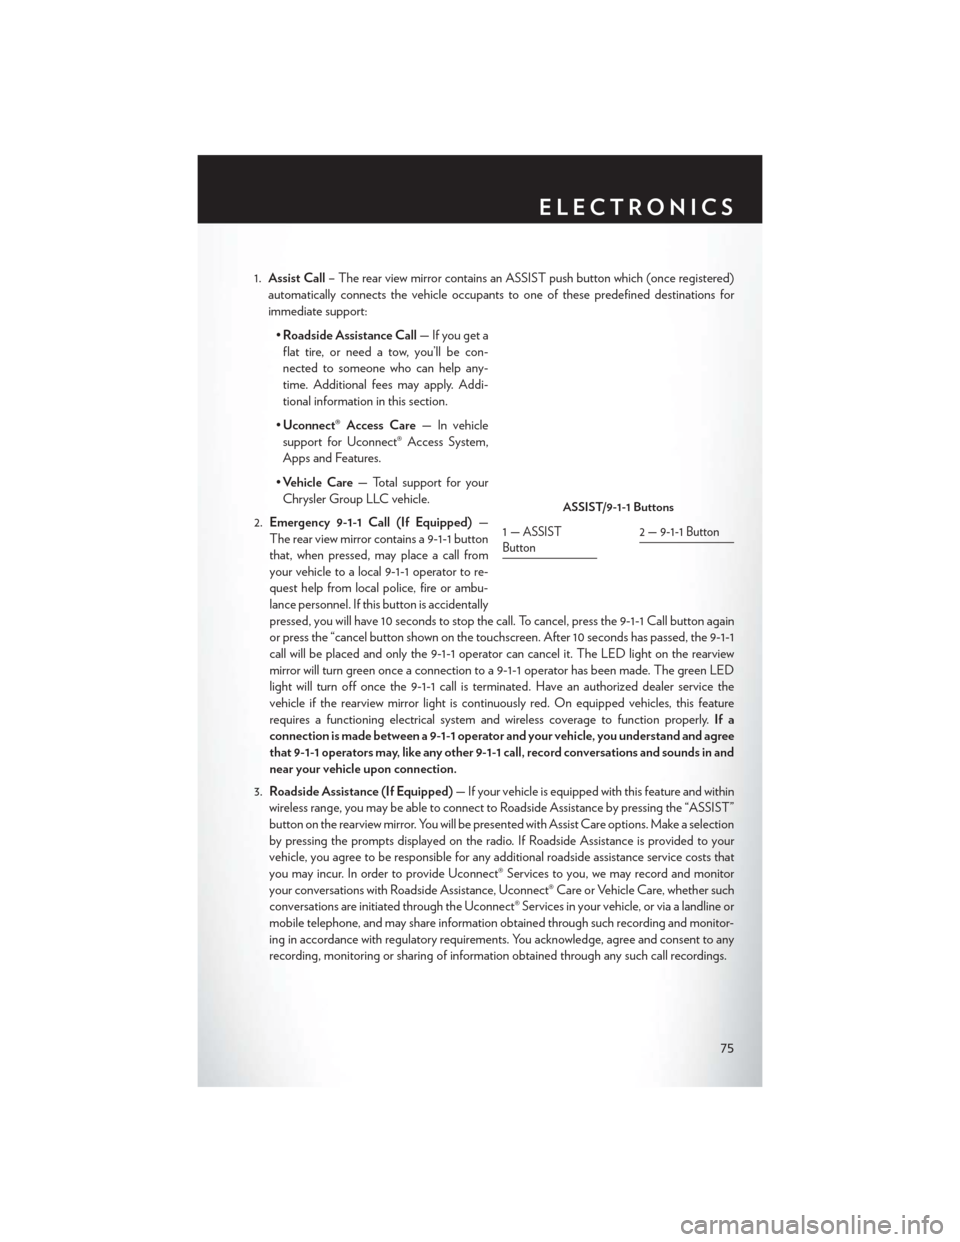
1.Assist Call – The rear view mirror contains an ASSIST push button which (once registered)
automatically connects the vehicle occupants to one of these predefined destinations for
immediate support:
•Roadside Assistance Call — If you get a
flat tire, or need a tow, you’ll be con-
nected to someone who can help any-
time. Additional fees may apply. Addi-
tional information in this section.
• Uconnect® Access Care — In vehicle
support for Uconnect® Access System,
Apps and Features.
• Vehicle Care — Total support for your
Chrysler Group LLC vehicle.
2. Emergency 9-1-1 Call (If Equipped) —
The rear view mirror contains a 9-1-1 button
that, when pressed, may place a call from
your vehicle to a local 9-1-1 operator to re-
quest help from local police, fire or ambu-
lance personnel. If this button is accidentally
pressed, you will have 10 seconds to stop the call. To cancel, press the 9-1-1 Call button again
or press the “cancel button shown on the touchscreen. After 10 seconds has passed, the 9-1-1
call will be placed and only the 9-1-1 operator can cancel it. The LED light on the rearview
mirror will turn green once a connection to a 9-1-1 operator has been made. The green LED
light will turn off once the 9-1-1 call is terminated. Have an authorized dealer service the
vehicle if the rearview mirror light is continuously red. On equipped vehicles, this feature
requires a functioning electrical system and wireless coverage to function properly. If a
connection is made between a 9-1-1 operator and your vehicle, you understand and agree
that 9-1-1 operators may, like any other 9-1-1 call, record conversations and sounds in and
near your vehicle upon connection.
3. Roadside Assistance (If Equipped) — If your vehicle is equipped with this feature and within
wireless range, you may be able to connect to Roadside Assistance by pressing the “ASSIST”
button on the rearview mirror. You will be presented with Assist Care options. Make a selection
by pressing the prompts displayed on the radio. If Roadside Assistance is provided to your
vehicle, you agree to be responsible for any additional roadside assistance service costs that
you may incur. In order to provide Uconnect® Services to you, we may record and monitor
your conversations with Roadside Assistance, Uconnect® Care or Vehicle Care, whether such
conversations are initiated through the Uconnect® Services in your vehicle, or via a landline or
mobile telephone, and may share information obtained through such recording and monitor-
ing in accordance with regulatory requirements. You acknowledge, agree and consent to any
recording, monitoring or sharing of information obtained through any such call recordings.
ASSIST/9-1-1 Buttons
1—ASSIST
Button2 — 9-1-1 Button
ELECTRONICS
75
Page 94 of 220
Get Started
1. VisitUconnectPhone.com to check mobile device and feature compatibility and to find
phone pairing instructions.
2. Reduce background noise. Wind and passenger conversations are examples of noise that may impact recognition.
3. Speak clearly at a normal pace and volume while facing straight ahead. The microphone is positioned on the rearview mirror and aimed at the driver.
4. Each time you give a Voice Command, you must first press either the VR or Phone button, wait until afterthe beep, then say your Voice Command.
5. You can interrupt the help message or system prompts by pressing the VR or Phone button and saying a Voice Command from current category.
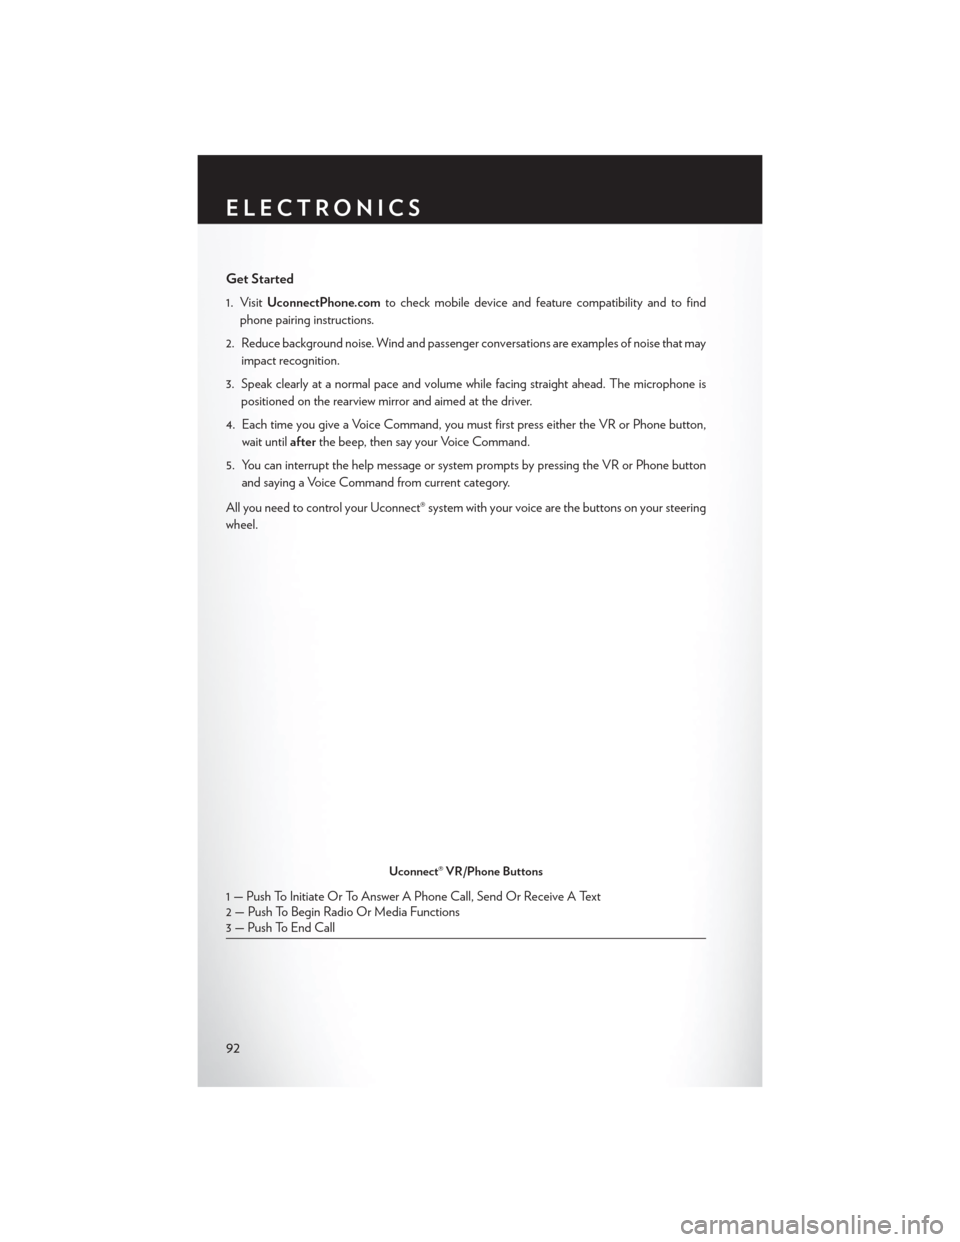
All you need to control your Uconnect® system with your voice are the buttons on your steering
wheel.
Uconnect® VR/Phone Buttons
1 — Push To Initiate Or To Answer A Phone Call, Send Or Receive A Text
2 — Push To Begin Radio Or Media Functions
3 — Push To End Call
ELECTRONICS
92
Page 116 of 220
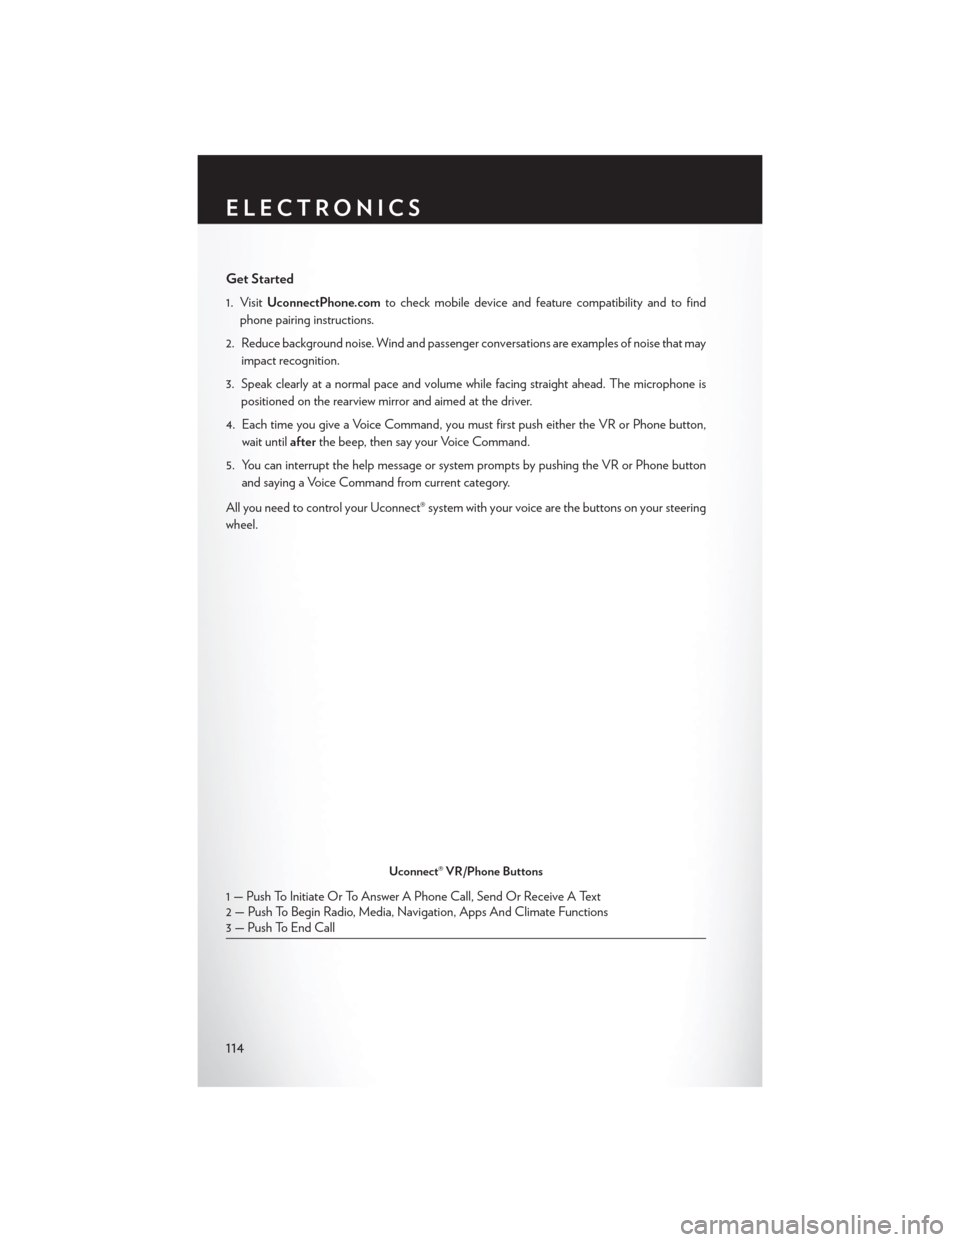
Get Started
1. VisitUconnectPhone.com to check mobile device and feature compatibility and to find
phone pairing instructions.
2. Reduce background noise. Wind and passenger conversations are examples of noise that may impact recognition.
3. Speak clearly at a normal pace and volume while facing straight ahead. The microphone is positioned on the rearview mirror and aimed at the driver.
4. Each time you give a Voice Command, you must first push either the VR or Phone button, wait until afterthe beep, then say your Voice Command.
5. You can interrupt the help message or system prompts by pushing the VR or Phone button and saying a Voice Command from current category.
All you need to control your Uconnect® system with your voice are the buttons on your steering
wheel.
Uconnect® VR/Phone Buttons
1 — Push To Initiate Or To Answer A Phone Call, Send Or Receive A Text
2 — Push To Begin Radio, Media, Navigation, Apps And Climate Functions
3 — Push To End Call
ELECTRONICS
114
Page 198 of 220
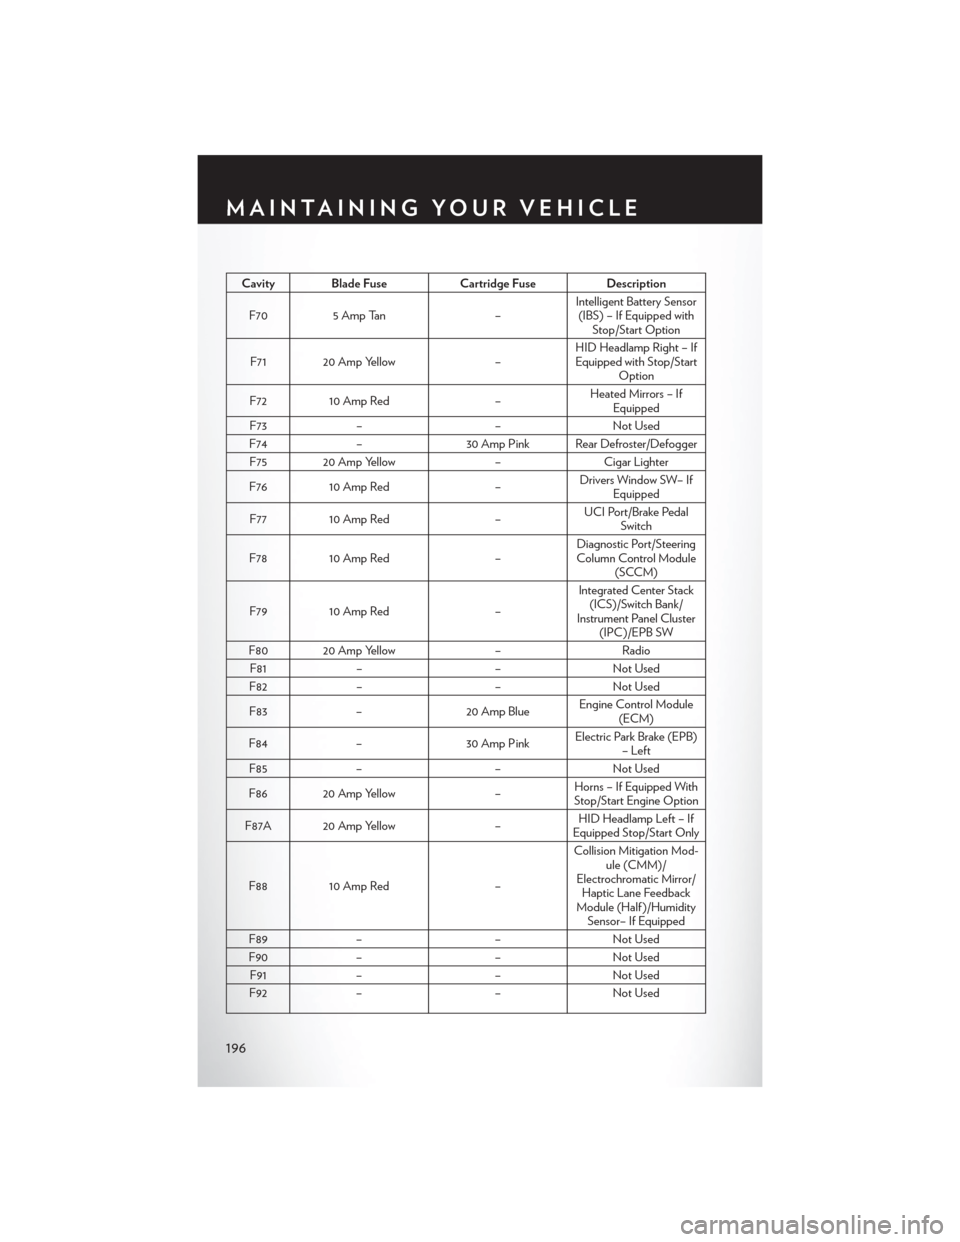
Cavity Blade FuseCartridge FuseDescription
F70 5 Amp Tan –Intelligent Battery Sensor
(IBS) – If Equipped with Stop/Start Option
F71 20 Amp Yellow –HID Headlamp Right – If
Equipped with Stop/Start Option
F72 10 Amp Red –Heated Mirrors – If
Equipped
F73 – –Not Used
F74 – 30 Amp Pink Rear Defroster/Defogger
F75 20 Amp Yellow –Cigar Lighter
F76 10 Amp Red –Drivers Window SW– If
Equipped
F77 10 Amp Red –UCI Port/Brake Pedal
Switch
F78 10 Amp Red –Diagnostic Port/Steering
Column Control Module (SCCM)
F79 10 Amp Red –Integrated Center Stack
(ICS)/Switch Bank/
Instrument Panel Cluster (IPC)/EPB SW
F80 20 Amp Yellow –Radio
F81 – –Not Used
F82 – –Not Used
F83 – 20 Amp Blue Engine Control Module
(ECM)
F84 – 30 Amp PinkElectric Park Brake (EPB)
– Left
F85 – –Not Used
F86 20 Amp Yellow –Horns – If Equipped With
Stop/Start Engine Option
F87A 20 Amp Yellow –HID Headlamp Left – If
Equipped Stop/Start Only
F88 10 Amp Red –Collision Mitigation Mod-
ule (CMM)/
Electrochromatic Mirror/ Haptic Lane Feedback
Module (Half )/Humidity Sensor– If Equipped
F89 – –Not Used
F90 – –Not Used
F91 – –Not Used
F92 – –Not Used
MAINTAINING YOUR VEHICLE
196
Page 199 of 220
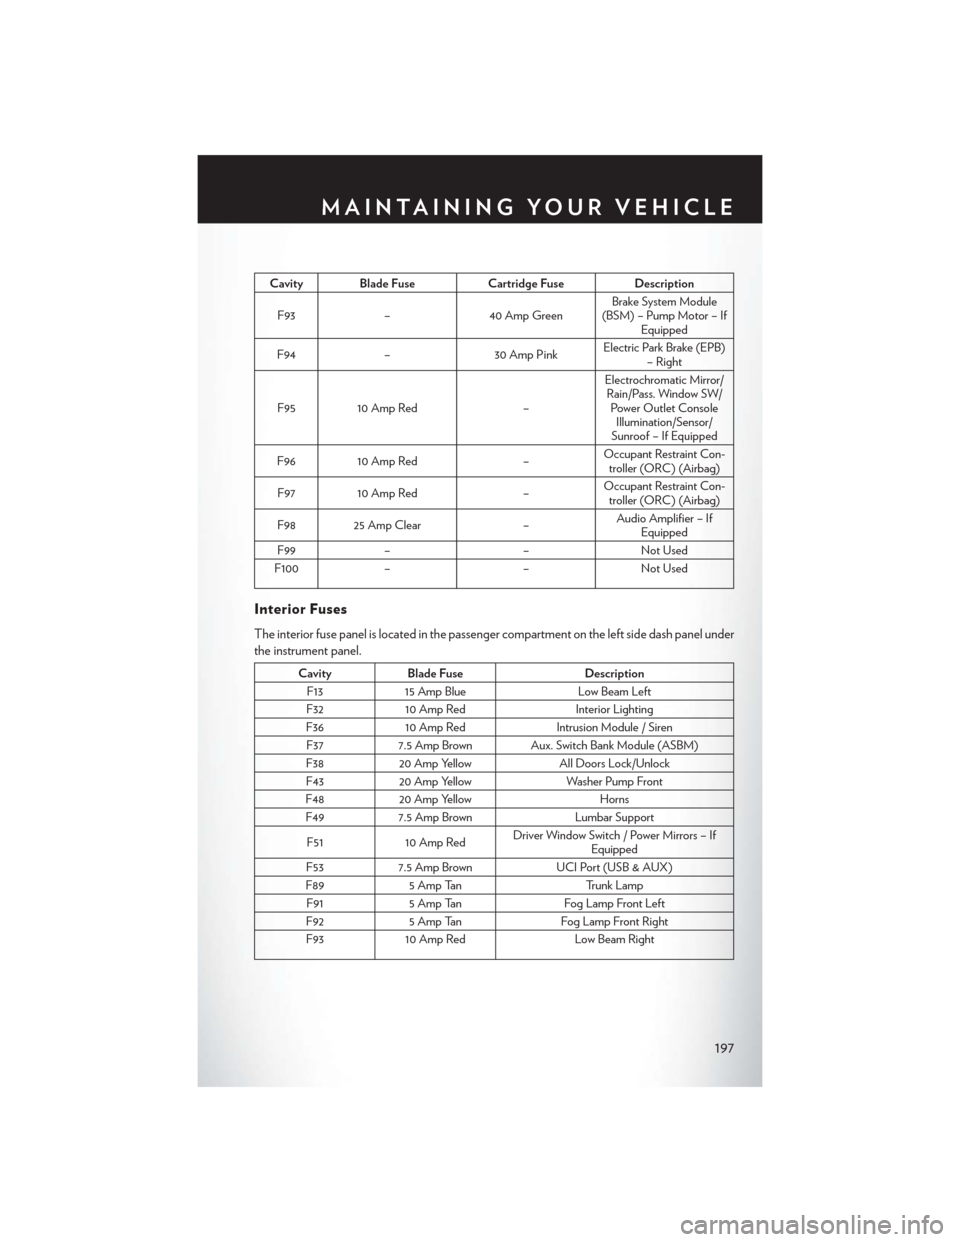
Cavity Blade FuseCartridge FuseDescription
F93 –40 Amp Green Brake System Module
(BSM) – Pump Motor – If Equipped
F94 – 30 Amp PinkElectric Park Brake (EPB)
– Right
F95 10 Amp Red –Electrochromatic Mirror/
Rain/Pass. Window SW/ Power Outlet Console Illumination/Sensor/
Sunroof – If Equipped
F96 10 Amp Red –Occupant Restraint Con-
troller (ORC) (Airbag)
F97 10 Amp Red –Occupant Restraint Con-
troller (ORC) (Airbag)
F98 25 Amp Clear –Audio Amplifier – If
Equipped
F99 – –Not Used
F100 – –Not Used
Interior Fuses
The interior fuse panel is located in the passenger compartment on the left side dash panel under
the instrument panel.
CavityBlade Fuse Description
F13 15 Amp Blue Low Beam Left
F32 10 Amp Red Interior Lighting
F36 10 Amp Red Intrusion Module / Siren
F37 7.5 Amp Brown Aux. Switch Bank Module (ASBM)
F38 20 Amp Yellow All Doors Lock/Unlock
F43 20 Amp Yellow Washer Pump Front
F48 20 Amp Yellow Horns
F49 7.5 Amp Brown Lumbar Support
F51 10 Amp Red Driver Window Switch / Power Mirrors – If
Equipped
F53 7.5 Amp Brown UCI Port (USB & AUX)
F89 5 Amp Tan Trunk Lamp
F91 5 Amp Tan Fog Lamp Front Left
F92 5 Amp Tan Fog Lamp Front Right
F93 10 Amp Red Low Beam Right
MAINTAINING YOUR VEHICLE
197
Page 206 of 220
AUTHENTIC ACCESSORIES BY MOPAR®
In choosing Authentic Accessories you gain far more than expressive style, premium protection,
or extreme entertainment, you also benefit from enhancing your vehicle with accessories that
have been thoroughly tested and factory-approved.
The following highlights just some of the many Authentic Chrysler Accessories by Mopar®
featuring a fit, finish, and functionality specifically for your Chrysler 200.
EXTERIOR:
• Fender Badges• Front End Cover• Vehicle Cover
• Grille Inserts • Wheel Locks• Molded Splash Guards
• Front Air Deflector • Locking Fuel Cap
INTERIOR:
• Premium Carpet Floor Mats • Door Sill Guards • Molded Cargo Tray
• All-Weather Mats • Ambient Lighting• Roadside Safety Kit
• Katzkin Leather Interiors • Bright Pedal Kit
ELECTRONICS:
• Wireless Cell Phone Charger • Mopar® Web (WiFi) • Remote Start
• Electronic Vehicle Tracking System • Park Distance Sensors • Rearview Mirror with Backup
Camera
CARRIERS:
• Removable Roof Rack • Roof-mount Bike Carrier • Roof Box Cargo Carrier
• Roof-mount Ski and Snow- board Carrier • Roof-mount Water Sports
Carrier • Roof-mount Canoe Carrier
• Roof-mount Cargo Bag
For the full line of Authentic Chrysler Accessories by Mopar®, visit your local dealership or online
at mopar.com for U.S. residents and mopar.ca for Canadian residents.
NOTE:
All parts are subject to availability.
MOPAR® ACCESSORIES
204
Page 211 of 220
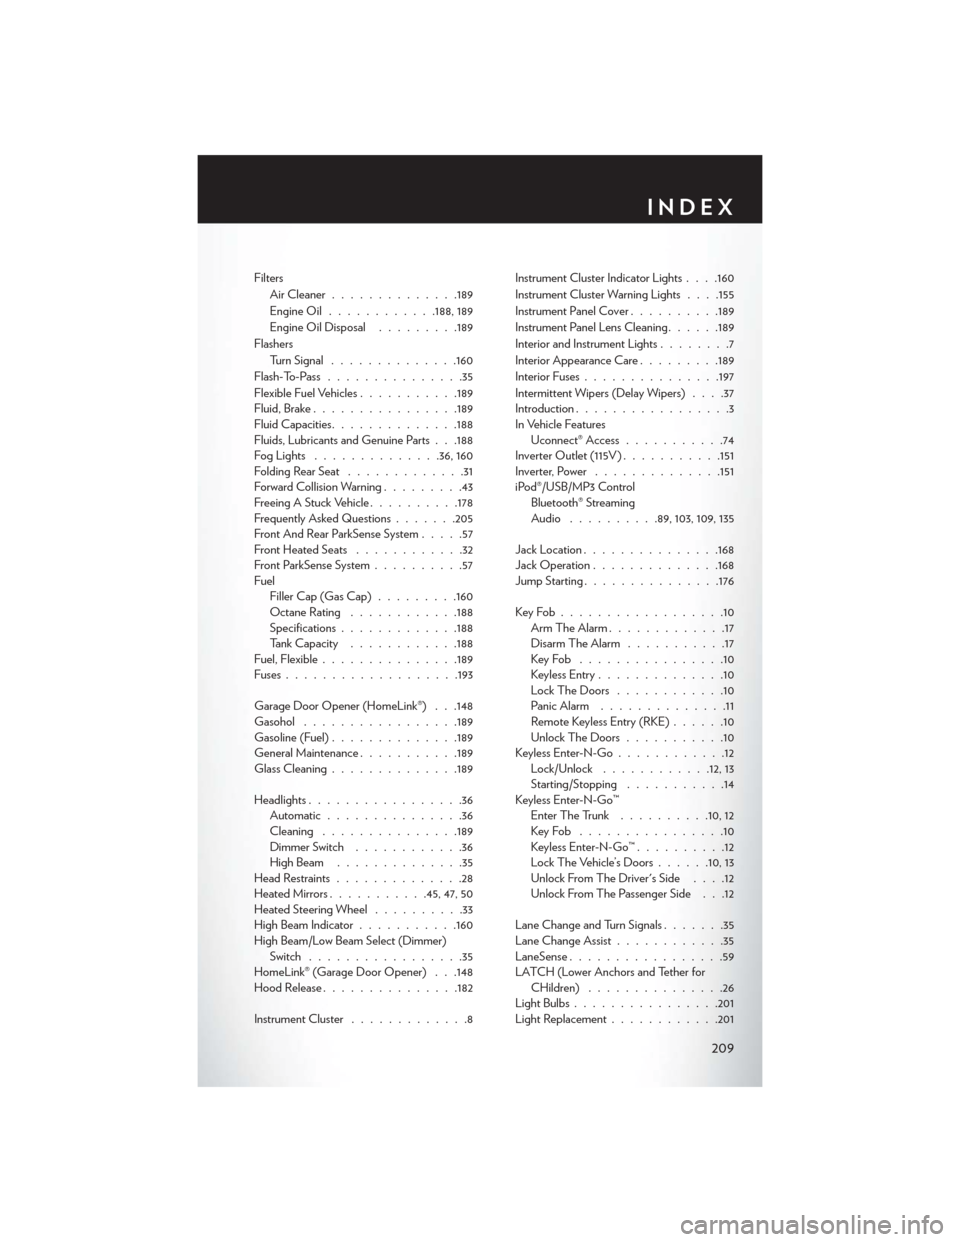
FiltersAir Cleaner ............. .189
Engine Oil ............188, 189
Engine Oil Disposal .........189
Flashers Turn Signal ............. .160
Flash-To-Pass ...............35
Flexible Fuel Vehicles ...........189
Fluid, Brake ............... .189
Fluid Capacities ............. .188
Fluids, Lubricants and Genuine Parts . . .188
FogLights ..............36, 160
Folding Rear Seat .............31
Forward Collision Warning .........43
Freeing A Stuck Vehicle ..........178
Frequently Asked Questions .......205
Front And Rear ParkSense System .....57
Front Heated Seats ............32
Front ParkSense System ..........57
Fuel Filler Cap (Gas Cap) .........160
Octane Rating ............188
Specifications ............ .188
Tank Capacity ............188
Fuel, Flexible .............. .189
Fuses .................. .193
Garage Door Opener (HomeLink®) . . .148
Gasohol ................ .189
Gasoline (Fuel) ............. .189
General Maintenance ...........189
Glass Cleaning ............. .189
Headlights .................36
Automatic ...............36
Cleaning .............. .189
Dimmer Switch ............36
HighBeam ..............35
Head Restraints ..............28
Heated Mirrors ...........45, 47, 50
Heated Steering Wheel ..........33
High Beam Indicator ...........160
High Beam/Low Beam Select (Dimmer) Switch .................35
HomeLink® (Garage Door Opener) . . .148
Hood Release .............. .182
Instrument Cluster .............8 Instrument Cluster Indicator Lights .
. . .160
Instrument Cluster Warning Lights . . . .155
Instrument Panel Cover ..........189
Instrument Panel Lens Cleaning ......189
Interior and Instrument Lights ........7
Interior Appearance Care .........189
Interior Fuses .............. .197
Intermittent Wipers (Delay Wipers) ....37
Introduction .................3
In Vehicle Features Uconnect® Access ...........74
Inverter Outlet (115V) ...........151
Inverter, Power ............. .151
iPod®/USB/MP3 Control Bluetooth® Streaming
Audio ..........89, 103, 109, 135
Jack Location .............. .168
Jack Operation ............. .168
Jump Starting .............. .176
KeyFob..................10 Arm The Alarm .............17
Disarm The Alarm ...........17
KeyFob ................10
Keyless Entry ..............10
LockTheDoors ............10
Panic Alarm ..............11
Remote Keyless Entry (RKE) ......10
UnlockTheDoors...........10
Keyless Enter-N-Go ............12
Lock/Unlock ............12, 13
Starting/Stopping ...........14
Keyless Enter-N-Go™ Enter The Trunk ..........10,12
KeyFob ................10
Keyless Enter-N-Go™ ..........12
Lock The Vehicle’s Doors ......10,13
Unlock From The Driver's Side ....12
Unlock From The Passenger Side . . .12
Lane Change and Turn Signals .......35
Lane Change Assist ............35
LaneSense .................59
LATCH (Lower Anchors and Tether for CHildren) ...............26
Light Bulbs ............... .201
Light Replacement ............201
INDEX
209
Page 212 of 220
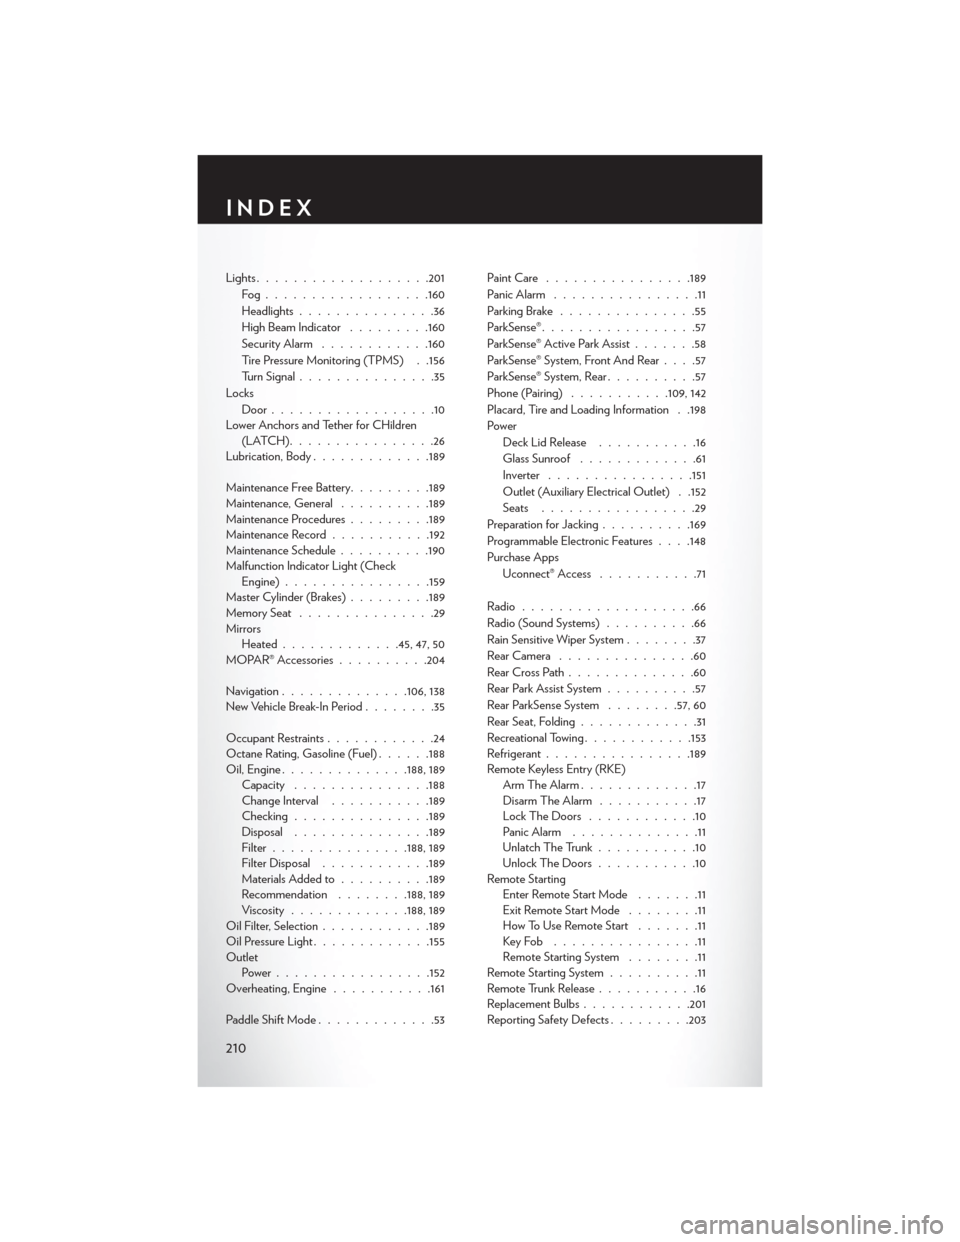
Lights...................201
Fog................. .160
Headlights...............36
High Beam Indicator .........160
Security Alarm ............160
Tire Pressure Monitoring (TPMS) . .156
Turn Signal ...............35
Locks Door..................10
Lower Anchors and Tether for CHildren (LATCH)................26
Lubrication, Body .............189
Maintenance Free Battery .........189
Maintenance, General ..........189
Maintenance Procedures .........189
Maintenance Record ...........192
Maintenance Schedule ..........190
Malfunction Indicator Light (Check Engine) ............... .159
Master Cylinder (Brakes) .........189
MemorySeat ...............29
Mirrors Heated ............ .45, 47, 50
MOPAR® Accessories ..........204
Navigation ..............106,138
New Vehicle Break-In Period ........35
Occupant Restraints ............24
Octane Rating, Gasoline (Fuel) ......188
Oil,Engine............. .188, 189
Capacity .............. .188
Change Interval ...........189
Checking ...............189
Disposal .............. .189
Filter .............. .188, 189
Filter Disposal ............189
Materials Added to ..........189
Recommendation ........188, 189
Viscosity ............ .188, 189
Oil Filter, Selection ............189
Oil Pressure Light ............ .155
Outlet Power................ .152
Overheating, Engine ...........161
Paddle Shift Mode .............53 Paint Care
............... .189
Panic Alarm ................
11
Parking Brake ...............55
ParkSense® .................57
ParkSense® Active Park Assist .......58
ParkSense® System, Front And Rear ....57
ParkSense® System, Rear ..........57
Phone (Pairing) ...........109, 142
Placard, Tire and Loading Information . .198
Power Deck Lid Release ...........16
Glass Sunroof .............61
Inverter ............... .151
Outlet (Auxiliary Electrical Outlet) . .152
Seats .................29
Preparation for Jacking ..........169
Programmable Electronic Features . . . .148
Purchase Apps Uconnect® Access ...........71
Radio ...................66
Radio (Sound Systems) ..........66
Rain Sensitive Wiper System ........37
RearCamera ...............60
RearCrossPath..............60
Rear Park Assist System ..........57
Rear ParkSense System ........57, 60
Rear Seat, Folding .............31
Recreational Towing ............153
Refrigerant ................189
Remote Keyless Entry (RKE) Arm The Alarm .............17
Disarm The Alarm ...........17
Lock The Doors ............10
Panic Alarm ..............11
Unlatch The Trunk ...........10
Unlock The Doors ...........10
Remote Starting Enter Remote Start Mode .......11
Exit Remote Start Mode ........11
How To Use Remote Start .......11
KeyFob ................11
Remote Starting System ........11
Remote Starting System ..........11
Remote Trunk Release ...........16
Replacement Bulbs ............201
Reporting Safety Defects .........203
INDEX
210