tow CHRYSLER 200 2015 2.G Owner's Manual
[x] Cancel search | Manufacturer: CHRYSLER, Model Year: 2015, Model line: 200, Model: CHRYSLER 200 2015 2.GPages: 220, PDF Size: 3.7 MB
Page 161 of 220
NOTE:
This light shows only that the parking brake is applied. It does not show the degree of brake
application.
WARNING!
Driving a vehicle with the red brake light on is dangerous. Part of the brake system may have
failed. It will take longer to stop the vehicle. You could have a collision. Have the vehicle
checked immediately.
- Malfunction Indicator Light (MIL)
Certain conditions, such as a loose or missing gas cap, poor fuel quality, etc., may illuminate the
MIL after engine start. The vehicle should be serviced if the light stays on through several typical
driving cycles. In most situations, the vehicle will drive normally and not require towing.
If the MIL flashes when the engine is running, serious conditions may exist that could lead to
immediate loss of power or severe catalytic converter damage. We recommend you do not
operate the vehicle. Have the vehicle serviced immediately.
- Electronic Stability Control (ESC) Activation/Malfunction
Indicator Light
If the “ESC Activation/Malfunction Indicator Light” comes on continuously with the engine
running, a malfunction has been detected in the ESC system. If this light remains on after several
ignition cycles, and the vehicle has been driven several miles (kilometers) at speeds greater than
30 mph (48 km/h), we recommend you do not operate the vehicle. Have the vehicle serviced
immediately.
The “ESC Activation/Malfunction Indicator Light” starts to flash as soon as the tires lose traction
and the ESC system becomes active. If the light begins to flash during acceleration, ease up on
the accelerator and apply as little throttle as possible. Be sure to adapt your speed and driving to
the prevailing road conditions. The light also flashes when TCS is active. To improve the vehicle's
traction when starting off in deep snow, sand or gravel, it may be desirable to switch the ESC
system to Partial Off mode by momentarily pressing the ESC Off
switch.
WHAT TO DO IN EMERGENCIES
159
Page 164 of 220
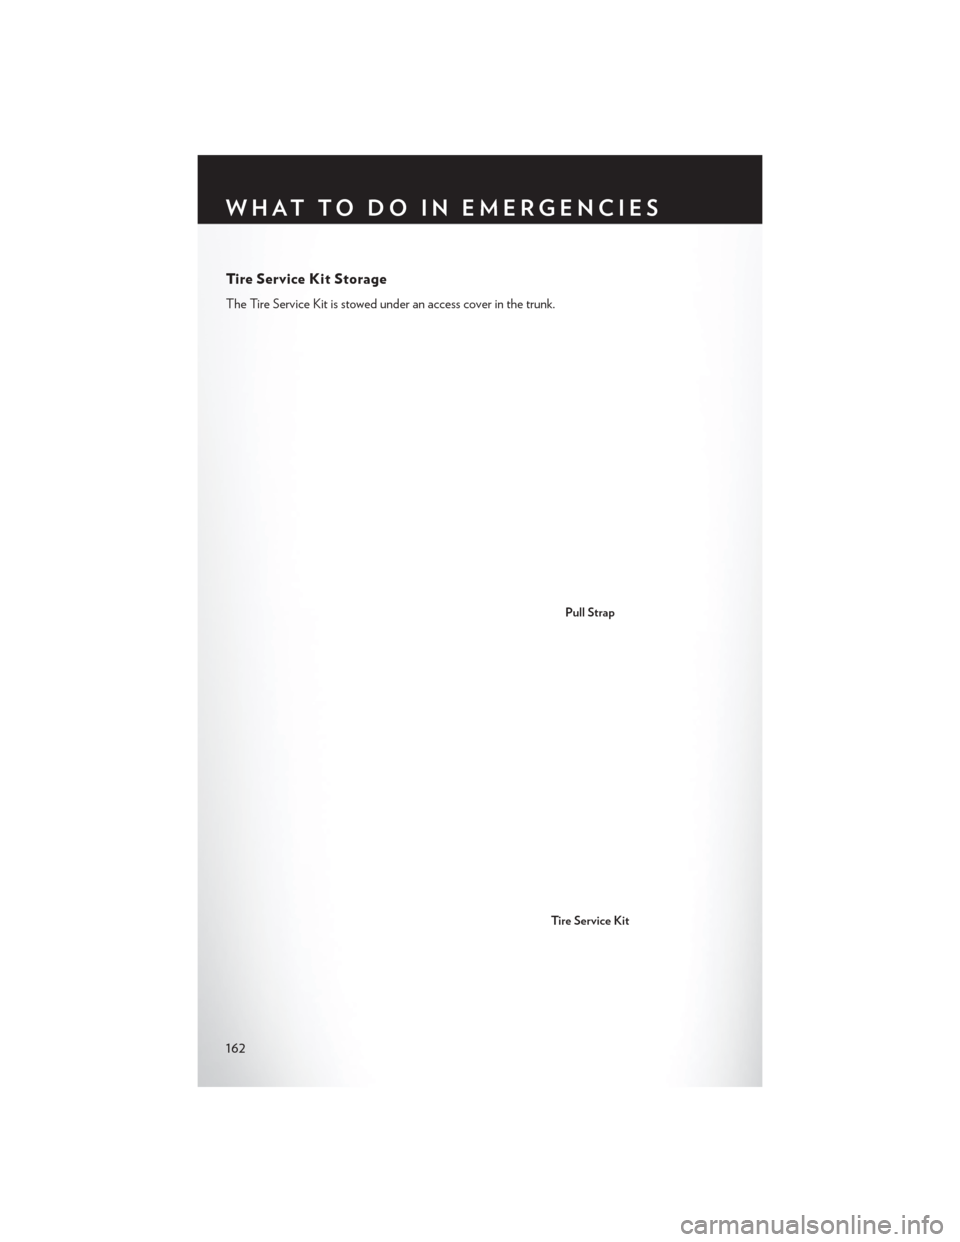
Tire Service Kit Storage
The Tire Service Kit is stowed under an access cover in the trunk.
Pull Strap
Tire Service Kit
WHAT TO DO IN EMERGENCIES
162
Page 169 of 220
6. Verify that the cap is installed on the fitting at the end of the Sealant Hose (6) and return thehose to its storage area (located on the bottom of the air pump).
7. Return the Tire Service Kit to its storage location in the vehicle.
NOTE:
• The metal end fitting from Power Plug (8) may get hot after use, so it should be handled carefully.
• Failure to reinstall the cap on the fitting at the end of the Sealant Hose (6) can result in sealant contacting your skin, clothing, and the vehicle’s interior. It can also result in sealant contacting
internal Tire Service Kit components which may cause permanent damage to the kit.
WARNING!
• Do not attempt to seal a tire on the side of the vehicle closest to traffic. Pull far enough off
the road to avoid the danger of being hit when using the Tire Service Kit.
• Do not use the Tire Service Kit or drive the vehicle under the following circumstances:
• If the puncture in the tire tread is approximately 1/4”. (6 mm) or larger.
• If the tire has any sidewall damage.
• If the tire has any damage from driving with extremely low tire pressure.
• If the tire has any damage from driving on a flat tire.
• If the wheel has any damage.
• If you are unsure of the condition of the tire or the wheel.
• Keep the Tire Service Kit away from open flames or heat source.
• A loose Tire Service Kit thrown forward in a collision or hard stop could endanger the
occupants of the vehicle. Always stow the Tire Service Kit in the place provided. Failure to
follow these warnings can result in injuries that are serious or fatal to you, your passengers,
and others around you.
• Take care not to allow the contents of the Tire Service Kit to come in contact with hair,
eyes, or clothing. The Tire Service Kit is harmful if inhaled, swallowed, or absorbed
through the skin. It causes skin, eye, and respiratory irritation. Flush immediately with
plenty of water if there is any contact with eyes or skin. Change clothing as soon as
possible, if there is any contact with clothing.
• The Tire Service Kit Sealant solution contains latex. In case of an allergic reaction or rash,
consult a physician immediately. Keep the Tire Service Kit out of reach of children. If
swallowed, rinse mouth immediately with plenty of water and drink plenty of water. Do not
induce vomiting! Consult a physician immediately.
• The Tire Service Kit is not a permanent flat tire repair. Have the tire inspected and repaired
or replaced after using the Tire Service Kit. Do not exceed 55 mph (88 km/h) until the tire
is repaired or replaced. Failure to follow this warning can result in injuries that are serious or
fatal to you, your passengers, and others around you.
WHAT TO DO IN EMERGENCIES
167
Page 170 of 220
JACKING AND TIRE CHANGING
Jack Location
The scissor-type jack and tire changing tools are stowed under the load floor in the trunk.
Spare Tire Stowage
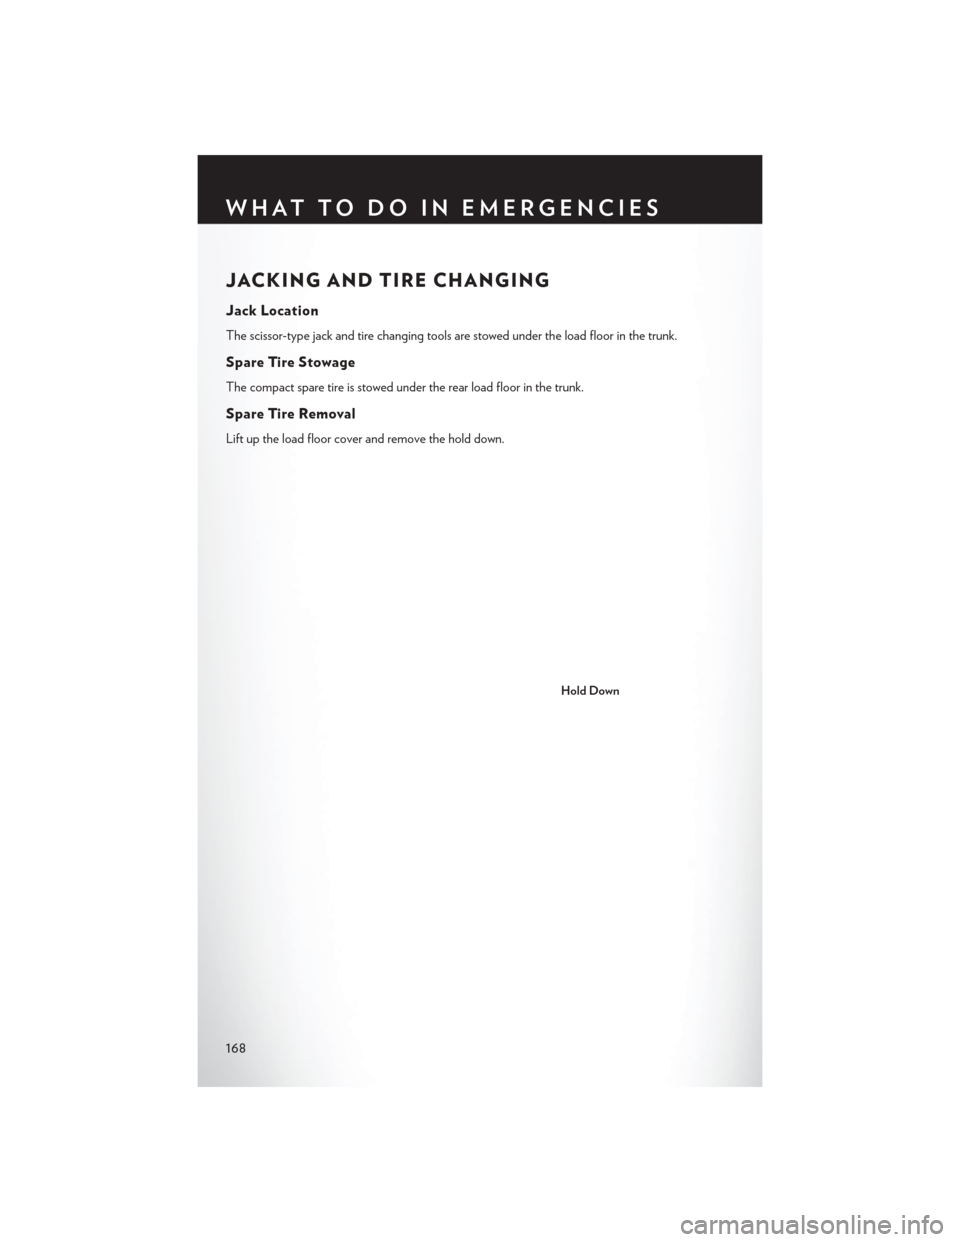
The compact spare tire is stowed under the rear load floor in the trunk.
Spare Tire Removal
Lift up the load floor cover and remove the hold down.
Hold Down
WHAT TO DO IN EMERGENCIES
168
Page 175 of 220
Position the jack handle on the jack.Do not raise the vehicle until you are sure the jack is
fully engaged.
5. Raise the vehicle by turning the jack screw to the right. Raise the vehicle only until the tire just clears the surface and enough clearance is obtained to install the spare tire. Minimum tire lift
provides maximum stability.
6. Remove the lug bolts and wheel.
7. Position the spare wheel/tire on the vehicle and install lug bolts with the cone-shaped end toward the wheel. Lightly tighten the bolts.
8. Lower the vehicle by turning the jack screw to the left, and remove the jack.
Lifting Locations
WHAT TO DO IN EMERGENCIES
173
Page 176 of 220
9. Finish tightening the lug bolts. Push down on the wrench while at the end of the handle forincreased leverage. Tighten the lug bolts in a star pattern until each nut has been tightened
twice. The correct wheel bolt tightness is 100 ft lb (135 N·m). If in doubt about the correct
tightness, have them checked with a torque wrench by your authorized dealer or at a service
station.
10. Lower the jack to its fully closed position.
11. Secure the tire, jack, and tools in their proper locations.
12. Remove chocks from wheels.
Road Tire Installation
1. Mount the road tire on the axle.
2. Install the remaining lug bolts with the threaded end of the bolt toward the wheel. Lightly tighten the lug bolts.
3. Lower the vehicle to the ground by turning the jack handle counterclockwise.
4. Finish tightening the lug bolts. Push down on the wrench while at the end of the handle for increased leverage. Tighten the lug bolts in a star pattern until each bolt has been tightened
twice. The correct tightness of each lug bolt is 100 ft/lbs (135 N·m). If in doubt about the
correct tightness, have them checked with a torque wrench by your authorized dealer or
service station.
5. After 25 miles (40 km) check the lug bolt torque with a torque wrench to ensure that all lug bolts are properly seated against the wheel.
CAUTION!
Do not attempt to raise the vehicle by jacking on locations other than those indicated in the
Jacking Instructions for this vehicle.
WHAT TO DO IN EMERGENCIES
174
Page 177 of 220
WARNING!
• Being under a jacked-up vehicle is dangerous. The vehicle could slip off the jack and fall onyou. You could be crushed. Never put any part of your body under a vehicle that is on a
jack. If you need to get under a raised vehicle, take it to a service center where it can be
raised on a lift.
• Never start or run the engine while the vehicle is on a jack.
• The jack is designed to be used as a tool for changing tires only. The jack should not be
used to lift the vehicle for service purposes. The vehicle should be jacked on a firm level
surface only. Avoid ice or slippery areas.
• Do not attempt to change a tire on the side of the vehicle close to moving traffic, pull far
enough off the road to avoid the danger of being hit when operating the jack or changing
the wheel.
• Carefully follow these tire changing warnings to help prevent personal injury or damage to
your vehicle:
• Always park on a firm, level surface as far from the edge of the roadway as possiblebefore raising the vehicle.
• Turn on the Hazard Warning flasher.
• Chock the wheel diagonally opposite the wheel to be raised.
• Set the parking brake firmly and set an automatic transmission in PARK.
• Do not let anyone sit in the vehicle when it is on a jack.
• Do not get under the vehicle when it is on a jack.
• Only use the jack in the positions indicated and for lifting this vehicle during a tire change.
• If working on or near a roadway, be extremely careful of motor traffic.
• Assure that spare tires, flat or inflated, are securely stowed, spares must be stowed in the
rear cargo area with the wing nut attached.
• Raising the vehicle higher than necessary can make the vehicle less stable. It could slip off
the jack and hurt someone near it. Raise the vehicle only enough to remove the tire.
• A loose tire or jack thrown forward in a collision or hard stop could injure the occupants in
the vehicle. Have the deflated (flat) tire repaired or replaced immediately.
• To avoid the risk of forcing the vehicle off the jack, do not tighten the lug bolts fully until
the vehicle is lowered to the ground. Failure to follow this warning may result in personal
injury.
WHAT TO DO IN EMERGENCIES
175
Page 181 of 220
WARNING!
Fast spinning tires can be dangerous. Forces generated by excessive wheel speeds may cause
tire damage or failure. A tire could explode and injure someone. Do not spin your vehicle's
wheels faster than 30 mph (48 km/h) when you are stuck. Do not let anyone near a spinning
wheel, no matter what the speed.
MANUAL PARK RELEASE
In order to move the vehicle in cases where the transmission will not shift out of PARK (such as a
dead battery), a Manual Park Release is available.
WARNING!
Always secure your vehicle by fully applying the parking brake, before activating the Manual
Park Release. Activating the Manual Park Release will allow your vehicle to roll away if it is not
secured by the parking brake or by proper connection to a tow vehicle. Activating the Manual
Park Release on an unsecured vehicle could lead to serious injury or death for those in or
around the vehicle.
Follow these steps to activate the Manual Park Release:
1. Apply the parking brake.
Manual Park Release Location
WHAT TO DO IN EMERGENCIES
179
Page 182 of 220
2. Using a small screwdriver or similar tool, remove the Manual Park Release access cover, whichis underneath the rubber storage bin liner in the center console pass-through.
3. Unsnap the tether from the Manual Park Release lever.
4. Pull the tether upwards and rearward, until it locks vertically in place. Verify that the Manual Park Release lever is locked in the released position.
5. The vehicle is now out of PARK and can be moved. Release the parking brake only
when the vehicle is securely connected to a
tow vehicle.
Follow these steps to reset the Manual Park
Release:
1. Pull the tether upwards to unlock the lever.
2. Rotate the Manual Park Release lever for- ward and down to its original position.
3. Re-install the access cover and the rubber storage bin liner.
Manual Park Release Cover
Manual Park Release Tether
Locked Position
WHAT TO DO IN EMERGENCIES
180
Page 183 of 220
TOWING A DISABLED VEHICLE
Model Flat Towing(all four wheels
on
the ground) Flatbed Towing
(all four wheels
suspended OFF
the ground)Front Wheels
Raised, Rear
Wheels on the
GroundRear Wheels
Raised, Front
Wheels on the
Ground
FWD NOT Permitted Recommended
MethodMay Be Used NOT Permitted
AWD NOT Permitted Recommended
MethodNOT Permitted NOT Permitted
EVENT DATA RECORDER (EDR)
This vehicle is equipped with an Event Data Recorder (EDR). The main purpose of an EDR is to
record, in certain crash or near crash-like situations, such as an air bag deployment or hitting a
road obstacle, data that will assist in understanding how a vehicle’s systems performed. The EDR
is designed to record data related to vehicle dynamics and safety systems for a short period of
time, typically 30 seconds or less. The EDR in this vehicle is designed to record such data as:
• How various systems in your vehicle were operating.
• Whether or not the driver and passenger safety belts were buckled/fastened.
• How far (if at all) the driver was depressing the accelerator and/or brake pedal.
• How fast the vehicle was traveling.
These data can help provide a better understanding of the circumstances in which crashes and
injuries occur.
NOTE:
EDR data is recorded by your vehicle only if a non-trivial crash situation occurs; no data is
recorded by the EDR under normal driving conditions and no personal data (e.g. name, gender,
age, and crash location) is recorded. However, other parties, such as law enforcement, could
combine the EDR data with the type of personally identifying data routinely acquired during a
crash investigation.
To read data recorded by an EDR, special equipment is required, and access to the vehicle or the
EDR is needed. In addition to the vehicle manufacturer, other parties such as law enforcement,
that have the special equipment, can read the information if they have access to the vehicle or the
EDR.
WHAT TO DO IN EMERGENCIES
181