audio CHRYSLER 200 2015 2.G Owner's Manual
[x] Cancel search | Manufacturer: CHRYSLER, Model Year: 2015, Model line: 200, Model: CHRYSLER 200 2015 2.GPages: 220, PDF Size: 3.7 MB
Page 138 of 220
NOTE:
• When connecting your iPod® device for the first time, the system may take several minutes toread your music, depending on the number of files. For example, the system will take
approximately five minutes for every 1000 songs loaded on the device. Also during the
reading process, the Shuffle and Browse functions will be disabled. This process is needed to
ensure the full use of your iPod® features and only happens the first time it is connected. After
the first time, the reading process of your iPod® will take considerably less time unless changes
are made or new songs are added to the playlist.
• The USB port supports certain Mini, Classic, Nano, Touch, and iPhone® devices. The USB port also supports playing music from compatible external USB Mass Storage Class memory
devices. Some iPod® software versions may not fully support the USB port features. Please visit
Apple’s website for iPod® software updates.
Audio Jack (AUX)
The AUX allows a portable device, such as an MP3 player or an iPod®, to be plugged into the
radio and utilize the vehicle’s sound system, using a 3.5 mm audio cable, to amplify the source and
play through the vehicle speakers.
• Pressing the “AUX” button on the touchscreen will change the mode to auxiliary device if the audio jack is connected, allowing the music from your portable device to be heard through the
vehicle's speakers. In order to activate the AUX, plug in the audio jack.
• The functions of the portable device are controlled using the device buttons. The volume may be controlled using the radio or portable device.
• To route the audio cable out of the center console, use the access cut out in the front of the console.
Bluetooth® Streaming Audio
If using a Bluetooth® - equipped device, you may also be able to stream music to your vehicle's
sound system. Your connected device must be Bluetooth-compatible, and paired with your
system (see Uconnect® Phone for pairing instructions).
• You can access the music from your connected Bluetooth® device by pressing the “Bluetooth®” button on the touchscreen while in Media mode.
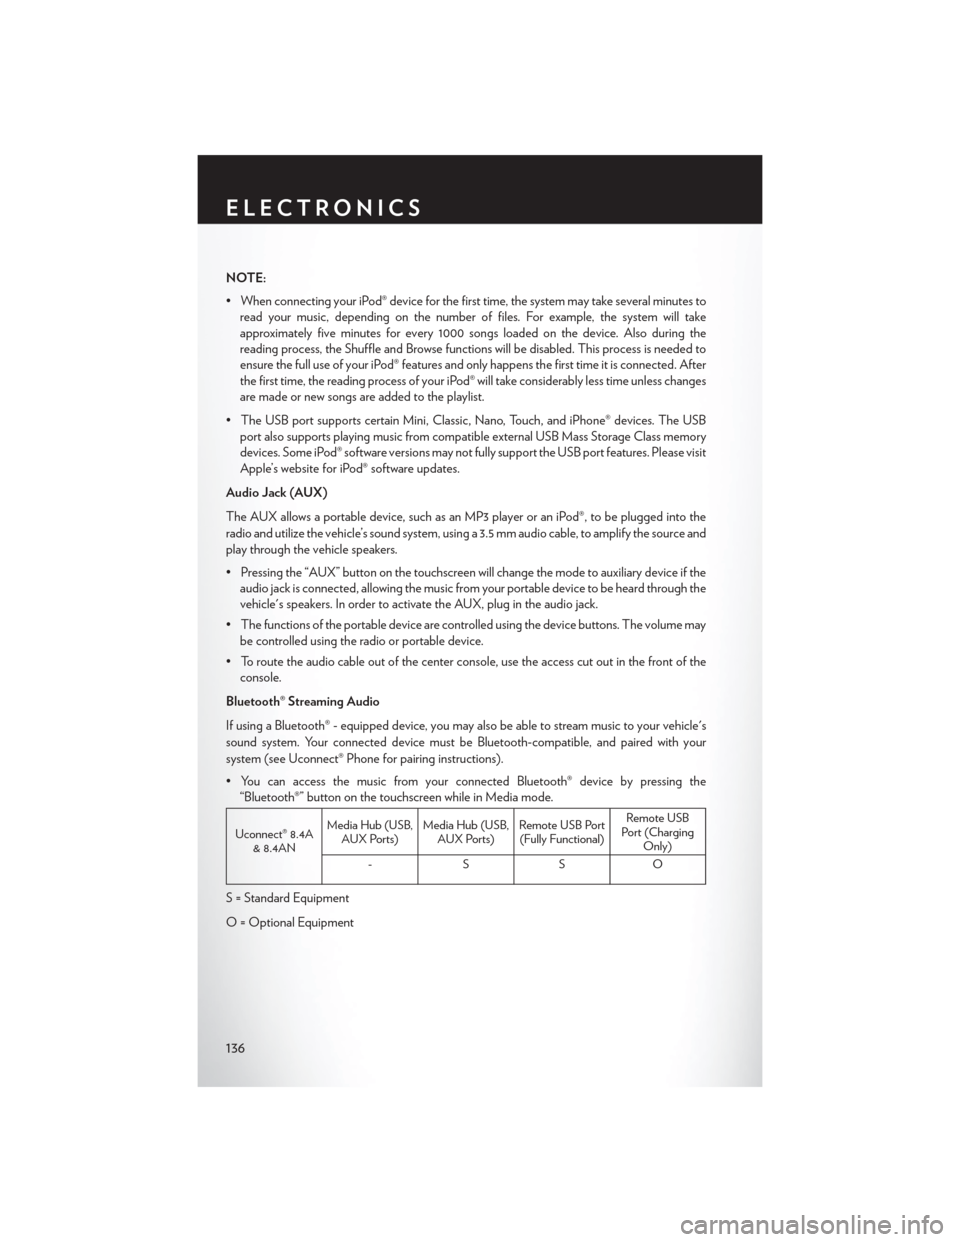
Uconnect® 8.4A & 8.4AN Media Hub (USB,
AUX Ports) Media Hub (USB,
AUX Ports) Remote USB Port
(Fully Functional) Remote USB
Port (Charging Only)
-SSO
S = Standard Equipment
O = Optional Equipment
ELECTRONICS
136
Page 146 of 220
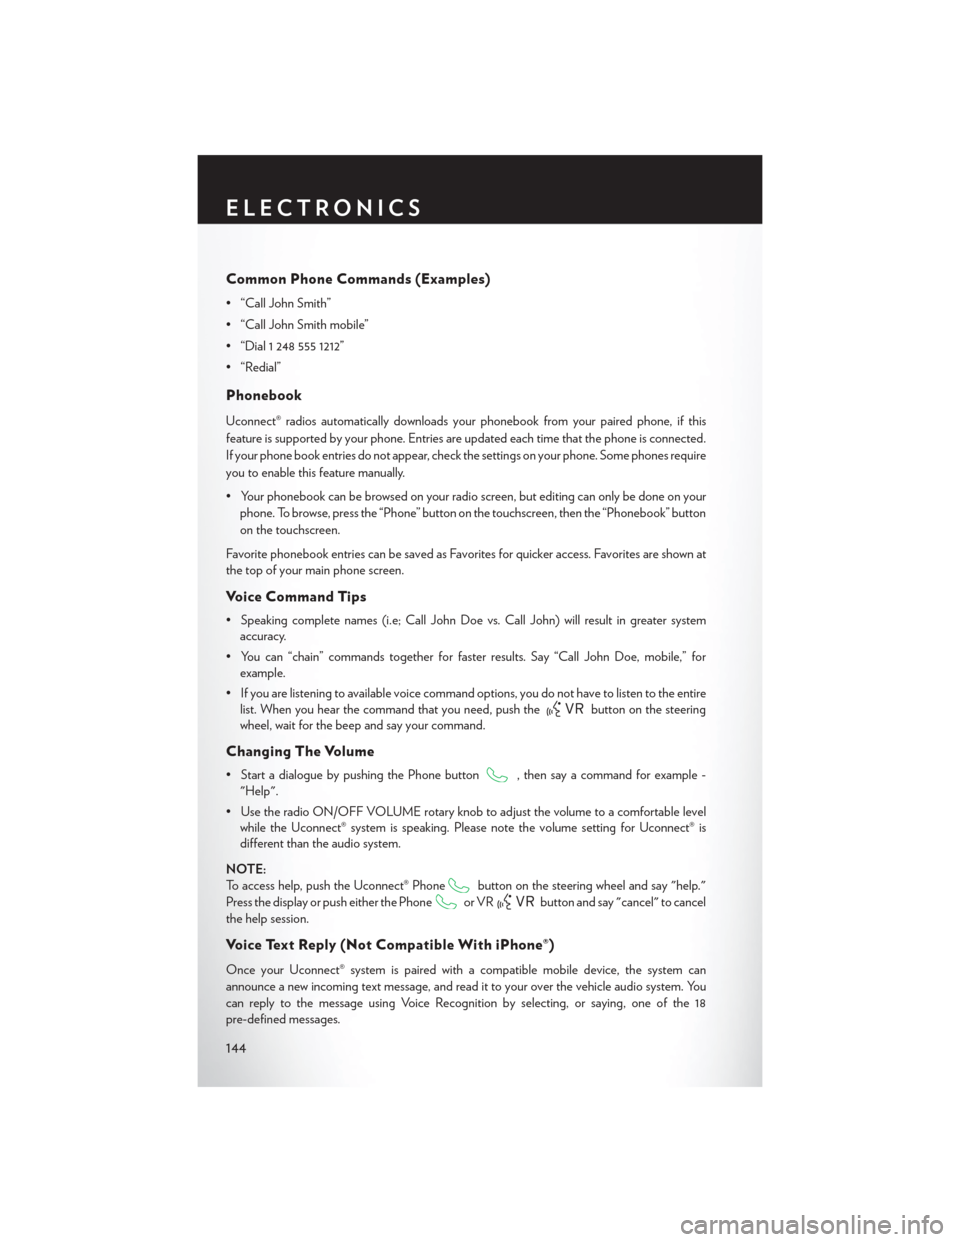
Common Phone Commands (Examples)
• “Call John Smith”
• “Call John Smith mobile”
• “Dial 1 248 555 1212”
• “Redial”
Phonebook
Uconnect® radios automatically downloads your phonebook from your paired phone, if this
feature is supported by your phone. Entries are updated each time that the phone is connected.
If your phone book entries do not appear, check the settings on your phone. Some phones require
you to enable this feature manually.
• Your phonebook can be browsed on your radio screen, but editing can only be done on yourphone. To browse, press the “Phone” button on the touchscreen, then the “Phonebook” button
on the touchscreen.
Favorite phonebook entries can be saved as Favorites for quicker access. Favorites are shown at
the top of your main phone screen.
Voice Command Tips
• Speaking complete names (i.e; Call John Doe vs. Call John) will result in greater system accuracy.
• You can “chain” commands together for faster results. Say “Call John Doe, mobile,” for example.
• If you are listening to available voice command options, you do not have to listen to the entire list. When you hear the command that you need, push the
button on the steering
wheel, wait for the beep and say your command.
Changing The Volume
• Start a dialogue by pushing the Phone button, then say a command for example -
"Help".
• Use the radio ON/OFF VOLUME rotary knob to adjust the volume to a comfortable level while the Uconnect® system is speaking. Please note the volume setting for Uconnect® is
different than the audio system.
NOTE:
To access help, push the Uconnect® Phone
button on the steering wheel and say "help."
Press the display or push either the Phone
or VRbutton and say "cancel" to cancel
the help session.
Voice Text Reply (Not Compatible With iPhone®)
Once your Uconnect® system is paired with a compatible mobile device, the system can
announce a new incoming text message, and read it to your over the vehicle audio system. You
can reply to the message using Voice Recognition by selecting, or saying, one of the 18
pre-defined messages.
ELECTRONICS
144
Page 147 of 220
•Here’s How: Push the Uconnect® Phone buttonand wait for the beep, then say “reply.”
Uconnect® will give the following prompt: “ Please say the message you would like to send.”
Wait for the beep and say one of the pre-defined messages. (If you are not sure, you can say
“help”). Uconnect® will then read the pre-defined messages allowed. As soon as you hear the
message you would like to send, you can interrupt the list of prompts by pushing the
Uconnect® phone button and saying the phrase. Uconnect® will confirm the message by
reading it back to you. Push the Phone button and say “Send.”
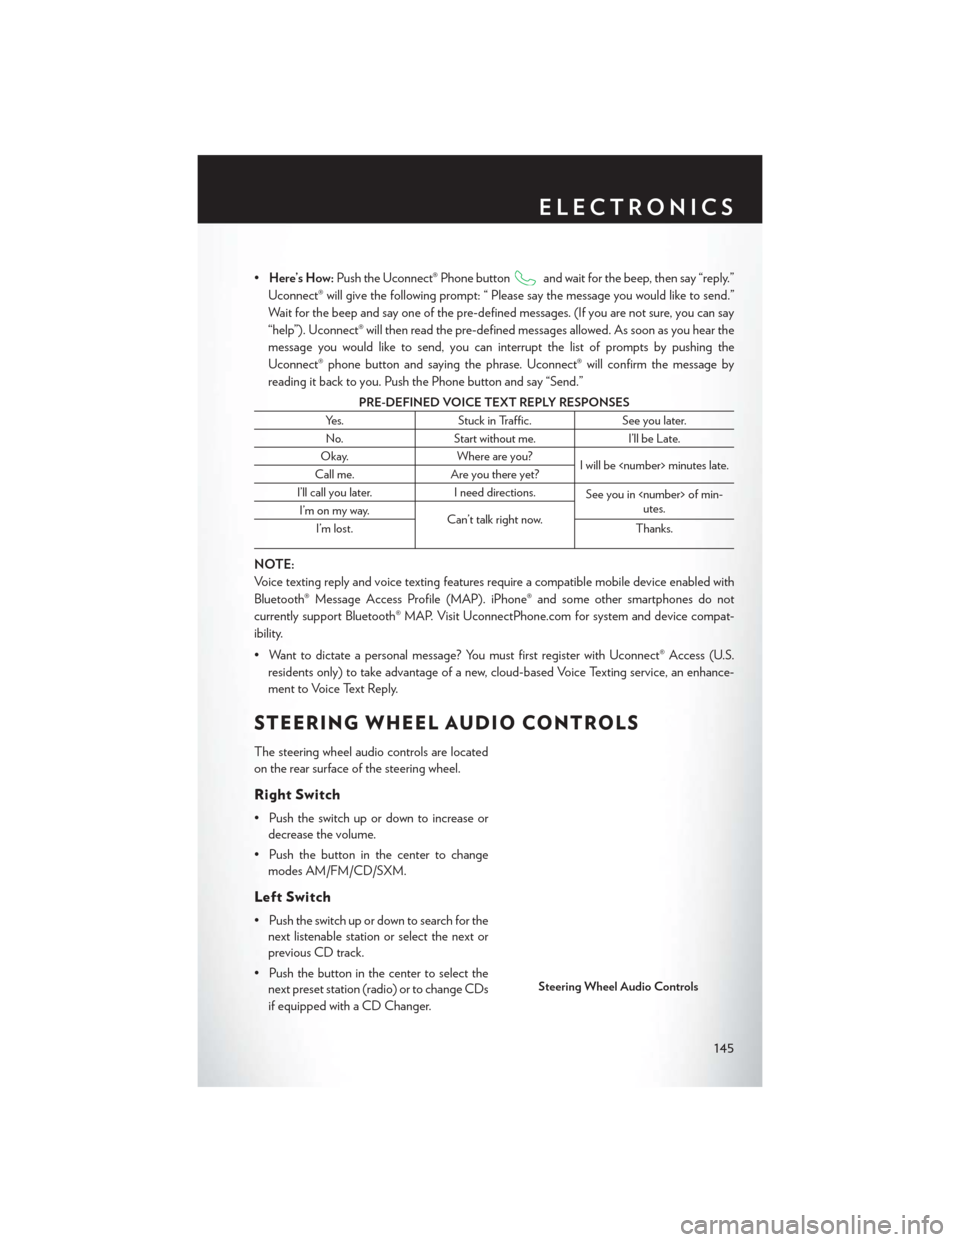
PRE-DEFINED VOICE TEXT REPLY RESPONSES
Yes. Stuck in Traffic. See you later.
No. Start without me. I’ll be Late.
Okay. Where are you?
I will be
Call me. Are you there yet?
I’ll call you later. I need directions.
See you in
utes.
I’m on my way.
Can’t talk right now.
I’m lost. Thanks.
NOTE:
Voice texting reply and voice texting features require a compatible mobile device enabled with
Bluetooth® Message Access Profile (MAP). iPhone® and some other smartphones do not
currently support Bluetooth® MAP. Visit UconnectPhone.com for system and device compat-
ibility.
• Want to dictate a personal message? You must first register with Uconnect® Access (U.S.
residents only) to take advantage of a new, cloud-based Voice Texting service, an enhance-
ment to Voice Text Reply.
STEERING WHEEL AUDIO CONTROLS
The steering wheel audio controls are located
on the rear surface of the steering wheel.
Right Switch
• Push the switch up or down to increase ordecrease the volume.
• Push the button in the center to change modes AM/FM/CD/SXM.
Left Switch
• Push the switch up or down to search for thenext listenable station or select the next or
previous CD track.
• Push the button in the center to select the next preset station (radio) or to change CDs
if equipped with a CD Changer.
Steering Wheel Audio Controls
ELECTRONICS
145
Page 148 of 220
ELECTRONIC VEHICLE INFORMATION
CENTER (EVIC) AND DRIVER INFORMATION
DISPLAY (DID)
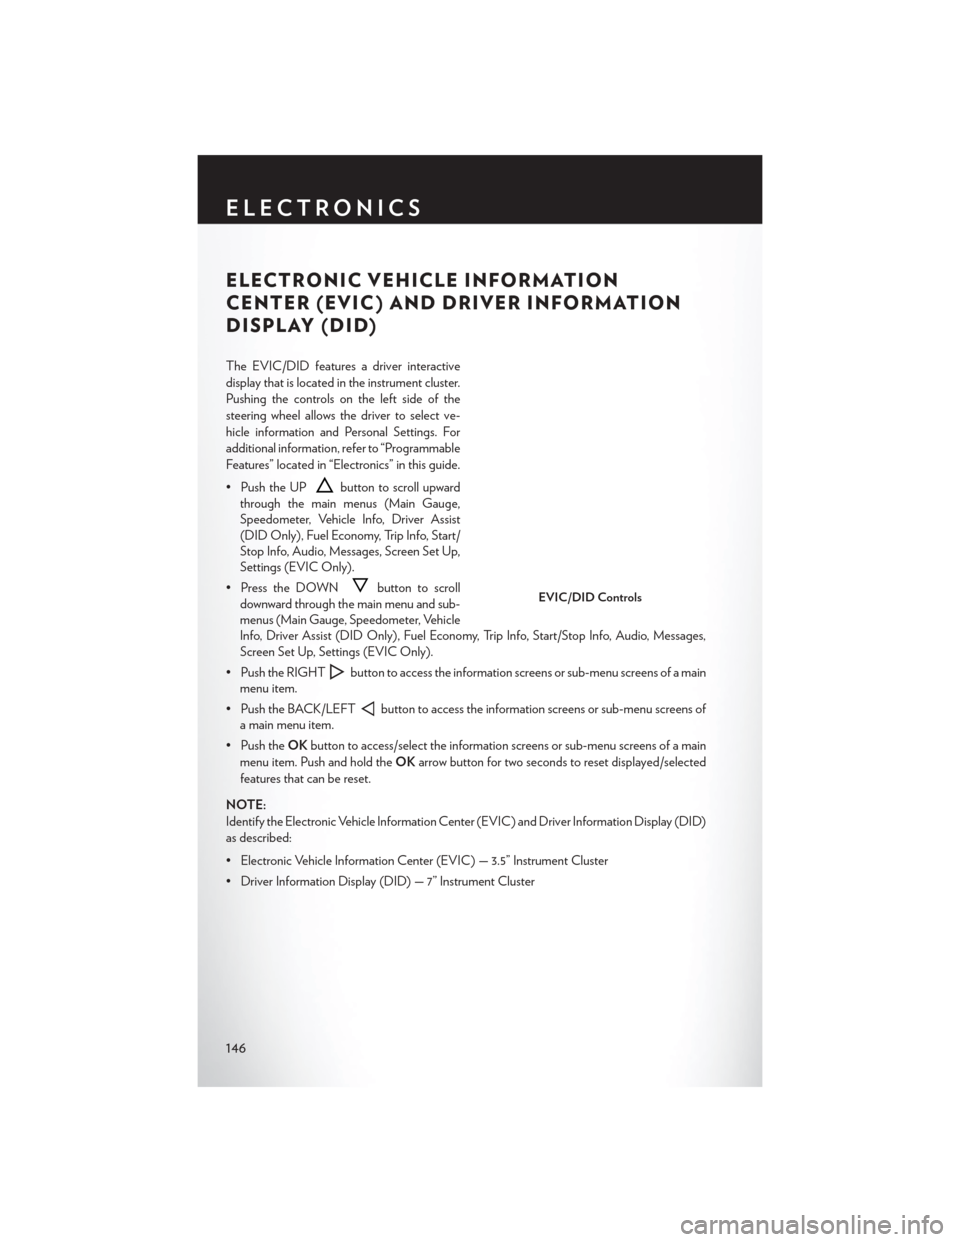
The EVIC/DID features a driver interactive
display that is located in the instrument cluster.
Pushing the controls on the left side of the
steering wheel allows the driver to select ve-
hicle information and Personal Settings. For
additional information, refer to “Programmable
Features” located in “Electronics” in this guide.
• Push the UP
button to scroll upward
through the main menus (Main Gauge,
Speedometer, Vehicle Info, Driver Assist
(DID Only), Fuel Economy, Trip Info, Start/
Stop Info, Audio, Messages, Screen Set Up,
Settings (EVIC Only).
• Press the DOWN
button to scroll
downward through the main menu and sub-
menus (Main Gauge, Speedometer, Vehicle
Info, Driver Assist (DID Only), Fuel Economy, Trip Info, Start/Stop Info, Audio, Messages,
Screen Set Up, Settings (EVIC Only).
• Push the RIGHT
button to access the information screens or sub-menu screens of a main
menu item.
• Push the BACK/LEFT
button to access the information screens or sub-menu screens of
a main menu item.
• Push the OKbutton to access/select the information screens or sub-menu screens of a main
menu item. Push and hold the OKarrow button for two seconds to reset displayed/selected
features that can be reset.
NOTE:
Identify the Electronic Vehicle Information Center (EVIC) and Driver Information Display (DID)
as described:
• Electronic Vehicle Information Center (EVIC) — 3.5” Instrument Cluster
• Driver Information Display (DID) — 7” Instrument Cluster
EVIC/DID Controls
ELECTRONICS
146
Page 149 of 220
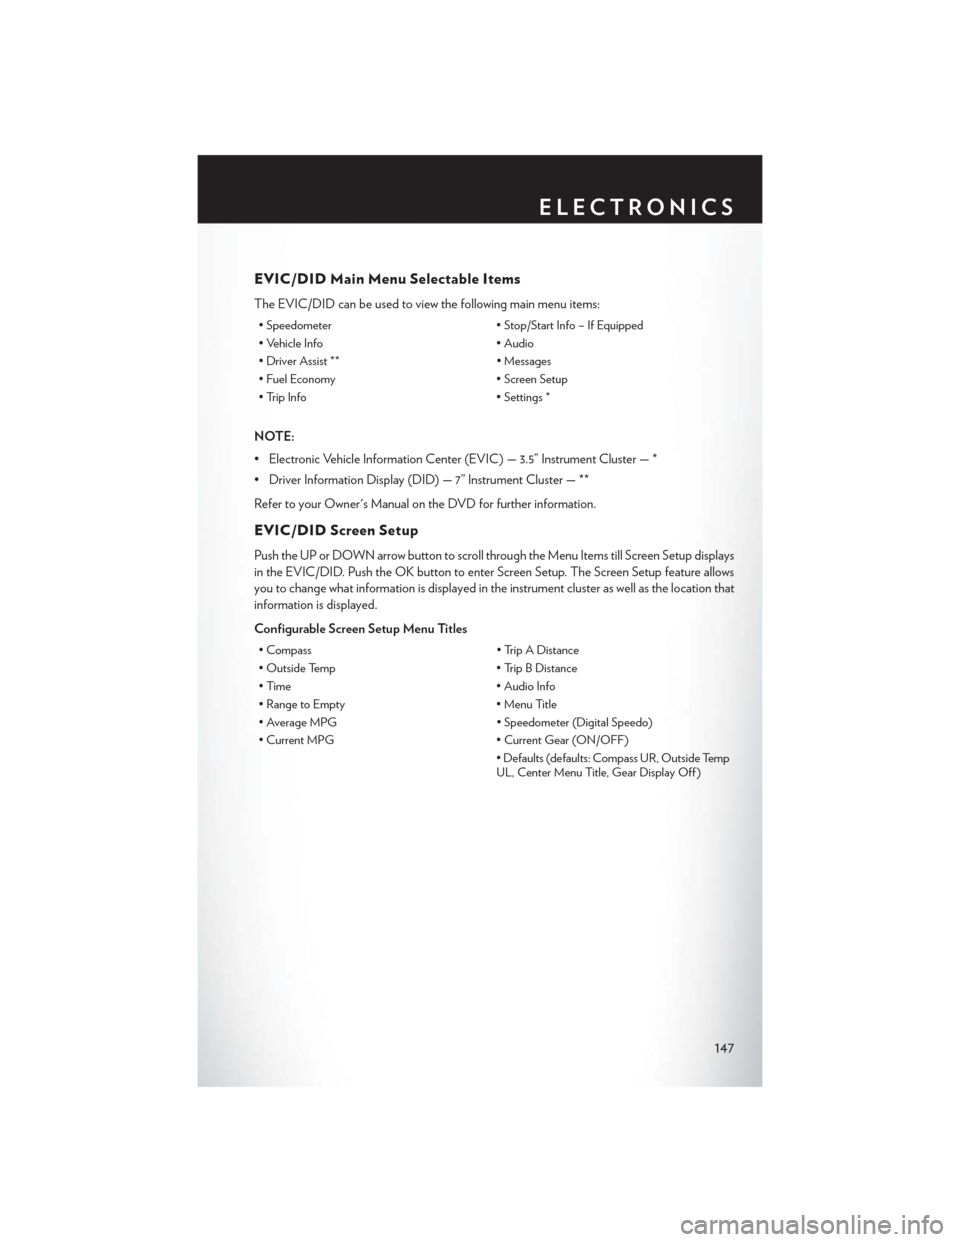
EVIC/DID Main Menu Selectable Items
The EVIC/DID can be used to view the following main menu items:
• Speedometer• Stop/Start Info – If Equipped
• Vehicle Info • Audio
• Driver Assist ** • Messages
• Fuel Economy • Screen Setup
• Trip Info • Settings *
NOTE:
• Electronic Vehicle Information Center (EVIC) — 3.5” Instrument Cluster — *
• Driver Information Display (DID) — 7” Instrument Cluster — **
Refer to your Owner's Manual on the DVD for further information.
EVIC/DID Screen Setup
Push the UP or DOWN arrow button to scroll through the Menu Items till Screen Setup displays
in the EVIC/DID. Push the OK button to enter Screen Setup. The Screen Setup feature allows
you to change what information is displayed in the instrument cluster as well as the location that
information is displayed.
Configurable Screen Setup Menu Titles
• Compass • Trip A Distance
• Outside Temp • Trip B Distance
• Time • Audio Info
• Range to Empty • Menu Title
• Average MPG • Speedometer (Digital Speedo)
• Current MPG • Current Gear (ON/OFF)
• Defaults (defaults: Compass UR, Outside Temp
UL, Center Menu Title, Gear Display Off )
ELECTRONICS
147
Page 150 of 220
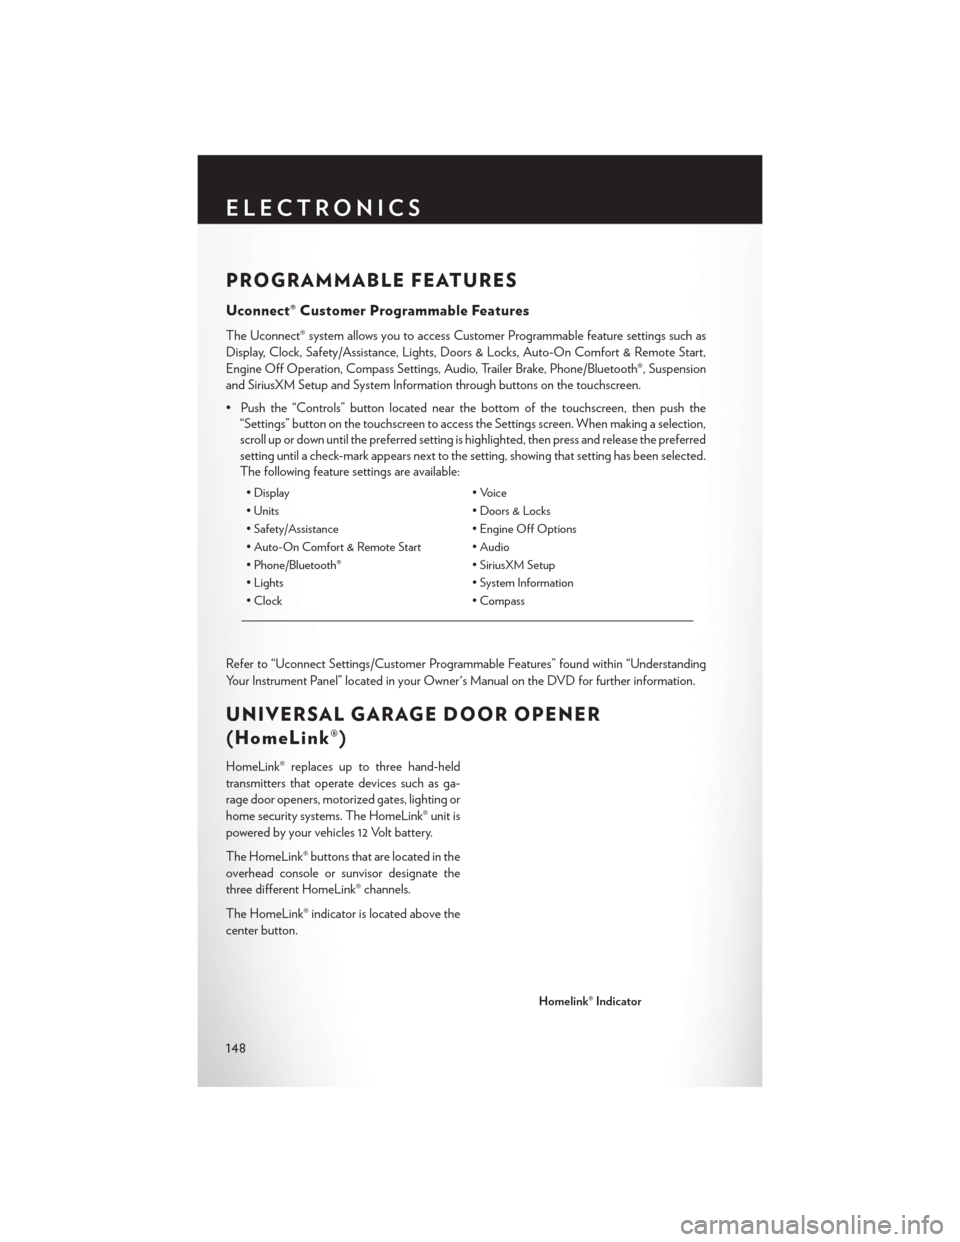
PROGRAMMABLE FEATURES
Uconnect® Customer Programmable Features
The Uconnect® system allows you to access Customer Programmable feature settings such as
Display, Clock, Safety/Assistance, Lights, Doors & Locks, Auto-On Comfort & Remote Start,
Engine Off Operation, Compass Settings, Audio, Trailer Brake, Phone/Bluetooth®, Suspension
and SiriusXM Setup and System Information through buttons on the touchscreen.
• Push the “Controls” button located near the bottom of the touchscreen, then push the“Settings” button on the touchscreen to access the Settings screen. When making a selection,
scroll up or down until the preferred setting is highlighted, then press and release the preferred
setting until a check-mark appears next to the setting, showing that setting has been selected.
The following feature settings are available:
• Display • Voice
• Units • Doors & Locks
• Safety/Assistance • Engine Off Options
• Auto-On Comfort & Remote Start • Audio
• Phone/Bluetooth® • SiriusXM Setup
• Lights • System Information
• Clock • Compass
Refer to “Uconnect Settings/Customer Programmable Features” found within “Understanding
Your Instrument Panel” located in your Owner's Manual on the DVD for further information.
UNIVERSAL GARAGE DOOR OPENER
(HomeLink®)
HomeLink® replaces up to three hand-held
transmitters that operate devices such as ga-
rage door openers, motorized gates, lighting or
home security systems. The HomeLink® unit is
powered by your vehicles 12 Volt battery.
The HomeLink® buttons that are located in the
overhead console or sunvisor designate the
three different HomeLink® channels.
The HomeLink® indicator is located above the
center button.
Homelink® Indicator
ELECTRONICS
148
Page 199 of 220
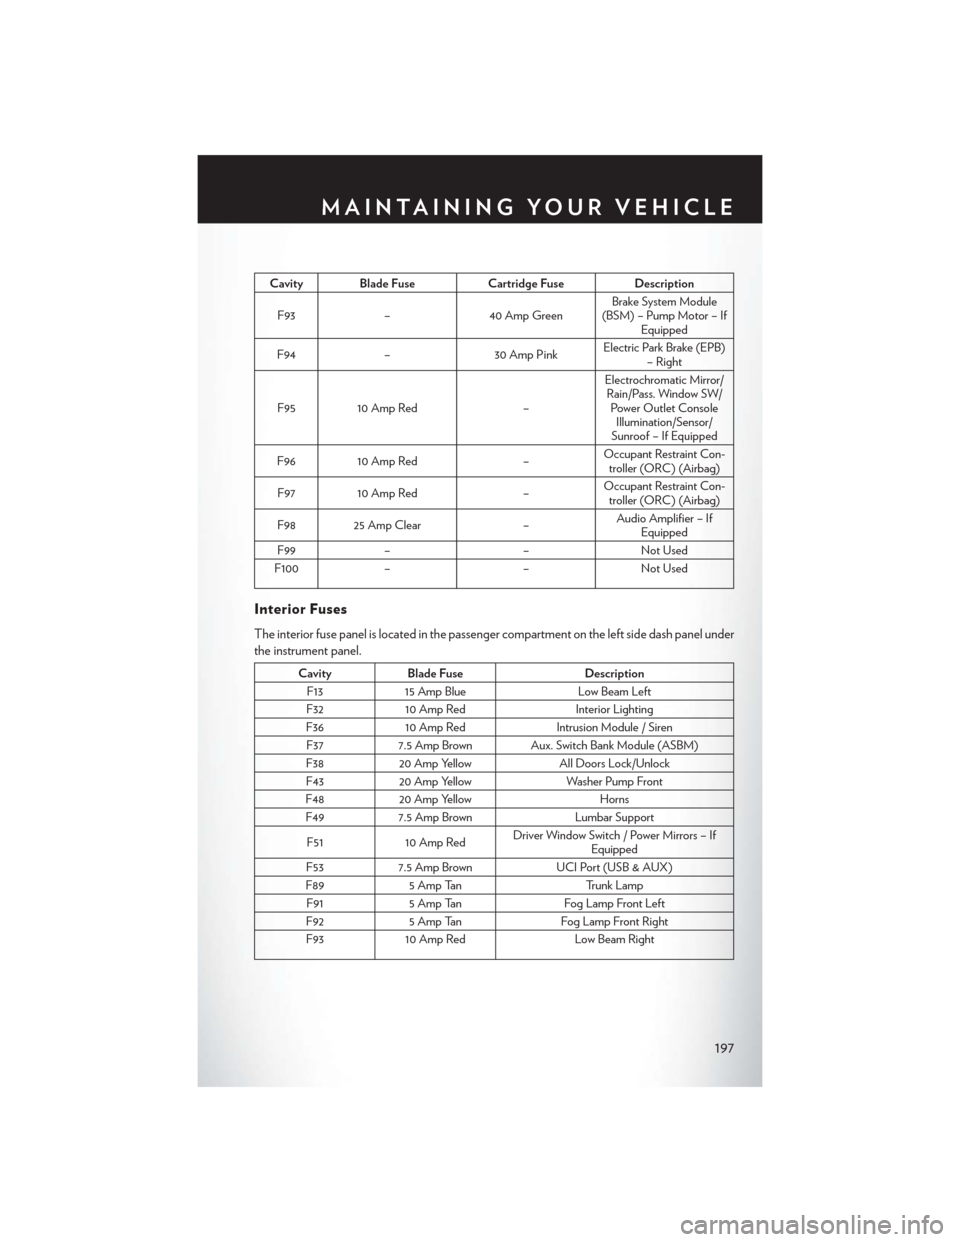
Cavity Blade FuseCartridge FuseDescription
F93 –40 Amp Green Brake System Module
(BSM) – Pump Motor – If Equipped
F94 – 30 Amp PinkElectric Park Brake (EPB)
– Right
F95 10 Amp Red –Electrochromatic Mirror/
Rain/Pass. Window SW/ Power Outlet Console Illumination/Sensor/
Sunroof – If Equipped
F96 10 Amp Red –Occupant Restraint Con-
troller (ORC) (Airbag)
F97 10 Amp Red –Occupant Restraint Con-
troller (ORC) (Airbag)
F98 25 Amp Clear –Audio Amplifier – If
Equipped
F99 – –Not Used
F100 – –Not Used
Interior Fuses
The interior fuse panel is located in the passenger compartment on the left side dash panel under
the instrument panel.
CavityBlade Fuse Description
F13 15 Amp Blue Low Beam Left
F32 10 Amp Red Interior Lighting
F36 10 Amp Red Intrusion Module / Siren
F37 7.5 Amp Brown Aux. Switch Bank Module (ASBM)
F38 20 Amp Yellow All Doors Lock/Unlock
F43 20 Amp Yellow Washer Pump Front
F48 20 Amp Yellow Horns
F49 7.5 Amp Brown Lumbar Support
F51 10 Amp Red Driver Window Switch / Power Mirrors – If
Equipped
F53 7.5 Amp Brown UCI Port (USB & AUX)
F89 5 Amp Tan Trunk Lamp
F91 5 Amp Tan Fog Lamp Front Left
F92 5 Amp Tan Fog Lamp Front Right
F93 10 Amp Red Low Beam Right
MAINTAINING YOUR VEHICLE
197
Page 207 of 220
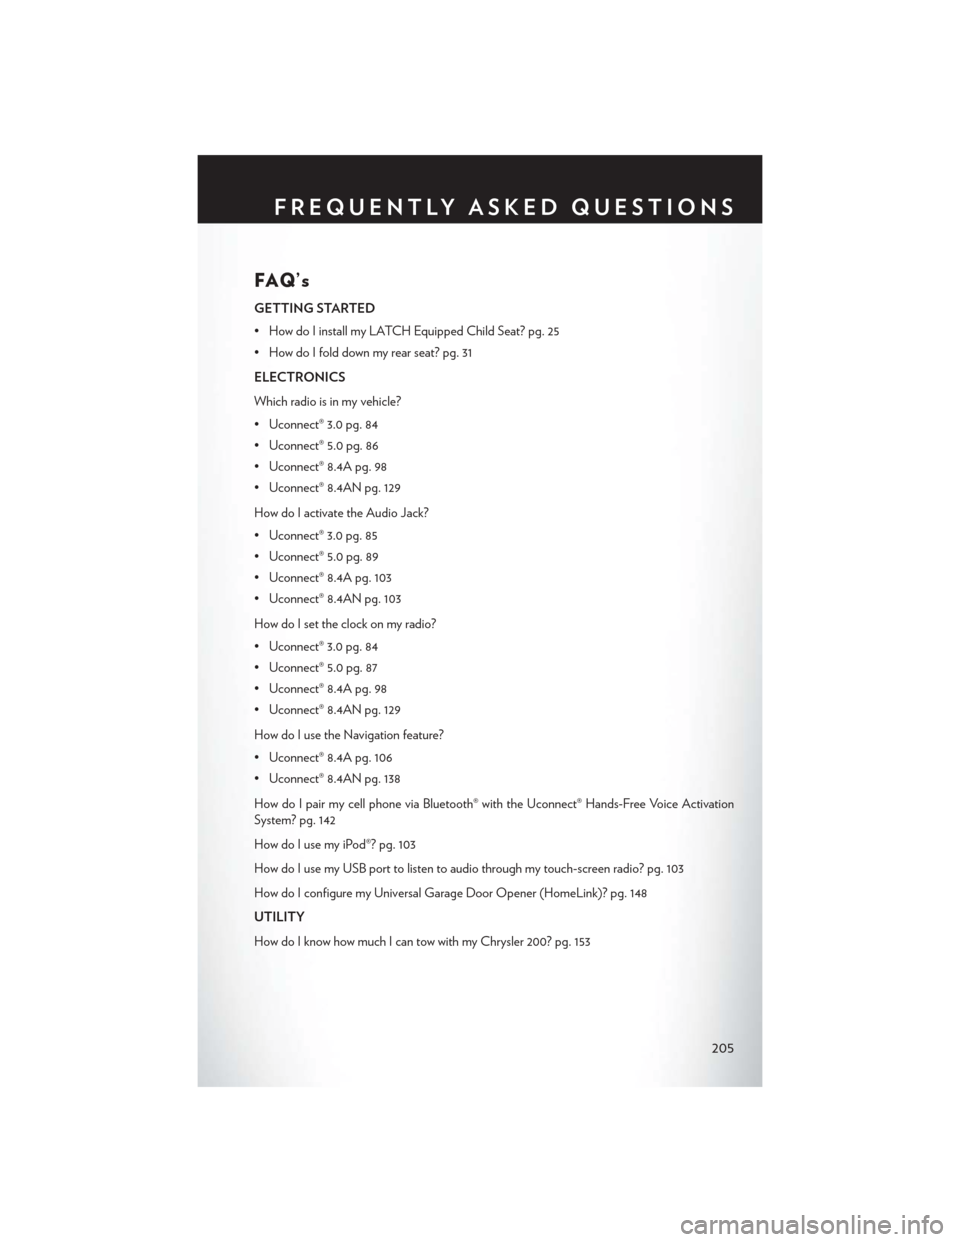
FAQ’s
GETTING STARTED
• How do I install my LATCH Equipped Child Seat? pg. 25
• How do I fold down my rear seat? pg. 31
ELECTRONICS
Which radio is in my vehicle?
• Uconnect® 3.0 pg. 84
• Uconnect® 5.0 pg. 86
• Uconnect® 8.4A pg. 98
• Uconnect® 8.4AN pg. 129
How do I activate the Audio Jack?
• Uconnect® 3.0 pg. 85
• Uconnect® 5.0 pg. 89
• Uconnect® 8.4A pg. 103
• Uconnect® 8.4AN pg. 103
How do I set the clock on my radio?
• Uconnect® 3.0 pg. 84
• Uconnect® 5.0 pg. 87
• Uconnect® 8.4A pg. 98
• Uconnect® 8.4AN pg. 129
How do I use the Navigation feature?
• Uconnect® 8.4A pg. 106
• Uconnect® 8.4AN pg. 138
How do I pair my cell phone via Bluetooth® with the Uconnect® Hands-Free Voice Activation
System? pg. 142
How do I use my iPod®? pg. 103
How do I use my USB port to listen to audio through my touch-screen radio? pg. 103
How do I configure my Universal Garage Door Opener (HomeLink)? pg. 148
UTILITY
How do I know how much I can tow with my Chrysler 200? pg. 153
FREQUENTLY ASKED QUESTIONS
205
Page 211 of 220
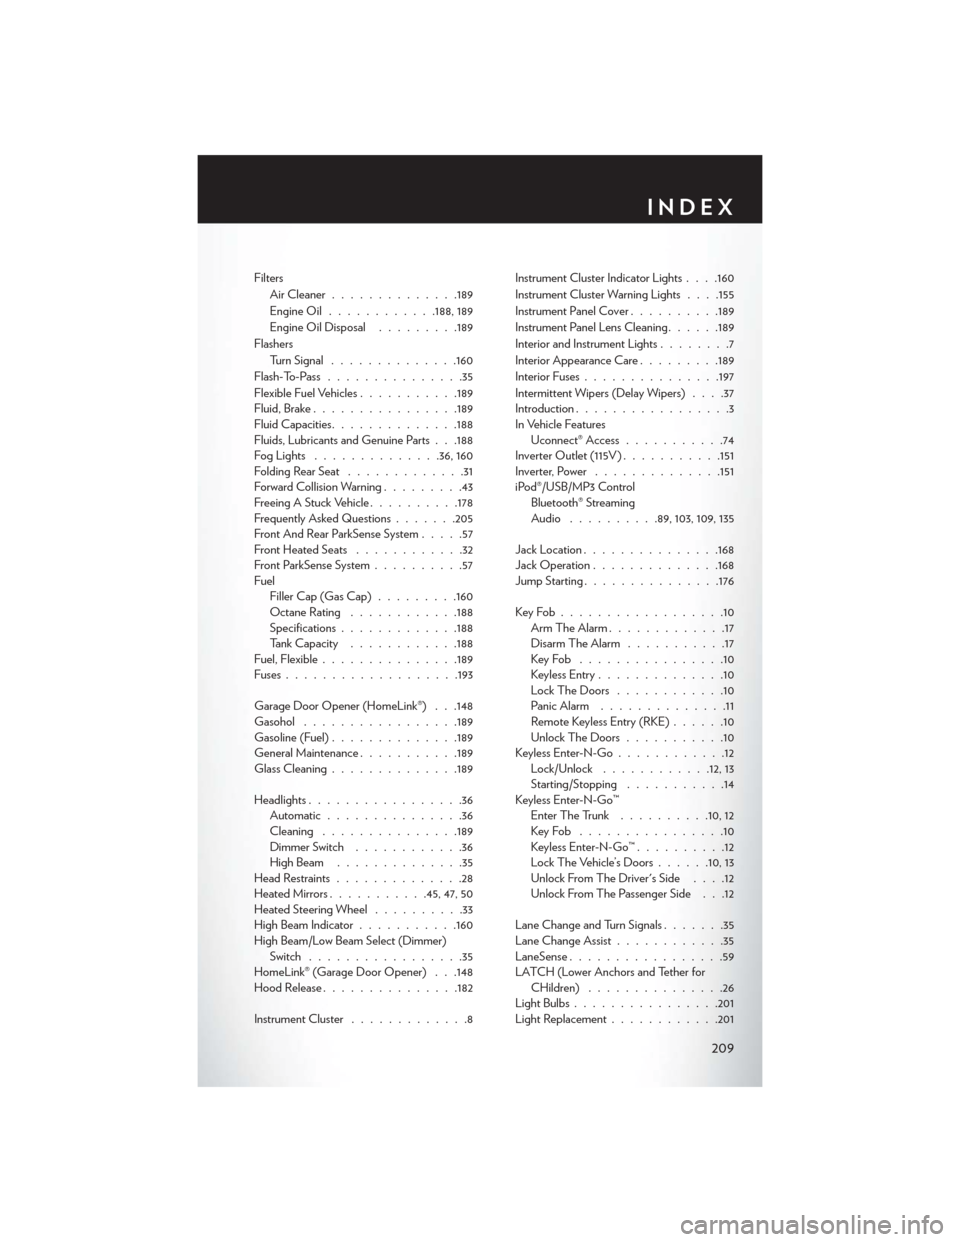
FiltersAir Cleaner ............. .189
Engine Oil ............188, 189
Engine Oil Disposal .........189
Flashers Turn Signal ............. .160
Flash-To-Pass ...............35
Flexible Fuel Vehicles ...........189
Fluid, Brake ............... .189
Fluid Capacities ............. .188
Fluids, Lubricants and Genuine Parts . . .188
FogLights ..............36, 160
Folding Rear Seat .............31
Forward Collision Warning .........43
Freeing A Stuck Vehicle ..........178
Frequently Asked Questions .......205
Front And Rear ParkSense System .....57
Front Heated Seats ............32
Front ParkSense System ..........57
Fuel Filler Cap (Gas Cap) .........160
Octane Rating ............188
Specifications ............ .188
Tank Capacity ............188
Fuel, Flexible .............. .189
Fuses .................. .193
Garage Door Opener (HomeLink®) . . .148
Gasohol ................ .189
Gasoline (Fuel) ............. .189
General Maintenance ...........189
Glass Cleaning ............. .189
Headlights .................36
Automatic ...............36
Cleaning .............. .189
Dimmer Switch ............36
HighBeam ..............35
Head Restraints ..............28
Heated Mirrors ...........45, 47, 50
Heated Steering Wheel ..........33
High Beam Indicator ...........160
High Beam/Low Beam Select (Dimmer) Switch .................35
HomeLink® (Garage Door Opener) . . .148
Hood Release .............. .182
Instrument Cluster .............8 Instrument Cluster Indicator Lights .
. . .160
Instrument Cluster Warning Lights . . . .155
Instrument Panel Cover ..........189
Instrument Panel Lens Cleaning ......189
Interior and Instrument Lights ........7
Interior Appearance Care .........189
Interior Fuses .............. .197
Intermittent Wipers (Delay Wipers) ....37
Introduction .................3
In Vehicle Features Uconnect® Access ...........74
Inverter Outlet (115V) ...........151
Inverter, Power ............. .151
iPod®/USB/MP3 Control Bluetooth® Streaming
Audio ..........89, 103, 109, 135
Jack Location .............. .168
Jack Operation ............. .168
Jump Starting .............. .176
KeyFob..................10 Arm The Alarm .............17
Disarm The Alarm ...........17
KeyFob ................10
Keyless Entry ..............10
LockTheDoors ............10
Panic Alarm ..............11
Remote Keyless Entry (RKE) ......10
UnlockTheDoors...........10
Keyless Enter-N-Go ............12
Lock/Unlock ............12, 13
Starting/Stopping ...........14
Keyless Enter-N-Go™ Enter The Trunk ..........10,12
KeyFob ................10
Keyless Enter-N-Go™ ..........12
Lock The Vehicle’s Doors ......10,13
Unlock From The Driver's Side ....12
Unlock From The Passenger Side . . .12
Lane Change and Turn Signals .......35
Lane Change Assist ............35
LaneSense .................59
LATCH (Lower Anchors and Tether for CHildren) ...............26
Light Bulbs ............... .201
Light Replacement ............201
INDEX
209
Page 213 of 220
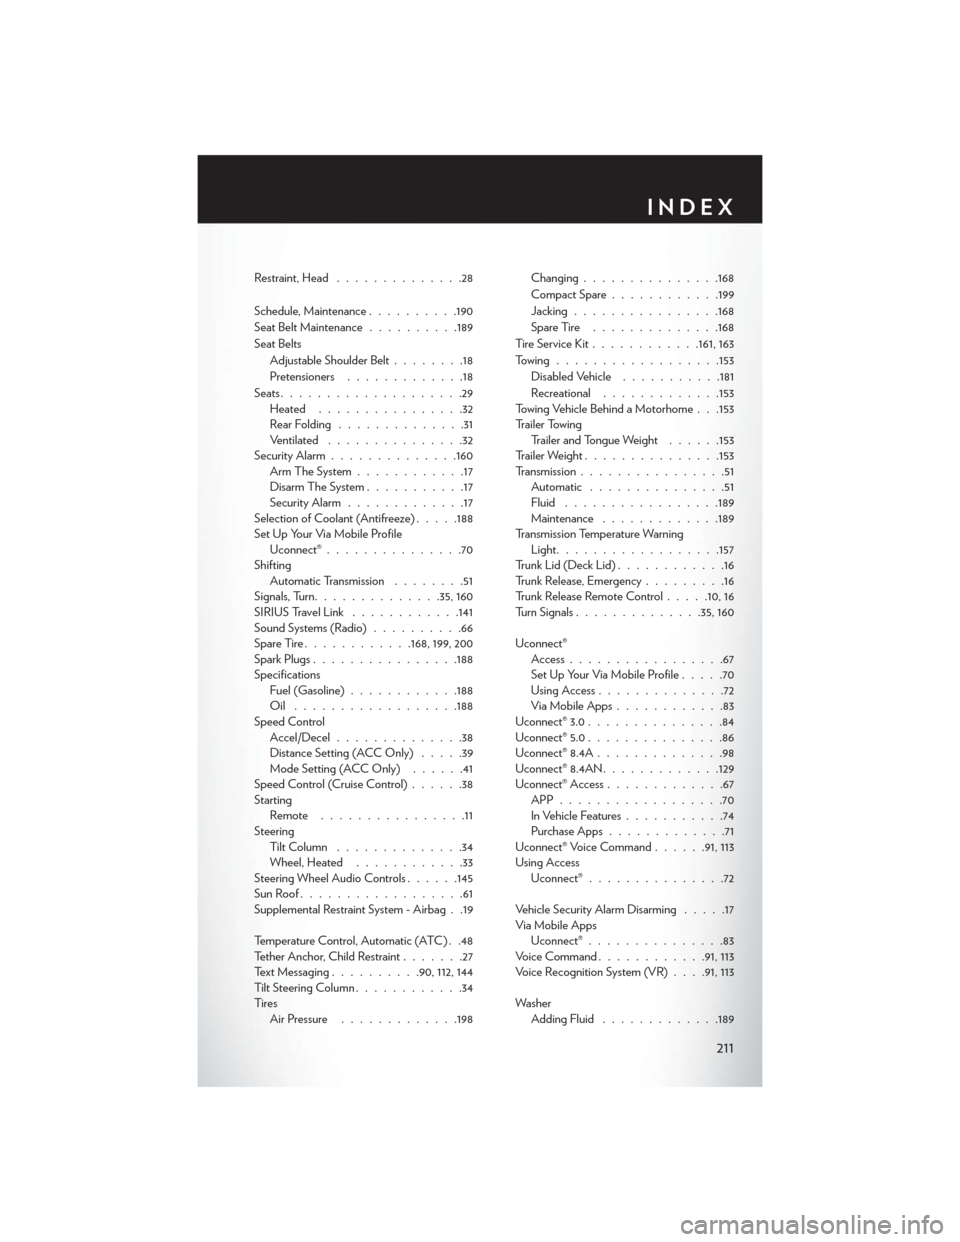
Restraint, Head..............28
Schedule, Maintenance ..........190
Seat Belt Maintenance ..........189
Seat Belts Adjustable Shoulder Belt ........18
Pretensioners .............18
Seats ....................29
Heated ................32
RearFolding ..............31
Ventilated ...............32
Security Alarm ............. .160
Arm The System ............17
Disarm The System ...........17
Security Alarm .............17
Selection of Coolant (Antifreeze) .....188
Set Up Your Via Mobile Profile Uconnect® ...............70
Shifting Automatic Transmission ........51
Signals, Turn ............. .35, 160
SIRIUS Travel Link ............141
Sound Systems (Radio) ..........66
SpareTire............168, 199, 200
SparkPlugs............... .188
Specifications Fuel (Gasoline) ............188
Oil ................. .188
Speed Control Accel/Decel ..............38
Distance Setting (ACC Only) .....39
Mode Setting (ACC Only) ......41
Speed Control (Cruise Control) ......38
Starting Remote ................11
Steering Tilt Column ..............34
Wheel, Heated ............33
Steering Wheel Audio Controls ......145
SunRoof..................61
Supplemental Restraint System - Airbag . .19
Temperature Control, Automatic (ATC) . .48
Tether Anchor, Child Restraint .......27
Text Messaging ..........90, 112, 144
Tilt Steering Column ............34
Ti re s Air Pressure .............198 Changing
.............. .168
CompactSpare............199
Jacking ............... .168
SpareTire ..............168
Tire Service Kit ............161, 163
Towing................. .153
D
isabled Vehicle ...........181
Recreational .............153
Towing Vehicle Behind a Motorhome . . .153
Trailer Towing Trailer and Tongue Weight ......153
Trailer Weight .............. .153
Transmission ................51
Automatic ...............51
Fluid ................ .189
Maintenance .............189
Transmission Temperature Warning Light ................. .157
Trunk Lid (Deck Lid) ............16
Trunk Release, Emergency .........16
Trunk Release Remote Control .....10,16
Turn Signals ............. .35, 160
Uconnect® Access .................67
Set Up Your Via Mobile Profile .....70
Using Access ..............72
Via Mobile Apps ............83
Uconnect® 3.0 ...............84
Uconnect® 5.0 ...............86
Uconnect® 8.4A ..............98
Uconnect® 8.4AN ............ .129
Uconnect® Access .............67
APP..................70
In Vehicle Features ...........74
Purchase Apps .............71
Uconnect® Voice Command ......91, 113
Using Access Uconnect® ...............72
Vehicle Security Alarm Disarming .....17
Via Mobile Apps Uconnect® ...............83
VoiceCommand........... .91, 113
Voice Recognition System (VR) . . . .91, 113
Washer Adding Fluid .............189
INDEX
211