brake fluid CHRYSLER 200 2015 2.G User Guide
[x] Cancel search | Manufacturer: CHRYSLER, Model Year: 2015, Model line: 200, Model: CHRYSLER 200 2015 2.GPages: 220, PDF Size: 3.7 MB
Page 3 of 220
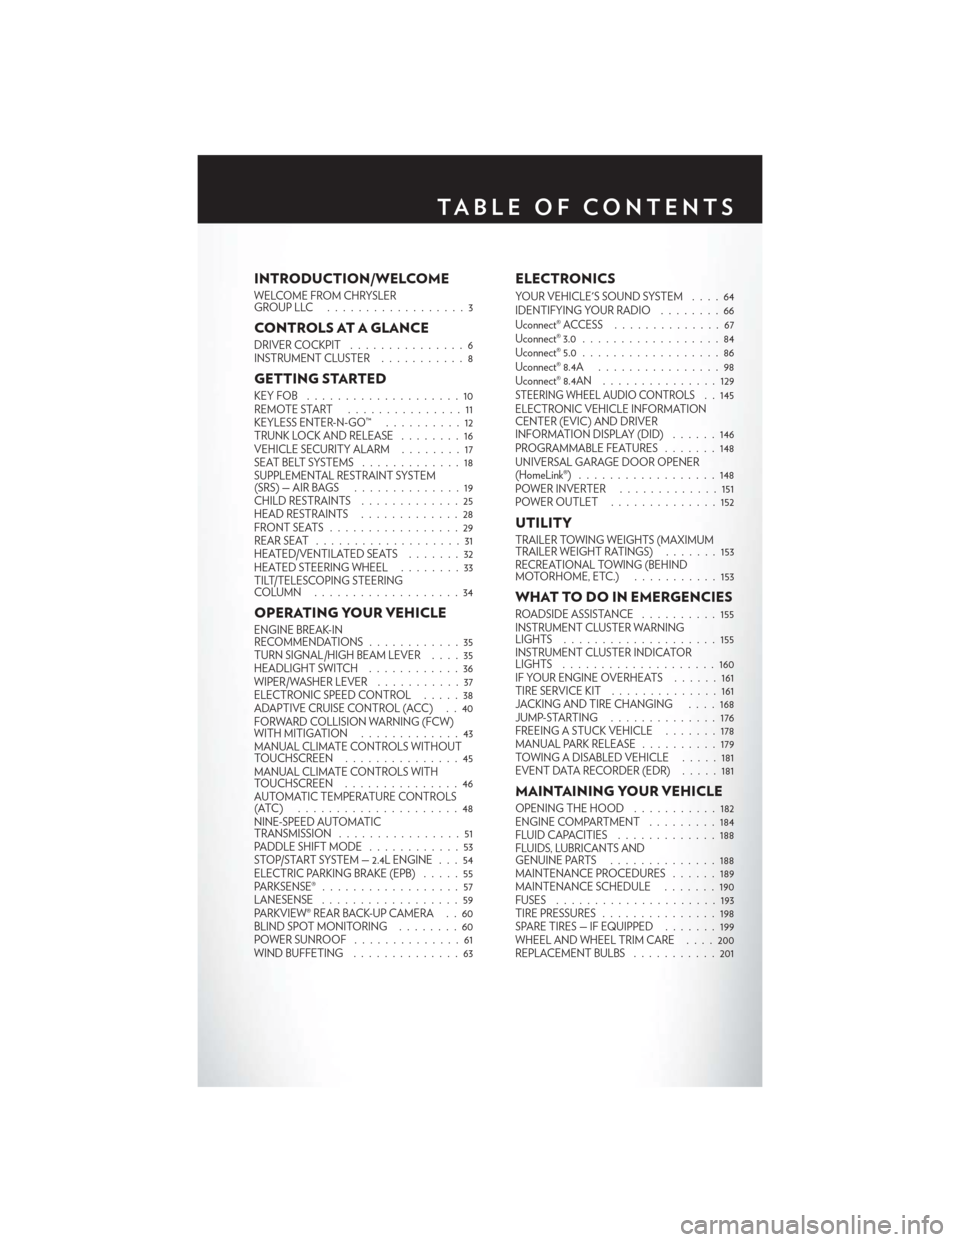
INTRODUCTION/WELCOME
WELCOME FROM CHRYSLER
GROUPLLC ..................3
CONTROLS AT A GLANCE
DRIVER COCKPIT...............6
INSTRUMENT CLUSTER ...........8
GETTING STARTED
KEYFOB ....................10
REMOTE START...............11
KEYLESS ENTER-N-GO™ ..........12
TRUNK LOCK AND RELEASE ........16
VEHICLE SECURITY ALARM ........17
SEAT BELT SYSTEMS .............18
SUPPLEMENTAL RESTRAINT SYSTEM
(SRS)—AIRBAGS ..............19
CHILD RESTRAINTS .............25
HEAD RESTRAINTS .............28
FRONTSEATS .................29
REAR SEAT ...................31
HEATED/VENTILATED SEATS .......32
HEATED STEERING WHEEL ........33
TILT/TELESCOPING STEERING
COLUMN ...................34
OPERATING YOUR VEHICLE
ENGINE BREAK-IN
RECOMMENDATIONS ............35
TURN SIGNAL/HIGH BEAM LEVER ....35
HEADLIGHT SWITCH ............36
WIPER/WASHER LEVER ...........37
ELECTRONIC SPEED CONTROL .....38
ADAPTIVE CRUISE CONTROL (ACC) . . 40
FORWARD COLLISION WARNING (FCW)
WITHMITIGATION .............43
MANUAL CLIMATE CONTROLS WITHOUT
TOUCHSCREEN ...............45
MANUAL CLIMATE CONTROLS WITH
TOUCHSCREEN ...............46
AUTOMATIC TEMPERATURE CONTROLS
(ATC) .....................48
NINE-SPEED AUTOMATIC
TRANSMISSION ................51
PADDLE SHIFT MODE ............53
STOP/START SYSTEM — 2.4L ENGINE . . . 54
ELECTRIC PARKING BRAKE (EPB) .....55
PARKSENSE® ..................57
LANESENSE . .................59
PARKVIEW® REAR BACK-UP CAMERA . . 60
BLIND SPOT MONITORING ........60
POWER SUNROOF ..............61
WIND BUFFETING . . ............63
ELECTRONICS
YOUR VEHICLE'S SOUND SYSTEM . . . . 64
IDENTIFYING YOUR RADIO ........66
Uconnect® ACCESS . . . ...........67
Uconnect® 3.0 . . ................84
Uconnect® 5.0 ..................86
Uconnect® 8.4A ................98
Uconnect® 8.4AN . . .............129
STEERING WHEEL AUDIO CONTROLS. . 145
ELECTRONIC VEHICLE INFORMATION
CENTER (EVIC) AND DRIVER
INFORMATION DISPLAY (DID) ......146
PROGRAMMABLE FEATURES .......148
UNIVERSAL GARAGE DOOR OPENER
(HomeLink®) ..................148
POWER INVERTER .............151
POWER OUTLET ..............152
UTILITY
TRAILER TOWING WEIGHTS (MAXIMUM
TRAILER WEIGHT RATINGS) .......153
RECREATIONAL TOWING (BEHIND
MOTORHOME, ETC.) ...........153
WHAT TO DO IN EMERGENCIES
ROADSIDE ASSISTANCE ..........155
INSTRUMENT CLUSTER WARNING
LIGHTS ....................155
INSTRUMENT CLUSTER INDICATOR
LIGHTS ....................160
IF YOUR ENGINE OVERHEATS ......161
TIRESERVICEKIT ..............161
JACKING AND TIRE CHANGING ....168
JUMP-STARTING ..............176
FREEING A STUCK VEHICLE .......178
MANUAL PARK RELEASE ..........179
TOWING A DISABLED VEHICLE .....181
EVENT DATA RECORDER (EDR) .....181
MAINTAINING YOUR VEHICLE
OPENING THE HOOD...........182
ENGINE COMPARTMENT .........184
FLUIDCAPACITIES .............188
FLUIDS, LUBRICANTS AND
GENUINE PARTS ..............188
MAINTENANCE PROCEDURES ......189
MAINTENANCE SCHEDULE .......190
FUSES .....................193
TIRE PRESSURES ...............198
SPARE TIRES — IF EQUIPPED .......199
WHEEL AND WHEEL TRIM CARE . . . . 200
REPLACEMENT BULBS ...........201
TABLE OF CONTENTS
Page 160 of 220
WARNING!
If you continue operating the vehicle when the Transmission Temperature Warning Light is
illuminated you could cause the fluid to boil over, come in contact with hot engine or exhaust
components and cause a fire.
- Seat Belt Reminder Light
When the ignition switch is first turned to ON/RUN, this light will turn on if the driver’s seat belt
is unbuckled, a chime will sound. When driving, if the driver’s seat belt remains unbuckled, the
Seat Belt Reminder Light will illuminate and the chime will sound.
Please have your vehicle serviced immediately.
WARNING!
Driving a vehicle with the red brake light on is dangerous. Part of the brake system may have
failed. It will take longer to stop the vehicle. You could have a collision. Have the vehicle
checked immediately.
- Brake Warning Light
This light monitors various brake functions, including brake fluid level and parking brake appli-
cation. If the brake light turns on it may indicate that the parking brake is applied, that the brake
fluid level is low, or that there is a problem with the anti-lock brake system reservoir.
If the light remains on when the parking brake has been disengaged, and the fluid level is at the
full mark on the master cylinder reservoir, it indicates a possible brake hydraulic system malfunc-
tion or that a problem with the Brake Booster has been detected by the Anti-Lock Brake System
(ABS)/Electronic Stability Control (ESC) system. In this case, the light will remain on until the
condition has been corrected. If the problem is related to the brake booster, the ABS pump will
run when applying the brake and a brake pedal pulsation may be felt during each stop.
The dual brake system provides a reserve braking capacity in the event of a failure to a portion of
the hydraulic system. A leak in either half of the dual brake system is indicated by the Brake
Warning Light, which will turn on when the brake fluid level in the master cylinder has dropped
below a specified level. The light will remain on until the cause is corrected.
Vehicles equipped with the Anti-Lock Brake System (ABS), are also equipped with Electronic
Brake Force Distribution (EBD). In the event of an EBD failure, the Brake Warning Light will turn
on along with the ABS Light. Immediate repair to the ABS system is required.
Operation of the Brake Warning Light can be checked by turning the ignition switch from the
OFF position to the ON/RUN position. The light should illuminate for approximately two
seconds. The light should then turn off unless the parking brake is applied or a brake fault is
detected. If the light does not illuminate, have the light inspected by an authorized dealer.
The light also will turn on when the parking brake is applied with the ignition switch in the
ON/RUN position.
WHAT TO DO IN EMERGENCIES
158
Page 166 of 220
• You can use the Tire Service Kit air pump to inflate bicycle tires. The kit also comes with twoneedles, located in the Accessory Storage Compartment (on the bottom of the air pump) for
inflating sport balls, rafts, or similar inflatable items. However, use only the Air Pump Hose (7)
and make sure the Mode Select Knob (5) is in the Air Mode when inflating such items to avoid
injecting sealant into them. The Tire Service Kit Sealant is only intended to seal punctures less
than 1/4” (6 mm) diameter in the tread of your vehicle.
• Do not lift or carry the Tire Service Kit by the hoses.
Sealing A Tire With Tire Service Kit
(A) Whenever You Stop To Use Tire Service Kit:
1. Pull over to a safe location and turn on the vehicle’s Hazard Warning flashers.
2. Verify that the valve stem (on the wheel with the deflated tire) is in a position that is near to the ground. This will allow the Tire Service Kit Hoses (6) and (7) to reach the valve stem and keep
the Tire Service Kit flat on the ground. This will provide the best positioning of the kit when
injecting the sealant into the deflated tire and running the air pump. Move the vehicle as
necessary to place the valve stem in this position before proceeding.
3. Place the transmission in PARK (auto transmission) or in Gear (manual transmission) and cycle the ignition to the OFF position.
4. Set the parking brake.
(B) Setting Up To Use Tire Service Kit:
1. Turn the Mode Select Knob (5) to the Sealant Mode position.
2. Uncoil the Sealant Hose (6) and then remove the cap from the fitting at the end of the hose.
3. Place the Tire Service Kit flat on the ground next to the deflated tire.
4. Remove the cap from the valve stem and then screw the fitting at the end of the Sealant Hose (6) onto the valve stem.
5. Uncoil the Power Plug (8) and insert the plug into the vehicle’s 12 Volt power outlet.
6. Do not remove foreign objects (e.g., screws or nails) from the tire.
(C) Injecting Tire Service Kit Sealant Into The Deflated Tire:
Always start the engine before turning ON the Tire Service Kit.
NOTE:
Manual transmission vehicles must have the p arking brake engaged and the shift lever in
NEUTRAL.
After pressing the Power Button (4), the sealant (white fluid) will flow from the Sealant Bottle (1)
through the Sealant Hose (6) and into the tire.
NOTE:
Sealant may leak out through the puncture in the tire.
WHAT TO DO IN EMERGENCIES
164
Page 186 of 220
ENGINE COMPARTMENT
2.4L Engine
1. Air Cleaner Filter
2. Engine Coolant Reservoir
3. Engine Oil Fill
4. Brake Fluid Reservoir
MAINTAINING YOUR VEHICLE
184
Page 188 of 220
3.6L Engine
1. Air Cleaner Filter
2. Engine Coolant Reservoir
3. Brake Fluid Reservoir
4. Power Distribution Center (Fuses)
MAINTAINING YOUR VEHICLE
186
Page 191 of 220
CAUTION!
• Mixing of engine coolant (antifreeze) other than specified Organic Additive Technology(OAT) engine coolant (antifreeze), may result in engine damage and may decrease
corrosion protection. Organic Additive Technology (OAT) engine coolant is different
and should not be mixed with Hybrid Organic Additive Technology (HOAT) engine
coolant (antifreeze) or any “globally compatible” coolant (antifreeze). If a non-OAT
engine coolant (antifreeze) is introduced into the cooling system in an emergency, the
cooling system will need to be drained, flushed, and refilled with fresh OAT coolant
(conforming to MS-12106), by an authorized dealer as soon as possible.
• Do not use water alone or alcohol-based engine coolant (antifreeze) products. Do not use
additional rust inhibitors or antirust products, as they may not be compatible with the
radiator engine coolant and may plug the radiator.
• This vehicle has not been designed for use with propylene glycol-based engine coolant
(antifreeze). Use of propylene glycol-based engine coolant (antifreeze) is not recom-
mended.
E85 FLEXIBLE FUEL — IF EQUIPPED
Refer to your Owner's Manual on the DVD for further details.
CAUTION!
Only vehicles with the E-85 fuel filler door label or a yellow gas cap can operate on E-85.
Chassis
Component Fluid, Lubricant, or Genuine Part
Automatic Transmission Use only MOPAR® ZF 8&9 Speed ATF™ Auto-
matic Transmission Fluid, or equivalent.
Failure to use the correct fluid may affect the
function or performance of your transmission.
Brake Master Cylinder We recommend you use MOPAR® DOT 3 Brake
Fluid, SAE J1703 should be used. If DOT 3, SAE
J1703 brake fluid is not available, then DOT 4 is
acceptable. Use only recommended brake fluids.
MAINTENANCE PROCEDURES
For information on the maintenance procedures for your vehicle, please refer to “Maintenance
Procedures” in “Maintaining Your Vehicle” in your Owner’s Manual or applicable supplement on
the DVD for further details.
MAINTAINING YOUR VEHICLE
189
Page 192 of 220
MAINTENANCE SCHEDULE
Your vehicle is equipped with an automatic oil change indicator system. The oil change indicator
system will remind you that it is time to take your vehicle in for scheduled maintenance.
Based on engine operation conditions, the oil change indicator message will illuminate. This
means that service is required for your vehicle. Operating conditions such as frequent short-trips,
trailer tow, extremely hot or cold ambient temperatures will influence when the “Oil Change
Required” message is displayed. Severe Operating Conditions can cause the change oil message
to illuminate as early as 3,500 miles (5,600 km) since last reset. Have your vehicle serviced as soon
as possible, within the next 500 miles (805 km).
Your authorized dealer will reset the oil change indicator message after completing the scheduled oil
change. If a scheduled oil change is performed by someone other than your authorized dealer, the
message can be reset by referring to the steps described under “Oil Change Reset” in “Electronic
Vehicle Information Center (EVIC)” or "Driver Information Display (DID)” in “Understanding Your
Instrument Panel” in your Owners Manual on the DVD for further information.
NOTE:
Under no circumstances should oil change intervals exceed 10,000 miles (16,000 km) or twelve
months, whichever comes first.
Severe Duty All Models
Change Engine Oil at 4000 miles (6,500 km) if the vehicle is operated in a dusty and off road
environment. This type of vehicle use is considered Severe Duty.
Once A Month Or Before A Long Trip:
• Check engine oil level.
• Check windshield washer fluid level.
• Check tire pressure and look for unusual wear or damage. Rotate tires at the first sign ofirregular wear, even if it occurs before the oil indicator system turns on.
• Check the fluid levels of the coolant reservoir and brake master cylinder, fill as needed.
• Check function of all interior and exterior lights.
Required Maintenance Intervals.
Refer to the maintenance schedules on the following page for the required maintenance intervals.
At Every Oil Change Interval As Indicated By Oil Change Indicator System:
• Change oil and filter
• Rotate the tires. Rotate at the first sign of irregular wear, even if it occurs before the oil
indicator system turns on.
• Inspect battery and clean and tighten terminals as required
• Inspect brake pads, shoes, rotors, drums, hoses and park brake
• Inspect engine cooling system protection and hoses
• Inspect exhaust system
• Inspect engine air cleaner if using in dusty or off-road conditions
MAINTAINING YOUR VEHICLE
190
Page 209 of 220
AccessUconnect® ...............67
Accessories ............... .204
Access, Uconnect® .............67
Adaptive Cruise Control (ACC) (Cruise Control) ................40
Adding Engine Coolant (Antifreeze) . . .189
Adding Washer Fluid ...........189
Air Bag Advance Front Air Bag ........19
AirBags ................19
Air Bag Warning Light .......19, 155
FrontAirBag .............19
Rollover ................19
Side Impacts ..............19
Air Cleaner, Engine (Engine Air Cleaner Filter) ................ .189
Air Conditioner Maintenance .......189
Air Conditioning ........45, 46, 48, 50
Air Conditioning Refrigerant .......189
Air Conditioning System .........189
Air Recirculation ............45, 47
Alarm Arm The System ............17
Disarm The System ...........17
Vehicle Security Alarm .........17
Alarm, Panic ................11
Alarm (Security Alarm) ........17, 160
Antifreeze (Engine Coolant) .....188, 189
Disposal .............. .189
Anti-Lock Warning Light .........155
APP Uconnect® Access ...........70
Appearance Care ............ .189
Assistance Towing ............ .155
Automatic Headlights .........36, 160
Automatic High Beams ..........36
Automatic Temperature Control (ATC) . .48
Automatic Transmission ..........51
Adding Fluid ............ .189
Fluid Type ............. .189
Autostick .................53
Axle Lubrication .............189
Back-UpCamera .............60
Battery ............... .176, 189
Blind Spot Monitoring ...........60
Body Mechanism Lubrication .......189Brake Fluid
............... .189
Brakes ................. .189
Br
ake System .............. .189
Fluid Check ............ .189
Master Cylinder ...........189
Warning Light ............158
Break-In Recommendations, New Vehicle. .35
Bulb Replacement ............201
Bulbs, Light ............... .201
Capacities, Fluid .............188
Caps, Filler Oil (Engine) .............189
Car Washes ............... .189
Changing A Flat Tire ...........168
Charging System Light ..........155
Child Restraint ...............25
Child Restraints LATCH Anchorage Locations .....25
LATCH Position ............25
Cleaning Wheels ............... .189
Windshield Wiper Blades .......189
Climate Control ..........45,46,48
Clock ...................87
Clock Setting ...............87
Cluster Warning/Indicator Lights Air Bag Warning Light ........155
Anti-Lock Brake (ABS) Light .....155
Brake Warning Light .........158
Charging System Light ........155
Electronic Park Brake Failure
Indicator .............. .160
Electronic Speed Control ON
Indicator .............. .160
Electronic Speed Control SET
Indicator .............. .160
Electronic Stability Control (ESC)
Activation/Malfunction Indicator Light. .159
Electronic Stability Control (ESC) OFF
Indicator Light ............160
Electronic Throttle Control (ETC) Indica-
tor Light .............. .156
Engine Temperature Warning Light . .157
Front Fog Light Indicator .......160
Fuel Cap/Loose Gas Cap .......160
High Beam Indicator .........160
Instrument Cluster Warning Lights . .155
INDEX
207
Page 210 of 220
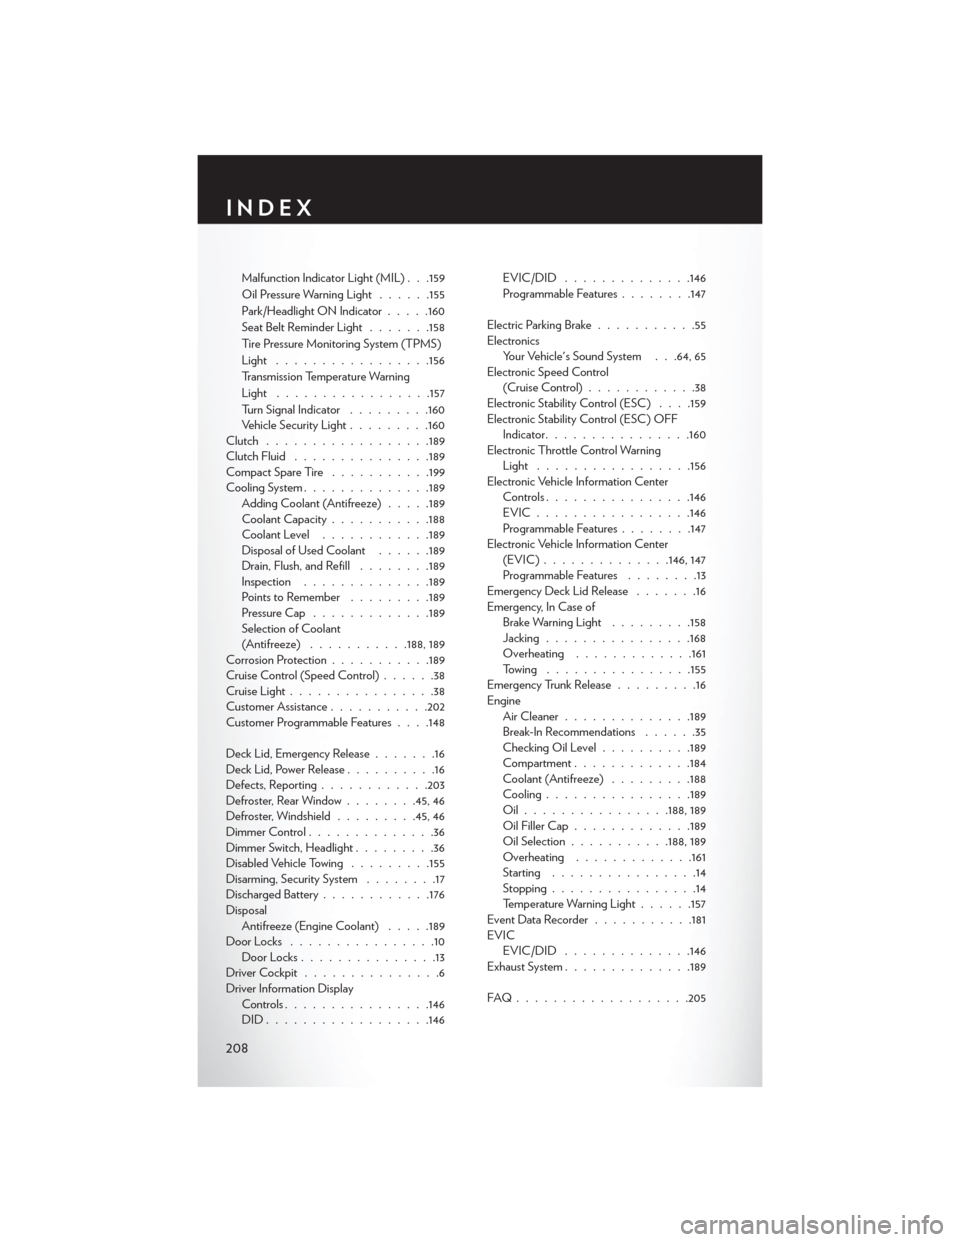
Malfunction Indicator Light (MIL) . . .159
Oil Pressure Warning Light......155
Park/Headlight ON Indicator .....160
SeatBeltReminderLight .......158
Tire Pressure Monitoring System (TPMS)
Light ................ .156
Transmission Temperature Warning
Light ................ .157
Turn Signal Indicator .........160
Vehicle Security Light .........160
Clutch ................. .189
Clutch Fluid .............. .189
CompactSpareTire ...........199
Cooling System ............. .189
Adding Coolant (Antifreeze) .....189
Coolant Capacity ...........188
Coolant Level ............189
Disposal of Used Coolant ......189
Drain, Flush, and Refill ........189
Inspection ............. .189
Points to Remember .........189
Pressure Cap ............ .189
Selection of Coolant
(Antifreeze) ...........188, 189
Corrosion Protection ...........189
Cruise Control (Speed Control) ......38
Cruise Light ................38
Customer Assistance ...........202
Customer Programmable Features . . . .148
Deck Lid, Emergency Release .......16
Deck Lid, Power Release ..........16
Defects, Reporting ............203
Defroster, Rear Window ........45, 46
Defroster, Windshield .........45, 46
Dimmer Control ..............36
Dimmer Switch, Headlight .........36
Disabled Vehicle Towing .........155
Disarming, Security System ........17
Discharged Battery ............176
Disposal Antifreeze (Engine Coolant) .....189
Door Locks ................10
Door Locks ...............13
D
riverCockpit ...............6
Driver Information Display Controls ............... .146
DID................. .146EVIC/DID ..............146
Programmable Features
........147
Electric Parking Brake ...........55
Electronics Your Vehicle's Sound System . . .64, 65
Electronic Speed Control (Cruise Control) ............38
Electronic Stability Control (ESC) . . . .159
Electronic Stability Control (ESC) OFF Indicator ............... .160
Electronic Throttle Control Warning Light ................ .156
Electronic Vehicle Information Center Controls ............... .146
EVIC.................146
Programmable Features ........147
Electronic Vehicle Information Center (EVIC)..............146, 147
Programmable Features ........13
Emergency Deck Lid Release .......16
Emergency, In Case of Brake Warning Light .........158
Jacking ............... .168
Overheating .............161
Towing ............... .155
Emergency Trunk Release .........16
Engine Air Cleaner ............. .189
Break-In Recommendations ......35
Checking Oil Level ..........189
Compartment .............184
Coolant (Antifreeze) .........188
Cooling ............... .189
Oil............... .188, 189
Oil Filler Cap ............ .189
Oil Selection ...........188, 189
Overheating .............161
Starting ................14
Stopping ................14
Temperature Warning Light ......157
EventDataRecorder.......... .181
EVIC EVIC/DID ..............146
Exhaust System ............. .189
FAQ.................. .205
INDEX
208
Page 211 of 220
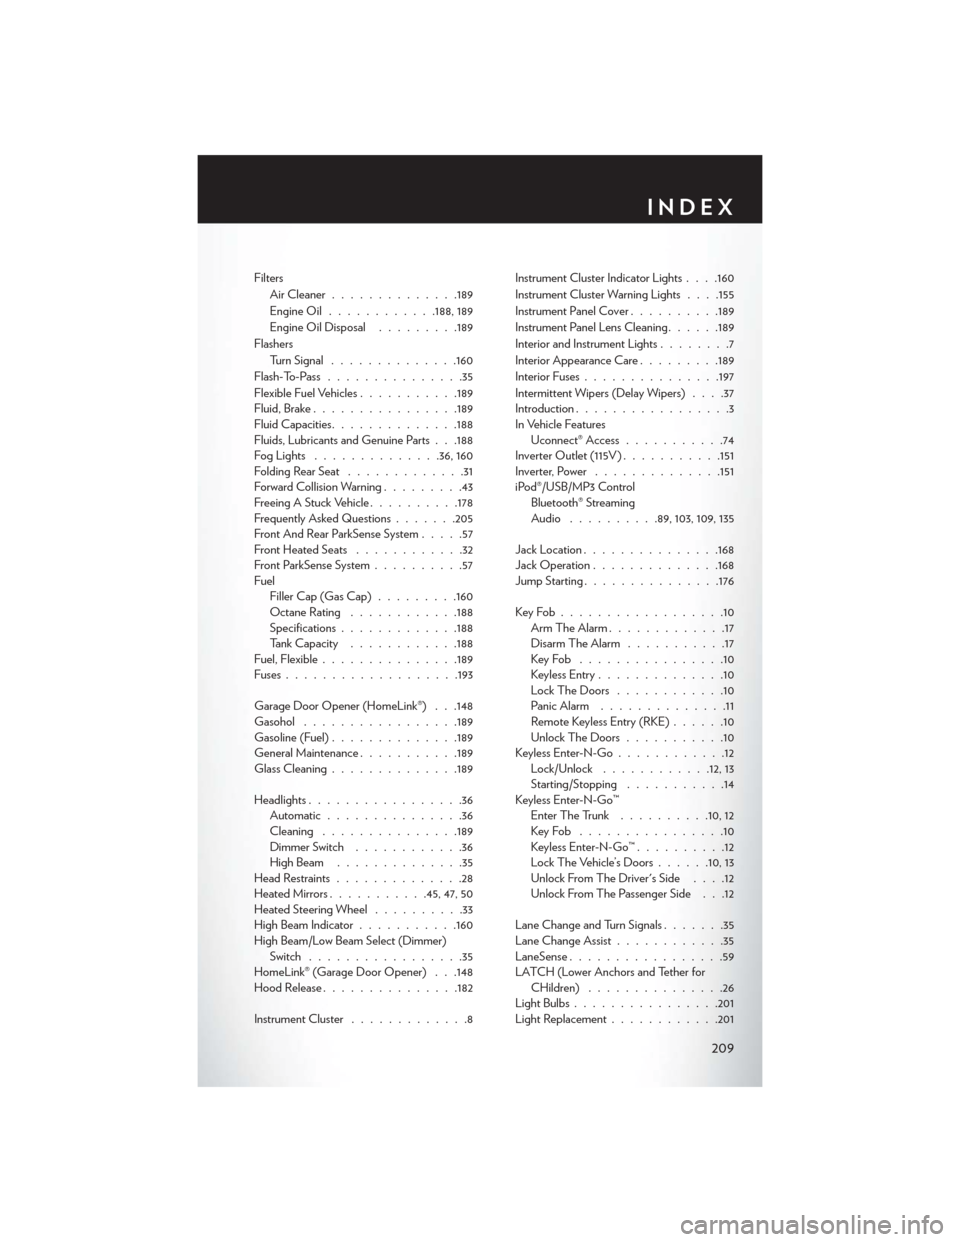
FiltersAir Cleaner ............. .189
Engine Oil ............188, 189
Engine Oil Disposal .........189
Flashers Turn Signal ............. .160
Flash-To-Pass ...............35
Flexible Fuel Vehicles ...........189
Fluid, Brake ............... .189
Fluid Capacities ............. .188
Fluids, Lubricants and Genuine Parts . . .188
FogLights ..............36, 160
Folding Rear Seat .............31
Forward Collision Warning .........43
Freeing A Stuck Vehicle ..........178
Frequently Asked Questions .......205
Front And Rear ParkSense System .....57
Front Heated Seats ............32
Front ParkSense System ..........57
Fuel Filler Cap (Gas Cap) .........160
Octane Rating ............188
Specifications ............ .188
Tank Capacity ............188
Fuel, Flexible .............. .189
Fuses .................. .193
Garage Door Opener (HomeLink®) . . .148
Gasohol ................ .189
Gasoline (Fuel) ............. .189
General Maintenance ...........189
Glass Cleaning ............. .189
Headlights .................36
Automatic ...............36
Cleaning .............. .189
Dimmer Switch ............36
HighBeam ..............35
Head Restraints ..............28
Heated Mirrors ...........45, 47, 50
Heated Steering Wheel ..........33
High Beam Indicator ...........160
High Beam/Low Beam Select (Dimmer) Switch .................35
HomeLink® (Garage Door Opener) . . .148
Hood Release .............. .182
Instrument Cluster .............8 Instrument Cluster Indicator Lights .
. . .160
Instrument Cluster Warning Lights . . . .155
Instrument Panel Cover ..........189
Instrument Panel Lens Cleaning ......189
Interior and Instrument Lights ........7
Interior Appearance Care .........189
Interior Fuses .............. .197
Intermittent Wipers (Delay Wipers) ....37
Introduction .................3
In Vehicle Features Uconnect® Access ...........74
Inverter Outlet (115V) ...........151
Inverter, Power ............. .151
iPod®/USB/MP3 Control Bluetooth® Streaming
Audio ..........89, 103, 109, 135
Jack Location .............. .168
Jack Operation ............. .168
Jump Starting .............. .176
KeyFob..................10 Arm The Alarm .............17
Disarm The Alarm ...........17
KeyFob ................10
Keyless Entry ..............10
LockTheDoors ............10
Panic Alarm ..............11
Remote Keyless Entry (RKE) ......10
UnlockTheDoors...........10
Keyless Enter-N-Go ............12
Lock/Unlock ............12, 13
Starting/Stopping ...........14
Keyless Enter-N-Go™ Enter The Trunk ..........10,12
KeyFob ................10
Keyless Enter-N-Go™ ..........12
Lock The Vehicle’s Doors ......10,13
Unlock From The Driver's Side ....12
Unlock From The Passenger Side . . .12
Lane Change and Turn Signals .......35
Lane Change Assist ............35
LaneSense .................59
LATCH (Lower Anchors and Tether for CHildren) ...............26
Light Bulbs ............... .201
Light Replacement ............201
INDEX
209