low oil pressure CHRYSLER 200 2015 2.G User Guide
[x] Cancel search | Manufacturer: CHRYSLER, Model Year: 2015, Model line: 200, Model: CHRYSLER 200 2015 2.GPages: 220, PDF Size: 3.7 MB
Page 157 of 220

ROADSIDE ASSISTANCE
Dial toll-free 1-800-521-2779 for U.S. Residents or 1-800-363-4869 for Canadian Residents.
• Provide your name, vehicle identification number, license plate number, and your location,including the telephone number from which you are calling.
• Briefly describe the nature of the problem and answer a few simple questions.
• You will be given the name of the service provider and an estimated time of arrival. If you feel you are in an “unsafe situation”, please let us know. With your consent, we will contact local
police or safety authorities.
INSTRUMENT CLUSTER WARNING LIGHTS
- Charging System Light
This light shows the status of the electrical charging system. If the charging system light remains
on, it means that the vehicle is experiencing a problem with the charging system.
We recommend you do not continue driving if the charging system light is on. Have the vehicle
serviced immediately.
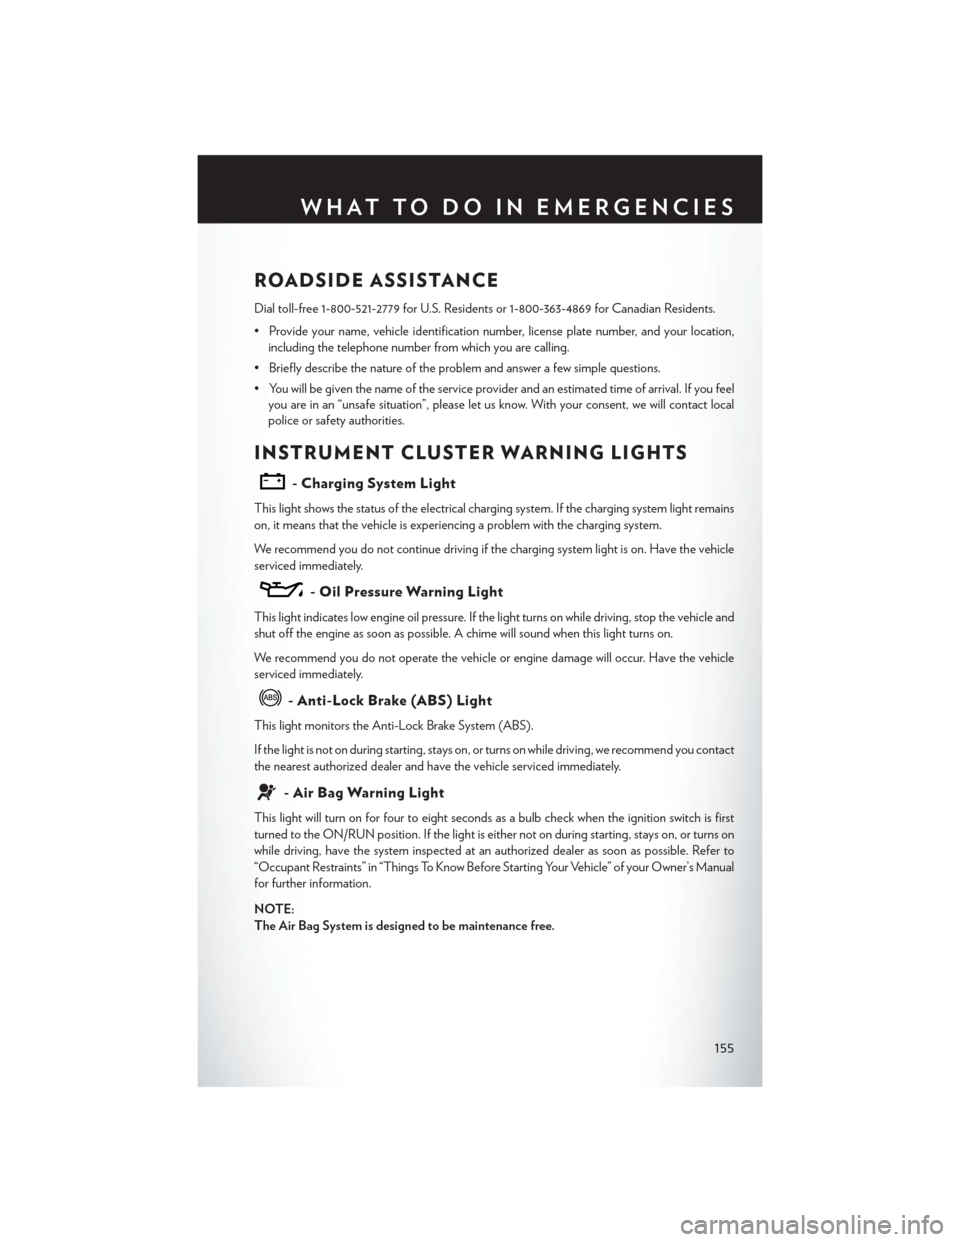
- Oil Pressure Warning Light
This light indicates low engine oil pressure. If the light turns on while driving, stop the vehicle and
shut off the engine as soon as possible. A chime will sound when this light turns on.
We recommend you do not operate the vehicle or engine damage will occur. Have the vehicle
serviced immediately.
- Anti-Lock Brake (ABS) Light
This light monitors the Anti-Lock Brake System (ABS).
If the light is not on during starting, stays on, or turns on while driving, we recommend you contact
the nearest authorized dealer and have the vehicle serviced immediately.
- Air Bag Warning Light
This light will turn on for four to eight seconds as a bulb check when the ignition switch is first
turned to the ON/RUN position. If the light is either not on during starting, stays on, or turns on
while driving, have the system inspected at an authorized dealer as soon as possible. Refer to
“Occupant Restraints” in “Things To Know Before Starting Your Vehicle” of your Owner’s Manual
for further information.
NOTE:
The Air Bag System is designed to be maintenance free.
WHAT TO DO IN EMERGENCIES
155
Page 159 of 220

on the vehicle that prevent the TPMS from functioning properly. Always check the TPMS
malfunction telltale after replacing one or more tires or wheels on your vehicle to ensure that the
replacement or alternate tires and wheels allow the TPMS to continue to function properly.
NOTE:
Tire pressures change by approximately 1 psi (7 kPa) per 12° F (7° C) of air temperature change.
Keep this in mind when checking tire pressure inside a garage, especially in the Winter. Example:
If garage temperature is 68°F (20°C) and the outside temperature is 32°F (0°C), then the cold
tire inflation pressure should be increased by 3 psi (21 kPa), which equals 1 psi (7 kPa) for every
12°F (7°C) for this outside temperature condition.
CAUTION!
The TPMS has been optimized for the original equipment tires and wheels. TPMS pressures
and warning have been established for the tire size equipped on your vehicle. Undesirable
system operation or sensor damage may result when using replacement equipment that is not
of the same size, type, and/or style. Aftermarket wheels can cause sensor damage. Do not use
tire sealant from a can, or balance beads if your vehicle is equipped with a TPMS, as damage
to the sensors may result.
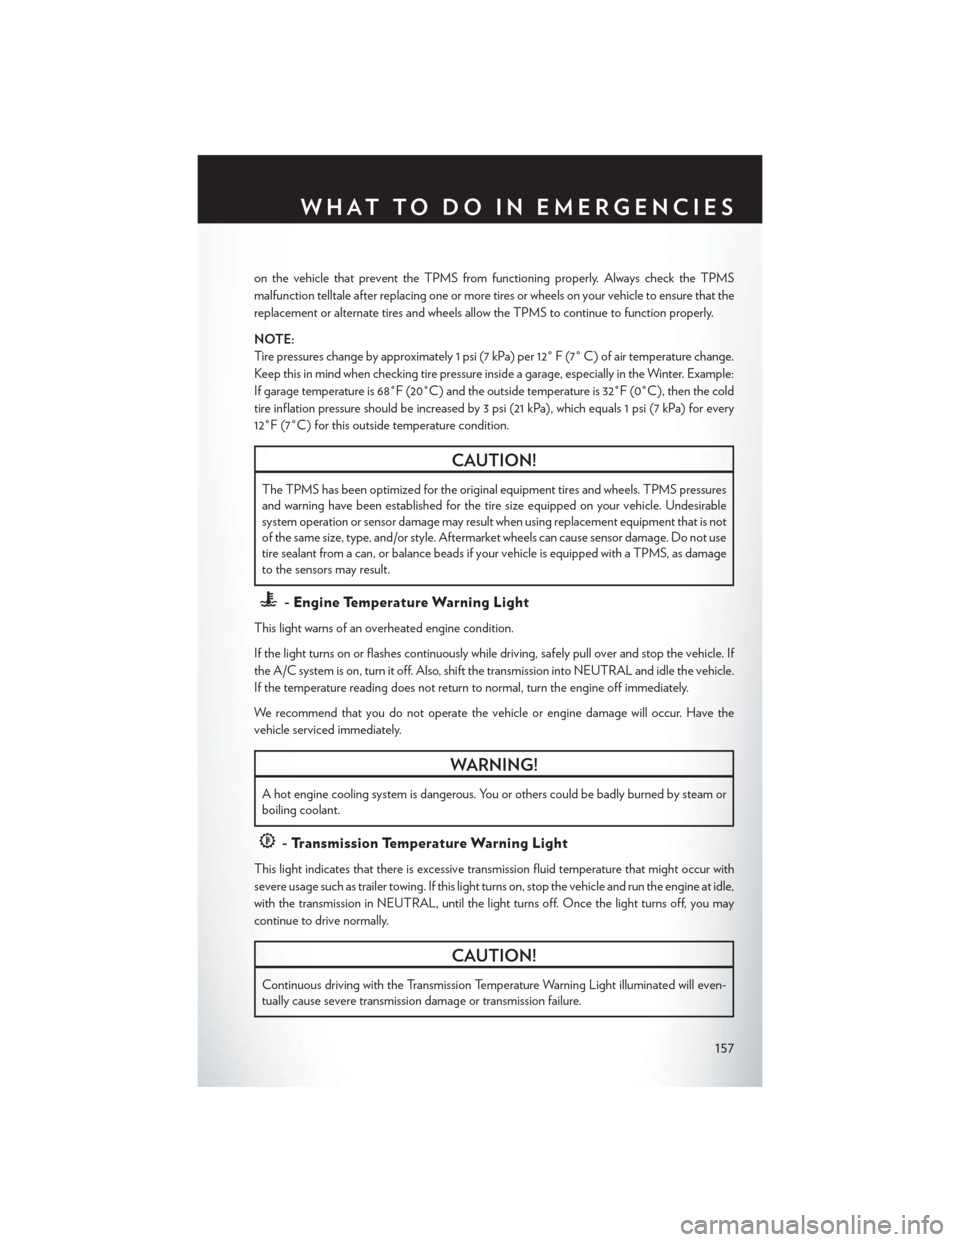
- Engine Temperature Warning Light
This light warns of an overheated engine condition.
If the light turns on or flashes continuously while driving, safely pull over and stop the vehicle. If
the A/C system is on, turn it off. Also, shift the transmission into NEUTRAL and idle the vehicle.
If the temperature reading does not return to normal, turn the engine off immediately.
We recommend that you do not operate the vehicle or engine damage will occur. Have the
vehicle serviced immediately.
WARNING!
A hot engine cooling system is dangerous. You or others could be badly burned by steam or
boiling coolant.
- Transmission Temperature Warning Light
This light indicates that there is excessive transmission fluid temperature that might occur with
severe usage such as trailer towing. If this light turns on, stop the vehicle and run the engine at idle,
with the transmission in NEUTRAL, until the light turns off. Once the light turns off, you may
continue to drive normally.
CAUTION!
Continuous driving with the Transmission Temperature Warning Light illuminated will even-
tually cause severe transmission damage or transmission failure.
WHAT TO DO IN EMERGENCIES
157
Page 192 of 220

MAINTENANCE SCHEDULE
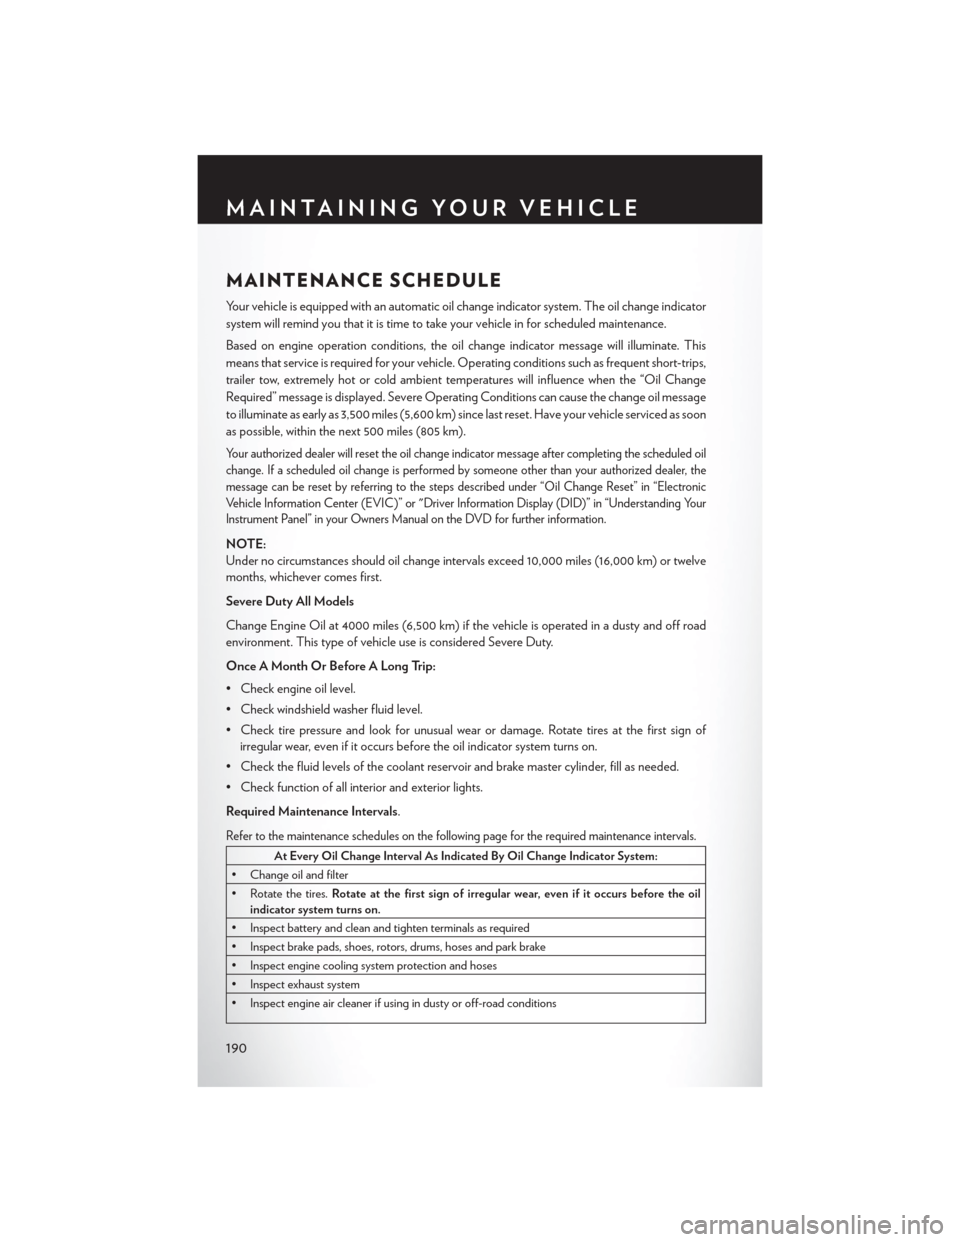
Your vehicle is equipped with an automatic oil change indicator system. The oil change indicator
system will remind you that it is time to take your vehicle in for scheduled maintenance.
Based on engine operation conditions, the oil change indicator message will illuminate. This
means that service is required for your vehicle. Operating conditions such as frequent short-trips,
trailer tow, extremely hot or cold ambient temperatures will influence when the “Oil Change
Required” message is displayed. Severe Operating Conditions can cause the change oil message
to illuminate as early as 3,500 miles (5,600 km) since last reset. Have your vehicle serviced as soon
as possible, within the next 500 miles (805 km).
Your authorized dealer will reset the oil change indicator message after completing the scheduled oil
change. If a scheduled oil change is performed by someone other than your authorized dealer, the
message can be reset by referring to the steps described under “Oil Change Reset” in “Electronic
Vehicle Information Center (EVIC)” or "Driver Information Display (DID)” in “Understanding Your
Instrument Panel” in your Owners Manual on the DVD for further information.
NOTE:
Under no circumstances should oil change intervals exceed 10,000 miles (16,000 km) or twelve
months, whichever comes first.
Severe Duty All Models
Change Engine Oil at 4000 miles (6,500 km) if the vehicle is operated in a dusty and off road
environment. This type of vehicle use is considered Severe Duty.
Once A Month Or Before A Long Trip:
• Check engine oil level.
• Check windshield washer fluid level.
• Check tire pressure and look for unusual wear or damage. Rotate tires at the first sign ofirregular wear, even if it occurs before the oil indicator system turns on.
• Check the fluid levels of the coolant reservoir and brake master cylinder, fill as needed.
• Check function of all interior and exterior lights.
Required Maintenance Intervals.
Refer to the maintenance schedules on the following page for the required maintenance intervals.
At Every Oil Change Interval As Indicated By Oil Change Indicator System:
• Change oil and filter
• Rotate the tires. Rotate at the first sign of irregular wear, even if it occurs before the oil
indicator system turns on.
• Inspect battery and clean and tighten terminals as required
• Inspect brake pads, shoes, rotors, drums, hoses and park brake
• Inspect engine cooling system protection and hoses
• Inspect exhaust system
• Inspect engine air cleaner if using in dusty or off-road conditions
MAINTAINING YOUR VEHICLE
190
Page 212 of 220

Lights...................201
Fog................. .160
Headlights...............36
High Beam Indicator .........160
Security Alarm ............160
Tire Pressure Monitoring (TPMS) . .156
Turn Signal ...............35
Locks Door..................10
Lower Anchors and Tether for CHildren (LATCH)................26
Lubrication, Body .............189
Maintenance Free Battery .........189
Maintenance, General ..........189
Maintenance Procedures .........189
Maintenance Record ...........192
Maintenance Schedule ..........190
Malfunction Indicator Light (Check Engine) ............... .159
Master Cylinder (Brakes) .........189
MemorySeat ...............29
Mirrors Heated ............ .45, 47, 50
MOPAR® Accessories ..........204
Navigation ..............106,138
New Vehicle Break-In Period ........35
Occupant Restraints ............24
Octane Rating, Gasoline (Fuel) ......188
Oil,Engine............. .188, 189
Capacity .............. .188
Change Interval ...........189
Checking ...............189
Disposal .............. .189
Filter .............. .188, 189
Filter Disposal ............189
Materials Added to ..........189
Recommendation ........188, 189
Viscosity ............ .188, 189
Oil Filter, Selection ............189
Oil Pressure Light ............ .155
Outlet Power................ .152
Overheating, Engine ...........161
Paddle Shift Mode .............53 Paint Care
............... .189
Panic Alarm ................
11
Parking Brake ...............55
ParkSense® .................57
ParkSense® Active Park Assist .......58
ParkSense® System, Front And Rear ....57
ParkSense® System, Rear ..........57
Phone (Pairing) ...........109, 142
Placard, Tire and Loading Information . .198
Power Deck Lid Release ...........16
Glass Sunroof .............61
Inverter ............... .151
Outlet (Auxiliary Electrical Outlet) . .152
Seats .................29
Preparation for Jacking ..........169
Programmable Electronic Features . . . .148
Purchase Apps Uconnect® Access ...........71
Radio ...................66
Radio (Sound Systems) ..........66
Rain Sensitive Wiper System ........37
RearCamera ...............60
RearCrossPath..............60
Rear Park Assist System ..........57
Rear ParkSense System ........57, 60
Rear Seat, Folding .............31
Recreational Towing ............153
Refrigerant ................189
Remote Keyless Entry (RKE) Arm The Alarm .............17
Disarm The Alarm ...........17
Lock The Doors ............10
Panic Alarm ..............11
Unlatch The Trunk ...........10
Unlock The Doors ...........10
Remote Starting Enter Remote Start Mode .......11
Exit Remote Start Mode ........11
How To Use Remote Start .......11
KeyFob ................11
Remote Starting System ........11
Remote Starting System ..........11
Remote Trunk Release ...........16
Replacement Bulbs ............201
Reporting Safety Defects .........203
INDEX
210