child restraint CHRYSLER 200 2017 2.G Owner's Manual
[x] Cancel search | Manufacturer: CHRYSLER, Model Year: 2017, Model line: 200, Model: CHRYSLER 200 2017 2.GPages: 539, PDF Size: 5.18 MB
Page 77 of 539

Locating Tether Anchorages
There are tether strap anchorages behind each
rear seating position located in the panel be-
tween the rear seatback and the rear window.
They are found under a plastic cover with the
tether anchorage symbol on it.
LATCH-compatible child restraint systems will be
equipped with a rigid bar or a flexible strap on each side.
Each will have a hook or connector to attach to the lower
anchorage and a way to tighten the connection to the anchorage. Forward-facing child restraints and some rear-
facing child restraints will also be equipped with a tether
strap. The tether strap will have a hook at the end to attach
to the top tether anchorage and a way to tighten the strap
after it is attached to the anchorage.
Center Seat LATCH
Do not install child restraints with rigid lower attachments
in the center seating position. Only install this type of child
restraint in the outboard seating positions. Child restraints
with flexible, webbing mounted lower attachments can be
installed in any rear seating position.
WARNING!
Never use the same lower anchorage to attach more
than one child restraint. If you are installing LATCH-
compatible child restraints next to each other, you must
use the seat belt for the center position. You can then
use either the LATCH anchors or the vehicle’s seat belt
for installing child seats in the outboard positions.
Please refer to “Installing The LATCH-Compatible
Child Restraint System” for typical installation in-
structions.
Tether Strap Anchorages
2
THINGS TO KNOW BEFORE STARTING YOUR VEHICLE 75
Page 78 of 539

To Install A LATCH-Compatible Child Restraint
If the selected seating position has a Switchable Automatic
Locking Retractor (ALR) seat belt, stow the seat belt,
following the instructions below. See the section “Installing
Child Restraints Using the Vehicle Seat Belt” to check what
type of seat belt each seating position has.
1. Loosen the adjusters on the lower straps and on thetether strap of the child seat so that you can more easily
attach the hooks or connectors to the vehicle anchor-
ages.
2. Place the child seat between the lower anchorages for that seating position. For some second row seats, you
may need to recline the seat and / or raise the head
restraint to get a better fit. If the rear seat can be moved
forward and rearward in the vehicle, you may wish to
move it to its rear-most position to make room for the
child seat. You may also move the front seat forward to
allow more room for the child seat.
3. Attach the lower hooks or connectors of the child restraint to the lower anchorages in the selected seating
position. 4. If the child restraint has a tether strap, connect it to the
top tether anchorage. See the section “Installing Child
Restraints Using the Top Tether Anchorage” for direc-
tions to attach a tether anchor.
5. Tighten all of the straps as you push the child restraint rearward and downward into the seat. Remove slack in
the straps according to the child restraint manufactur-
er ’s instructions.
6. Test that the child restraint is installed tightly by pulling back and forth on the child seat at the belt path. It
should not move more than 1 inch (25.4 mm) in any
direction.
How To Stow An Unused Switchable-ALR (ALR)
Seat Belt
When using the LATCH attaching system to install a child
restraint, stow all ALR seat belts that are not being used by
other occupants or being used to secure child restraints. An
unused belt could injure a child if they play with it and
accidentally lock the seat belt retractor. Before installing a
child restraint using the LATCH system, buckle the seat
belt behind the child restraint and out of the child’s reach.
If the buckled seat belt interferes with the child restraint
installation, instead of buckling it behind the child re-
straint, route the seat belt through the child restraint belt
76 THINGS TO KNOW BEFORE STARTING YOUR VEHICLE
Page 79 of 539

path and then buckle it. Do not lock the seat belt. Remind
all children in the vehicle that the seat belts are not toys and
that they should not play with them.
WARNING!
•Improper installation of a child restraint to the
LATCH anchorages can lead to failure of the re-
straint. The child could be badly injured or killed.
Follow the child restraint manufacturer ’s directions
exactly when installing an infant or child restraint.
• Child restraint anchorages are designed to withstand
only those loads imposed by correctly-fitted child
restraints. Under no circumstances are they to be
used for adult seat belts, harnesses, or for attaching
other items or equipment to the vehicle.
Installing Child Restraints Using The Vehicle Seat
Belt
The seat belts in the passenger seating positions are
equipped with a Switchable Automatic Locking Retractor
(ALR) that is designed to keep the lap portion of the seat
belt tight around the child restraint so that it is not
necessary to use a locking clip. The ALR retractor can be
“switched” into a locked mode by pulling all of the
webbing out of the retractor and then letting the webbing retract back into the retractor. If it is locked, the ALR will
make a clicking noise while the webbing is pulled back into
the retractor. Refer to the “Automatic Locking Mode”
description under “Occupant Restraint Systems” for addi-
tional information on ALR.
Lap/Shoulder Belt Systems For Installing Child
Restraints In This Vehicle
•
ALR = Switchable Automatic Locking Retractor
•
Top Tether Anchorage Symbol 2
THINGS TO KNOW BEFORE STARTING YOUR VEHICLE 77
Page 80 of 539
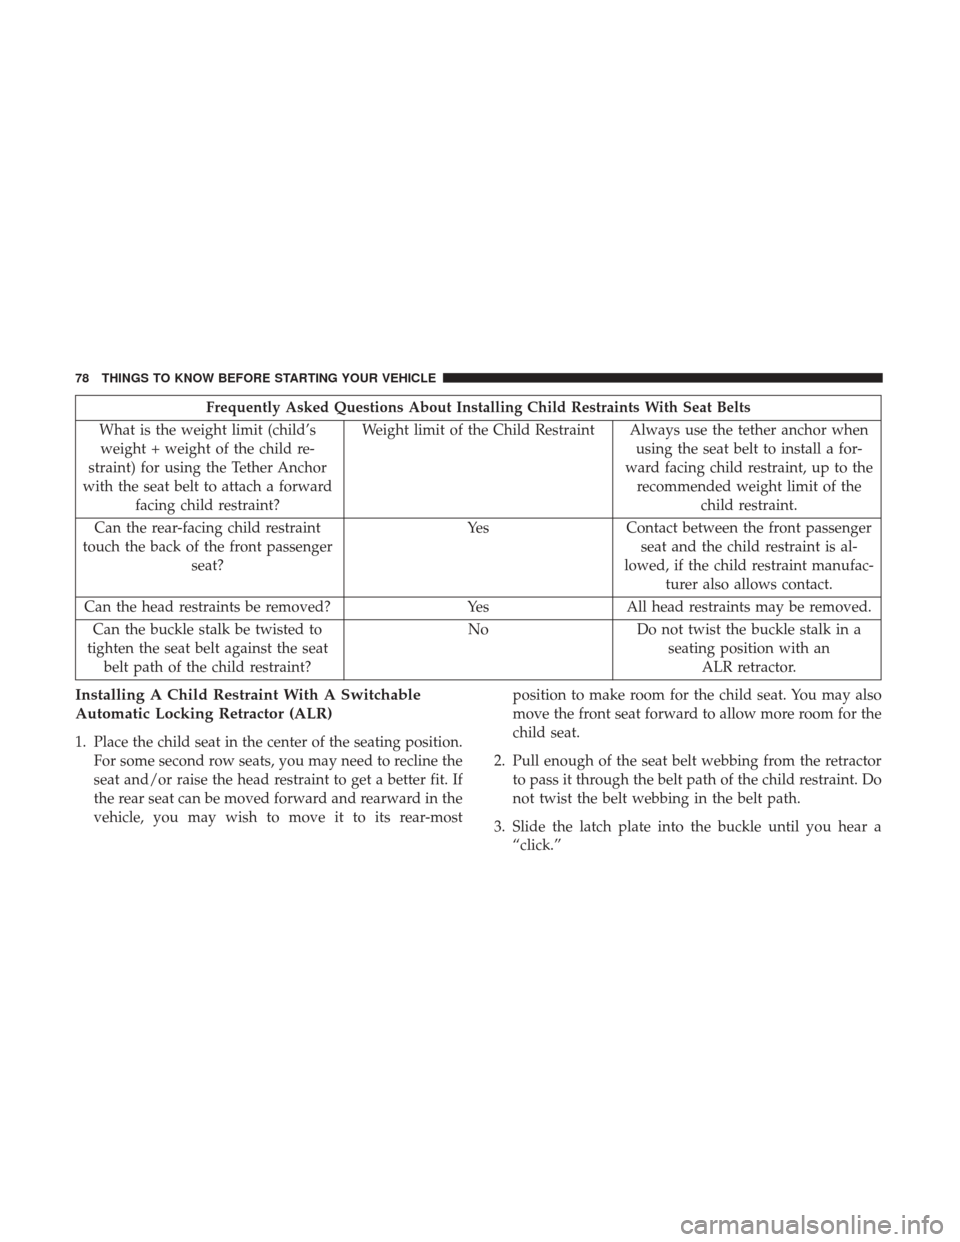
Frequently Asked Questions About Installing Child Restraints With Seat Belts
What is the weight limit (child’s weight + weight of the child re-
straint) for using the Tether Anchor
with the seat belt to attach a forward facing child restraint? Weight limit of the Child Restraint Always use the tether anchor when
using the seat belt to install a for-
ward facing child restraint, up to the recommended weight limit of the child restraint.
Can the rear-facing child restraint
touch the back of the front passenger seat? Yes Contact between the front passenger
seat and the child restraint is al-
lowed, if the child restraint manufac- turer also allows contact.
Can the head restraints be removed? YesAll head restraints may be removed.
Can the buckle stalk be twisted to
tighten the seat belt against the seat belt path of the child restraint? No
Do not twist the buckle stalk in a
seating position with an ALR retractor.
Installing A Child Restraint With A Switchable
Automatic Locking Retractor (ALR)
1. Place the child seat in the center of the seating position.For some second row seats, you may need to recline the
seat and/or raise the head restraint to get a better fit. If
the rear seat can be moved forward and rearward in the
vehicle, you may wish to move it to its rear-most position to make room for the child seat. You may also
move the front seat forward to allow more room for the
child seat.
2. Pull enough of the seat belt webbing from the retractor to pass it through the belt path of the child restraint. Do
not twist the belt webbing in the belt path.
3. Slide the latch plate into the buckle until you hear a “click.”
78 THINGS TO KNOW BEFORE STARTING YOUR VEHICLE
Page 81 of 539

4. Pull on the webbing to make the lap portion tightagainst the child seat.
5. To lock the seat belt, pull down on the shoulder part of the belt until you have pulled all the seat belt webbing
out of the retractor. Then, allow the webbing to retract
back into the retractor. As the webbing retracts, you will
hear a clicking sound. This means the seat belt is now in
the Automatic Locking mode.
6. Try to pull the webbing out of the retractor. If it is locked, you should not be able to pull out any webbing.
If the retractor is not locked, repeat step 5.
7. Finally, pull up on any excess webbing to tighten the lap portion around the child restraint while you push the
child restraint rearward and downward into the vehicle
seat. 8. If the child restraint has a top tether strap and the
seating position has a top tether anchorage, connect the
tether strap to the anchorage and tighten the tether
strap. See the section “Installing Child Restraints Using
the Top Tether Anchorage” for directions to attach a
tether anchor.
9. Test that the child restraint is installed tightly by pulling back and forth on the child seat at the belt path. It
should not move more than 1 inch (25.4 mm) in any
direction.
Any seat belt system will loosen with time, so check the
belt occasionally, and pull it tight if necessary.
Installing Child Restraints Using the Top Tether
Anchorage
WARNING!
Do not attach a tether strap for a rear-facing car seat to
any location in front of the car seat, including the seat
frame or a tether anchorage. Only attach the tether
strap of a rear-facing car seat to the tether anchorage
that is approved for that seating position, located
behind the top of the vehicle seat. See the section
(Continued)
2
THINGS TO KNOW BEFORE STARTING YOUR VEHICLE 79
Page 82 of 539

WARNING!(Continued)
“Lower Anchors and Tethers for CHildren (LATCH)
Restraint System” for the location of approved tether
anchorages in your vehicle.
1. Look behind the seating position where you plan to
install the child restraint to find the tether anchorage.
You may need to move the seat forward to provide
better access to the tether anchorage. If there is no top
tether anchorage for that seating position, move the
child restraint to another position in the vehicle if one is
available.
2. Rotate or lift the cover to access the anchor directly behind the seat where you are placing the child re-
straint.
3. Route the tether strap to provide the most direct path for the strap between the anchor and the child seat. If your
vehicle is equipped with adjustable rear head restraints, raise the head restraint, and where possible, route the
tether strap under the head restraint and between the
two posts. If not possible, lower the head restraint and
pass the tether strap around the outboard side of the
head restraint.
Tether Strap Mounting
1 — Cover
3 — Attaching StrapA — Tether Strap Hook
B — Tether Anchor
80 THINGS TO KNOW BEFORE STARTING YOUR VEHICLE
Page 83 of 539

4. Attach the tether strap hook of the child restraint to thetop tether anchorage as shown in the diagram.
5. Remove slack in the tether strap according to the child restraint manufacturer ’s instructions.
WARNING!
•An incorrectly anchored tether strap could lead to
increased head motion and possible injury to the
child. Use only the anchorage position directly be-
hind the child seat to secure a child restraint top
tether strap.
• If your vehicle is equipped with a split rear seat,
make sure the tether strap does not slip into the
opening between the seatbacks as you remove slack
in the strap.
Transporting Pets
Air Bags deploying in the front seat could harm your pet.
An unrestrained pet will be thrown about and possibly
injured, or injure a passenger during panic braking or in a
collision.
Pets should be restrained in the rear seat in pet harnesses or
pet carriers that are secured by seat belts.
ENGINE BREAK-IN RECOMMENDATIONS
A long break-in period is not required for the engine and
drivetrain (transmission and axle) in your vehicle.
Drive moderately during the first 300 miles (500 km). After
the initial 60 miles (100 km), speeds up to 50 or 55 mph (80
or 90 km/h) are desirable.
While cruising, brief full-throttle acceleration within the
limits of local traffic laws contributes to a good break-in.
Wide-open throttle acceleration in low gear can be detri-
mental and should be avoided.
The engine oil installed in the engine at the factory is a
high-quality energy conserving type lubricant. Oil changes
should be consistent with anticipated climate conditions
under which vehicle operations will occur. For the recom-
mended viscosity and quality grades, refer to “Mainte-
nance Procedures” in “Maintaining Your Vehicle.”
CAUTION!
Never use Non-Detergent Oil or Straight Mineral Oil
in the engine or damage may result.
2
THINGS TO KNOW BEFORE STARTING YOUR VEHICLE 81
Page 119 of 539
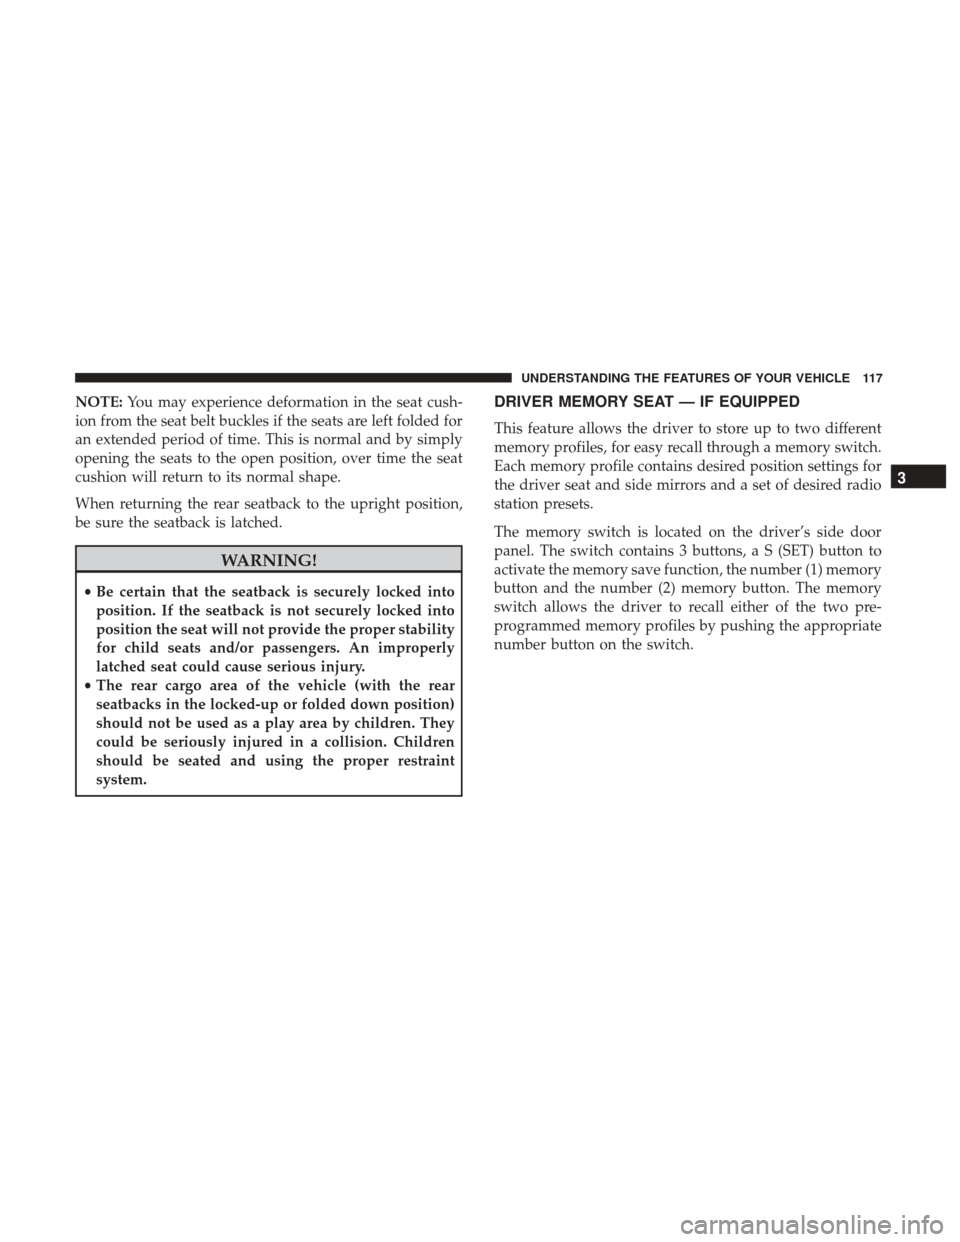
NOTE:You may experience deformation in the seat cush-
ion from the seat belt buckles if the seats are left folded for
an extended period of time. This is normal and by simply
opening the seats to the open position, over time the seat
cushion will return to its normal shape.
When returning the rear seatback to the upright position,
be sure the seatback is latched.
WARNING!
• Be certain that the seatback is securely locked into
position. If the seatback is not securely locked into
position the seat will not provide the proper stability
for child seats and/or passengers. An improperly
latched seat could cause serious injury.
• The rear cargo area of the vehicle (with the rear
seatbacks in the locked-up or folded down position)
should not be used as a play area by children. They
could be seriously injured in a collision. Children
should be seated and using the proper restraint
system.
DRIVER MEMORY SEAT — IF EQUIPPED
This feature allows the driver to store up to two different
memory profiles, for easy recall through a memory switch.
Each memory profile contains desired position settings for
the driver seat and side mirrors and a set of desired radio
station presets.
The memory switch is located on the driver’s side door
panel. The switch contains 3 buttons, a S (SET) button to
activate the memory save function, the number (1) memory
button and the number (2) memory button. The memory
switch allows the driver to recall either of the two pre-
programmed memory profiles by pushing the appropriate
number button on the switch.
3
UNDERSTANDING THE FEATURES OF YOUR VEHICLE 117
Page 239 of 539
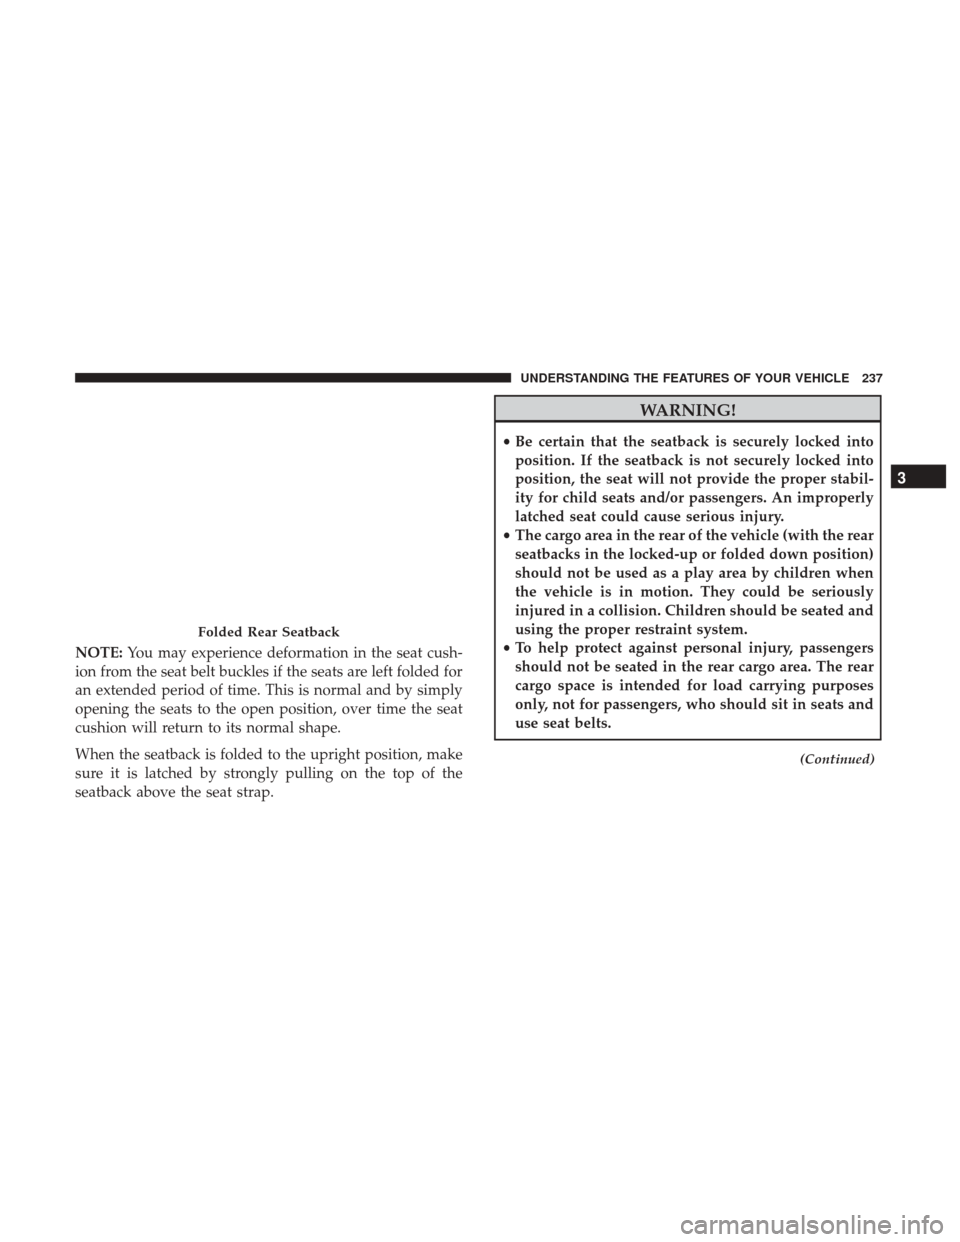
NOTE:You may experience deformation in the seat cush-
ion from the seat belt buckles if the seats are left folded for
an extended period of time. This is normal and by simply
opening the seats to the open position, over time the seat
cushion will return to its normal shape.
When the seatback is folded to the upright position, make
sure it is latched by strongly pulling on the top of the
seatback above the seat strap.
WARNING!
• Be certain that the seatback is securely locked into
position. If the seatback is not securely locked into
position, the seat will not provide the proper stabil-
ity for child seats and/or passengers. An improperly
latched seat could cause serious injury.
• The cargo area in the rear of the vehicle (with the rear
seatbacks in the locked-up or folded down position)
should not be used as a play area by children when
the vehicle is in motion. They could be seriously
injured in a collision. Children should be seated and
using the proper restraint system.
• To help protect against personal injury, passengers
should not be seated in the rear cargo area. The rear
cargo space is intended for load carrying purposes
only, not for passengers, who should sit in seats and
use seat belts.
(Continued)
Folded Rear Seatback
3
UNDERSTANDING THE FEATURES OF YOUR VEHICLE 237
Page 524 of 539
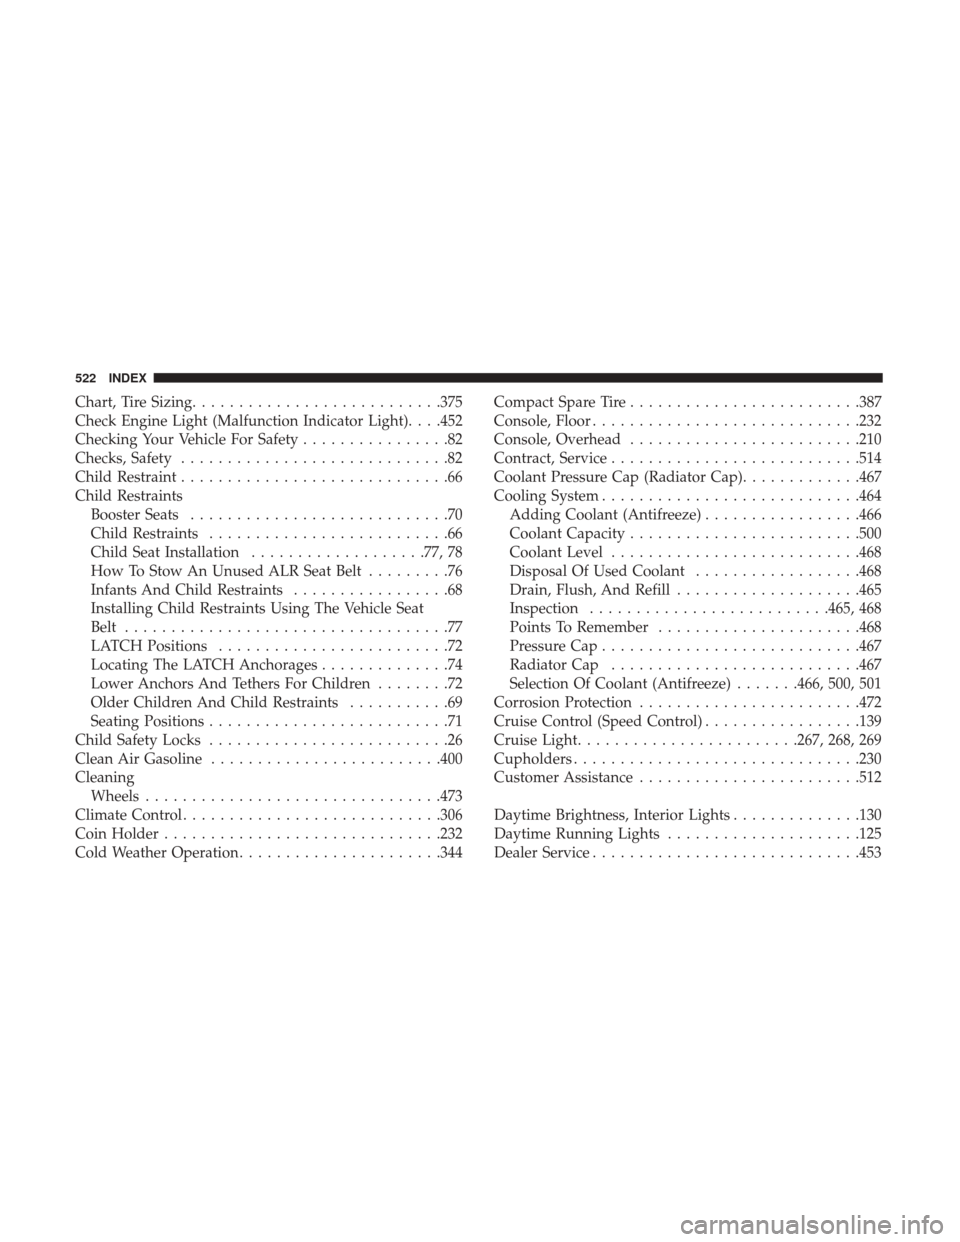
Chart, Tire Sizing.......................... .375
Check Engine Light (Malfunction Indicator Light). . . .452
Checking Your Vehicle For Safety ................82
Checks, Safety .............................82
Child Restraint .............................66
Child Restraints Booster Seats ............................70
Child Restraints ..........................66
Child Seat Installation ...................77, 78
How To Stow An Unused ALR Seat Belt .........76
Infants And Child Restraints .................68
Installing Child Restraints Using The Vehicle Seat
Belt ...................................77
LATCH Positions .........................72
Locating The LATCH Anchorages ..............74
Lower Anchors And Tethers For Children ........72
Older Children And Child Restraints ...........69
Seating Positions ..........................71
Child Safety Locks ..........................26
Clean Air Gasoline ........................ .400
Cleaning Wheels ............................... .473
Climate Control ........................... .306
Coin Holder ............................. .232
Cold Weather Operation ..................... .344Compact Spare Tire
........................ .387
Console, Floor ............................ .232
Console, Overhead ........................ .210
Contract, Service .......................... .514
Coolant Pressure Cap (Radiator Cap) .............467
Cooling System ........................... .464
Adding Coolant (Antifreeze) .................466
Coolant Capacity ........................ .500
Coolant Level .......................... .468
Disposal Of Used Coolant ..................468
Drain, Flush, And Refill ....................465
Inspection ......................... .465, 468
Points To Remember ..................... .468
Pressure Cap ........................... .467
Radiator Cap .......................... .467
Selection Of Coolant (Antifreeze) .......466, 500, 501
Corrosion Protection ....................... .472
Cr
uise Control (Speed Control) .................139
Cruise Light ....................... .267, 268, 269
Cupholders .............................. .230
Customer Assistance ....................... .512
Daytime Brightness, Interior Lights ..............130
Daytime Running Lights .....................125
Dealer Service ............................ .453
522 INDEX