lock CHRYSLER 200 CONVERTIBLE 2012 1.G User Guide
[x] Cancel search | Manufacturer: CHRYSLER, Model Year: 2012, Model line: 200 CONVERTIBLE, Model: CHRYSLER 200 CONVERTIBLE 2012 1.GPages: 108, PDF Size: 2.83 MB
Page 7 of 108
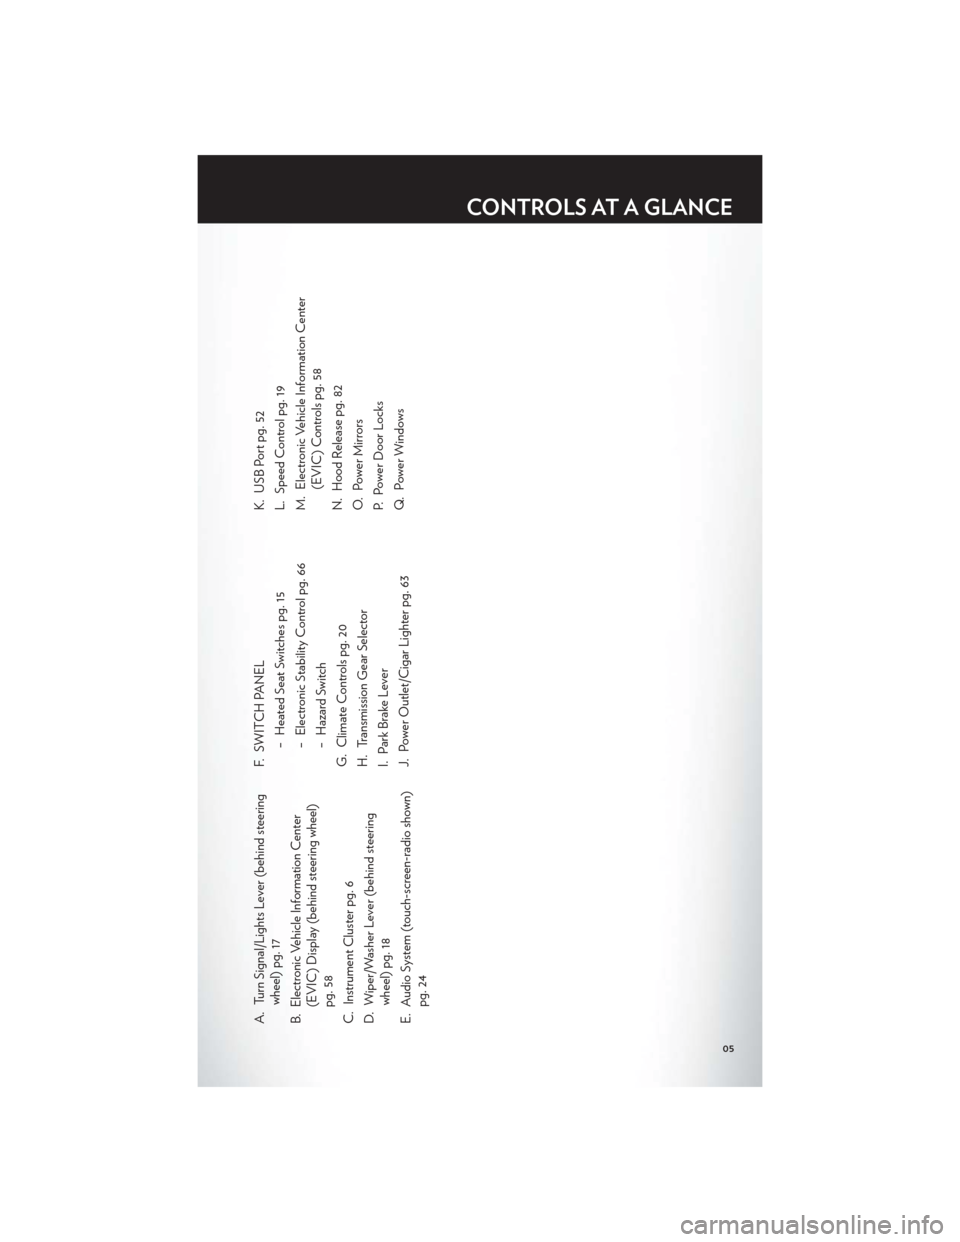
A. Turn Signal/Lights Lever (behind steeringwheel) pg. 17
B. Electronic Vehicle Information Center (EVIC) Display (behind steering wheel)
pg. 58
C. Instrument Cluster pg. 6
D. Wiper/Washer Lever (behind steering wheel) pg. 18
E. Audio System (touch-screen-radio shown) pg. 24 F. SWITCH PANEL
− Heated Seat Switches pg. 15
− Electronic Stability Control pg. 66
− Hazard Switch
G. Climate Controls pg. 20
H. Transmission Gear Selector
I. Park Brake Lever
J. Power Outlet/Cigar Lighter pg. 63 K. USB Port pg. 52
L. Speed Control pg. 19
M. Electronic Vehicle Information Center
(EVIC) Controls pg. 58
N. Hood Release pg. 82
O. Power Mirrors
P. Power Door Locks
Q. Power Windows
CONTROLS AT A GLANCE
05
Page 8 of 108
INSTRUMENT CLUSTER
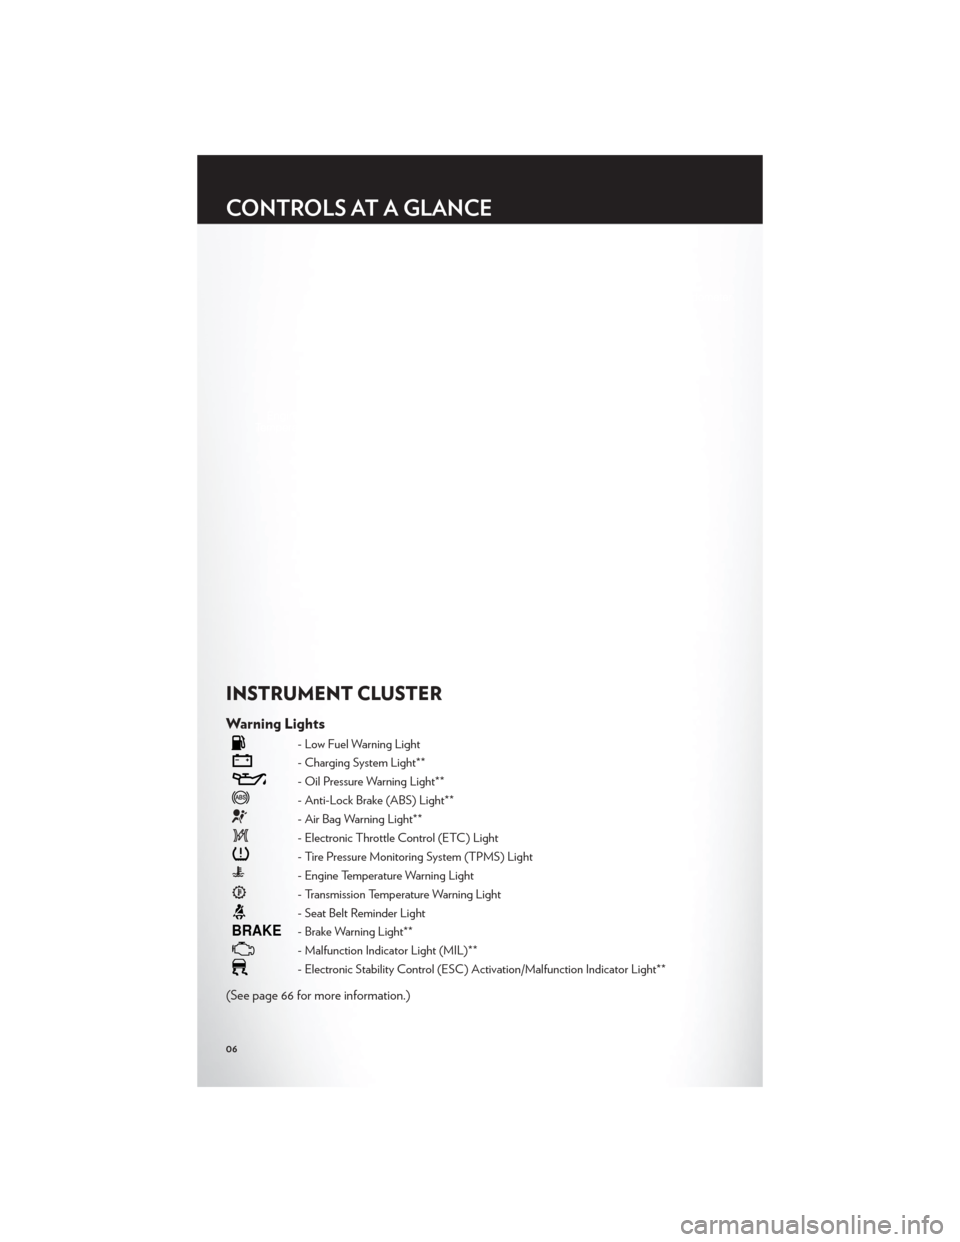
Warning Lights
- Low Fuel Warning Light
- Charging System Light**
- Oil Pressure Warning Light**
- Anti-Lock Brake (ABS) Light**
- Air Bag Warning Light**
- Electronic Throttle Control (ETC) Light
- Tire Pressure Monitoring System (TPMS) Light
- Engine Temperature Warning Light
- Transmission Temperature Warning Light
- Seat Belt Reminder Light
BRAKE- Brake Warning Light**
- Malfunction Indicator Light (MIL)**
- Electronic Stability Control (ESC) Activation/Malfunction Indicator Light**
(See page 66 for more information.)
CONTROLS AT A GLANCE
06
Page 10 of 108
KEY FOB
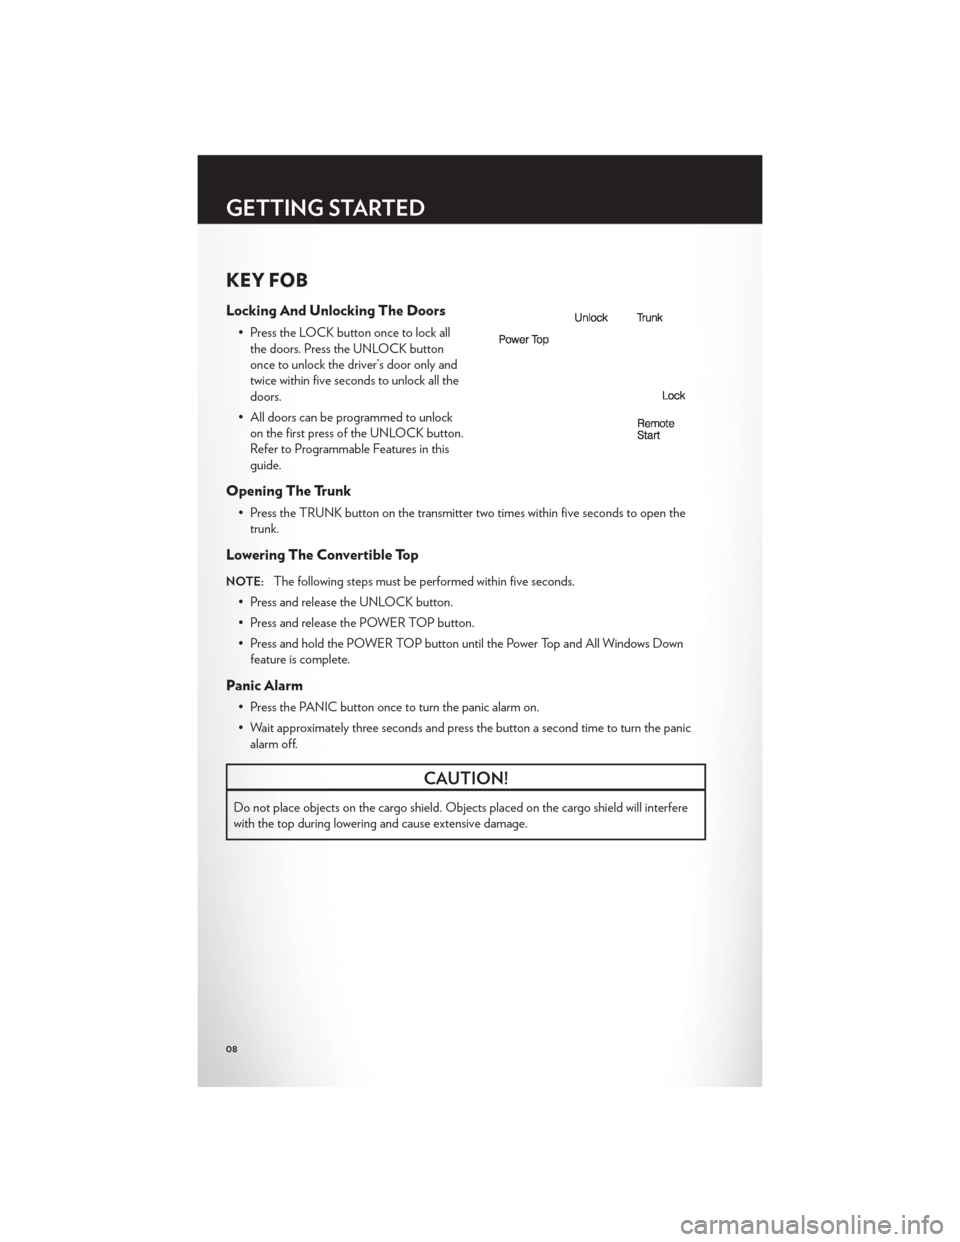
Locking And Unlocking The Doors
• Press the LOCK button once to lock allthe doors. Press the UNLOCK button
once to unlock the driver’s door only and
twice within five seconds to unlock all the
doors.
• All doors can be programmed to unlock on the first press of the UNLOCK button.
Refer to Programmable Features in this
guide.
Opening The Trunk
• Press the TRUNK button on the transmitter two times within five seconds to open thetrunk.
Lowering The Convertible Top
NOTE:The following steps must be performed within five seconds.
• Press and release the UNLOCK button.
• Press and release the POWER TOP button.
• Press and hold the POWER TOP button until the Power Top and All Windows Down feature is complete.
Panic Alarm
• Press the PANIC button once to turn the panic alarm on.
• Wait approximately three seconds and press the button a second time to turn the panicalarm off.
CAUTION!
Do not place objects on the cargo shield. Objects placed on the cargo shield will interfere
with the top during lowering and cause extensive damage.
GETTING STARTED
08
Page 11 of 108
WARNING!
• Leaving unattended children in a vehicle is dangerous for a number of reasons. A child orothers could be severely injured or killed. Children should be warned not to touch the
parking brake, brake pedal, or the shift lever. Do not leave the key in the ignition. A child
could operate power windows, other controls, or move the vehicle.
• Do not start or run an engine in a closed garage or confined area. Exhaust gas contains Carbon Monoxide (CO) which is odorless and colorless. Carbon Monoxide is poisonous
and can cause serious injury or death when inhaled.
• Keep Key Fob transmitters away from children. Operation of the Remote Start System, windows, door locks or other controls could cause serious injury or death.
REMOTE START
• Press the REMOTE START buttonx2on the Key Fob twice within five seconds.
Pressing the REMOTE START button a third time shuts the engine off.
• To drive the vehicle, press the UNLOCK button, insert the key in the ignition and turn to the ON/RUN position.
• With remote start, the engine will only run for 15 minutes (timeout) unless the ignition key is placed in the ON/RUN position.
• The vehicle must be started with the key after two consecutive timeouts.
WARNING!
• Do not start or run an engine in a closed garage or confined area. Exhaust gas contains Carbon Monoxide (CO) which is odorless and colorless. Carbon Monoxide is poisonous
and can cause you or others to be severely injured or killed when inhaled.
• Keep Key Fob transmitters away from children. Operation of the Remote Start System, windows, door locks or other controls could cause you and others to be severely injured
or killed.
THEFT ALARM
To Arm
• Press the Key Fob LOCK button or the power door lock switch while the door is open.
To Disarm
• Press the Key Fob UNLOCK button or turn the ignition to the ON/RUN position.
GETTING STARTED
09
Page 18 of 108

WARNING!
• Persons who are unable to feel pain to the skin because of advanced age, chronic illness,diabetes, spinal cord injury, medication, alcohol use, exhaustion or other physical
conditions must exercise care when using the seat heater. It may cause burns even at low
temperatures, especially if used for long periods of time.
• Do not place anything on the seat that insulates against heat, such as a blanket or cushion. This may cause the seat heater to overheat. Sitting in a seat that has been
overheated could cause serious burns due to the increased surface temperature of the
seat.
TILT / TELESCOPING STEERING COLUMN
• The tilt/telescoping control lever islocated below the steering wheel at the
end of the steering column.
• Push down on the lever to unlock the steering column.
• To tilt the steering column, move the steering wheel upward or downward as
desired. To lengthen or shorten the
steering column, pull the steering wheel
outward or push it inward as desired.
• Pull upward on the lever to lock the column firmly in place.
WARNING!
Do not adjust the steering wheel while driving. The tilt/telescoping adjustment must be
locked while driving. Adjusting the steering wheel while driving or driving without the
tilt/telescoping adjustment locked could cause the driver to lose control of the vehicle.
Failure to follow this warning may result in you and others being severely injured or killed.
GETTING STARTED
16
Page 28 of 108
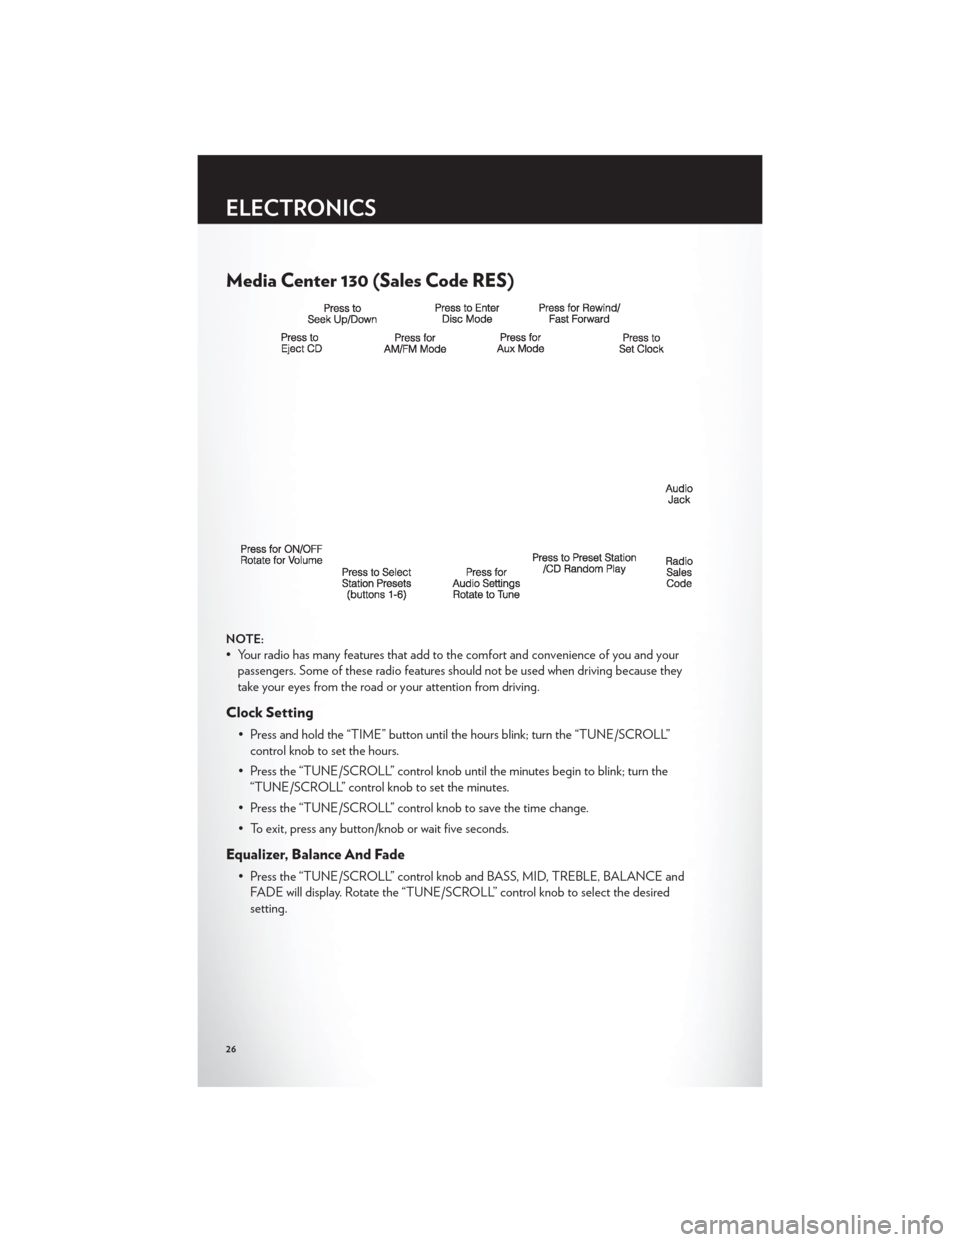
Media Center 130 (Sales Code RES)
NOTE:
• Your radio has many features that add to the comfort and convenience of you and yourpassengers. Some of these radio features should not be used when driving because they
take your eyes from the road or your attention from driving.
Clock Setting
• Press and hold the “TIME” button until the hours blink; turn the “TUNE/SCROLL”control knob to set the hours.
• Press the “TUNE/SCROLL” control knob until the minutes begin to blink; turn the “TUNE/SCROLL” control knob to set the minutes.
• Press the “TUNE/SCROLL” control knob to save the time change.
• To exit, press any button/knob or wait five seconds.
Equalizer, Balance And Fade
• Press the “TUNE/SCROLL” control knob and BASS, MID, TREBLE, BALANCE and FADE will display. Rotate the “TUNE/SCROLL” control knob to select the desired
setting.
ELECTRONICS
26
Page 30 of 108
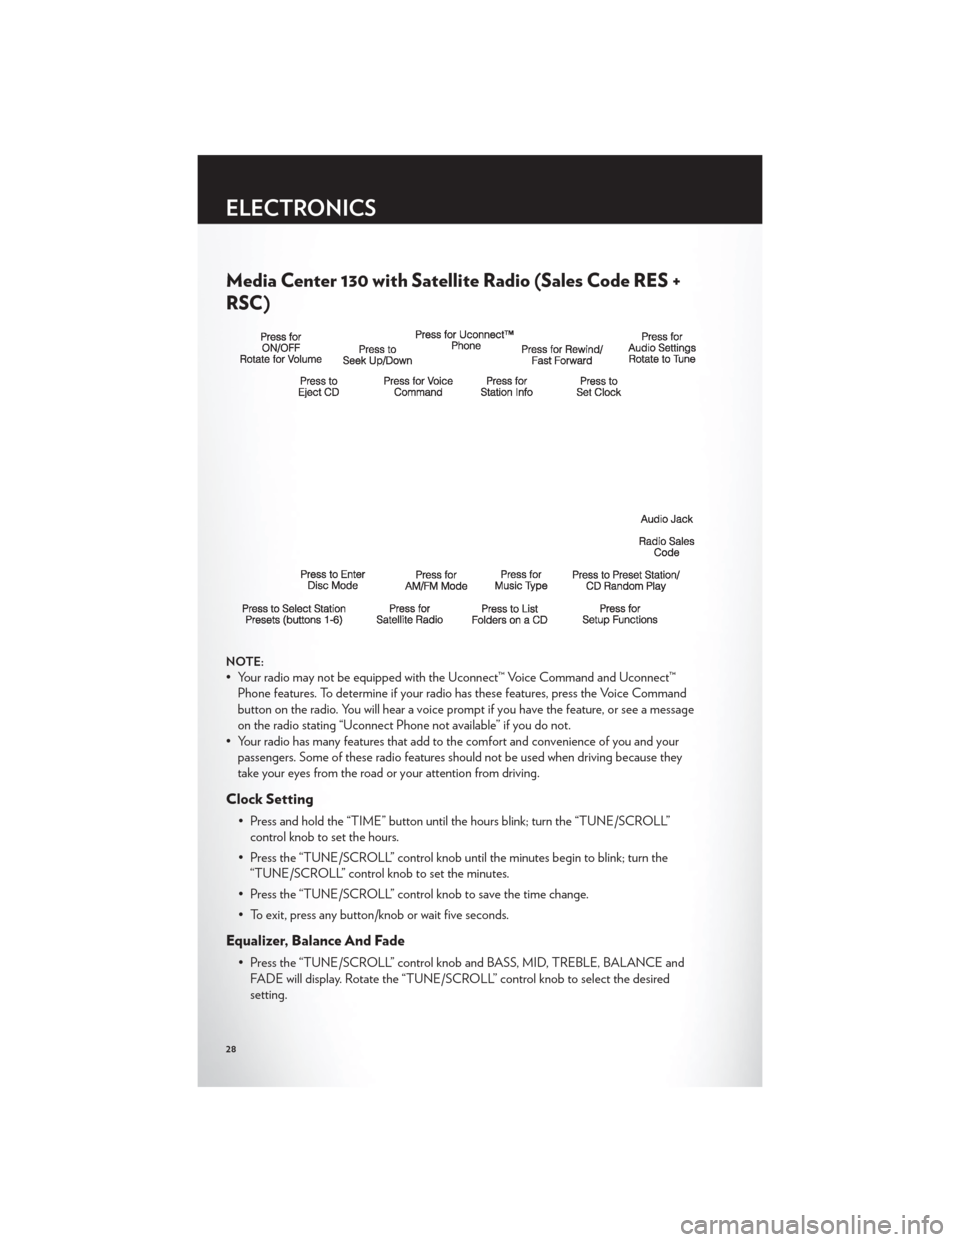
Media Center 130 with Satellite Radio (Sales Code RES +
RSC)
NOTE:
• Your radio may not be equipped with the Uconnect™ Voice Command and Uconnect™Phone features. To determine if your radio has these features, press the Voice Command
button on the radio. You will hear a voice prompt if you have the feature, or see a message
on the radio stating “Uconnect Phone not available” if you do not.
• Your radio has many features that add to the comfort and convenience of you and your passengers. Some of these radio features should not be used when driving because they
take your eyes from the road or your attention from driving.
Clock Setting
• Press and hold the “TIME” button until the hours blink; turn the “TUNE/SCROLL”control knob to set the hours.
• Press the “TUNE/SCROLL” control knob until the minutes begin to blink; turn the “TUNE/SCROLL” control knob to set the minutes.
• Press the “TUNE/SCROLL” control knob to save the time change.
• To exit, press any button/knob or wait five seconds.
Equalizer, Balance And Fade
• Press the “TUNE/SCROLL” control knob and BASS, MID, TREBLE, BALANCE and FADE will display. Rotate the “TUNE/SCROLL” control knob to select the desired
setting.
ELECTRONICS
28
Page 33 of 108
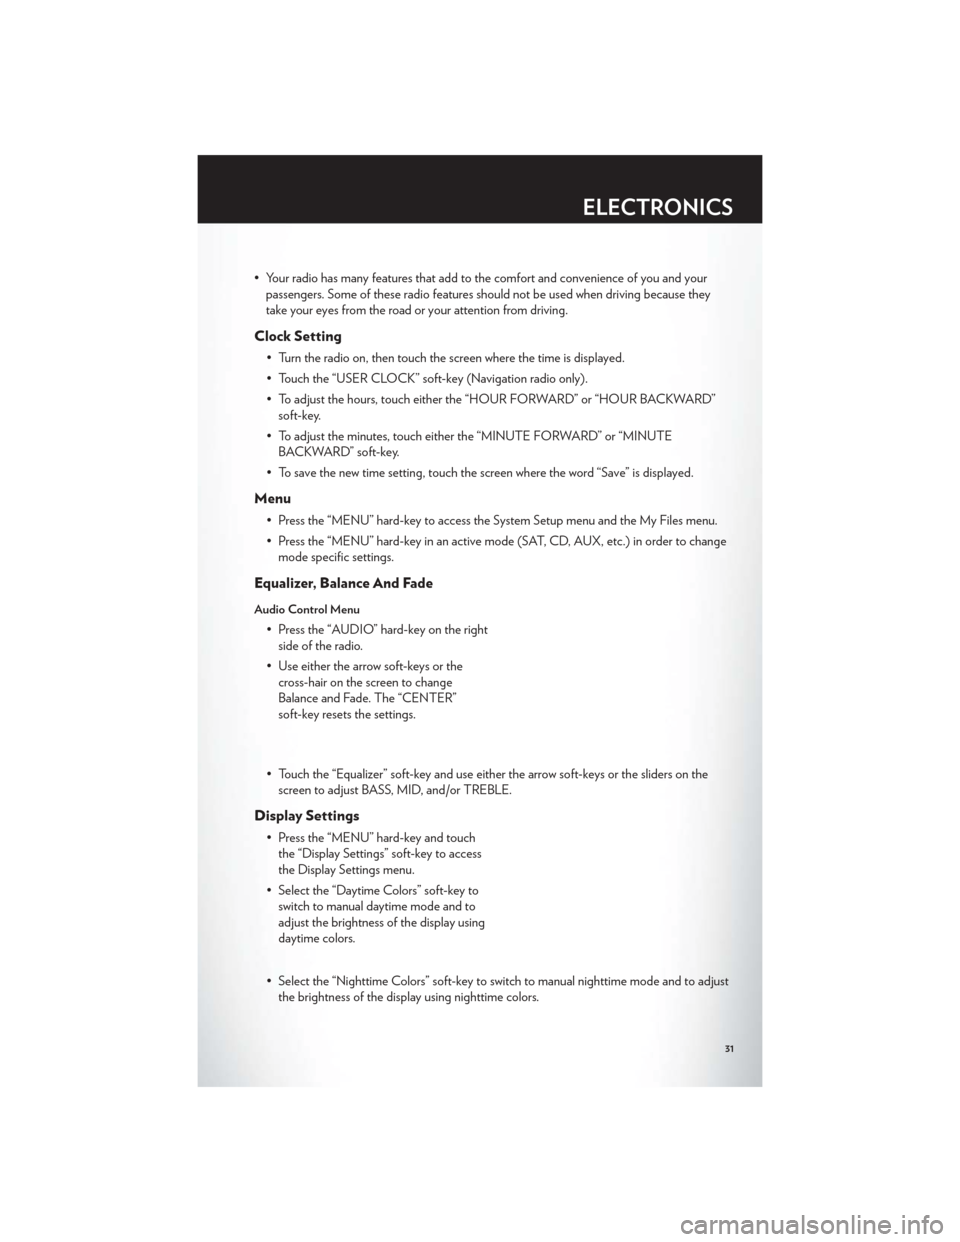
• Your radio has many features that add to the comfort and convenience of you and yourpassengers. Some of these radio features should not be used when driving because they
take your eyes from the road or your attention from driving.
Clock Setting
• Turn the radio on, then touch the screen where the time is displayed.
• Touch the “USER CLOCK” soft-key (Navigation radio only).
• To adjust the hours, touch either the “HOUR FORWARD” or “HOUR BACKWARD”soft-key.
• To adjust the minutes, touch either the “MINUTE FORWARD” or “MINUTE BACKWARD” soft-key.
• To save the new time setting, touch the screen where the word “Save” is displayed.
Menu
• Press the “MENU” hard-key to access the System Setup menu and the My Files menu.
• Press the “MENU” hard-key in an active mode (SAT, CD, AUX, etc.) in order to change mode specific settings.
Equalizer, Balance And Fade
Audio Control Menu
• Press the “AUDIO” hard-key on the rightside of the radio.
• Use either the arrow soft-keys or the cross-hair on the screen to change
Balance and Fade. The “CENTER”
soft-key resets the settings.
• Touch the “Equalizer” soft-key and use either the arrow soft-keys or the sliders on the screen to adjust BASS, MID, and/or TREBLE.
Display Settings
• Press the “MENU” hard-key and touchthe “Display Settings” soft-key to access
the Display Settings menu.
• Select the “Daytime Colors” soft-key to switch to manual daytime mode and to
adjust the brightness of the display using
daytime colors.
• Select the “Nighttime Colors” soft-key to switch to manual nighttime mode and to adjust the brightness of the display using nighttime colors.
ELECTRONICS
31
Page 41 of 108
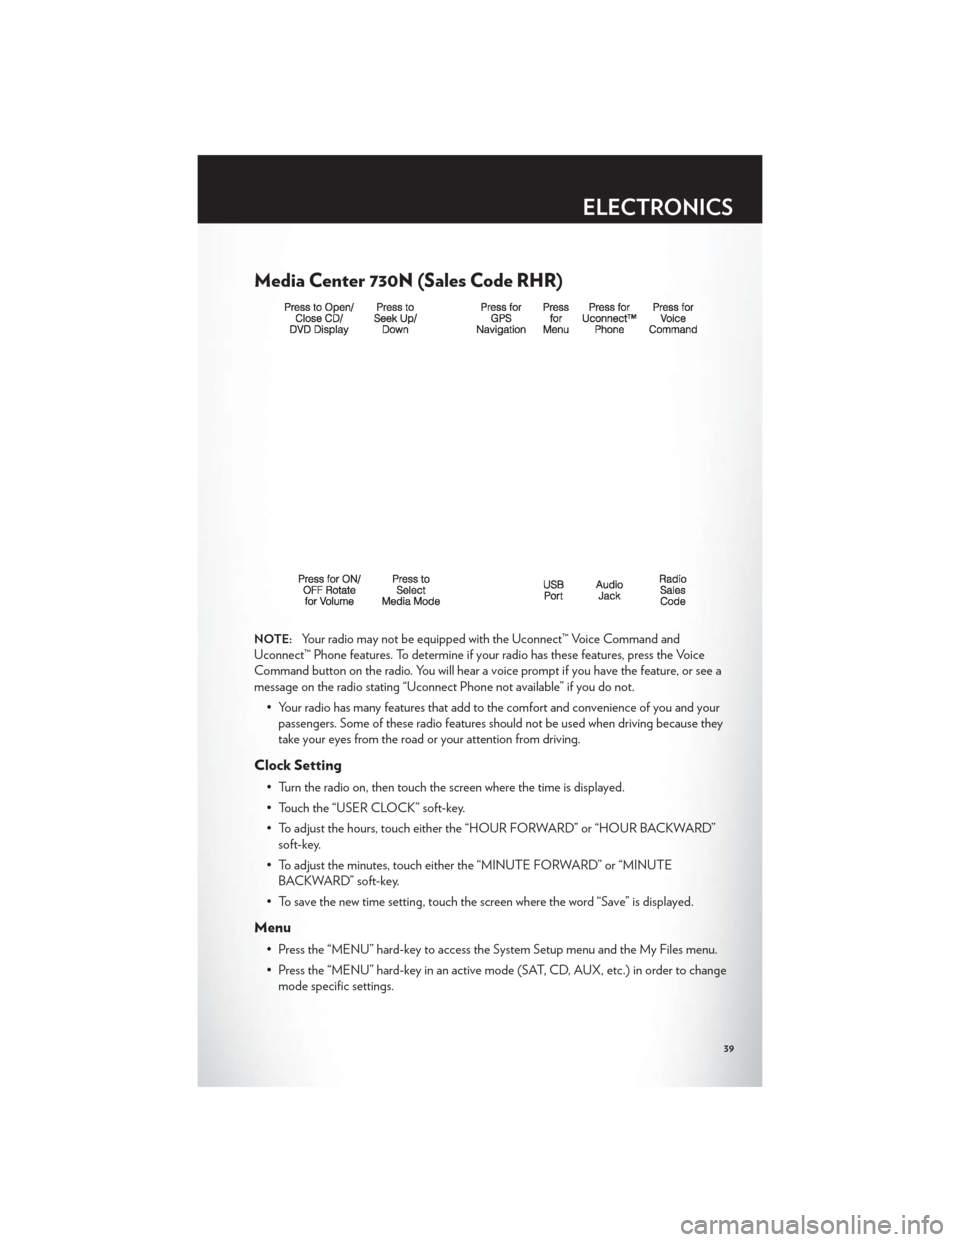
Media Center 730N (Sales Code RHR)
NOTE:Your radio may not be equipped with the Uconnect™ Voice Command and
Uconnect™ Phone features. To determine if your radio has these features, press the Voice
Command button on the radio. You will hear a voice prompt if you have the feature, or see a
message on the radio stating “Uconnect Phone not available” if you do not.
• Your radio has many features that add to the comfort and convenience of you and yourpassengers. Some of these radio features should not be used when driving because they
take your eyes from the road or your attention from driving.
Clock Setting
• Turn the radio on, then touch the screen where the time is displayed.
• Touch the “USER CLOCK” soft-key.
• To adjust the hours, touch either the “HOUR FORWARD” or “HOUR BACKWARD”soft-key.
• To adjust the minutes, touch either the “MINUTE FORWARD” or “MINUTE BACKWARD” soft-key.
• To save the new time setting, touch the screen where the word “Save” is displayed.
Menu
• Press the “MENU” hard-key to access the System Setup menu and the My Files menu.
• Press the “MENU” hard-key in an active mode (SAT, CD, AUX, etc.) in order to change mode specific settings.
ELECTRONICS
39
Page 51 of 108
Sirius XM™ SATELLITE RADIO/TRAVEL LINK
NOTE:
• Sirius Travel Link requires a subscription, sold separately after the 1 year trial subscriptionincluded with your vehicle purchase.
• Sirius Travel Link is only available in the United States.
• The following describes features that are available when in Sirius XM™ Satellite Radiomode.
• To access Sirius XM™ Satellite Radio, press the “RADIO/MEDIA” or “RADIO” and then touch the “SAT” soft-key tab.
Info
• Touch the “i” soft-key to view detailed information about the current Sirius XM™ Satellitechannel.
Sirius XM™ Parental Controls
• Sirius XM™ offers the option to permanently block selected channels. Call1-888-539-7474 and request the Family Package.
• Media Center 430/430N and 730N: Press the “MENU” hard-key while in Sirius XM™ Satellite Radio Mode, then touch the “Channel Lock” to enable and/or disable desired
channels. The SEEK and SCAN function will then only display channels without Channel
lock.
Search/Browse
• Touch the “magnifying glass” soft-key tosearch/browse the Sirius XM™ channel
listing by Favorites and Categories such as
Song, Artist and Channel Name. The
Search/Browse also allows you manage
your Favorites.
Sirius XM™ Satellite Radio Favorites (SAT
Favorites)
• You can save 50 favorite songs and 50favorite artists.
• Touch the “add favorite” soft-key to add either the song or the artist of the
currently playing program to the SAT
Favorites list.
ELECTRONICS
49