window CHRYSLER 200 CONVERTIBLE 2012 1.G User Guide
[x] Cancel search | Manufacturer: CHRYSLER, Model Year: 2012, Model line: 200 CONVERTIBLE, Model: CHRYSLER 200 CONVERTIBLE 2012 1.GPages: 108, PDF Size: 2.83 MB
Page 7 of 108
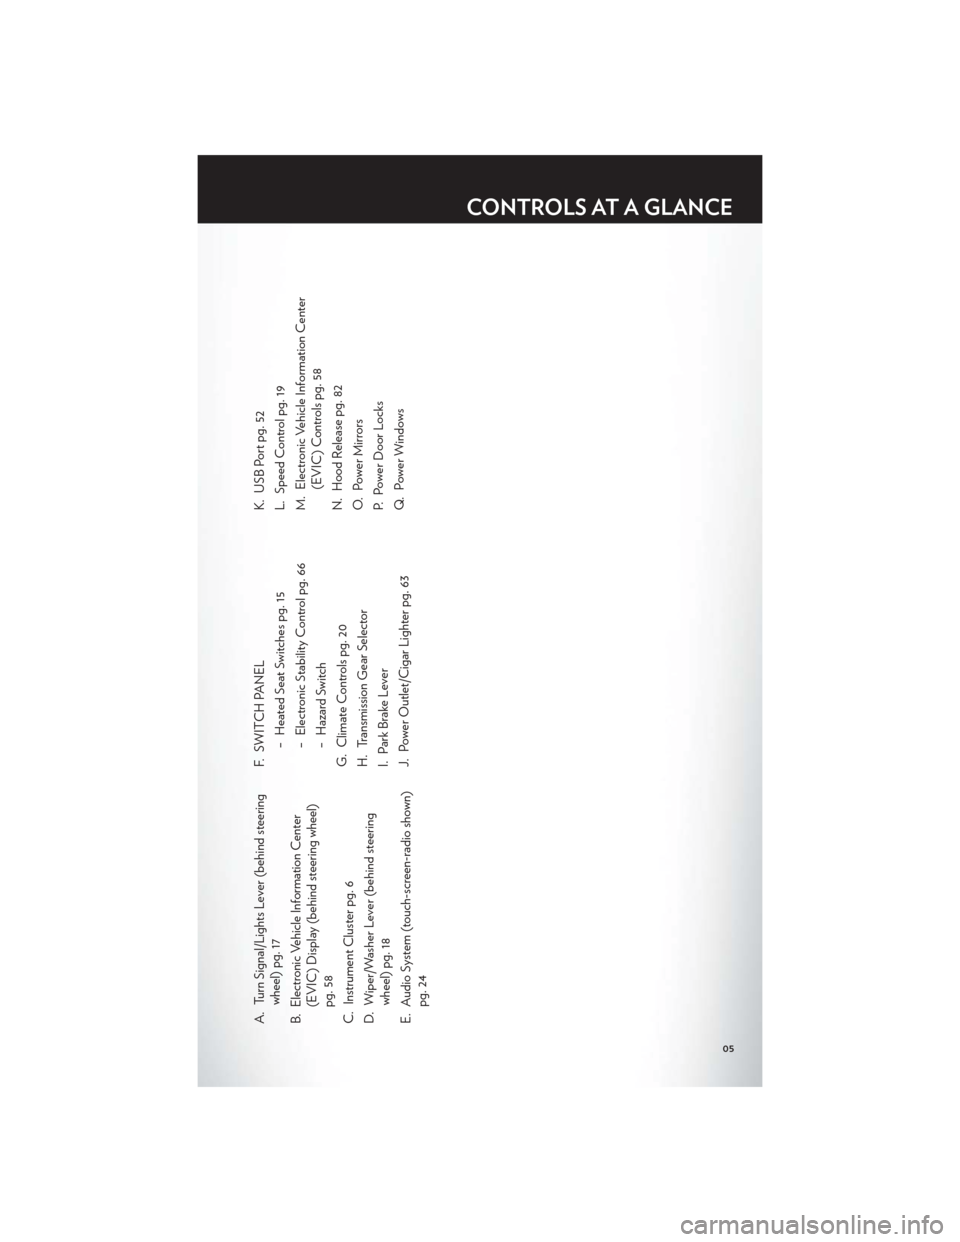
A. Turn Signal/Lights Lever (behind steeringwheel) pg. 17
B. Electronic Vehicle Information Center (EVIC) Display (behind steering wheel)
pg. 58
C. Instrument Cluster pg. 6
D. Wiper/Washer Lever (behind steering wheel) pg. 18
E. Audio System (touch-screen-radio shown) pg. 24 F. SWITCH PANEL
− Heated Seat Switches pg. 15
− Electronic Stability Control pg. 66
− Hazard Switch
G. Climate Controls pg. 20
H. Transmission Gear Selector
I. Park Brake Lever
J. Power Outlet/Cigar Lighter pg. 63 K. USB Port pg. 52
L. Speed Control pg. 19
M. Electronic Vehicle Information Center
(EVIC) Controls pg. 58
N. Hood Release pg. 82
O. Power Mirrors
P. Power Door Locks
Q. Power Windows
CONTROLS AT A GLANCE
05
Page 10 of 108
KEY FOB
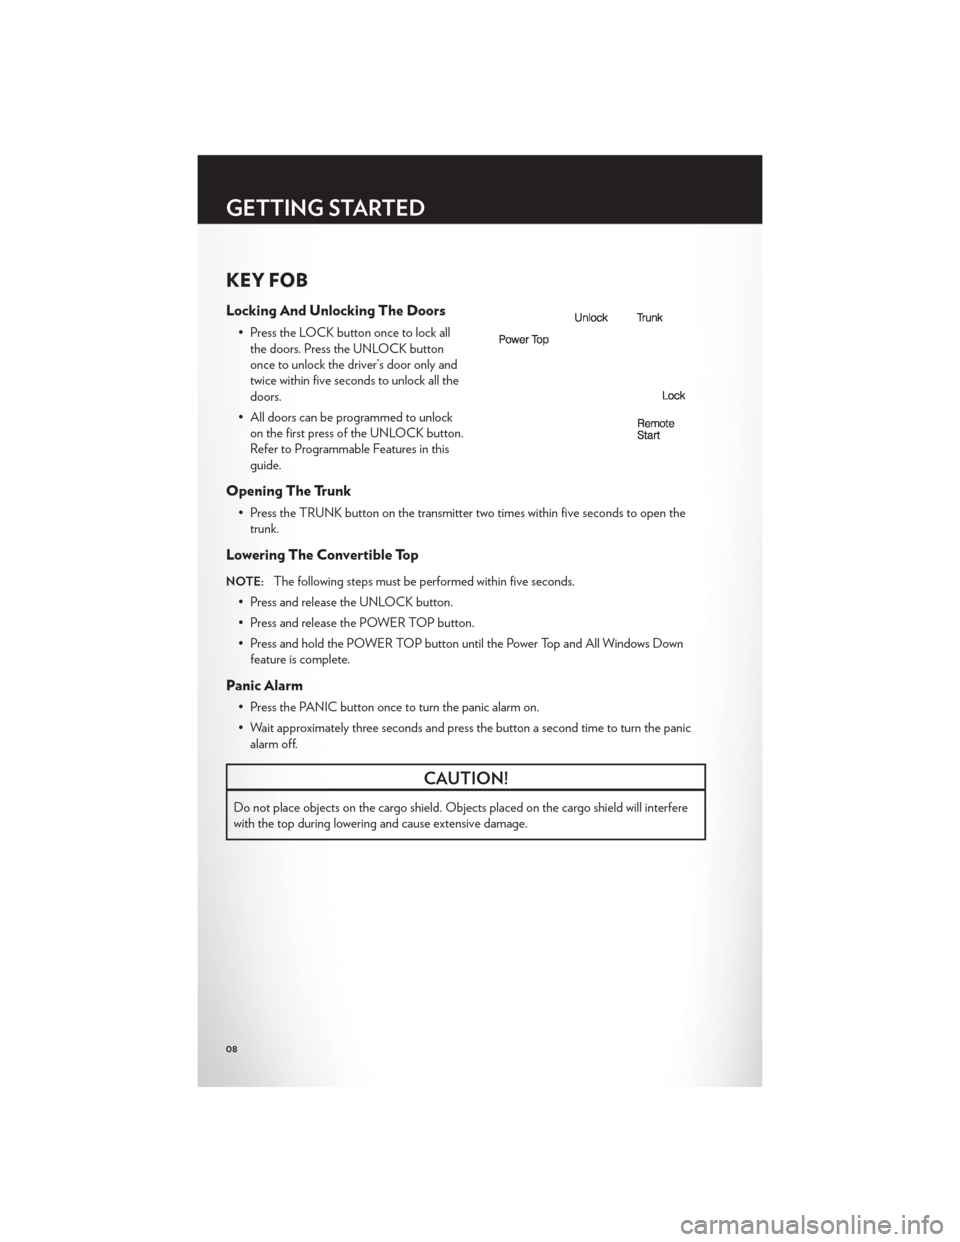
Locking And Unlocking The Doors
• Press the LOCK button once to lock allthe doors. Press the UNLOCK button
once to unlock the driver’s door only and
twice within five seconds to unlock all the
doors.
• All doors can be programmed to unlock on the first press of the UNLOCK button.
Refer to Programmable Features in this
guide.
Opening The Trunk
• Press the TRUNK button on the transmitter two times within five seconds to open thetrunk.
Lowering The Convertible Top
NOTE:The following steps must be performed within five seconds.
• Press and release the UNLOCK button.
• Press and release the POWER TOP button.
• Press and hold the POWER TOP button until the Power Top and All Windows Down feature is complete.
Panic Alarm
• Press the PANIC button once to turn the panic alarm on.
• Wait approximately three seconds and press the button a second time to turn the panicalarm off.
CAUTION!
Do not place objects on the cargo shield. Objects placed on the cargo shield will interfere
with the top during lowering and cause extensive damage.
GETTING STARTED
08
Page 11 of 108
WARNING!
• Leaving unattended children in a vehicle is dangerous for a number of reasons. A child orothers could be severely injured or killed. Children should be warned not to touch the
parking brake, brake pedal, or the shift lever. Do not leave the key in the ignition. A child
could operate power windows, other controls, or move the vehicle.
• Do not start or run an engine in a closed garage or confined area. Exhaust gas contains Carbon Monoxide (CO) which is odorless and colorless. Carbon Monoxide is poisonous
and can cause serious injury or death when inhaled.
• Keep Key Fob transmitters away from children. Operation of the Remote Start System, windows, door locks or other controls could cause serious injury or death.
REMOTE START
• Press the REMOTE START buttonx2on the Key Fob twice within five seconds.
Pressing the REMOTE START button a third time shuts the engine off.
• To drive the vehicle, press the UNLOCK button, insert the key in the ignition and turn to the ON/RUN position.
• With remote start, the engine will only run for 15 minutes (timeout) unless the ignition key is placed in the ON/RUN position.
• The vehicle must be started with the key after two consecutive timeouts.
WARNING!
• Do not start or run an engine in a closed garage or confined area. Exhaust gas contains Carbon Monoxide (CO) which is odorless and colorless. Carbon Monoxide is poisonous
and can cause you or others to be severely injured or killed when inhaled.
• Keep Key Fob transmitters away from children. Operation of the Remote Start System, windows, door locks or other controls could cause you and others to be severely injured
or killed.
THEFT ALARM
To Arm
• Press the Key Fob LOCK button or the power door lock switch while the door is open.
To Disarm
• Press the Key Fob UNLOCK button or turn the ignition to the ON/RUN position.
GETTING STARTED
09
Page 13 of 108
• Refer to the Owner's Manual on the DVD for further details regarding the SupplementalRestraint System (SRS).
WARNING!
• Relying on the air bags alone could lead to more severe injuries in a collision. The airbags work with your seat belt to restrain you properly. In some collisions, the air bags
won't deploy at all. Always wear your seat belts even though you have air bags.
• Being too close to the steering wheel or instrument panel during Advanced Front Air Bag deployment could cause serious injury, including death. Air bags need room to inflate. Sit
back, comfortably extending your arms to reach the steering wheel or instrument panel.
• Supplemental Seat-Mounted Side Air Bags need room to inflate. Do not lean against the door or window. Sit upright in the center of the seat.
• Being too close to the Seat-Mounted Side Air Bag during deployment could cause you to be severely injured or killed.
• Do not drive your vehicle after the air bags have deployed. If you are involved in another
collision, the air bags will not be in place to protect you.
• After any collision, the vehicle should be taken to an authorized dealer immediately.
CHILD RESTRAINTS
• Children 12 years and under should ride properly buckled up in a rear seat, if available. According to crash statistics, children are safer when properly restrained in the rear seats
rather than in the front.
• Every state in the United States and all Canadian provinces require that small children ride in proper restraint systems. This is the law, and you can be prosecuted for ignoring it.
Installing The LATCH - Compatible Child Restraint System
• Your vehicle's second row passenger seats are equipped with the child restraint anchoragesystem called LATCH, which stands for Lower Anchors and Tether for CHildren.
• The two rear seating positions have lower anchorages that are capable of accommodating LATCH-compatible child seats having flexible, webbing mounted lower attachments or
fixed lower attachments.
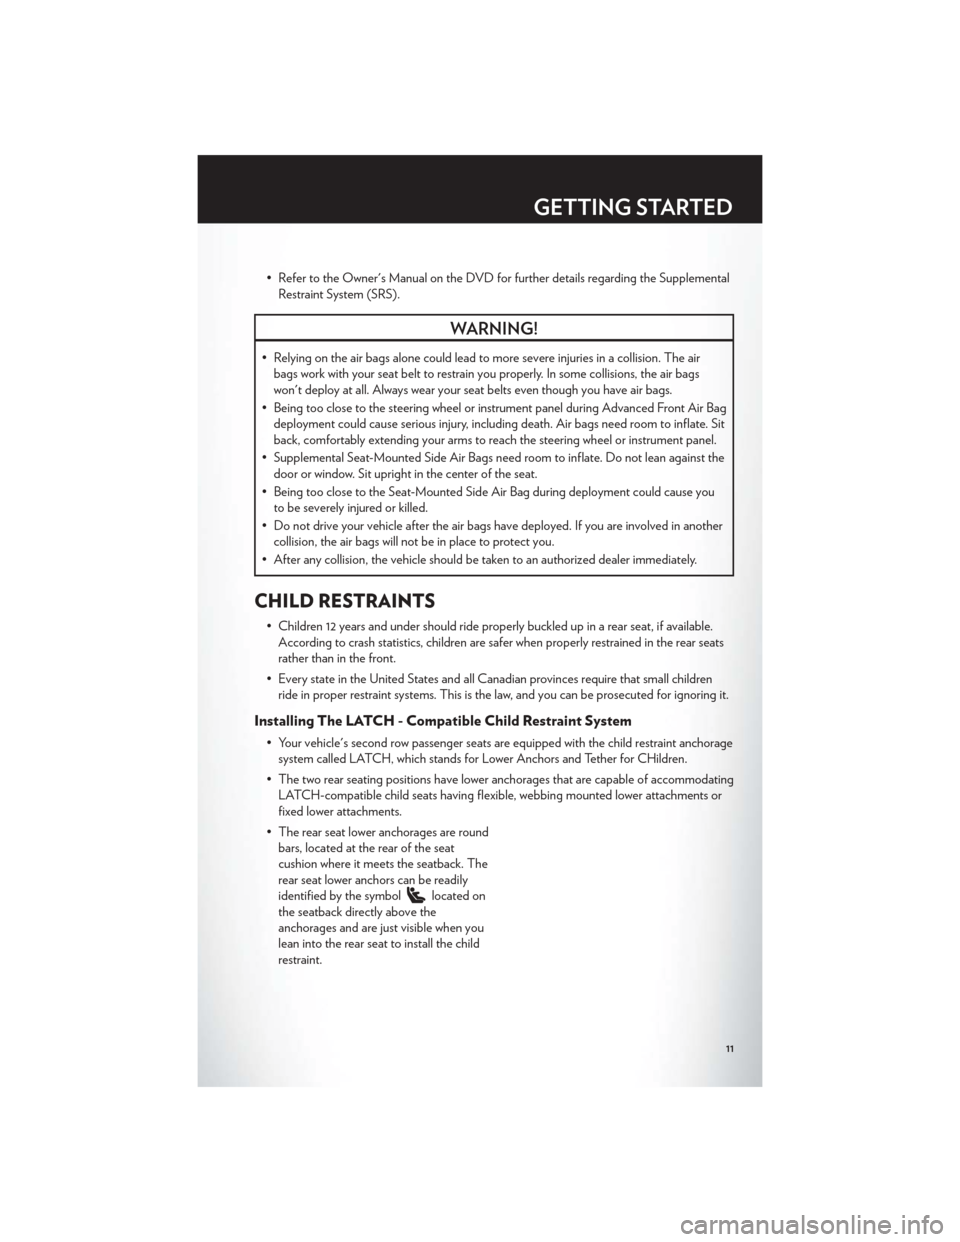
• The rear seat lower anchorages are round bars, located at the rear of the seat
cushion where it meets the seatback. The
rear seat lower anchors can be readily
identified by the symbol
located on
the seatback directly above the
anchorages and are just visible when you
lean into the rear seat to install the child
restraint.
GETTING STARTED
11
Page 22 of 108

WARNING!
• Leaving the Electronic Speed Control system on when not in use is dangerous. You couldaccidentally set the system or cause it to go faster than you want. You could lose control
and have a collision. Always leave the Electronic Speed Control system off when you are
not using it.
• Electronic Speed Control can be dangerous where the system cannot maintain a constant speed. Your vehicle could go too fast for the conditions, and you could lose
control. A collision could be the result. Do not use Electronic Speed Control in heavy
traffic or on roads that are winding, icy, snow-covered or slippery.
MANUAL CLIMATE CONTROLS
Air Recirculation
• Use recirculation for maximum A/C operation.
• For window defogging, turn the recirculation button off.
• Recirculation is not allowed in defrost, floor, defrost/floor (mix) modes.
Heated Mirrors
• The mirrors are heated to melt frost or ice. This feature is activated whenever you turn onthe rear window defroster.
OPERATING YOUR VEHICLE
20
Page 23 of 108

AUTOMATIC TEMPERATURE CONTROLS (ATC)
Automatic Operation
• Turn the Mode and Blower Controls to the AUTO position.
• Select the desired temperature by rotating the Temperature Control.
• The system will maintain the set temperature automatically.
Air Conditioning
• If the air conditioning button is pressed while in the AUTO mode, the indicator light mayflash three times to indicate the cabin air is being controlled automatically.
Air Recirculation
• Use recirculation for maximum A/C operation.
• For window defogging, turn the air recirculation button off.
• If the recirculation button is pressed while in the AUTO mode, the indicator light mayflash three times to indicate the cabin air is being controlled automatically.
Heated Mirrors
• The mirrors are heated to melt frost or ice. This feature is activated whenever you turn onthe rear window defroster.
POWER CONVERTIBLE TOP OPERATION
• Before lowering the top, verify the cargo shield is perfectly positioned in the trunk.
Positioning The Cargo Shield For Top Operation
• Pull the cargo shield toward you to begin unfolding the panels. Grasp the handle in thecenter of the outermost (top) panel and raise the cargo shield. Then, align and seat the
tabs at each end of the cargo shield in the V slots in the trunk liner as shown in the
illustration.
OPERATING YOUR VEHICLE
21
Page 24 of 108
• The power top switch will operate whenthe ignition switch is turned to the
ON/RUN or ACC position and when in
the power accessory delay.
Lowering
• The power top switch is located on thecenter console, just forward of the
armrest.
• The power top switch has two top down positions which affect window position
when lowering the top.
• Press and hold the switch halfway down to the first detent position to lower the
top and maintain the current window
positions.
• Press and hold the switch fully down to the second detent position to lower the top and completely lower all four windows.
Raising
• Press and hold the switch in the top up position until the operation of raising the top andlatching is complete. “TOP DONE” will be displayed in the odometer or
“CONVERTIBLE TOP COMPLETE” in the Electronic Vehicle Information Center once
the convertible top is completely raised and latched.
• Continue to hold the switch in the up position to completely raise all four windows.
OPERATING YOUR VEHICLE
22
Page 25 of 108

Emergency Bypass Mode (To Raise The Top Only)
• This procedure is only to be used to raise the top when the top cannot be returned to theUP (raised) position by pressing the POWER TOP switch or is in a position in which the
vehicle cannot be driven. Please follow these emergency bypass instructions to return the
top to the UP (raised) position.
• Press the POWER TOP switch in the Top Up direction five times within two seconds and hold the switch in the Top Up position for a minimum of two minutes.
• If damage starts to occur while in the Emergency Bypass Mode, immediately release the POWER TOP switch and see your authorized dealer.
NOTE:This procedure may take more time to fully raise and close the power top. It is not
uncommon to see delays of up to 30 seconds before operation begins.
Wind Stop (if equipped)
• The Wind Stop installs in the backseat area of the vehicle. The Wind Stop will not interfere with power top operation. Therefore, it can remain installed when the top is up.
However, when not in use, the Wind Stop folds to allow for convenient storage
underneath the cargo shield in the trunk.
CAUTION!
• Do not place objects on the cargo shield. Objects placed on the cargo shield willinterfere with the top during lowering and cause extensive damage.
• Once this procedure has been completed and the top is in the UP (raised) position, see your authorized dealer. DO NOT exceed 40 mph (64 km/h).
• Using the Emergency Bypass Mode could potentially damage the convertible top and should only be used to raise the power top to the UP (raised) position when the normal
top operation is not functioning.
WIND BUFFETING
• Wind buffeting can be described as a helicopter-type percussion sound. If buffetingoccurs with the rear windows open, adjust the front and rear windows together.
• If buffeting occurs with the sunroof open, adjust the sunroof opening, or adjust any window. This will minimize buffeting.
OPERATING YOUR VEHICLE
23