ECO mode CHRYSLER 200 CONVERTIBLE 2013 1.G User Guide
[x] Cancel search | Manufacturer: CHRYSLER, Model Year: 2013, Model line: 200 CONVERTIBLE, Model: CHRYSLER 200 CONVERTIBLE 2013 1.GPages: 116, PDF Size: 3.04 MB
Page 21 of 116
ENGINE BREAK-IN RECOMMENDATIONS
• A long break-in period is not required for the engine and drivetrain (transmission and axle) inyour vehicle.
• Drive moderately during the first 300 miles (500 km). After the initial 60 miles (100 km), speeds up to 50 or 55 mph (80 or 90 km/h) are desirable.
• While cruising, brief full-throttle acceleration within the limits of local traffic laws contributes to a good break-in. Wide-open throttle acceleration in low gear can be detrimental and should
be avoided.
• The engine oil installed in the engine at the factory is a high-quality energy conserving type lubricant. Oil changes should be consistent with anticipated climate conditions under which
vehicle operations will occur. For the recommended viscosity and quality grades, refer to
“Maintaining Your Vehicle”.
NOTE:
A new engine may consume some oil during its first few thousand miles (kilometers) of opera-
tion. This should be considered a normal part of the break-in and not interpreted as an indica-
tion of difficulty.
CAUTION!
Never use Non-Detergent Oil or Straight Mineral Oil in the engine or damage may result.
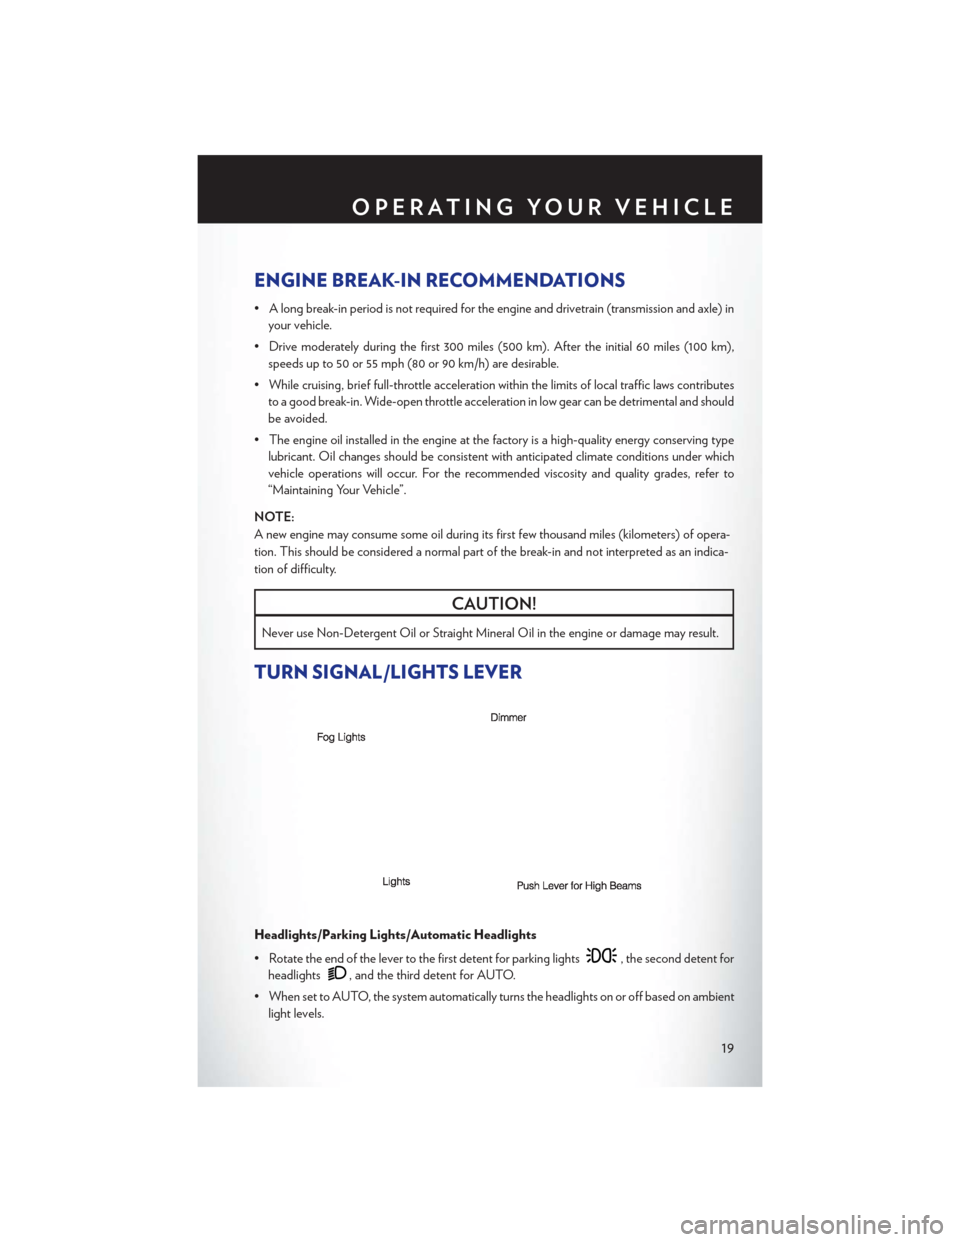
TURN SIGNAL/LIGHTS LEVER
Headlights/Parking Lights/Automatic Headlights
• Rotate the end of the lever to the first detent for parking lights
, the second detent for
headlights
, and the third detent for AUTO.
• When set to AUTO, the system automatically turns the headlights on or off based on ambient light levels.
OPERATING YOUR VEHICLE
19
Page 28 of 116
Raising
• Press and hold the switch in the top up position until the operation of raising the top andlatching is complete. “TOP DONE” will be displayed in the odometer or “CONVERTIBLE
TOP COMPLETE” in the Electronic Vehicle Information Center once the convertible top is
completely raised and latched.
• Continue to hold the switch in the up position to completely raise all four windows.
Emergency Bypass Mode (To Raise The Top Only)
• This procedure is only to be used to raise the top when the top cannot be returned to the UP (raised) position by pressing the POWER TOP switch or is in a position in which the vehicle
cannot be driven. Please follow these emergency bypass instructions to return the top to the
UP (raised) position.
• Press the POWER TOP switch in the Top Up direction five times within two seconds and hold the switch in the Top Up position for a minimum of two minutes.
• If damage starts to occur while in the Emergency Bypass Mode, immediately release the POWER TOP switch and see your authorized dealer.
NOTE:
This procedure may take more time to fully raise and close the power top. It is not uncommon to
see delays of up to 30 seconds before operation begins.
OPERATING YOUR VEHICLE
26
Page 33 of 116
Radio Operation
Seek Up/Down Buttons
• Press to seek through radio stations in AM or FM bands.
• Hold either button to bypass stations without stopping.
Store Radio Presets
• Press the “SET/RND” button once and SET 1 will show in the display. Then select button (1–6).
• A second station may be added to each push button. Press the “SET/RND” button twice andSET 2 will show in the display. Then select button (1–6).
CD/DISC Operation
Seek Up/Down Buttons
• Press to seek through CD tracks.
• Hold either button to bypass tracks without stopping.
SET/RND Button (Random Play)
• Press this button while the CD is playing to activate Random Play.
• This feature plays the selections on the CD in random order to provide an interesting change of pace.
Audio Jack Operation
• The AUX/Audio Jack provides a means to connect a portable audio device, such as an MP3 player, or an iPod®, to the vehicles sound system. This requires the use of a 3.5 mm stereo audio
patch cable.
• Pressing the AUX button will change the mode to auxiliary device if the Audio Jack is connected, allowing the music from your portable device to play through the vehicle's
speakers.
• The functions of the portable device are controlled using the device buttons, not the buttons on the radio. The volume may be controlled using the radio or portable device.
ELECTRONICS
31
Page 35 of 116
Equalizer, Balance And Fade
• Press the “TUNE/SCROLL” control knob and BASS, MID, TREBLE, BALANCE and FADEwill display. Rotate the “TUNE/SCROLL” control knob to select the desired setting.
Radio Operation
Seek Up/Down Buttons
• Press to seek through radio stations in AM, FM, or SAT bands.
• Hold either button to bypass stations without stopping.
Store Radio Presets
• Press the “SET/RND” button once and SET 1 will show in the display. Then select button (1–6).
• A second station may be added to each push button. Press the “SET/RND” button twice and SET 2 will show in the display. Then select button (1–6).
Music Type
• Press the “MUSIC TYPE” button to activate this mode. Press the “MUSIC TYPE” button again or turn the “TUNE/SCROLL” control knob to select the desired music type (Adult Hits,
Country, Jazz, Oldies, Rock, etc.).
• Once a music type is chosen and the icon is displayed, press either “SEEK” button and the radio will only search for stations with the selected music type.
NOTE:
The Music Type function only operates when in FM mode.
SETUP Button
• Pressing the “SETUP” button allows you to select between items that are available in that particular mode.
• Turn the “TUNE/SCROLL” control knob to scroll through the entries. Push the “AUDIO/ SELECT” button to select an entry and make changes.
SiriusXM Satellite Radio
• SiriusXM Satellite Radio gives you over 130 channels, including 100% commercial-free music from nearly every genre, plus all your favorite sports, news, talk and entertainment channels–all
with crystal clear, coast-to-coast coverage, all in one place and all at your fingertips.
• To access SiriusXM Satellite Radio, press the “SAT” hard-key.
ELECTRONICS
33
Page 40 of 116
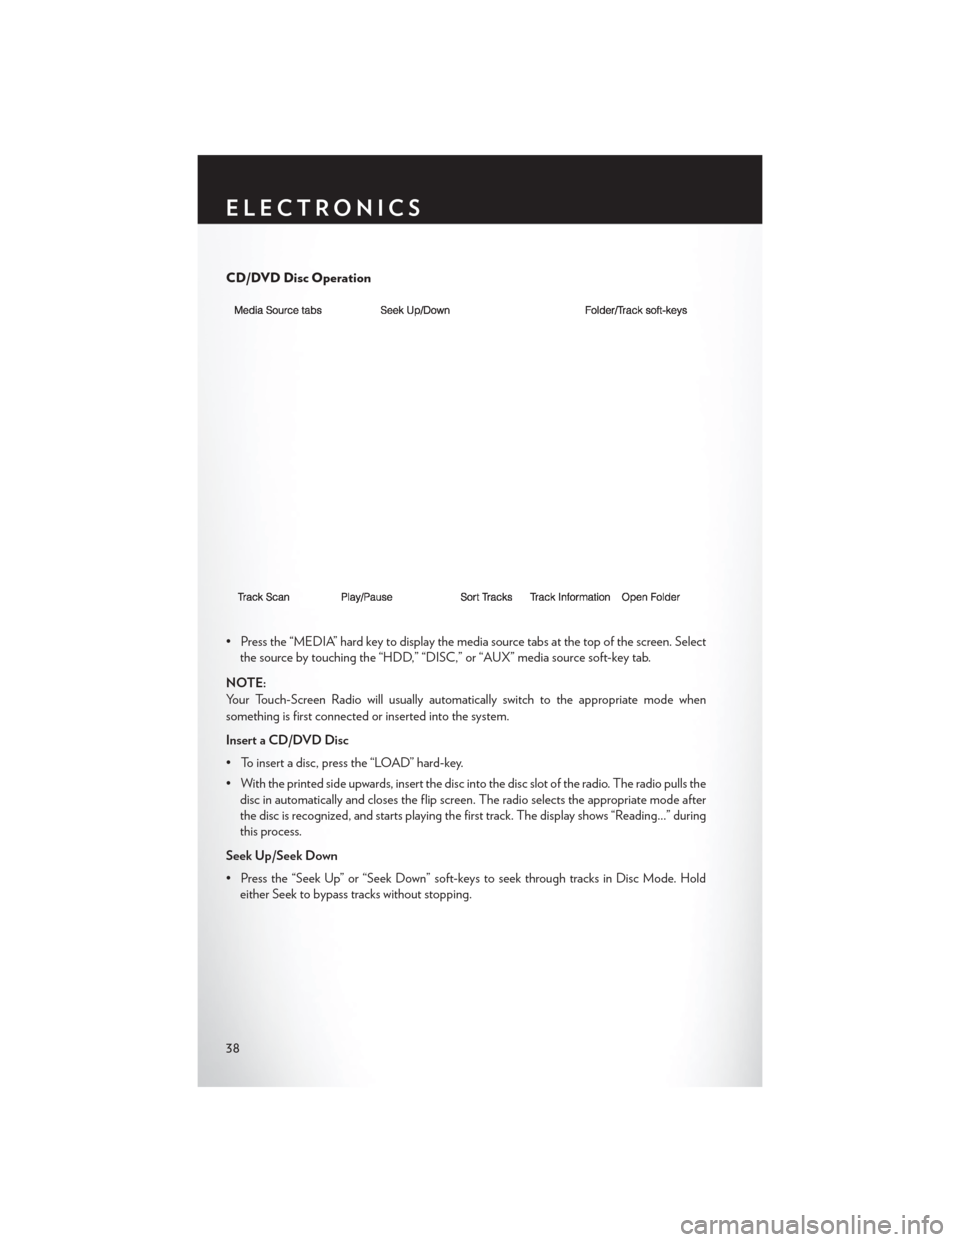
CD/DVD Disc Operation
• Press the “MEDIA” hard key to display the media source tabs at the top of the screen. Selectthe source by touching the “HDD,” “DISC,” or “AUX” media source soft-key tab.
NOTE:
Your Touch-Screen Radio will usually automatically switch to the appropriate mode when
something is first connected or inserted into the system.
Insert a CD/DVD Disc
• To insert a disc, press the “LOAD” hard-key.
• With the printed side upwards, insert the disc into the disc slot of the radio. The radio pulls the disc in automatically and closes the flip screen. The radio selects the appropriate mode after
the disc is recognized, and starts playing the first track. The display shows “Reading...” during
this process.
Seek Up/Seek Down
• Press the “Seek Up” or “Seek Down” soft-keys to seek through tracks in Disc Mode. Hold either Seek to bypass tracks without stopping.
ELECTRONICS
38
Page 50 of 116
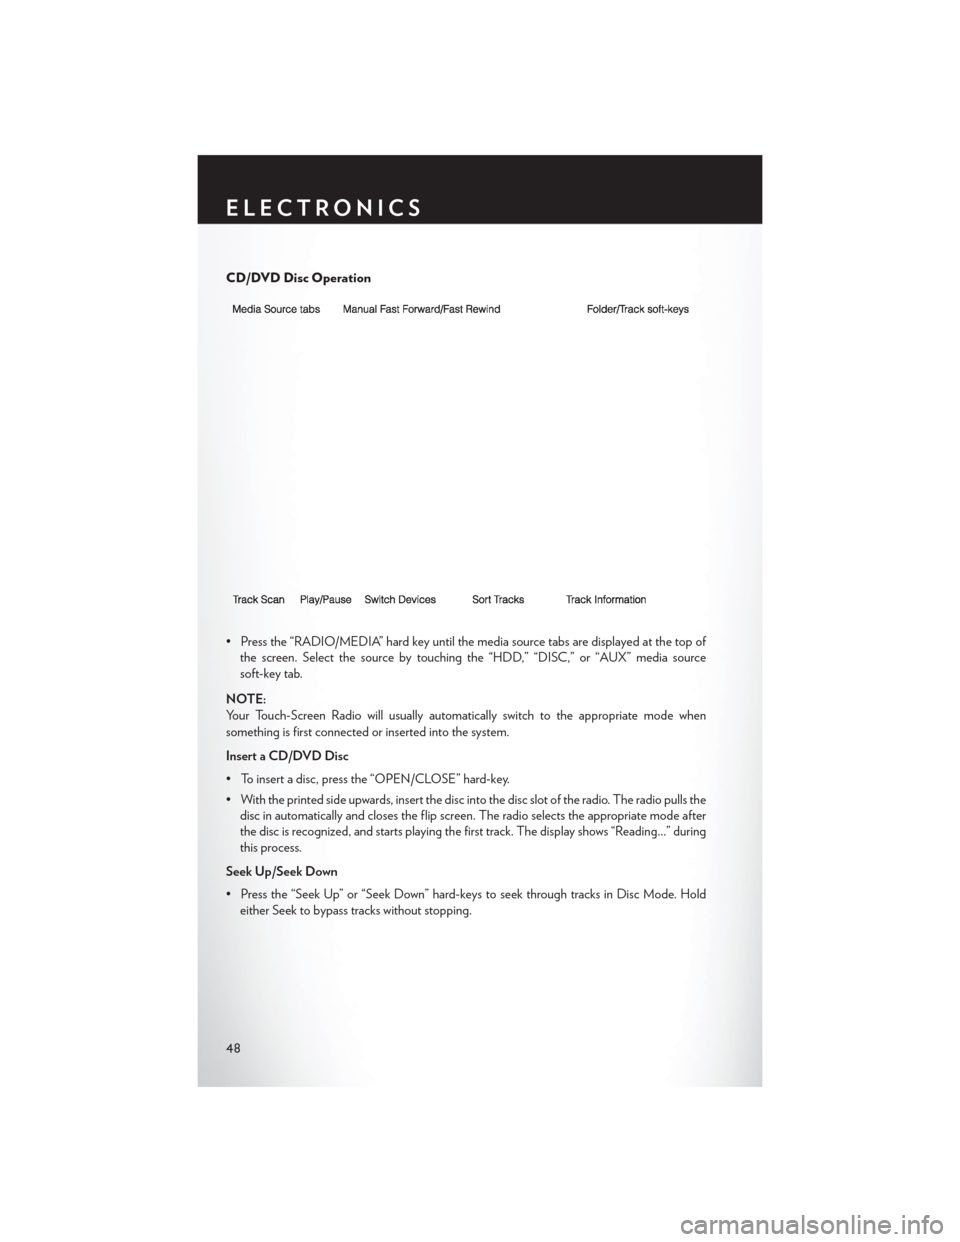
CD/DVD Disc Operation
• Press the “RADIO/MEDIA” hard key until the media source tabs are displayed at the top ofthe screen. Select the source by touching the “HDD,” “DISC,” or “AUX” media source
soft-key tab.
NOTE:
Your Touch-Screen Radio will usually automatically switch to the appropriate mode when
something is first connected or inserted into the system.
Insert a CD/DVD Disc
• To insert a disc, press the “OPEN/CLOSE” hard-key.
• With the printed side upwards, insert the disc into the disc slot of the radio. The radio pulls the disc in automatically and closes the flip screen. The radio selects the appropriate mode after
the disc is recognized, and starts playing the first track. The display shows “Reading...” during
this process.
Seek Up/Seek Down
• Press the “Seek Up” or “Seek Down” hard-keys to seek through tracks in Disc Mode. Hold either Seek to bypass tracks without stopping.
ELECTRONICS
48
Page 61 of 116
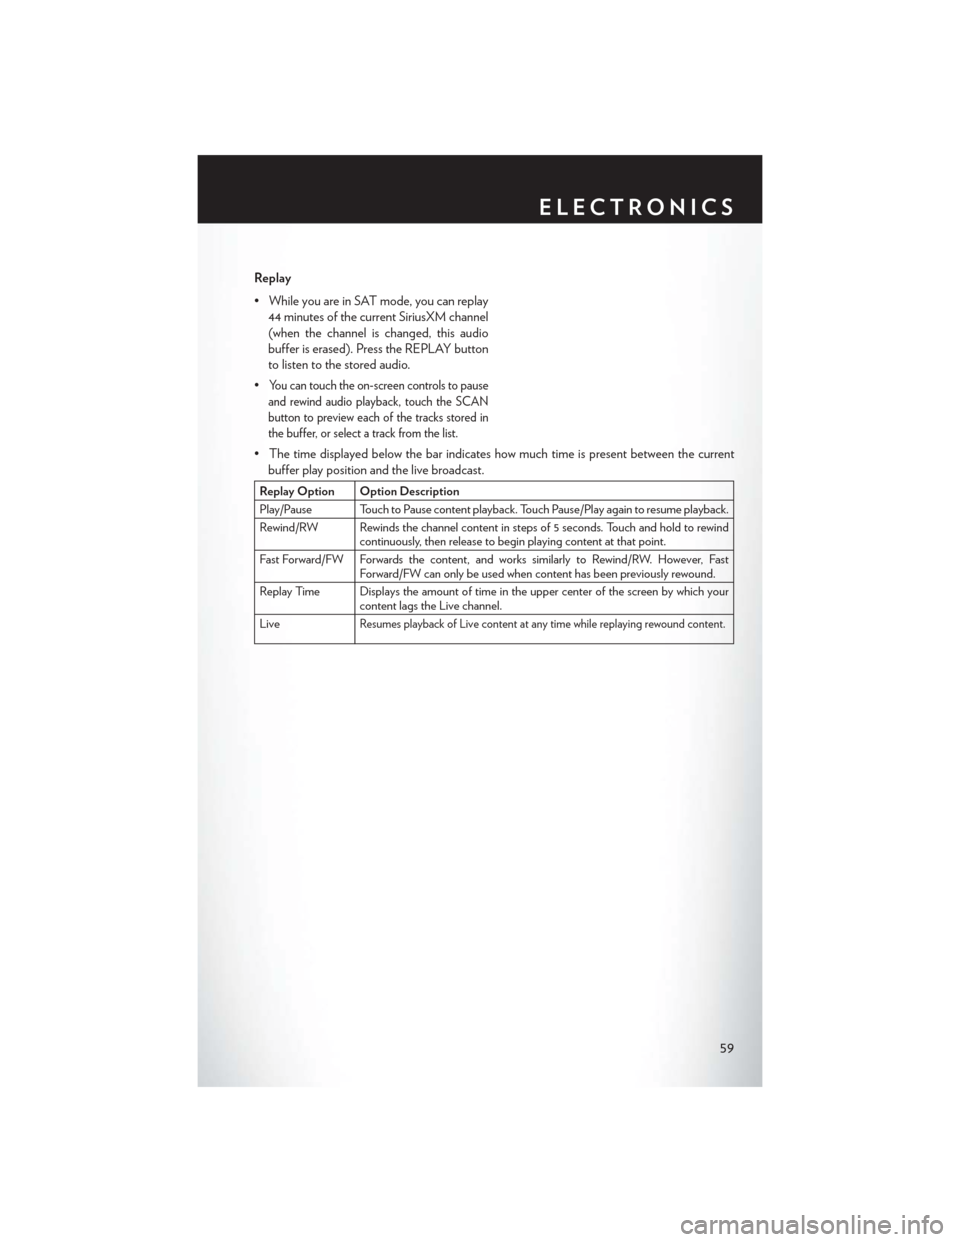
Replay
• While you are in SAT mode, you can replay44 minutes of the current SiriusXM channel
(when the channel is changed, this audio
buffer is erased). Press the REPLAY button
to listen to the stored audio.
•
You can touch the on-screen controls to pause
and rewind audio playback, touch the SCAN
button to preview each of the tracks stored in
the buffer, or select a track from the list.
• The time displayed below the bar indicates how much time is present between the current buffer play position and the live broadcast.
Replay Option Option Description
Play/Pause Touch to Pause content playback. Touch Pause/Play again to resume playback.
Rewind/RW Rewinds the channel content in steps of 5 seconds. Touch and hold to rewind continuously, then release to begin playing content at that point.
Fast Forward/FW Forwards the content, and works similarly to Rewind/RW. However, Fast Forward/FW can only be used when content has been previously rewound.
Replay Time Displays the amount of time in the upper center of the screen by which your content lags the Live channel.
Live
Resumes playback of Live content at any time while replaying rewound content.
ELECTRONICS
59
Page 68 of 116
Uconnect® VOICE COMMAND
Voice Command Operation
•
The Uconnect® Voice Command system allows you to control your AM, FM radio, satellite radio,
disc player, HDD, Uconnect® Phone, a memo recorder, and supported portable media devices.
• When you press the “Voice Command” buttonlocated on the radio faceplate or
steering wheel, you will hear a beep. The beep is your signal to give a command. If you do not
say a command within a few seconds, the system will present you with a list of options. If you
ever wish to interrupt the system while it lists options, press the “Voice Command” button
, listen for the BEEP, and say your command.
NOTE:
Visit http://www.driveuconnect.com/features/voiceCommand/ for more info on which voice
command features apply to your vehicle
• Start a dialogue by pressing the “Voice Command” button
, you will hear a beep. The
beep is your signal to give a command. Below are a list of voice commands for each of the
different modes.
Common Voice Commands (Examples)
While In: Voice Command Example:
Main Menu “Radio AM” (to switch to the AM radio mode)
“Radio FM” (to switch to the FM radio mode)
“Satellite Radio” (to switch to the Satellite radio mode) “Disc” (to switch to the disc mode)
“USB” (to switch to the USB mode)
“Bluetooth Streaming” (to switch to the Bluetooth Streaming mode) “Memo” (to switch to the memo recorder)
“System Setup” (to switch to system setup)
Radio Mode “Frequency” (to change the frequency)
“Next Station” (to select the next station)
“Previous Station” (to select the previous station) “Radio Menu” (to switch to the radio menu)“Main Menu” (to switch to the main menu)
ELECTRONICS
66
Page 69 of 116
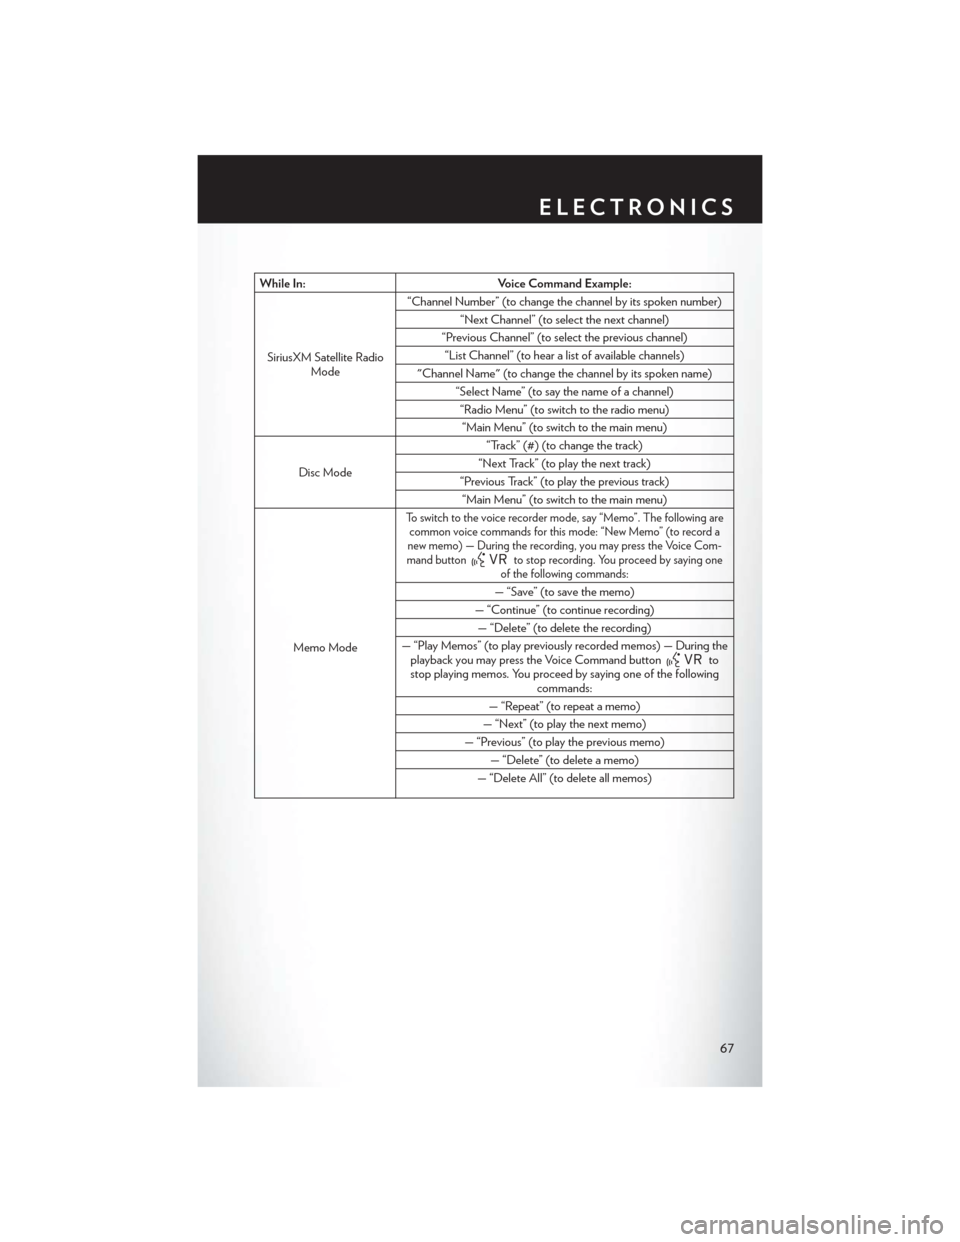
While In:Voice Command Example:
SiriusXM Satellite Radio Mode “Channel Number” (to change the channel by its spoken number)
“Next Channel” (to select the next channel)
“Previous Channel” (to select the previous channel) “List Channel” (to hear a list of available channels)
"Channel Name" (to change the channel by its spoken name) “Select Name” (to say the name of a channel)“Radio Menu” (to switch to the radio menu)“Main Menu” (to switch to the main menu)
Disc Mode “Track” (#) (to change the track)
“Next Track” (to play the next track)
“Previous Track” (to play the previous track) “Main Menu” (to switch to the main menu)
Memo Mode
To switch to the voice recorder mode, say “Memo”. The following are common voice commands for this mode: “New Memo” (to record a
new memo) — During the recording, you may press the Voice Com-
mand button
to stop recording. You proceed by saying one
of the following commands:
— “Save” (to save the memo)
— “Continue” (to continue recording) — “Delete” (to delete the recording)
— “Play Memos” (to play previously recorded memos) — During the playback you may press the Voice Command button
to
stop playing memos. You proceed by saying one of the following commands:
— “Repeat” (to repeat a memo)
— “Next” (to play the next memo)
— “Previous” (to play the previous memo) — “Delete” (to delete a memo)
— “Delete All” (to delete all memos)
ELECTRONICS
67
Page 78 of 116
ROADSIDE ASSISTANCE
• Dial toll-free 1-800-521-2779 for U.S. Residents or 1-800-363-4869 for Canadian Residents.
• Provide your name, vehicle identification number, license plate number, and your location,including the telephone number from which you are calling.
• Briefly describe the nature of the problem and answer a few simple questions.
• You will be given the name of the service provider and an estimated time of arrival. If you feel you are in an “unsafe situation”, please let us know. With your consent, we will contact local
police or safety authorities.
INSTRUMENT CLUSTER WARNING LIGHTS
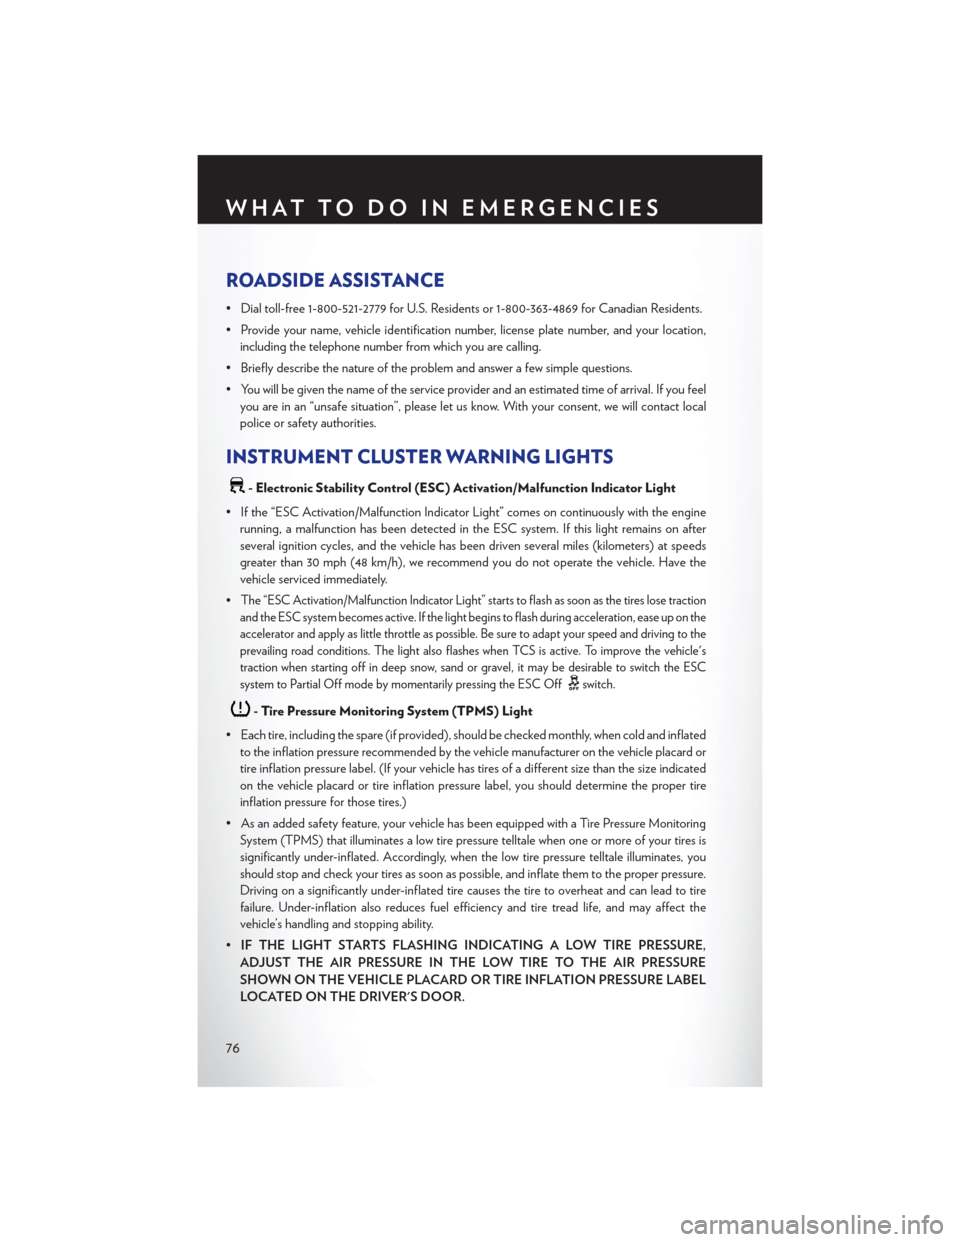
- Electronic Stability Control (ESC) Activation/Malfunction Indicator Light
• If the “ESC Activation/Malfunction Indicator Light” comes on continuously with the engine running, a malfunction has been detected in the ESC system. If this light remains on after
several ignition cycles, and the vehicle has been driven several miles (kilometers) at speeds
greater than 30 mph (48 km/h), we recommend you do not operate the vehicle. Have the
vehicle serviced immediately.
•
The “ESC Activation/Malfunction Indicator Light” starts to flash as soon as the tires lose traction
and the ESC system becomes active. If the light begins to flash during acceleration, ease up on the
accelerator and apply as little throttle as possible. Be sure to adapt your speed and driving to the
prevailing road conditions. The light also flashes when TCS is active. To improve the vehicle's
traction when starting off in deep snow, sand or gravel, it may be desirable to switch the ESC
system to Partial Off mode by momentarily pressing the ESC Off
switch.
- Tire Pressure Monitoring System (TPMS) Light
• Each tire, including the spare (if provided), should be checked monthly, when cold and inflated to the inflation pressure recommended by the vehicle manufacturer on the vehicle placard or
tire inflation pressure label. (If your vehicle has tires of a different size than the size indicated
on the vehicle placard or tire inflation pressure label, you should determine the proper tire
inflation pressure for those tires.)
• As an added safety feature, your vehicle has been equipped with a Tire Pressure Monitoring System (TPMS) that illuminates a low tire pressure telltale when one or more of your tires is
significantly under-inflated. Accordingly, when the low tire pressure telltale illuminates, you
should stop and check your tires as soon as possible, and inflate them to the proper pressure.
Driving on a significantly under-inflated tire causes the tire to overheat and can lead to tire
failure. Under-inflation also reduces fuel efficiency and tire tread life, and may affect the
vehicle’s handling and stopping ability.
• IF THE LIGHT STARTS FLASHING INDICATING A LOW TIRE PRESSURE,
ADJUST THE AIR PRESSURE IN THE LOW TIRE TO THE AIR PRESSURE
SHOWN ON THE VEHICLE PLACARD OR TIRE INFLATION PRESSURE LABEL
LOCATED ON THE DRIVER'S DOOR.
WHAT TO DO IN EMERGENCIES
76