suspension CHRYSLER 300 2005 1.G Owners Manual
[x] Cancel search | Manufacturer: CHRYSLER, Model Year: 2005, Model line: 300, Model: CHRYSLER 300 2005 1.GPages: 374, PDF Size: 6.8 MB
Page 242 of 374
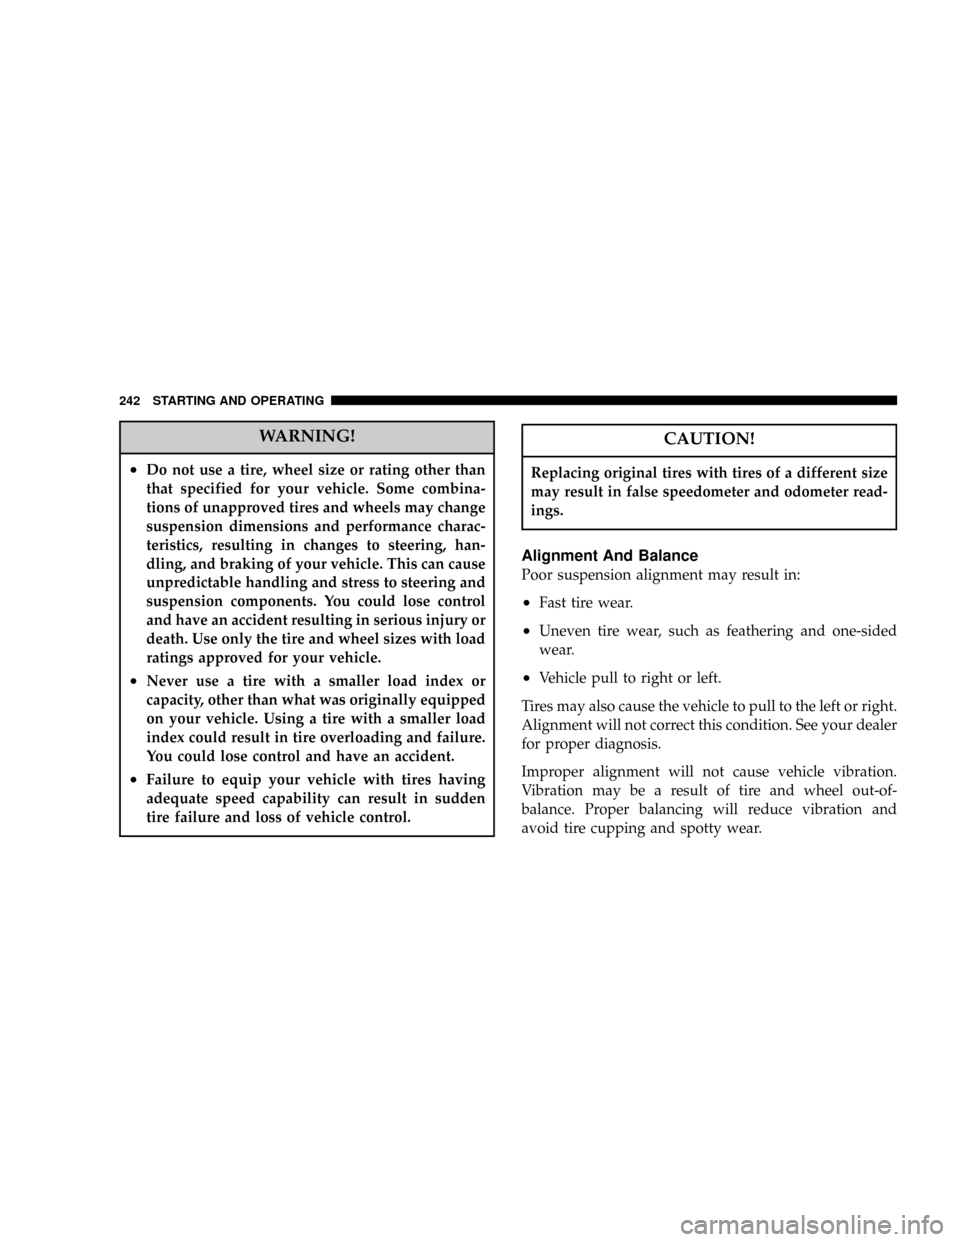
WARNING!
²Do not use a tire, wheel size or rating other than
that specified for your vehicle. Some combina-
tions of unapproved tires and wheels may change
suspension dimensions and performance charac-
teristics, resulting in changes to steering, han-
dling, and braking of your vehicle. This can cause
unpredictable handling and stress to steering and
suspension components. You could lose control
and have an accident resulting in serious injury or
death. Use only the tire and wheel sizes with load
ratings approved for your vehicle.
²Never use a tire with a smaller load index or
capacity, other than what was originally equipped
on your vehicle. Using a tire with a smaller load
index could result in tire overloading and failure.
You could lose control and have an accident.
²Failure to equip your vehicle with tires having
adequate speed capability can result in sudden
tire failure and loss of vehicle control.
CAUTION!
Replacing original tires with tires of a different size
may result in false speedometer and odometer read-
ings.
Alignment And Balance
Poor suspension alignment may result in:
²Fast tire wear.
²Uneven tire wear, such as feathering and one-sided
wear.
²Vehicle pull to right or left.
Tires may also cause the vehicle to pull to the left or right.
Alignment will not correct this condition. See your dealer
for proper diagnosis.
Improper alignment will not cause vehicle vibration.
Vibration may be a result of tire and wheel out-of-
balance. Proper balancing will reduce vibration and
avoid tire cupping and spotty wear.
242 STARTING AND OPERATING
Page 248 of 374
The tire pressure sensors are covered under one of the
following licenses:
United States.....................KR5S120123
Canada........................2671-S120123
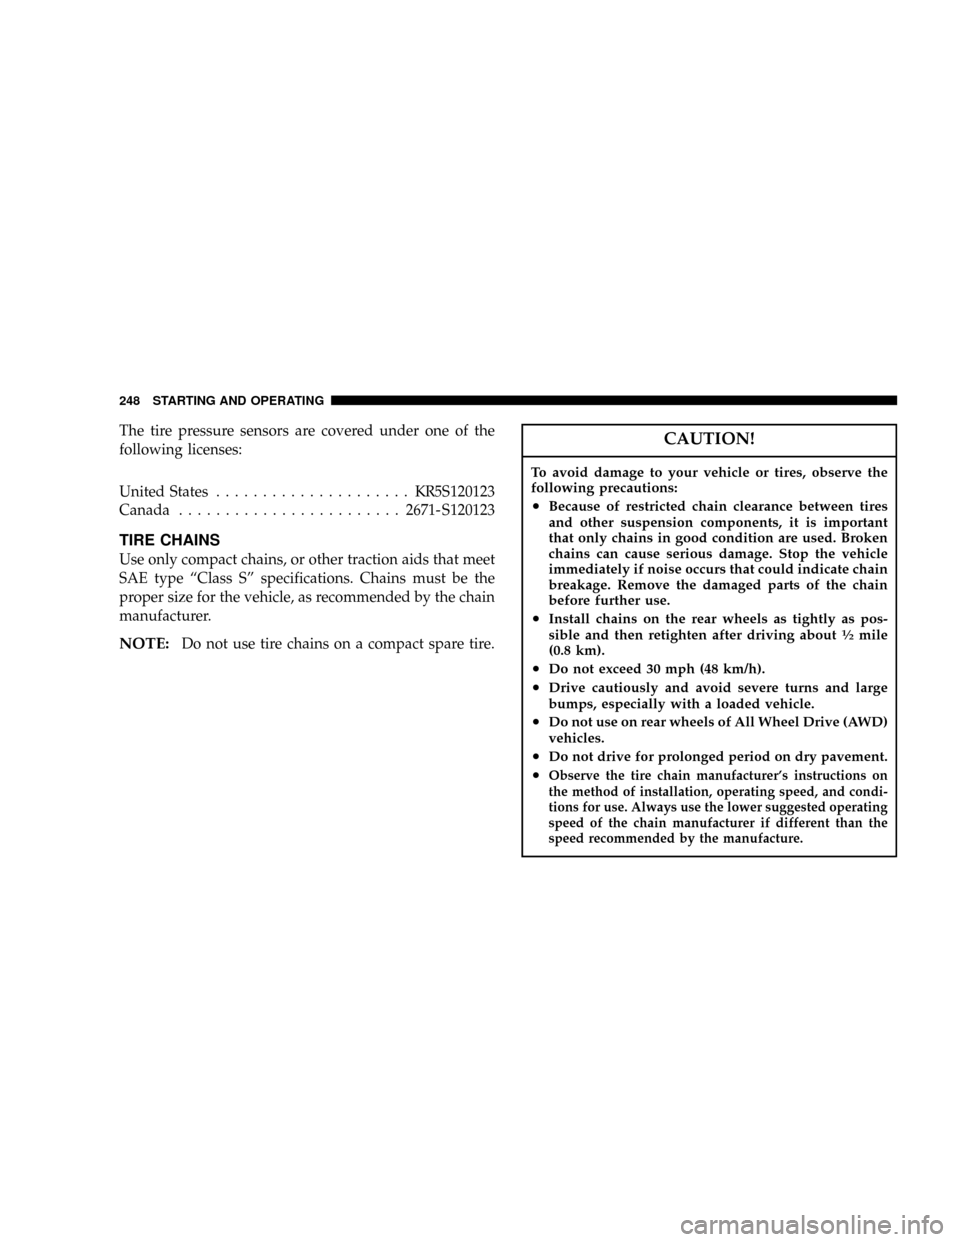
TIRE CHAINS
Use only compact chains, or other traction aids that meet
SAE type ªClass Sº specifications. Chains must be the
proper size for the vehicle, as recommended by the chain
manufacturer.
NOTE:Do not use tire chains on a compact spare tire.
CAUTION!
To avoid damage to your vehicle or tires, observe the
following precautions:
²Because of restricted chain clearance between tires
and other suspension components, it is important
that only chains in good condition are used. Broken
chains can cause serious damage. Stop the vehicle
immediately if noise occurs that could indicate chain
breakage. Remove the damaged parts of the chain
before further use.
²Install chains on the rear wheels as tightly as pos-
sible and then retighten after driving about1¤2mile
(0.8 km).
²Do not exceed 30 mph (48 km/h).
²Drive cautiously and avoid severe turns and large
bumps, especially with a loaded vehicle.
²Do not use on rear wheels of All Wheel Drive (AWD)
vehicles.
²Do not drive for prolonged period on dry pavement.
²Observe the tire chain manufacturer's instructions on
the method of installation, operating speed, and condi-
tions for use. Always use the lower suggested operating
speed of the chain manufacturer if different than the
speed recommended by the manufacture.
248 STARTING AND OPERATING
Page 257 of 374
The bar code allows a computer scanner to read the
Vehicle Identification Number (VIN).
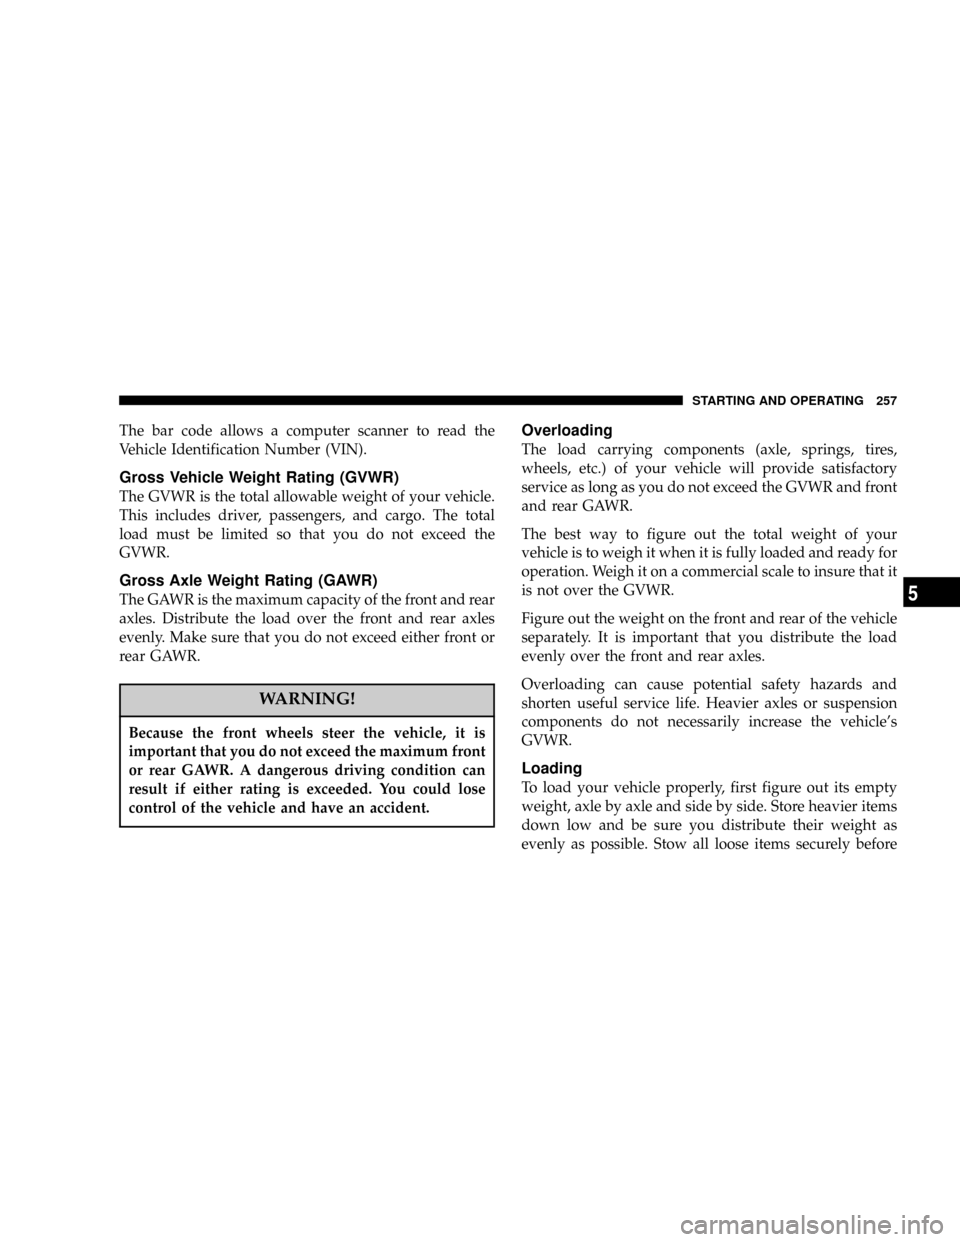
Gross Vehicle Weight Rating (GVWR)
The GVWR is the total allowable weight of your vehicle.
This includes driver, passengers, and cargo. The total
load must be limited so that you do not exceed the
GVWR.
Gross Axle Weight Rating (GAWR)
The GAWR is the maximum capacity of the front and rear
axles. Distribute the load over the front and rear axles
evenly. Make sure that you do not exceed either front or
rear GAWR.
WARNING!
Because the front wheels steer the vehicle, it is
important that you do not exceed the maximum front
or rear GAWR. A dangerous driving condition can
result if either rating is exceeded. You could lose
control of the vehicle and have an accident.
Overloading
The load carrying components (axle, springs, tires,
wheels, etc.) of your vehicle will provide satisfactory
service as long as you do not exceed the GVWR and front
and rear GAWR.
The best way to figure out the total weight of your
vehicle is to weigh it when it is fully loaded and ready for
operation. Weigh it on a commercial scale to insure that it
is not over the GVWR.
Figure out the weight on the front and rear of the vehicle
separately. It is important that you distribute the load
evenly over the front and rear axles.
Overloading can cause potential safety hazards and
shorten useful service life. Heavier axles or suspension
components do not necessarily increase the vehicle's
GVWR.
Loading
To load your vehicle properly, first figure out its empty
weight, axle by axle and side by side. Store heavier items
down low and be sure you distribute their weight as
evenly as possible. Stow all loose items securely before
STARTING AND OPERATING 257
5
Page 281 of 374
MAINTAINING YOUR VEHICLE
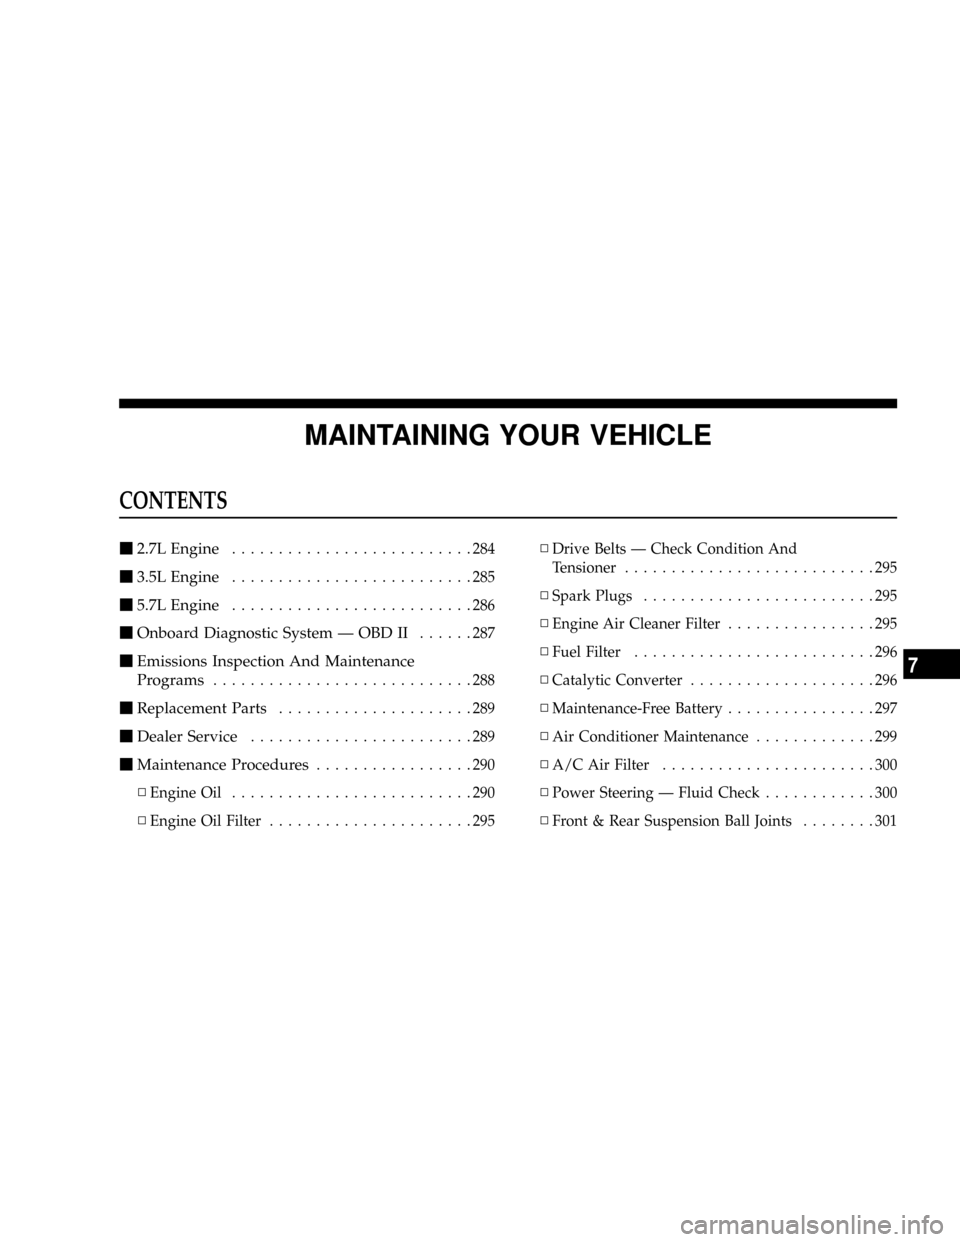
CONTENTS
m2.7L Engine..........................284
m3.5L Engine..........................285
m5.7L Engine..........................286
mOnboard Diagnostic System Ð OBD II......287
mEmissions Inspection And Maintenance
Programs
............................288
mReplacement Parts.....................289
mDealer Service........................289
mMaintenance Procedures.................290
NEngine Oil..........................290
NEngine Oil Filter......................295NDrive Belts Ð Check Condition And
Tensioner...........................295
NSpark Plugs.........................295
NEngine Air Cleaner Filter................295
NFuel Filter..........................296
NCatalytic Converter....................296
NMaintenance-Free Battery................297
NAir Conditioner Maintenance.............299
NA/C Air Filter.......................300
NPower Steering Ð Fluid Check............300
NFront & Rear Suspension Ball Joints........301
7
Page 301 of 374

Front & Rear Suspension Ball Joints
The suspension ball joints should be inspected for exter-
nal leakage or damage when other maintenance is per-
formed.
Steering Linkage
The tie rod end ball joints should be inspected for
external leakage or damage when other maintenance is
performed.
Drive Shaft Universal Joints
Your vehicle has constant velocity universal joints. Peri-
odic lubrication of these joints is not required. However,
the joint boots should be inspected for external leakage or
damage when other maintenance is performed. If leakage
or damage is evident, the universal joint boot and grease
should be replaced immediately.
Continued operation could result in failure of the univer-
sal joint due to water and dirt contamination of the
grease. This would require complete replacement of the
joint assembly.
Body Lubrication
Locks and all body pivot points, including such items as
seat tracks, doors, trunk and hood hinges, should be
lubricated periodically to assure quiet, easy operation
and to protect against rust and wear. Prior to the appli-
cation of any lubricant, the parts concerned should be
wiped clean to remove dust and grit; after lubricating
excess oil and grease should be removed. Particular
attention should also be given to hood latching compo-
nents to insure proper function. When performing other
underhood services, the hood latch, release mechanism
and safety catch should be cleaned and lubricated.
The external lock cylinders should be lubricated twice a
year, preferably in the fall and spring. Apply a small
amount of a high quality lubricant such as MopartLock
Cylinder Lubricant directly into the lock cylinder.
Windshield Wiper Blades
The rubber edges of the wiper blades and the windshield
should be cleaned periodically with a sponge or soft cloth
and a mild nonabrasive cleaner. This will remove accu-
mulations of salt or road film.
MAINTAINING YOUR VEHICLE 301
7
Page 338 of 374
²Check all lights and all other electrical items for correct
operation.
²Check rubber seals on each side of the radiator for
proper fit.
At Each Oil Change
²
Change the engine oil filter.
²Inspect the exhaust system.
²Inspect the brake hoses.
²Inspect the CV joints and front and rear suspension
components.
²Check the automatic transmission fluid level.
²Check the coolant level, hoses, and clamps.
338 MAINTENANCE SCHEDULES
8
M
A
I
N
T
E
N
A
N
C
E
S
C
H
E
D
U
L
E
S