set clock CHRYSLER 300 2010 1.G User Guide
[x] Cancel search | Manufacturer: CHRYSLER, Model Year: 2010, Model line: 300, Model: CHRYSLER 300 2010 1.GPages: 88, PDF Size: 11.01 MB
Page 33 of 88

NOTE:Uconnect™ Phone and Voice Command are vehicle options which must be
ordered separately. The buttons on the radio will only be active if the vehicle has
been equipped with the option.
• The radio sales code is located on the lower right side of the radio faceplate.
• Unless otherwise noted, the information provided on the operation and functionality of the radios in this section is common to all non-touch-screen radios.
Seek Up/Down Buttons
• Press to seek through radio stations in AM, FM, or SAT bands. Seek through tracksin CD mode.
• Hold either button to bypass stations without stopping.
Audio Settings
• Press the TUNE/SCROLL control knob and BASS, MID, TREBLE, BALANCE and FADE will display. Rotate the TUNE/SCROLL control knob to select the desired setting.
Auxiliary Mode
• The auxiliary (AUX) jack allows a portable device, such as an MP3 player or acassette player, to be plugged into the radio and utilize the vehicle’s audio system
to amplify the source and play through the vehicle speakers.
• Pressing the AUX button will change the mode to auxiliary device if the AUX jack is connected.
• The control of the external device cannot be provided by the radio; use the device controls instead.
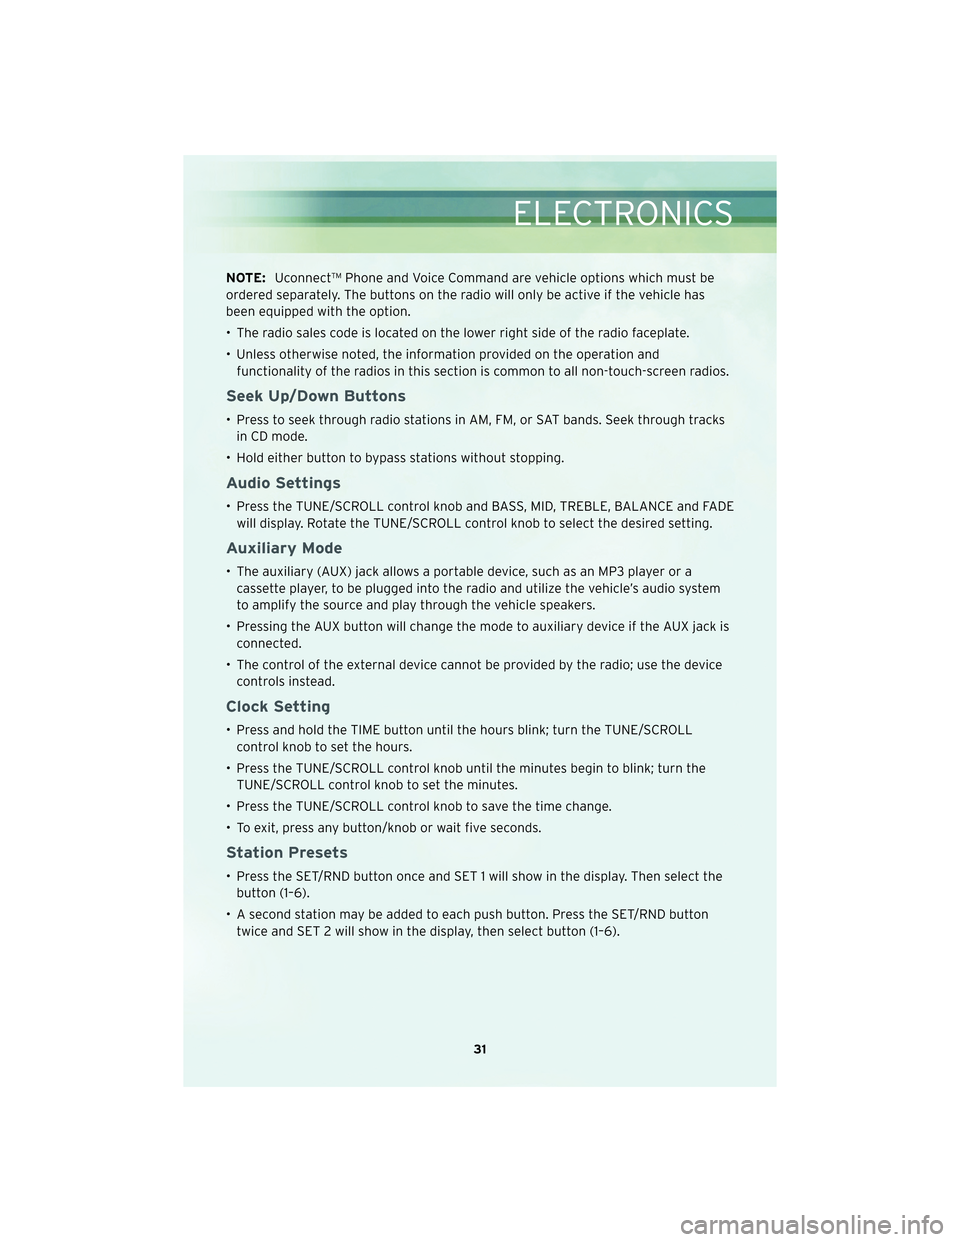
Clock Setting
• Press and hold the TIME button until the hours blink; turn the TUNE/SCROLLcontrol knob to set the hours.
• Press the TUNE/SCROLL control knob until the minutes begin to blink; turn the TUNE/SCROLL control knob to set the minutes.
• Press the TUNE/SCROLL control knob to save the time change.
• To exit, press any button/knob or wait five seconds.
Station Presets
• Press the SET/RND button once and SET 1 will show in the display. Then select the button (1–6).
• A second station may be added to each push button. Press the SET/RND button twice and SET 2 will show in the display, then select button (1–6).
31
ELECTRONICS
Page 36 of 88

• The display will switch automatically to the AUX mode when a 3.5 mm stereomini-jack cable has been connected.
• To change radio modes while the cable is connected to the unit, press the RADIO/MEDIA (RER and REN) or MEDIA (RBZ) hard-key until the AUX tab is
displayed on the top of the screen. Touch the AUX tab to return to the AUX mode.
• The control of the external device cannot be provided by the radio; use the device controls instead.
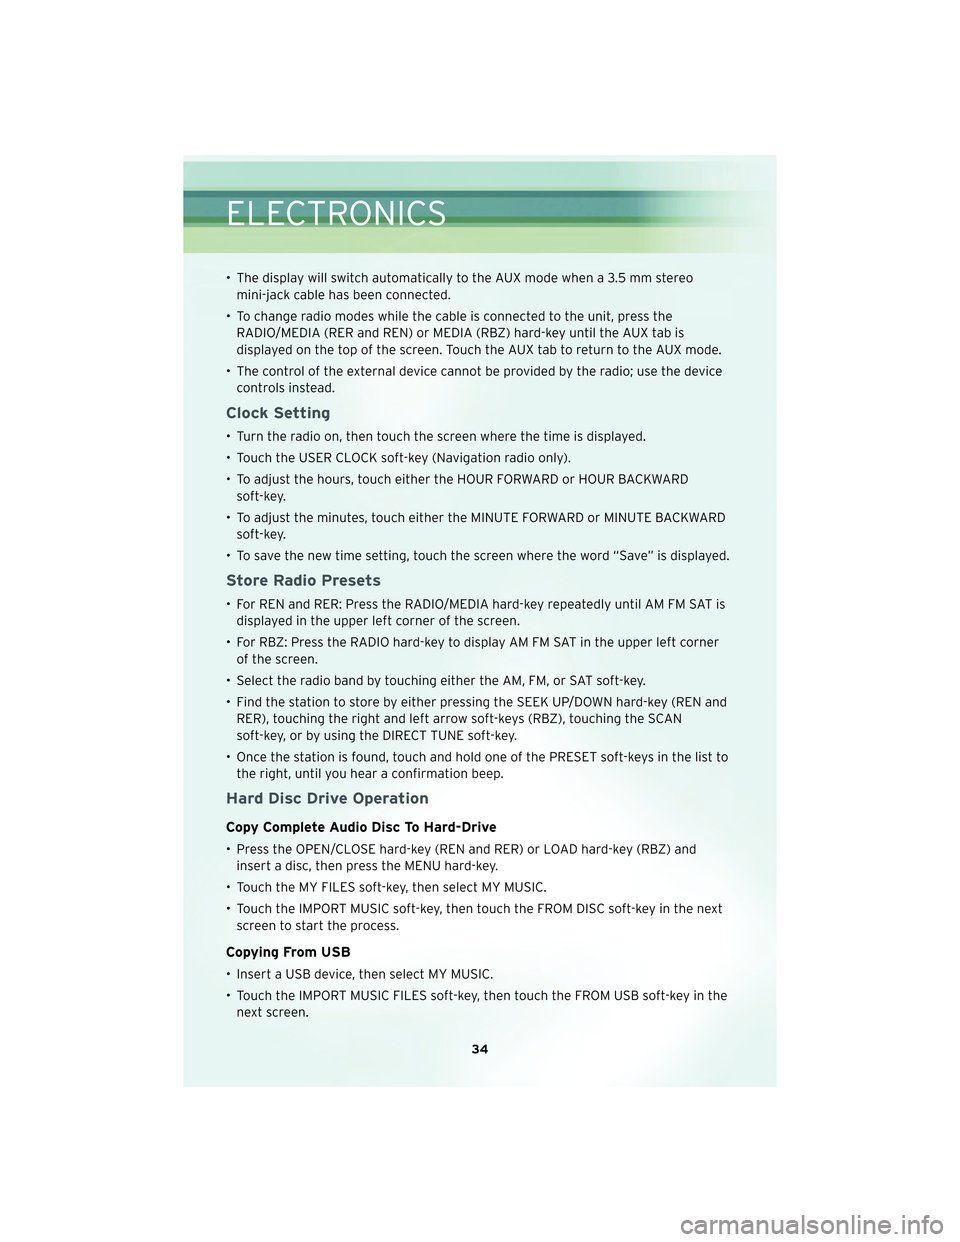
Clock Setting
• Turn the radio on, then touch the screen where the time is displayed.
• Touch the USER CLOCK soft-key (Navigation radio only).
• To adjust the hours, touch either the HOUR FORWARD or HOUR BACKWARDsoft-key.
• To adjust the minutes, touch either the MINUTE FORWARD or MINUTE BACKWARD soft-key.
• To save the new time setting, touch the screen where the word “Save” is displayed.
Store Radio Presets
• For REN and RER: Press the RADIO/MEDIA hard-key repeatedly until AM FM SAT is displayed in the upper left corner of the screen.
• For RBZ: Press the RADIO hard-key to display AM FM SAT in the upper left corner of the screen.
• Select the radio band by touching either the AM, FM, or SAT soft-key.
• Find the station to store by either pressing the SEEK UP/DOWN hard-key (REN and RER), touching the right and left arrow soft-keys (RBZ), touching the SCAN
soft-key, or by using the DIRECT TUNE soft-key.
• Once the station is found, touch and hold one of the PRESET soft-keys in the list to the right, until you hear a confirmation beep.
Hard Disc Drive Operation
Copy Complete Audio Disc To Hard-Drive
• Press the OPEN/CLOSE hard-key (REN and RER) or LOAD hard-key (RBZ) andinsert a disc, then press the MENU hard-key.
• Touch the MY FILES soft-key, then select MY MUSIC.
• Touch the IMPORT MUSIC soft-key, then touch the FROM DISC soft-key in the next screen to start the process.
Copying From USB
• Insert a USB device, then select MY MUSIC.
• Touch the IMPORT MUSIC FILES soft-key, then touch the FROM USB soft-key in thenext screen.
ELECTRONICS
34