torque CHRYSLER 300 2010 1.G User Guide
[x] Cancel search | Manufacturer: CHRYSLER, Model Year: 2010, Model line: 300, Model: CHRYSLER 300 2010 1.GPages: 88, PDF Size: 11.01 MB
Page 46 of 88

RECREATIONAL TOWING
(BEHIND MOTORHOME,
ETC.)
Two-Wheel Drive And
All-Wheel Drive
• Recreational towing (with all fourwheels on the ground) is allowed
ONLY if the rear driveshaft is
removed and the transmission is in
NEUTRAL (for both RWD and AWD
vehicles).
• Refer to your Owner’s Manual on the DVD for further details.
WARNING!
If the driveshaft is removed, the
vehicle can roll even if the
transmission is in PARK, which
could cause serious injury or death.
• The parking brake must be firmly engaged and the wheels chocked
during driveshaft removal and
installation. The parking brake must
remain engaged unless the vehicle is
securely and properly connected to
the tow vehicle, or the driveshaft is
completely reinstalled. See your
authorized dealer for proper
driveshaft removal and reinstallation
procedures, including flange
orientation/alignment, use of
thread-locking compound, proper
bolt torque specifications, etc.
CAUTION!
Towing this vehicle in violation of
the above requirements can cause
severe transmission and/or transfer
case damage. Damage from
improper towing is not covered
under your new vehicle warranties.
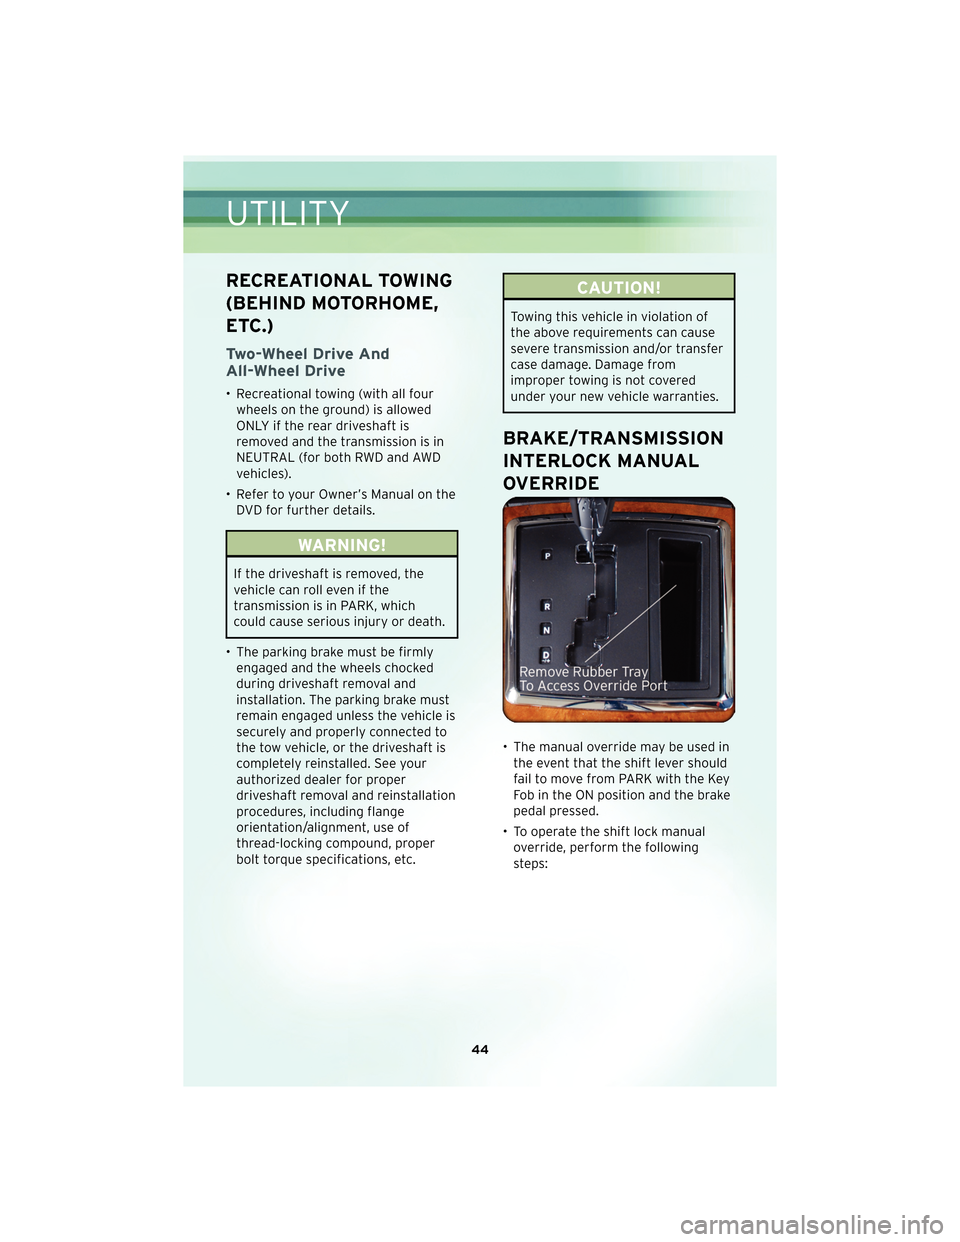
BRAKE/TRANSMISSION
INTERLOCK MANUAL
OVERRIDE
• The manual override may be used inthe event that the shift lever should
fail to move from PARK with the Key
Fob in the ON position and the brake
pedal pr essed.
• To operate the shift lock manual override, perform the following
steps:
UTILITY
44
Page 56 of 88

• Finish tightening the lug nuts. Push down on the wrench while tightening forincreased leverage. Alternate nuts until each one has been tightened twice. The
correct wheel nut tightness is 100 ft lbs (135 N•m). If in doubt about the correct
tightness, have them checked with a torque wrench by your authorized dealer or at
a service station.
WARNING!
To assure that spare tires, flat or inflated, are securely stowed, spares must be
stowed with the valve stem facing the ground.
• Secure the tire, jack (base of jack faces rear of vehicle), and tools in their proper locations.
TIREFIT Instructions
TIREFIT will temporarily seal small punctures up to1⁄4in.(6 mm) in the tire tread
allowing you to drive your vehicle up to 100 mi (160 km) with a maximum speed of
55 mph (88 km/hr). TIREFIT can be used in outside temperatures down to
approximately -4°F (-20°C).
NOTE: Do not remove foreign objects (e.g., screws or nails) from the tire.
The TIREFIT kit is located in the trunk.
• Verify that the valve stem is close to the ground.
• Put on the gloves from the TIREFIT Kit Accessory Storage Compartment.
• Turn the Mode Select knob to the Sealant Mode position
.
• Remove the Yellow Cap from the fitting at the end of the Clear Sealant Hose.
• Remove the valve stem cap and screw the fitting at the end of the Clear Sealant Hose onto the valve stem.
• Insert the Power Plug into the vehicle’s 12-volt power outlet.
• Start the engine and then press the Power button
. The sealant (white fluid) will
flow from the Sealant Bottle through the Clear Sealant Hose and into the tire.
NOTE:
• Sealant may leak out through the puncture in the tire.
• If the sealant (white fluid) does not flow withi n0–10seconds through the Clear
Sealant Hose: • Press the Power button
to turn OFF the TIREFIT kit.
• Disconnect the Clear Sealant Hose and make sure the valve stem is free of debris.
• Repeat previous steps to verify sealant will flow, making sure the Mode Select knob is in Sealant Mode
.
WHAT TO DO IN EMERGENCIES
54