instrument panel CHRYSLER 300 2011 2.G Owners Manual
[x] Cancel search | Manufacturer: CHRYSLER, Model Year: 2011, Model line: 300, Model: CHRYSLER 300 2011 2.GPages: 536, PDF Size: 6.15 MB
Page 3 of 536
TABLE OF CONTENTSSECTIONPAGE
1INTRODUCTION............................................................3
2THINGS TO KNOW BEFORE STARTING YOUR VEHICLE..............................9
3UNDERSTANDING THE FEATURES OF YOUR VEHICLE............................. 87
4UNDERSTANDING YOUR INSTRUMENT PANEL.................................. 255
5STARTING AND OPERATING................................................313
6WHAT TO DO IN EMERGENCIES............................................. 407
7MAINTAINING YOUR VEHICLE..............................................429
8MAINTENANCE SCHEDULES.................................................483
9IF YOU NEED CONSUMER ASSISTANCE........................................ 501
10INDEX...................................................................511
1
2
3
4
5
6
7
8
9
10
Page 8 of 536
WARNINGS AND CAUTIONS
This Owner’s Manual containsWARNINGSagainst op-
erating procedures that could result in a collision or
bodily injury. It also contains CAUTIONSagainst proce-
dures that could result in damage to your vehicle. If you
do not read this entire manual, you may miss important
information. Observe all Warnings and Cautions.
VEHICLE IDENTIFICATION NUMBER
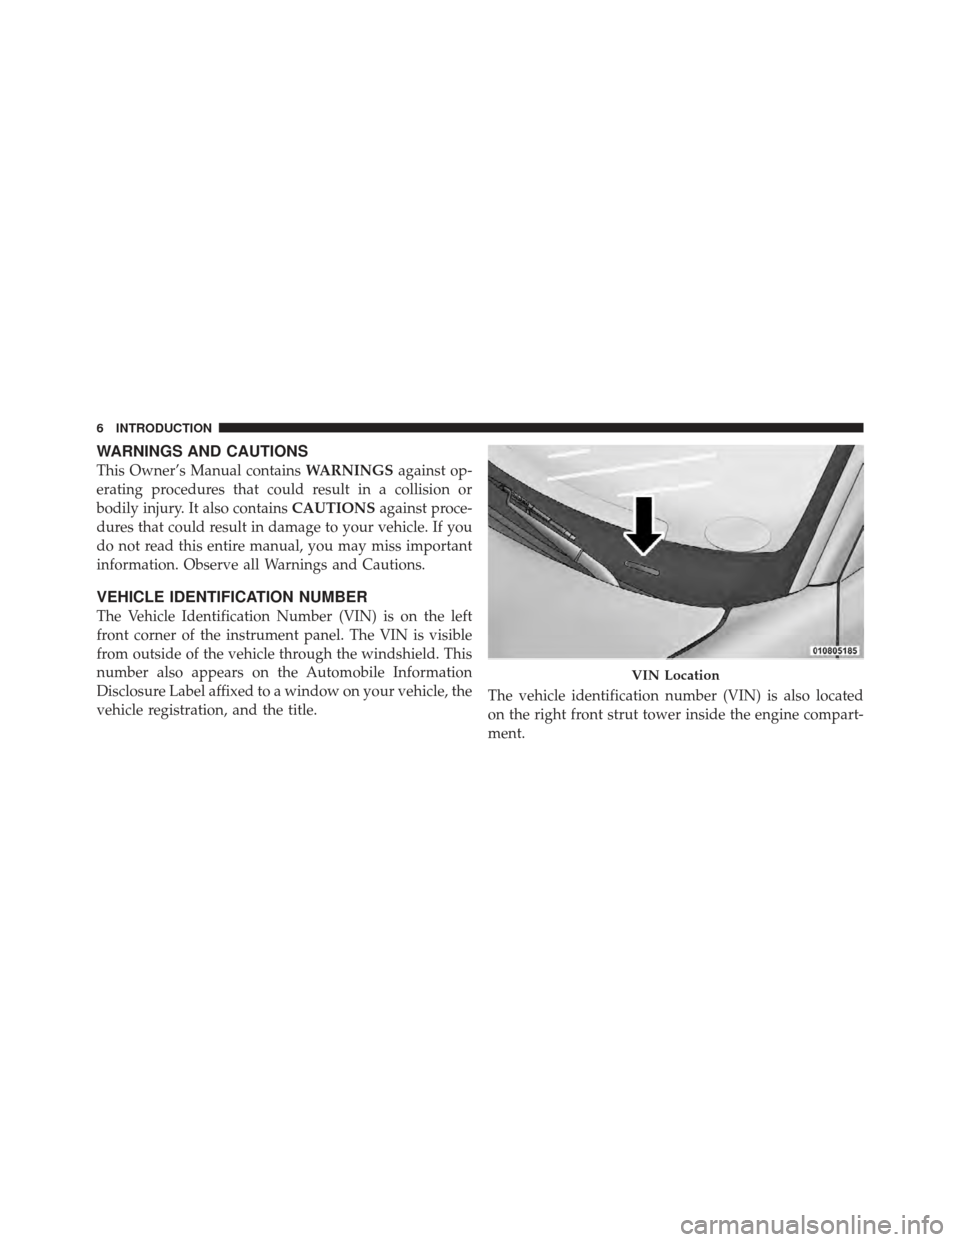
The Vehicle Identification Number (VIN) is on the left
front corner of the instrument panel. The VIN is visible
from outside of the vehicle through the windshield. This
number also appears on the Automobile Information
Disclosure Label affixed to a window on your vehicle, the
vehicle registration, and the title. The vehicle identification number (VIN) is also located
on the right front strut tower inside the engine compart-
ment.
VIN Location
6 INTRODUCTION
Page 16 of 536
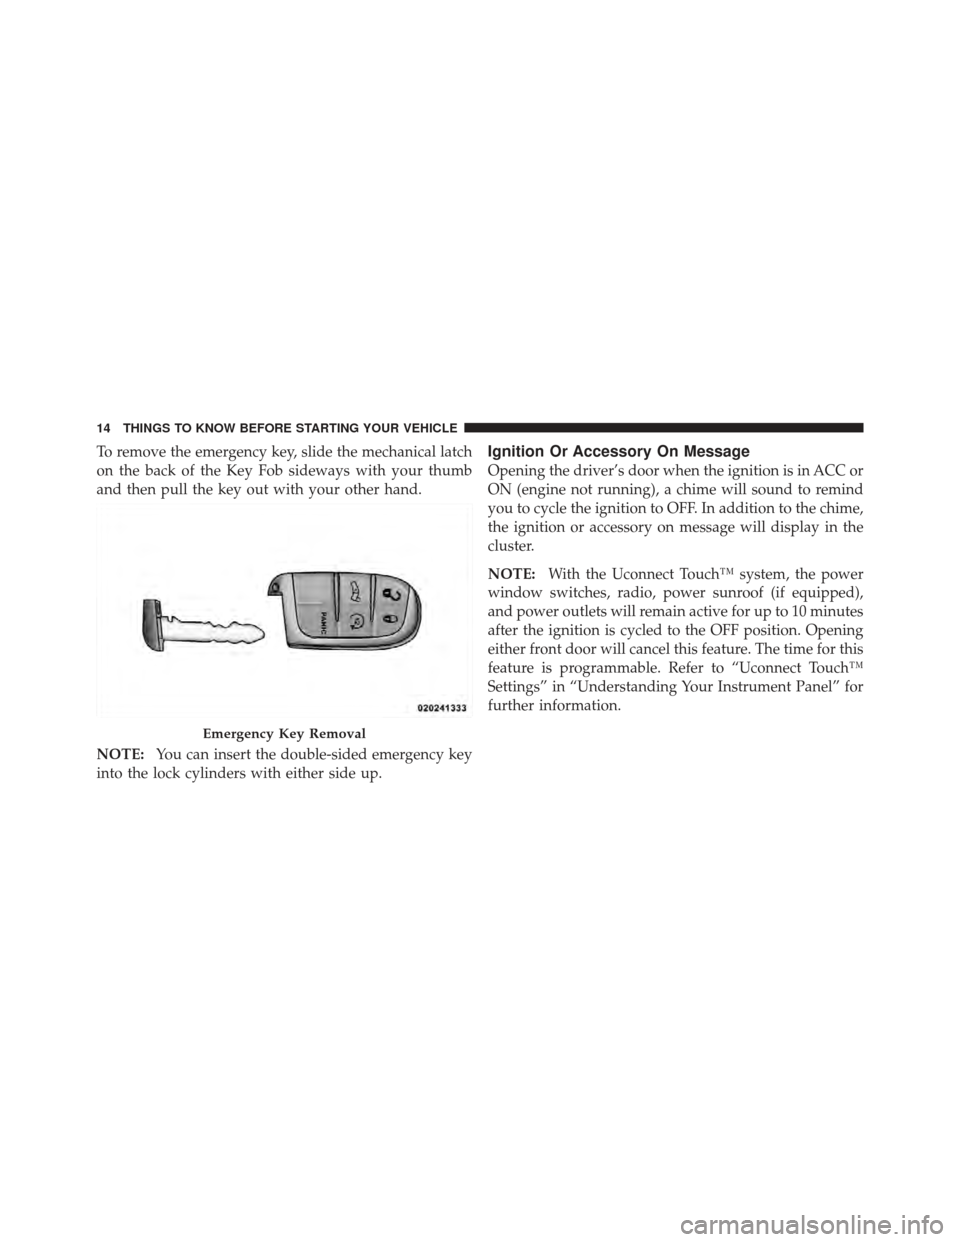
To remove the emergency key, slide the mechanical latch
on the back of the Key Fob sideways with your thumb
and then pull the key out with your other hand.
NOTE:You can insert the double-sided emergency key
into the lock cylinders with either side up.Ignition Or Accessory On Message
Opening the driver’s door when the ignition is in ACC or
ON (engine not running), a chime will sound to remind
you to cycle the ignition to OFF. In addition to the chime,
the ignition or accessory on message will display in the
cluster.
NOTE: With the Uconnect Touch™ system, the power
window switches, radio, power sunroof (if equipped),
and power outlets will remain active for up to 10 minutes
after the ignition is cycled to the OFF position. Opening
either front door will cancel this feature. The time for this
feature is programmable. Refer to “Uconnect Touch™
Settings” in “Understanding Your Instrument Panel” for
further information.
Emergency Key Removal
14 THINGS TO KNOW BEFORE STARTING YOUR VEHICLE
Page 23 of 536
NOTE:Driving at speeds 5 mph (8 km/h) and above
disables the system from responding to all RKE transmit-
ter buttons for all RKE transmitters.
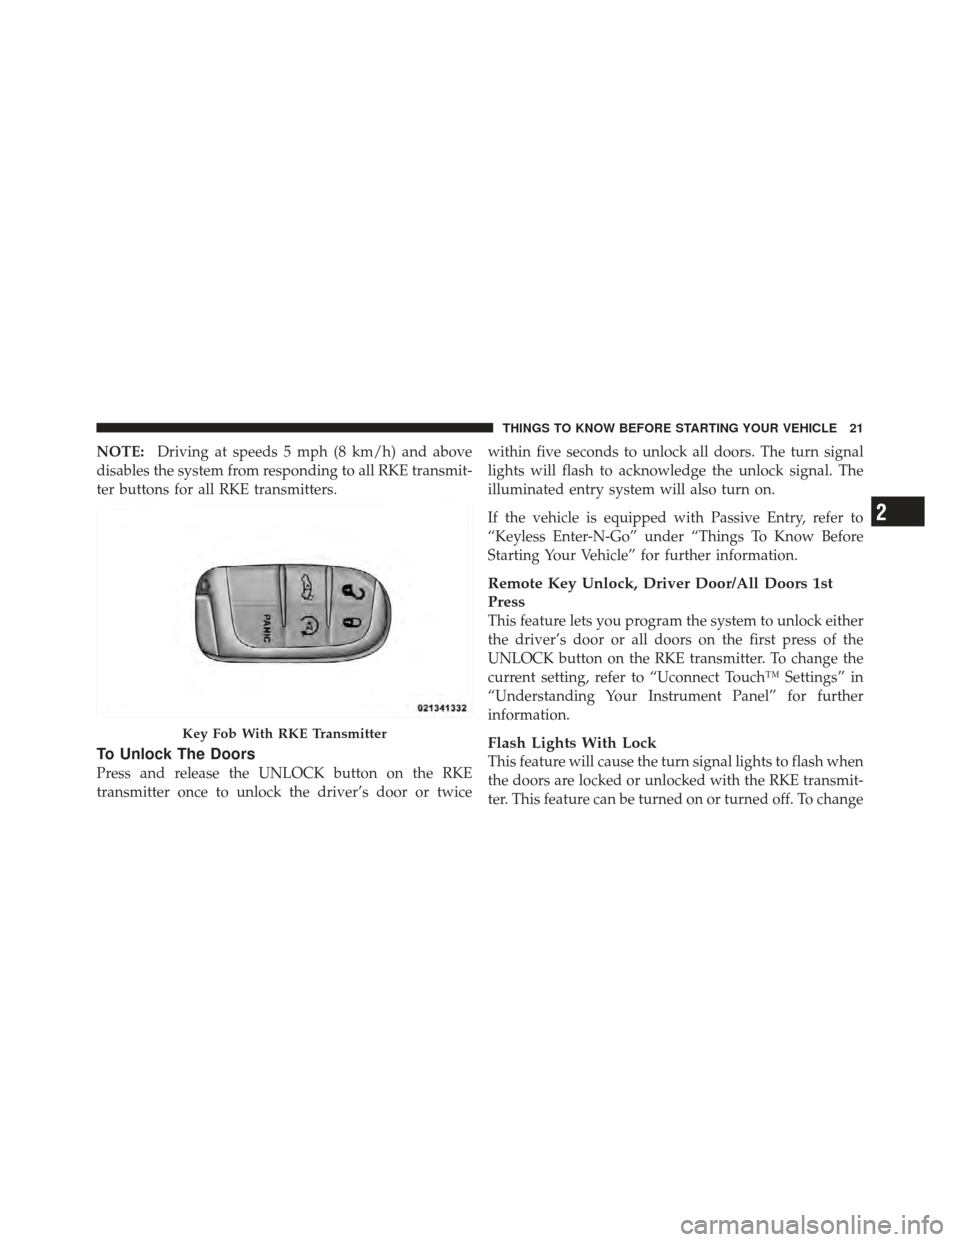
To Unlock The Doors
Press and release the UNLOCK button on the RKE
transmitter once to unlock the driver’s door or twice within five seconds to unlock all doors. The turn signal
lights will flash to acknowledge the unlock signal. The
illuminated entry system will also turn on.
If the vehicle is equipped with Passive Entry, refer to
“Keyless Enter-N-Go” under “Things To Know Before
Starting Your Vehicle” for further information.
Remote Key Unlock, Driver Door/All Doors 1st
Press
This feature lets you program the system to unlock either
the driver’s door or all doors on the first press of the
UNLOCK button on the RKE transmitter. To change the
current setting, refer to “Uconnect Touch™ Settings” in
“Understanding Your Instrument Panel” for further
information.
Flash Lights With Lock
This feature will cause the turn signal lights to flash when
the doors are locked or unlocked with the RKE transmit-
ter. This feature can be turned on or turned off. To change
Key Fob With RKE Transmitter
2
THINGS TO KNOW BEFORE STARTING YOUR VEHICLE 21
Page 24 of 536
the current setting, refer to “Uconnect Touch™ Settings”
in “Understanding Your Instrument Panel” for further
information.
Turn Headlights On With Remote Key Unlock
This feature activates the headlights for up to 90 seconds
when the doors are unlocked with the RKE transmitter.
The time for this feature is programmable on vehicles
equipped through Uconnect Touch™. To change the
current setting, refer to “Uconnect Touch™ Settings” in
“Understanding Your Instrument Panel” for further
information.
To Lock The Doors
Press and release the LOCK button on the RKE transmit-
ter to lock all doors. The turn signal lights will flash and
the horn will chirp to acknowledge the signal.
If the vehicle is equipped with Passive Entry, refer to
“Keyless Enter-N-Go” under “Things To Know Before
Starting Your Vehicle” for further information.
Sound Horn With Remote Key Lock
This feature will cause the horn to chirp when the doors
are locked with the RKE transmitter. This feature can be
turned on or turned off. To change the current setting,
refer to “Uconnect Touch™ Settings” in “Understanding
Your Instrument Panel” for further information.
To Unlatch The Trunk
Press the TRUNK button on the RKE transmitter two
times within five seconds to unlatch the trunk.
If the vehicle is equipped with Passive Entry, refer to
“Keyless Enter-N-Go” under “Things To Know Before
Starting Your Vehicle” for further information.
Using The Panic Alarm
To turn the Panic Alarm feature on or off, press and hold
the PANIC button on the RKE transmitter for at least one
second and release. When the Panic Alarm is on, the
22 THINGS TO KNOW BEFORE STARTING YOUR VEHICLE
Page 33 of 536
To change the current setting, refer to “Uconnect Touch™
Settings” in “Understanding Your Instrument Panel” for
further information.
NOTE:Use the Automatic Unlock Doors On Exit feature
in accordance with local laws.
Automatic Unlock Doors On Exit Programming
The Automatic Unlock Doors On Exit feature can be
enabled or disabled as follows:
•For vehicles equipped with the Uconnect Touch™,
refer to “Uconnect Touch™ Settings” in “Understand-
ing Your Instrument Panel” for further information.
•For vehicles not equipped with the Uconnect Touch™,
perform the following steps:
1. Enter the vehicle and close all doors.
2. Place the Key Fob in the ignition switch. 3. Within 15 seconds, cycle the ignition switch between
LOCK and ON/RUN and then back to LOCK four times
ending up in the LOCK position.
However, do not start
the engine.
4. Within 30 seconds, press the power door unlock
switch to unlock the doors.
5. A single chime will indicate the completion of the
programming.
NOTE: If you do not hear the chime, it means that the
system did not enter the programming mode and you
will need to repeat the procedure.
6. Repeat these steps if you want to return this feature to
its previous setting.
NOTE: Use the Automatic Unlock Doors On Exit feature
in accordance with local laws.
2
THINGS TO KNOW BEFORE STARTING YOUR VEHICLE 31
Page 35 of 536
NOTE:For emergency exit from the rear seats when the
Child-Protection Door Lock System is engaged, manually
raise the door lock knob to the unlocked position, roll
down the window, and open the door using the outside
door handle.
KEYLESS ENTER-N-GO
The Passive Entry system is an enhancement to the
vehicle’s Remote Keyless Entry (RKE) system and a
feature of Keyless Enter-N-Go. This feature allows you to
lock and unlock the vehicle’s door(s) without having to
press the RKE transmitter lock or unlock buttons. NOTE:
•Passive Entry may be programmed ON/OFF; refer to
“Uconnect Touch™ Settings” in “Understanding Your
Instrument Panel” for further information.
•If wearing gloves on your hands, or if it has been
raining on the Passive Entry door handle, the unlock
sensitivity can be affected, resulting in a slower re-
sponse time.
•If the vehicle is unlocked by the RKE transmitter or
Passive Entry and no door goes ajar within 60 seconds,
the vehicle will re-lock and if equipped will arm the
theft alarm.
2
THINGS TO KNOW BEFORE STARTING YOUR VEHICLE 33
Page 36 of 536
To Unlock From The Driver’s Side:
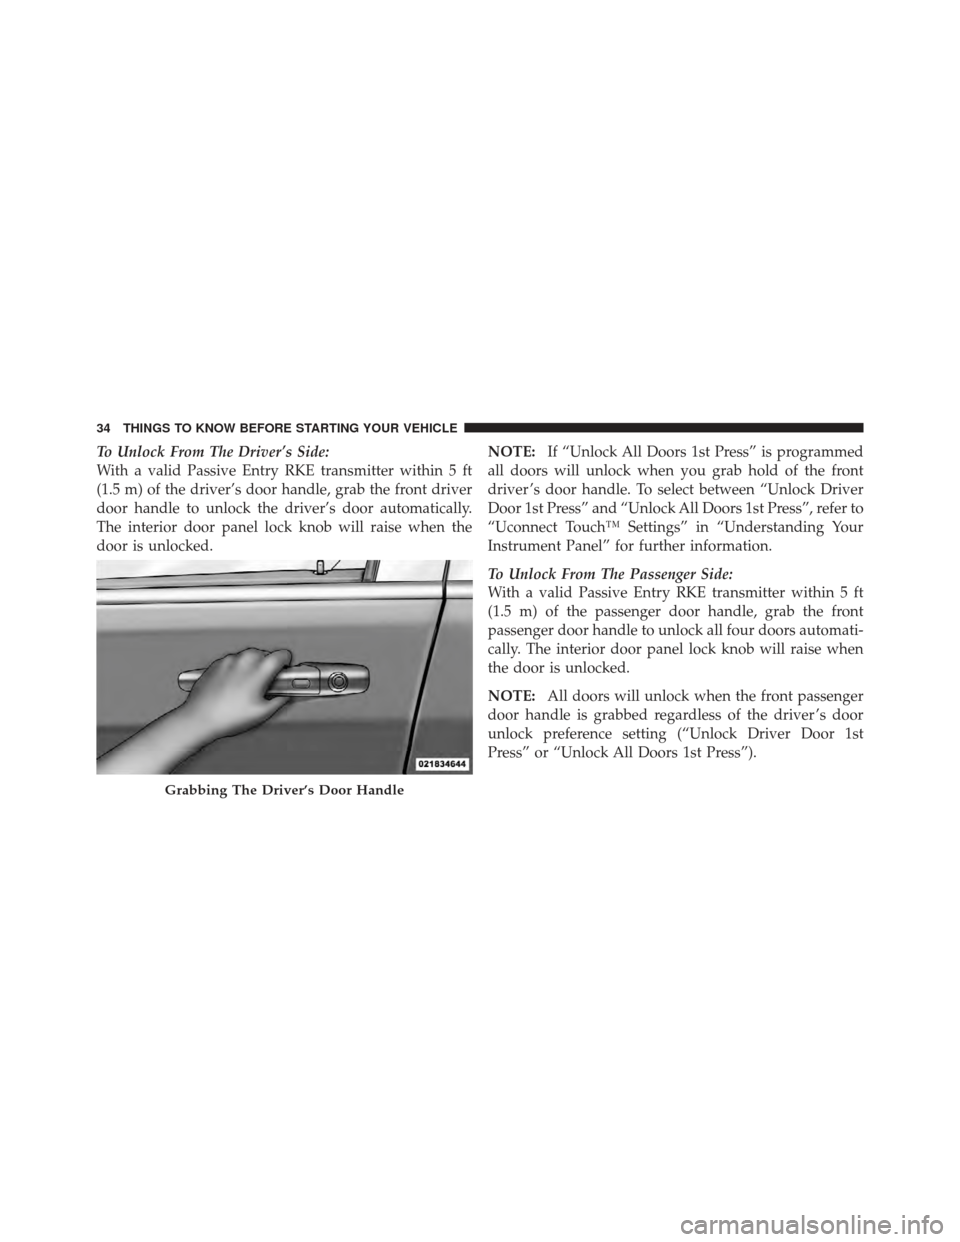
With a valid Passive Entry RKE transmitter within 5 ft
(1.5 m) of the driver’s door handle, grab the front driver
door handle to unlock the driver’s door automatically.
The interior door panel lock knob will raise when the
door is unlocked.NOTE:
If “Unlock All Doors 1st Press” is programmed
all doors will unlock when you grab hold of the front
driver ’s door handle. To select between “Unlock Driver
Door 1st Press” and “Unlock All Doors 1st Press”, refer to
“Uconnect Touch™ Settings” in “Understanding Your
Instrument Panel” for further information.
To Unlock From The Passenger Side:
With a valid Passive Entry RKE transmitter within 5 ft
(1.5 m) of the passenger door handle, grab the front
passenger door handle to unlock all four doors automati-
cally. The interior door panel lock knob will raise when
the door is unlocked.
NOTE: All doors will unlock when the front passenger
door handle is grabbed regardless of the driver ’s door
unlock preference setting (“Unlock Driver Door 1st
Press” or “Unlock All Doors 1st Press”).
Grabbing The Driver’s Door Handle
34 THINGS TO KNOW BEFORE STARTING YOUR VEHICLE
Page 40 of 536
WINDOWS
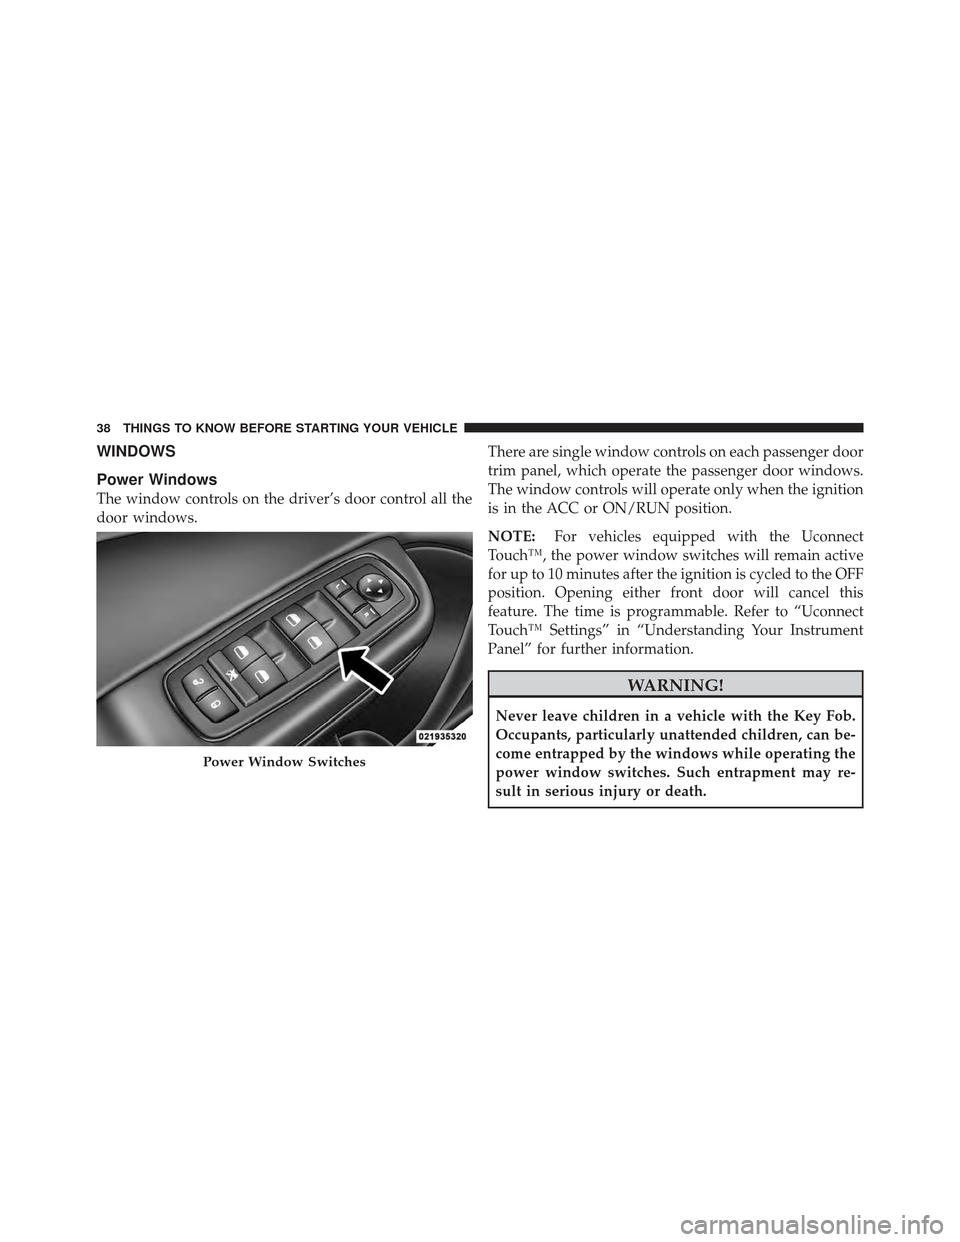
Power Windows
The window controls on the driver’s door control all the
door windows.There are single window controls on each passenger door
trim panel, which operate the passenger door windows.
The window controls will operate only when the ignition
is in the ACC or ON/RUN position.
NOTE:
For vehicles equipped with the Uconnect
Touch™, the power window switches will remain active
for up to 10 minutes after the ignition is cycled to the OFF
position. Opening either front door will cancel this
feature. The time is programmable. Refer to “Uconnect
Touch™ Settings” in “Understanding Your Instrument
Panel” for further information.
WARNING!
Never leave children in a vehicle with the Key Fob.
Occupants, particularly unattended children, can be-
come entrapped by the windows while operating the
power window switches. Such entrapment may re-
sult in serious injury or death.
Power Window Switches
38 THINGS TO KNOW BEFORE STARTING YOUR VEHICLE
Page 43 of 536
Wind Buffeting
Wind buffeting can be described as the perception of
pressure on the ears or a helicopter-type sound in the
ears. Your vehicle may exhibit wind buffeting with the
windows down, or the sunroof (if equipped) in certain
open or partially open positions. This is a normal occur-
rence and can be minimized. If the buffeting occurs with
the rear windows open, then open the front and rear
windows together to minimize the buffeting. If the
buffeting occurs with the sunroof open, then adjust the
sunroof opening to minimize the buffeting.
TRUNK LOCK AND RELEASE
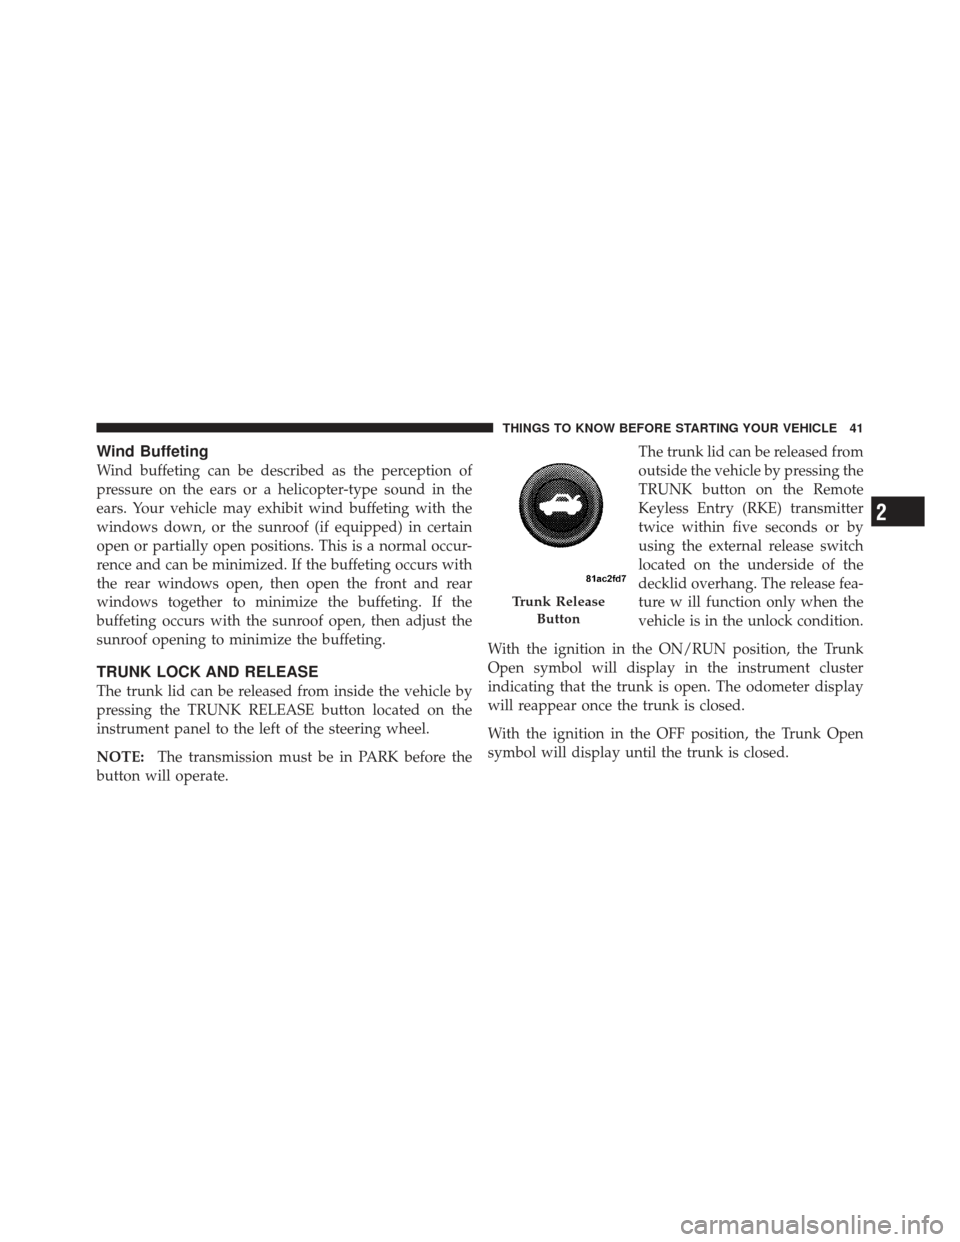
The trunk lid can be released from inside the vehicle by
pressing the TRUNK RELEASE button located on the
instrument panel to the left of the steering wheel.
NOTE:The transmission must be in PARK before the
button will operate. The trunk lid can be released from
outside the vehicle by pressing the
TRUNK button on the Remote
Keyless Entry (RKE) transmitter
twice within five seconds or by
using the external release switch
located on the underside of the
decklid overhang. The release fea-
ture w ill function only when the
vehicle is in the unlock condition.
With the ignition in the ON/RUN position, the Trunk
Open symbol will display in the instrument cluster
indicating that the trunk is open. The odometer display
will reappear once the trunk is closed.
With the ignition in the OFF position, the Trunk Open
symbol will display until the trunk is closed.
Trunk Release Button
2
THINGS TO KNOW BEFORE STARTING YOUR VEHICLE 41