stop start CHRYSLER 300 2013 2.G User Guide
[x] Cancel search | Manufacturer: CHRYSLER, Model Year: 2013, Model line: 300, Model: CHRYSLER 300 2013 2.GPages: 132, PDF Size: 5.2 MB
Page 7 of 132
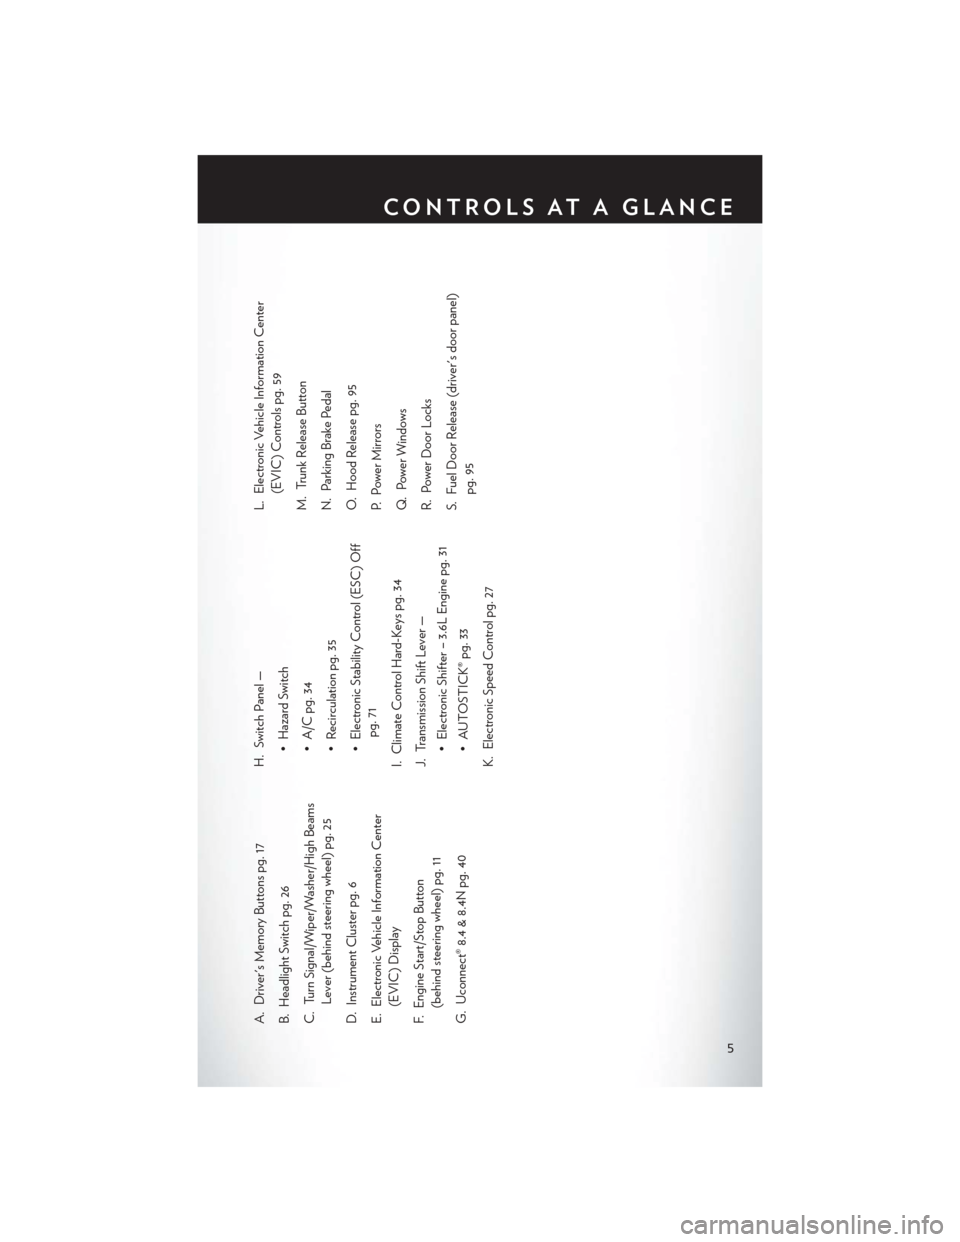
A. Driver's Memory Buttons pg. 17
B. Headlight Switch pg. 26
C. Turn Signal/Wiper/Washer/High BeamsLever (behind steering wheel) pg. 25
D. Instrument Cluster pg. 6
E. Electronic Vehicle Information Center (EVIC) Display
F. Engine Start/Stop Button (behind steering wheel) pg. 11
G. Uconnect® 8.4 & 8.4N pg. 40 H. Switch Panel —
• Hazard Switch
• A/C pg. 34
• Recirculation pg. 35
• Electronic Stability Control (ESC) Offpg. 71
I. Climate Control Hard-Keys pg. 34
J. Transmission Shift Lever — • Electronic Shifter – 3.6L Engine pg. 31
• AUTOSTICK® pg. 33
K. Electronic Speed Control pg. 27 L. Electronic Vehicle Information Center
(EVIC) Controls pg. 59
M. Trunk Release Button
N. Parking Brake Pedal
O. Hood Release pg. 95
P. Power Mirrors
Q. Power Windows
R. Power Door Locks
S. Fuel Door Release (driver's door panel) pg. 95
CONTROLS AT A GLANCE
5
Page 11 of 132
REMOTE START
• Press the REMOTE START buttonx2on the Key Fob twice within five seconds. Pressing the
REMOTE START button a third time shuts the engine off.
• To drive the vehicle, press the UNLOCK button and cycle the ignition to the ON/RUN position.
• With remote start, the engine will only run for 15 minutes (timeout) unless the ignition is cycled to the ON/RUN position.
• The vehicle must be cycled to the ON/RUN position after two consecutive timeouts.
WARNING!
• Do not start or run an engine in a closed garage or confined area. Exhaust gas contains Carbon Monoxide (CO) which is odorless and colorless. Carbon Monoxide is poisonous
and can cause you or others to be severely injured or killed when inhaled.
• Keep Key Fob transmitters away from children. Operation of the Remote Start System,
windows, door locks or other controls could cause you and others to be severely injured or
killed.
KEYLESS ENTER-N-GO™
• The Keyless Enter-N-Go™ system is an enhancement to the vehicle's Key Fob. This featureallows you to lock and unlock the vehicle's door(s) and trunk without having to press the Key
Fob lock or unlock buttons, as well as starting and stopping the vehicle with the press of a
button.
To Unlock From The Driver or Passenger Side:
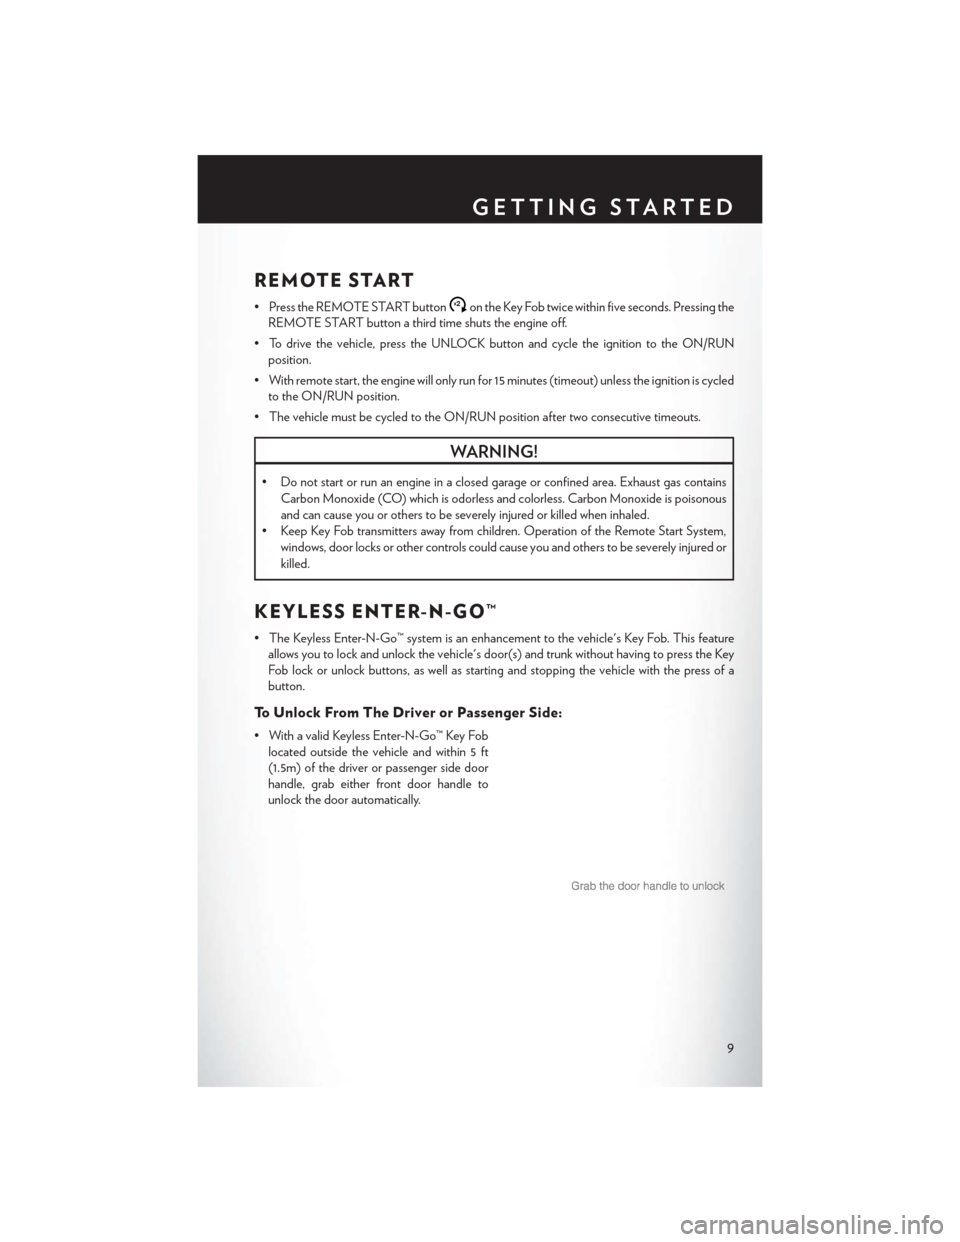
• With a valid Keyless Enter-N-Go™ Key Foblocated outside the vehicle and within 5 ft
(1.5m) of the driver or passenger side door
handle, grab either front door handle to
unlock the door automatically.
GETTING STARTED
9
Page 13 of 132
To Enter the Trunk:
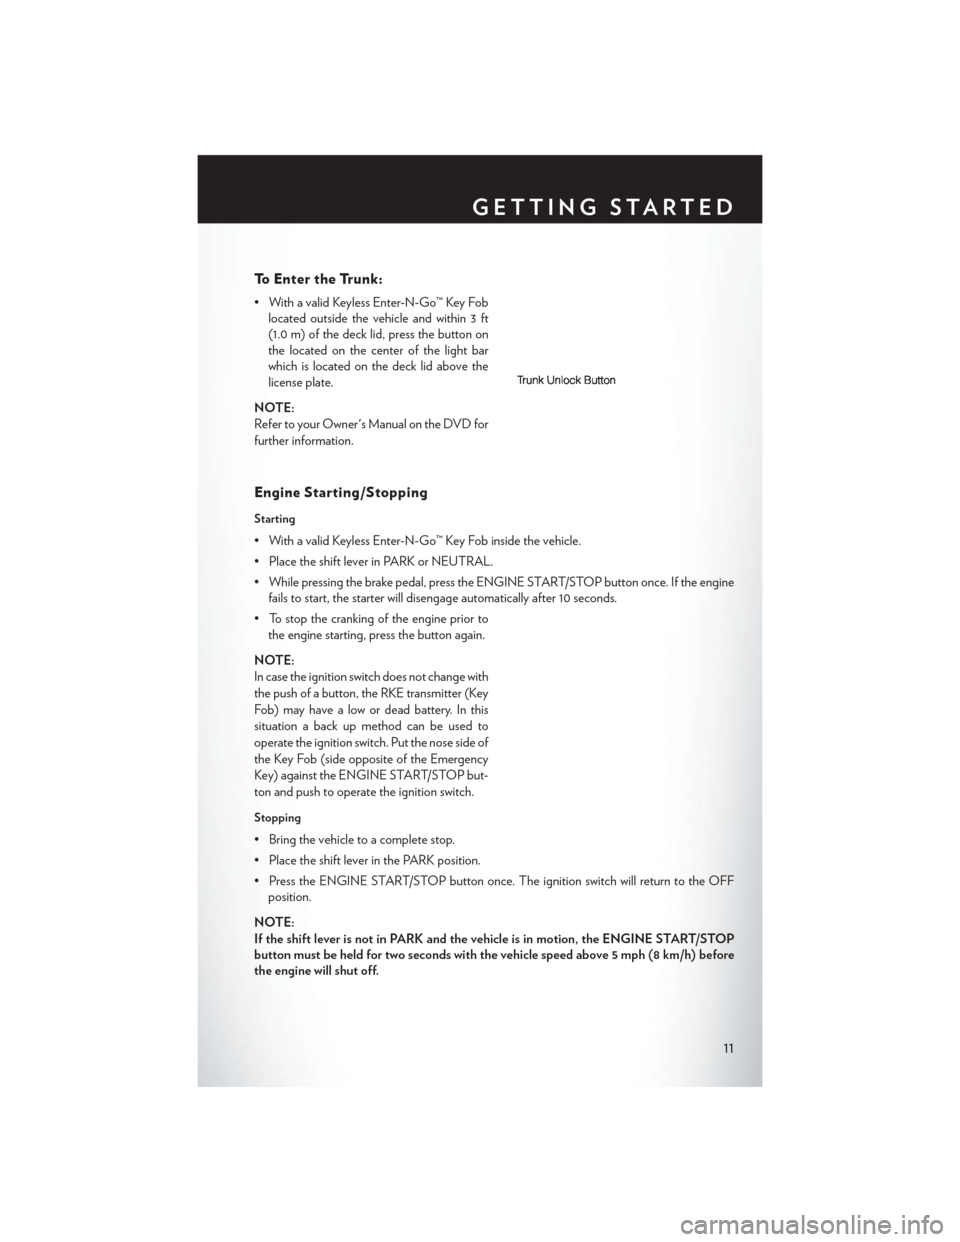
• With a valid Keyless Enter-N-Go™ Key Foblocated outside the vehicle and within 3 ft
(1.0 m) of the deck lid, press the button on
the located on the center of the light bar
which is located on the deck lid above the
license plate.
NOTE:
Refer to your Owner's Manual on the DVD for
further information.
Engine Starting/Stopping
Starting
• With a valid Keyless Enter-N-Go™ Key Fob inside the vehicle.
• Place the shift lever in PARK or NEUTRAL.
• While pressing the brake pedal, press the ENGINE START/STOP button once. If the engine fails to start, the starter will disengage automatically after 10 seconds.
• To stop the cranking of the engine prior to the engine starting, press the button again.
NOTE:
In case the ignition switch does not change with
the push of a button, the RKE transmitter (Key
Fob) may have a low or dead battery. In this
situation a back up method can be used to
operate the ignition switch. Put the nose side of
the Key Fob (side opposite of the Emergency
Key) against the ENGINE START/STOP but-
ton and push to operate the ignition switch.
Stopping
• Bring the vehicle to a complete stop.
• Place the shift lever in the PARK position.
• Press the ENGINE START/STOP button once. The ignition switch will return to the OFF position.
NOTE:
If the shift lever is not in PARK and the vehicle is in motion, the ENGINE START/STOP
button must be held for two seconds with the vehicle speed above 5 mph (8 km/h) before
the engine will shut off.
GETTING STARTED
11
Page 14 of 132
Accessory Positions with Engine Off
NOTE:
The following functions are with the driver’s foot OFF the Brake Pedal (transmission in PARK or
NEUTRAL).
Starting With The Ignition Switch In The OFF Position:
• Press the ENGINE START/STOP button once to change the ignition switch to the ACCposition.
• Press the ENGINE START/STOP button a second time to change the ignition switch to the ON/RUN position.
• Press the ENGINE START/STOP button a third time to return the ignition switch to the OFF position.
NOTE:
If the ignition switch is left in the ACC or
ON/RUN (engine not running) position and
the transmission is in PARK, the system will
automatically time out after 30 minutes of
inactivity and the ignition will switch to the
OFF position.
THEFT ALARM
To Arm:
• Press the Keyless Enter-N-Go™ Start/Stop button until the Electronic Vehicle Information Center (EVIC) indicates that the vehicle ignition is “OFF”. Press the power door lock switch
while the door is open, press the Key Fob LOCK button, or with one of the Key Fobs located
outside the vehicle and within 5 ft (1.5 m) of the driver's and passenger front door handles,
press the Keyless Enter-N-Go™ LOCK button located on the door handle.
NOTE:
After pressing the Keyless Enter-N-Go™ LOCK button, you must wait two seconds before you
can lock or unlock the vehicle via the door handle.
To Disarm:
• Press the Key Fob UNLOCK button or with one of the Key Fobs located outside the vehicle and within 5 ft (1.5 m) of the driver's and passenger front door handles, grab the Keyless
Enter-N-Go™ door handle and enter the vehicle, then press the Keyless Enter-N-Go™
Start/Stop button (requires at least one valid Key Fob in the vehicle).
GETTING STARTED
12
Page 15 of 132
SEAT BELT
• Be sure everyone in your vehicle is in a seat and using a seat belt properly.
• Position the lap belt across your thighs, below your abdomen. To remove slack in the lapportion, pull up a bit on the shoulder belt. To loosen the lap belt if it is too tight, tilt the latch
plate and pull on the lap belt. A snug belt reduces the risk of sliding under the belt in a collision.
• Position the shoulder belt on your chest so that it is comfortable and not resting on your neck. The retractor will withdraw any slack in the belt.
• A shoulder belt placed behind you will not protect you from injury during a collision. You are more likely to hit your head in a collision if you do not wear your shoulder belt. The lap and
shoulder belt are meant to be used together.
• A belt that is too loose will not protect you properly. In a sudden stop you could move too far forward, increasing the possibility of injury. Wear your seat belt snugly.
• A frayed or torn belt could rip apart in a collision and leave you with no protection. Inspect the belt system periodically, checking for cuts, frays, or loose parts. Damaged parts must be
replaced immediately. Do not disassemble or modify the system. Seat belt assemblies must be
replaced after a collision if they have been damaged (bent retractor, torn webbing, etc.).
• The seat belts for both front seating positions are equipped with pretensioning devices that are designed to remove slack from the seat belt in the event of a collision.
• A deployed pretensioner or a deployed air bag must be replaced immediately.
WARNING!
In a collision, you and your passengers can suffer much greater injuries if you are not buckled
up properly. You can strike the interior of your vehicle or other passengers, or you can be
thrown out of the vehicle. Always be sure you and others in your vehicle are buckled up
properly.
SUPPLEMENTAL RESTRAINT SYSTEM (SRS) —
AIR BAGS
• This vehicle has Advanced Front Air Bags for both the driver and right front passenger as a supplement to the seat belt restraint system. The Advanced Front Air Bags will not deploy in
every type of collision.
• Advanced Front Air Bags are designed to provide additional protection by supplementing the seat belts in certain frontal collisions depending on several factors, including the severity and
type of collision. Advanced Front Air Bags are not expected to reduce the risk of injury in rear,
side, or rollover collisions.
• This vehicle is equipped with Supplemental Side Air Bag Inflatable Curtains to protect the driver, front and rear passengers sitting next to a window.
GETTING STARTED
13
Page 20 of 132

To program your Key Fobs, perform the following:
• Change the ignition to OFF.
• Select desired memory profile 1 or 2.
• Once the profile has been recalled, press and release the SET (S) button on the memoryswitch, then press and release the side of the rocker switch labeled 1 or 2 accordingly.
• (1 or 2) will display in the instrument cluster if the vehicle is equipped with the EVIC.
• Press and release the LOCK button on the Key Fob within 10 seconds.
NOTE:
Your Key Fob can be unlinked to your memory settings by pressing the SET (S) button followed
by the UNLOCK button on the Key Fob in the fourth step.
• Press 1 or 2 to recall the saved positions, or press UNLOCK on the programmed Key Fob.
• Refer to the Owner's Manual on the DVD for further details.
Manual Seat
Forward/Rearward
• Lift up on the adjusting bar located at the front of the seat near the floor and release it
when the seat is at the desired position.
Then, using body pressure, move forward
and backward on the seat to be sure that the
seat adjusters have latched.
Recliner
• Lean forward in the seat and lift the reclinerlever, then lean back to the desired position
and release the lever.
• Lift the lever to return the seatback to an upright position.
CAUTION!
Do not place any article under a power seat or impede its ability to move as it may cause
damage to the seat controls. Seat travel may become limited if movement is stopped by an
obstruction in the seat’s path.
GETTING STARTED
18
Page 24 of 132
ADJUSTABLE PEDALS
• The adjustable pedal switch is located onthe front side of the driver’s seat cushion side
shield.
• Press the switch forward to move the pedals forward (toward the front of the vehicle).
•
Press the switch rearward to move the pedals
rearward (toward the driver).
NOTE:
The pedals cannot be adjusted when the
vehicle is in REVERSE or when the Electronic
Speed Control is set.
CAUTION!
Do not place any article under the adjustable pedals or impede its ability to move, as it may
cause damage to the pedal controls. Pedal travel may become limited if movement is stopped
by an obstruction in the adjustable pedal's path.
WARNING!
Do not adjust the pedals while the vehicle is moving. You could lose control and have a
collision. Always adjust the pedals while the vehicle is parked.
GETTING STARTED
22
Page 25 of 132
TILT/TELESCOPING STEERING COLUMN
Manual - Tilt/Telescoping Steering Column
• The tilt/telescoping control handle is located below the steering wheel at the end of thesteering column.
• To unlock the steering column, push the lever downward (toward the floor).
•
To tilt the steering column, move the steering wheel upward or downward as desired. To lengthen
or shorten the steering column, pull the steering wheel outward or push it inward as desired.
• To lock the steering column in position, push the lever upward until fully engaged.
Power - Tilt/Telescoping Steering Column
•The power tilt/telescoping steering control is
located below the turn signal/wiper/washer/
high beam lever on the steering column.
• To tilt the steering column, move the power tilt/telescoping control up or down as de-
sired. To lengthen or shorten the steering
column, pull the control toward you or push
the control away from you as desired.
WARNING!
• Do not adjust the steering wheel while driving. The tilt/telescoping adjustment must be
locked while driving. Adjusting the steering wheel while driving or driving without the
tilt/telescoping adjustment locked could cause the driver to lose control of the vehicle.
Failure to follow this warning may result in you and others being severely injured or killed.
• Moving the steering column while the vehicle is moving is dangerous. Without a stable
steering column, you could lose control of the vehicle and have a collision. Adjust the
column only while the vehicle is stopped.
GETTING STARTED
23
Page 35 of 132

AUTOSTICK®
• When the transmission is in DRIVE, it willoperate automatically, shifting between the
eight available gears. While in SPORT
mode, the transmission will only shift be-
tween seven of the eight available gears.
• To engage AutoStick®, simply tap one of the steering wheel-mounted shift paddles (+/-).
• In AutoStick® mode, the transmission will only shift up or down when (+/-) is manually
selected by the driver, except as described
below. It will remain in the selected gear until
another upshift or downshift is chosen.
• When AutoStick® is active, the current transmission gear is displayed in the EVIC.
• If AutoStick® is engaged while in DRIVE mode, lack of accelerator pedal activity will cause the transmission to revert to automatic
operation. The transmission will also upshift automatically once redline, (where the tachom-
eter needle points to the red portion of the gauge) is reached. If the accelerator is pressed to
the floor, the transmission will downshift when possible (based on current vehicle speed and
gear).
• When AutoStick® is used in SPORT mode, the transmission will only shift up or down when commanded by the driver, except as noted below.
• In either DRIVE or SPORT mode, the transmission will automatically downshift as the vehicle slows to a stop (to prevent engine lugging) and will display the current gear. Tapping the (+)
paddle (at a stop) will allow starting in second gear. After a stop, the driver should manually
upshift (+) the transmission as the vehicle accelerates.
NOTE:
To disengage AutoStick® mode, press and hold the (+) shift paddle until “D” or “S” is once again
displayed in the EVIC. You can shift in or out of the AutoStick® mode at any time without taking
your foot off the accelerator pedal.
OPERATING YOUR VEHICLE
33
Page 68 of 132
AUTOSTICK®
Steering Wheel Mounted Paddle Shifters Or Console Mounted Shifter
• AutoStick® is a driver-interactive transmis-sion feature that offers manual gear shifting
to provide you with more control of the
vehicle. AutoStick® allows you to maximize
engine braking, and improve overall vehicle
performance.
• This system can also provide you with more control during passing, city driving, cold
slippery conditions, mountain driving, trailer
towing, and many other situations.
Operation
• When the shift lever is in the DRIVE posi-tion, the transmission will operate automati-
cally, shifting between the five available
gears. To engage AutoStick®, simply move
the shift lever to the right or left (+/-) while in the DRIVE position, or press one of the steering
wheel mounted shift paddles (+/-). When AutoStick® is active, the current transmission gear is
displayed in the Electronic Vehicle Information Center (EVIC) portion of the instrument
cluster. In AutoStick® mode, the transmission will shift when manually selected by the driver
(using the shift lever, or the shift paddles), unless an engine lugging or overspeed condition
would result. It will remain in the selected gear until another upshift or downshift is chosen,
except as described below:• The transmission will automatically downshift as the vehicle slows (to prevent engine
lugging) and will display the current gear.
• The transmission will automatically downshift to first gear when coming to a stop.
• You can start out in first or second gear. Tapping (+) (at a stop) will allow starting in second gear. Starting out in second gear is helpful in snowy or icy conditions.
• The system will ignore attempts to upshift at too low of a vehicle speed.
• Transmission shifting will be more noticeable when AutoStick® is engaged. To disengage AutoStick® mode, hold the shift lever to the right or press and hold the (+) shift paddle until
“D” is once again displayed in the instrument cluster. You can shift in or out of the AutoStick®
mode at any time without taking your foot off the accelerator pedal.
ELECTRONIC CONTROL DAMPING SYSTEM
• This vehicle may be equipped with an electronic controlled damping system. This system reduces body roll and pitch in many driving situations including cornering, acceleration and
braking. There are three modes of operation:
SRT8
66