CHRYSLER 300 2014 2.G User Guide
Manufacturer: CHRYSLER, Model Year: 2014, Model line: 300, Model: CHRYSLER 300 2014 2.GPages: 132, PDF Size: 3.65 MB
Page 111 of 132

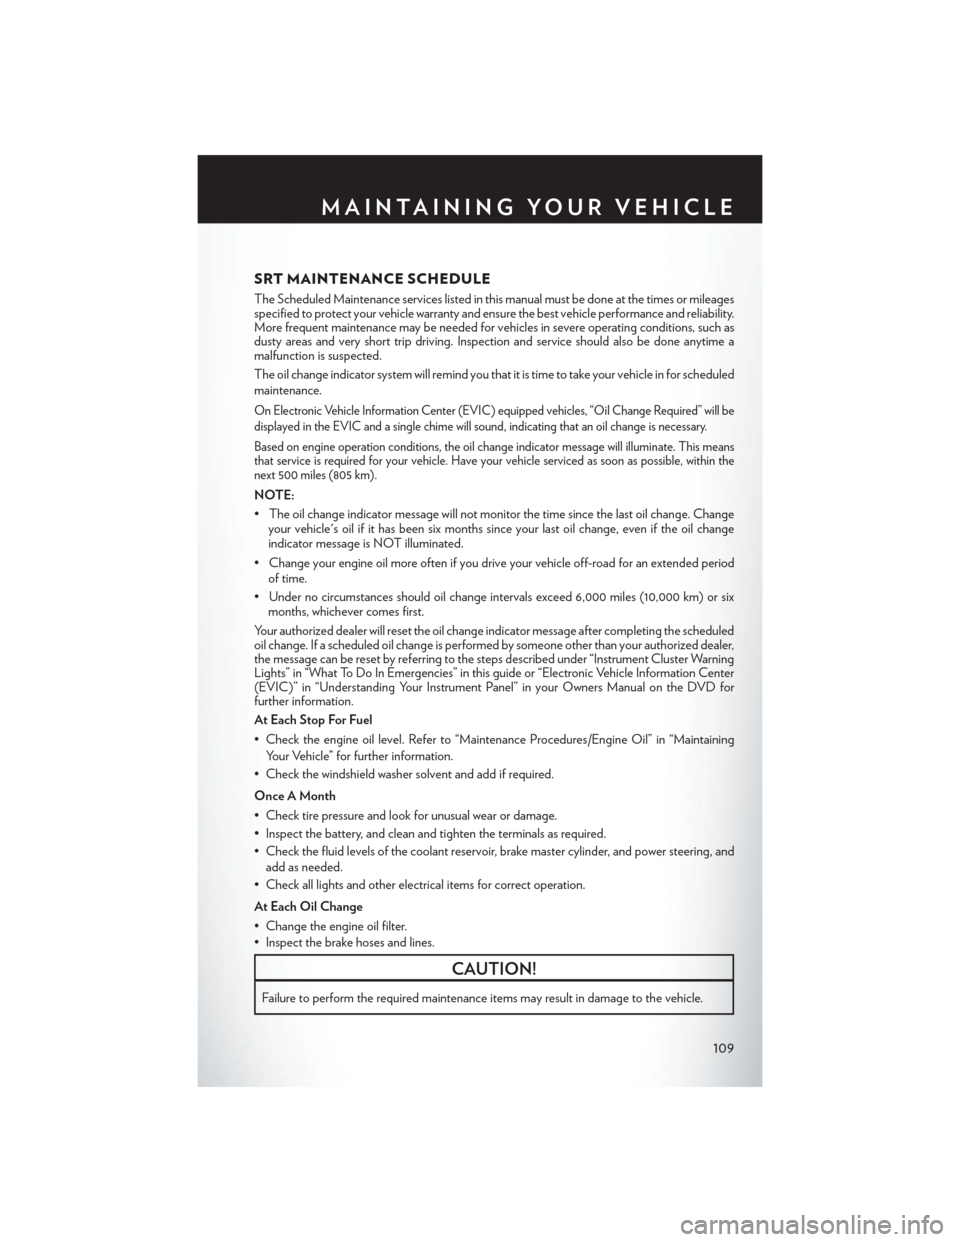
SRT MAINTENANCE SCHEDULE
The Scheduled Maintenance services listed in this manual must be done at the times or mileages
specified to protect your vehicle warranty and ensure the best vehicle performance and reliability.
More frequent maintenance may be needed for vehicles in severe operating conditions, such as
dusty areas and very short trip driving. Inspection and service should also be done anytime a
malfunction is suspected.
The oil change indicator system will remind you that it is time to take your vehicle in for scheduled
maintenance.
On Electronic Vehicle Information Center (EVIC) equipped vehicles, “Oil Change Required” will be
displayed in the EVIC and a single chime will sound, indicating that an oil change is necessary.
Based on engine operation conditions, the oil change indicator message will illuminate. This means
that service is required for your vehicle. Have your vehicle serviced as soon as possible, within the
next 500 miles (805 km).
NOTE:
• The oil change indicator message will not monitor the time since the last oil change. Changeyour vehicle's oil if it has been six months since your last oil change, even if the oil change
indicator message is NOT illuminated.
• Change your engine oil more often if you drive your vehicle off-road for an extended period of time.
• Under no circumstances should oil change intervals exceed 6,000 miles (10,000 km) or six months, whichever comes first.
Your authorized dealer will reset the oil change indicator message after completing the scheduled
oil change. If a scheduled oil change is performed by someone other than your authorized dealer,
the message can be reset by referring to the steps described under “Instrument Cluster Warning
Lights” in “What To Do In Emergencies” in this guide or “Electronic Vehicle Information Center
(EVIC)” in “Understanding Your Instrument Panel” in your Owners Manual on the DVD for
further information.
At Each Stop For Fuel
• Check the engine oil level. Refer to “Maintenance Procedures/Engine Oil” in “Maintaining Your Vehicle” for further information.
• Check the windshield washer solvent and add if required.
Once A Month
• Check tire pressure and look for unusual wear or damage.
• Inspect the battery, and clean and tighten the terminals as required.
• Check the fluid levels of the coolant reservoir, brake master cylinder, and power steering, and add as needed.
• Check all lights and other electrical items for correct operation.
At Each Oil Change
• Change the engine oil filter.
• Inspect the brake hoses and lines.
CAUTION!
Failure to perform the required maintenance items may result in damage to the vehicle.
MAINTAINING YOUR VEHICLE
109
Page 112 of 132

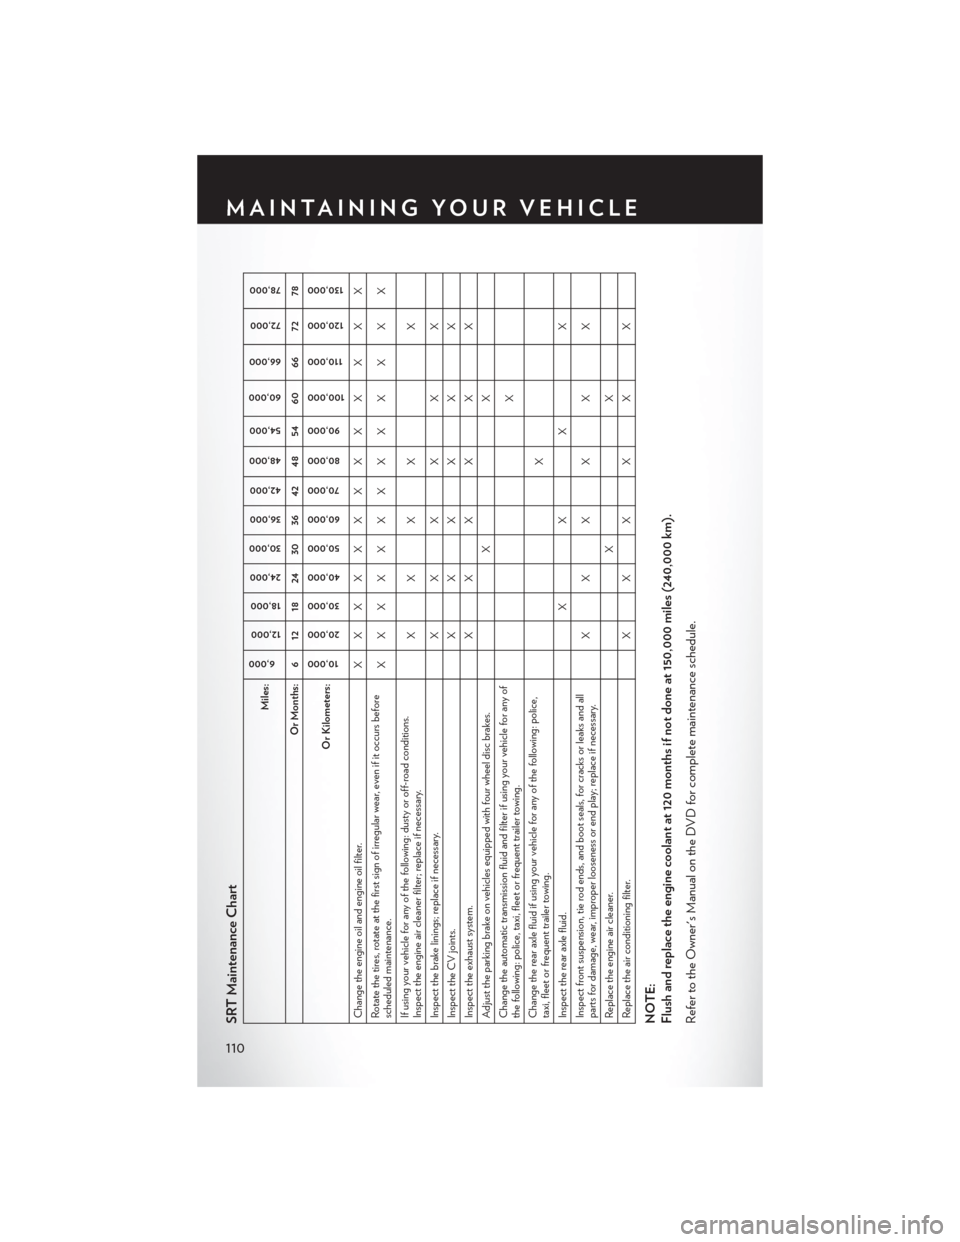
SRT Maintenance Chart
Miles:
6,000
12,000
18,000
24,000
30,000
36,000
42,000
48,000
54,000
60,000
66,000
72,000
78,000
Or Months: 6 12 18 24 30 36 42 48 54 60 66 72 78
Or Kilometers:
10,000
20,000 30,000
40,000
50,000
60,000 70,000
80,000
90,000
100,000
110,000
120,000 130,000
Change the engine oil and engine oil filter. X X XXXXX X X X X X X
Rotate the tires, rotate at the first sign of irregular wear, even if it occurs before
scheduled maintenance. XXXXXXX X X X X X X
If using your vehicle for any of the following: dusty or off-road conditions.
Inspect the engine air cleaner filter; replace if necessary. XX X X
X
Inspect the brake linings; replace if necessary. X X X XXX
Inspect the CV joints. X X X XXX
Inspect the exhaust system. X X X XXX
Adjust the parking brake on vehicles equipped with four wheel disc brakes. XX
Change the automatic transmission fluid and filter if using your vehicle for any of
the following: police, taxi, fleet or frequent trailer towing. X
Change the rear axle fluid if using your vehicle for any of the following: police,
taxi, fleet or frequent trailer towing. X
Inspect the rear axle fluid. XX X X
Inspect front suspension, tie rod ends, and boot seals, for cracks or leaks and all
parts for damage, wear, improper looseness or end play; replace if necessary. XX X X X X
Replace the engine air cleaner. XX
Replace the air conditioning filter. X X X XXXNOTE:
Flush and replace the engine coolant at 120 months if not done at 150,000 miles (240,000 km).
Refer to the Owner's Manual on the DVD for complete maintenance schedule.
MAINTAINING YOUR VEHICLE
110
Page 113 of 132

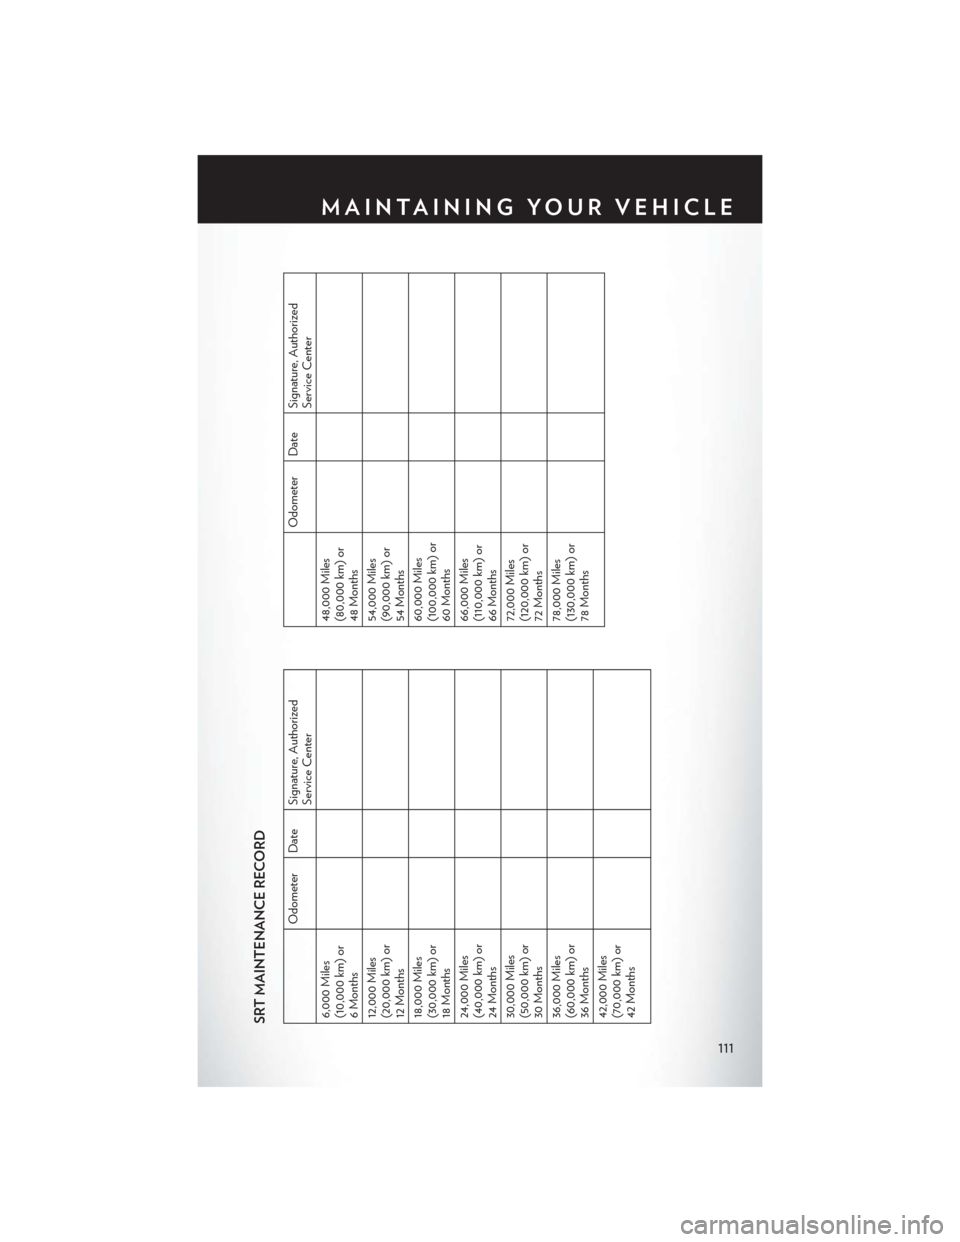
SRT MAINTENANCE RECORD
Odometer Date Signature, AuthorizedService Center
6,000 Miles
(10,000 km) or
6 Months
12,000 Miles
(20,000 km) or
12 Months
18,000 Miles
(30,000 km) or
18 Months
24,000 Miles
(40,000 km) or
24 Months
30,000 Miles
(50,000 km) or
30 Months
36,000 Miles
(60,000 km) or
36 Months
42,000 Miles
(70,000 km) or
42 Months
Odometer Date Signature, Authorized Service Center
48,000 Miles
(80,000 km) or
48 Months
54,000 Miles
(90,000 km) or
54 Months
60,000 Miles
(100,000 km) or
60 Months
66,000 Miles
(110,000 km) or
66 Months
72,000 Miles
(120,000 km) or
72 Months
78,000 Miles
(130,000 km) or
78 Months
MAINTAINING YOUR VEHICLE
111
Page 114 of 132

FUSES
Front Power Distribution Center (Fuses)
The Front Power Distribution Center (fuses) is located in the engine compartment on the right
hand side near the Washer Fluid Reservoir. This module contains fuses and relays.
Front Power Distribution Center
Cavity Cartridge Fuse Mini-FuseDescription
1 – – Fuse–Spare
2 40 Amp Green – Radiator Fan #1
3 50 Amp Red – Power Steering #1
4 30 Amp Pink – Starter
5 40 Amp Green – Anti-Lock Brakes
6 25 Amp Clear – Anti-Lock Brakes
7 – – Fuse–Spare
8 – – Fuse–Spare
9 – 20 Amp Yellow All-Wheel Drive Module –
If Equipped
10 –5 Amp Tan Security
11 – 20 Amp Yellow Horns
12 –10 Amp Red Air Conditioning Clutch
MAINTAINING YOUR VEHICLE
112
Page 115 of 132

Cavity Cartridge Fuse Mini-FuseDescription
13 –– Fuse – Spare
14 –– Fuse – Spare
15 –– Fuse – Spare
16 –– Fuse – Spare
18 50 Amp Red – Radiator Fan #2
19 50 Amp Red – Power Steering #2
20 30 Amp Pink – Wiper Motor
21 30 Amp Pink – Headlamp Washers
22 –– Fuse – Spare
23 –– Fuse – Spare
24 –– Fuse – Spare
28 – 25 Amp Clear Fuel Pump
29 –15 Amp Blue Transmission Shifter
30 –– Fuse – Spare
31 – 25 Amp Clear Engine Module
32 –– Fuse – Spare
33 –– Fuse – Spare
34 – 25 Amp Clear Powertrain #1
35 – 20 Amp Yellow Powertrain #2
36 –10 Amp Red Anti-Lock Brake Module
37 –10 Amp Red Engine Controller/Rad Fan Relays
38 –10 Amp Red Airbag Module
39 –10 Amp Red Power Steering Module/AC Clutch
Relay
48 –10 Amp Red AWD Module/Front Axle
Disconnect
49 –– Fuse – Spare
50 –– Fuse – Spare
51 – 20 Amp Yellow Vacuum Pump
52 –– Fuse – Spare
53 –– Fuse – Spare
MAINTAINING YOUR VEHICLE
113
Page 116 of 132

Rear Power Distribution Center
• There is also a power distribution center located in the trunk under the spare tire access panel.This center contains fuses and relays.
Cavity Cartridge Fuse Mini-Fuse Description
2 60 Amp Yellow — Front PDC Feed #1
3 — — Fuse–Spare
4 60 Amp Yellow — Front PDC Feed #2
5 30 Amp Pink — Sunroof
6 40 Amp Green — Exterior Lighting #1
7 40 Amp Green — Exterior Lighting #2
8 30 Amp Pink — Interior Lighting/Washer Pump
9 30 Amp Pink — Power Locks
10 30 Amp Pink — Driver Door
11 30 Amp Pink — Passenger Door
12 — 20 Amp Yellow Cigar Lighters, Instrument Panel &
Power Outlet Console Rear
15 40 Amp Green — HVAC Blower
16 — — Fuse — Spare
17 — — Fuse — Spare
18 — — Fuse — Spare
19 — — Fuse — Spare
20 — — Fuse — Spare
21 — — Fuse — Spare
22 — — Fuse — Spare
23 — 10 Amp Red Fuel Door/Diagnostic Port
24 — 15 Amp Blue Radio Screen
25 — 10 Amp Red Tire Pressure Monitor
26 — 25 Amp Natural Transmission
27 — 25 Amp Natural Amplifier
31 — 25 Amp Natural Power Seats
32 — 15 Amp Blue HVAC Module/Cluster
33 — 15 Amp Blue Ignition Switch/Wireless Module
34 — 10 Amp Red Steering Column Module/Clock
35 — 10 Amp Red Battery Sensor
36 — — Fuse — Spare
37 — 15 Amp Blue Radio
38 — 20 Amp Yellow Power Outlet Inside Arm Rest
40 — — Fuse — Spare
MAINTAINING YOUR VEHICLE
114
Page 117 of 132

Cavity Cartridge Fuse Mini-FuseDescription
41 — — Fuse — Spare
42 30 Amp Pink — Rear Defrost
43 — 25 Amp Natural Rear Heated Seats/Steering Wheel
44 — 10 Amp Red Park Assist/Blind Spot/Camera
45 — 15 Amp Blue Cluster/Rearview Mirror/Compass
46 — 10 Amp Red Adaptive Cruise Control
47 — 10 Amp Red Adaptive Front Lighting
48 — 20 Amp Yellow Active Suspension
49 — — Fuse — Spare
50 — — Fuse — Spare
51 — 20 Amp Yellow Front Heated Seats
52 — 10 Amp Red Heated Cupholders/Rear Heated Seat
Switches
53 — 10 Amp Red HVAC Module/In Car Temperature
Sensor
54 — — Fuse — Spare
55 — — Fuse — Spare
56 — — Fuse — Spare
57 — — Fuse — Spare
58 — 10 Amp Red Airbag Module
59 — — Fuse — Spare
60 — — Fuse — Spare
61 — — Fuse — Spare
62 — — Fuse — Spare
63 — — Fuse — Spare
64 — 25 Amp Natural Rear Windows
65 — 10 Amp Red Airbag Module
66 — — Fuse — Spare
67 — 15 Amp Blue Run Sense
68 — 15 Amp Blue Illumination/Rear Sunshade
69 — — Fuse — Spare
70 — — Fuse — Spare
MAINTAINING YOUR VEHICLE
115
Page 118 of 132

MAINTAINING YOUR VEHICLE
116
Page 119 of 132

TIRE PRESSURES
Check the inflation pressure of each tire, including the spare tire, at least monthly and inflate to
the recommended pressure for your vehicle.
The tire pressures recommended for your vehicle are found on the “Tire and Loading Informa-
tion” label located on the driver’s side door opening.
NOTE:
Refer to the Owner's Manual on the DVD for
more information regarding tire warnings and
instructions.
WARNING!
• Overloading of your tires is dangerous. Overloading can cause tire failure, affect vehiclehandling, and increase your stopping distance. Use tires of the recommended load
capacity for your vehicle . Never overload them.
• Improperly inflated tires are dangerous and can cause collisions. Under-inflation is the
leading cause of tire failure and may result in severe cracking, component separation, or
“blow out”. Over-inflation reduces a tire’s ability to cushion shock. Objects on the road
and chuck holes can cause damage that results in tire failure. Unequal tire pressures can
cause steering problems. You could lose control of your vehicle. Over-inflated or under-
inflated tires can affect vehicle handling and can fail suddenly, resulting in loss of vehicle
control.
Tire And Loading Information Location (Example)
MAINTAINING YOUR VEHICLE
117
Page 120 of 132

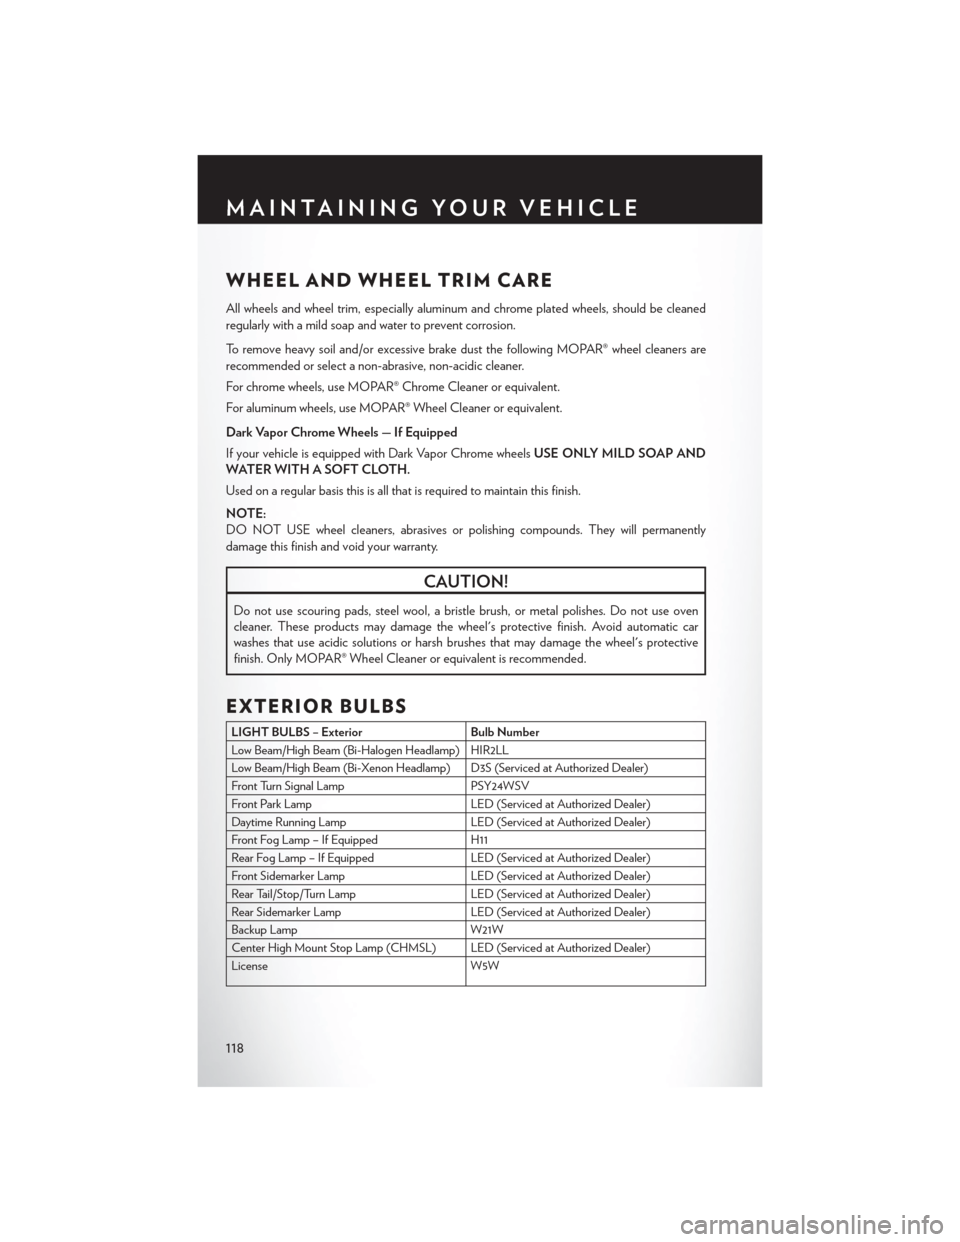
WHEEL AND WHEEL TRIM CARE
All wheels and wheel trim, especially aluminum and chrome plated wheels, should be cleaned
regularly with a mild soap and water to prevent corrosion.
To remove heavy soil and/or excessive brake dust the following MOPAR® wheel cleaners are
recommended or select a non-abrasive, non-acidic cleaner.
For chrome wheels, use MOPAR® Chrome Cleaner or equivalent.
For aluminum wheels, use MOPAR® Wheel Cleaner or equivalent.
Dark Vapor Chrome Wheels — If Equipped
If your vehicle is equipped with Dark Vapor Chrome wheelsUSE ONLY MILD SOAP AND
WATER WITH A SOFT CLOTH.
Used on a regular basis this is all that is required to maintain this finish.
NOTE:
DO NOT USE wheel cleaners, abrasives or polishing compounds. They will permanently
damage this finish and void your warranty.
CAUTION!
Do not use scouring pads, steel wool, a bristle brush, or metal polishes. Do not use oven
cleaner. These products may damage the wheel's protective finish. Avoid automatic car
washes that use acidic solutions or harsh brushes that may damage the wheel's protective
finish. Only MOPAR® Wheel Cleaner or equivalent is recommended.
EXTERIOR BULBS
LIGHT BULBS – Exterior Bulb Number
Low Beam/High Beam (Bi-Halogen Headlamp) HIR2LL
Low Beam/High Beam (Bi-Xenon Headlamp) D3S (Serviced at Authorized Dealer)
Front Turn Signal Lamp PSY24WSV
Front Park Lamp LED (Serviced at Authorized Dealer)
Daytime Running Lamp LED (Serviced at Authorized Dealer)
Front Fog Lamp – If Equipped H11
Rear Fog Lamp – If Equipped LED (Serviced at Authorized Dealer)
Front Sidemarker Lamp LED (Serviced at Authorized Dealer)
Rear Tail/Stop/Turn Lamp LED (Serviced at Authorized Dealer)
Rear Sidemarker Lamp LED (Serviced at Authorized Dealer)
Backup Lamp W21W
Center High Mount Stop Lamp (CHMSL) LED (Serviced at Authorized Dealer)
License W5W
MAINTAINING YOUR VEHICLE
118