headlights CHRYSLER 300 2014 2.G User Guide
[x] Cancel search | Manufacturer: CHRYSLER, Model Year: 2014, Model line: 300, Model: CHRYSLER 300 2014 2.GPages: 132, PDF Size: 3.65 MB
Page 29 of 132

High Beam Operation
• Push the lever forward to activate the high beams. Pull the lever toward you for flash to pass.
NOTE:
For safe driving, turn off the high beams when oncoming traffic is present to prevent headlight
glare and as a courtesy to other motorists.
HEADLIGHT SWITCH
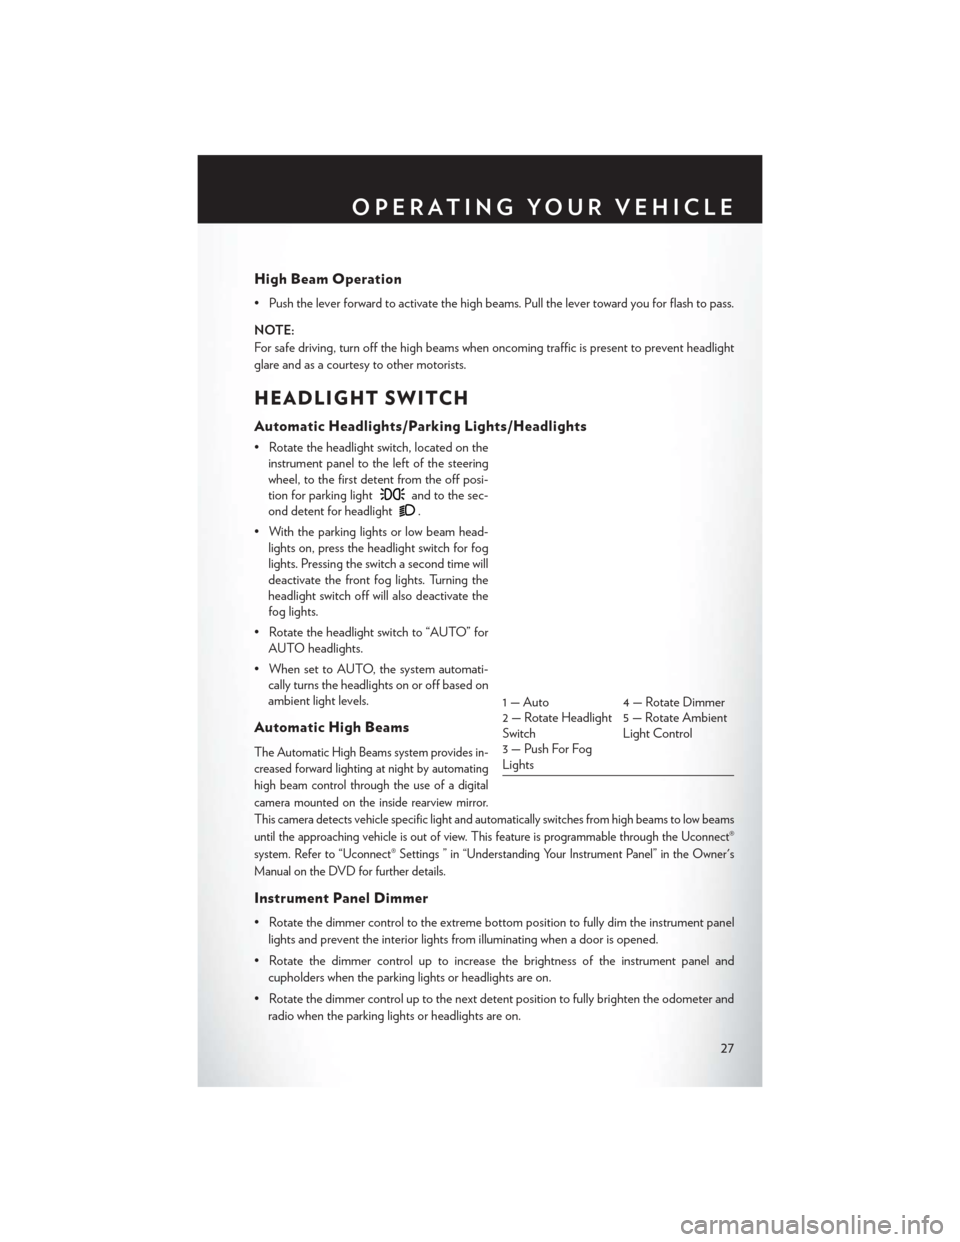
Automatic Headlights/Parking Lights/Headlights
• Rotate the headlight switch, located on theinstrument panel to the left of the steering
wheel, to the first detent from the off posi-
tion for parking light
and to the sec-
ond detent for headlight
.
• With the parking lights or low beam head- lights on, press the headlight switch for fog
lights. Pressing the switch a second time will
deactivate the front fog lights. Turning the
headlight switch off will also deactivate the
fog lights.
• Rotate the headlight switch to “AUTO” for AUTO headlights.
• When set to AUTO, the system automati- cally turns the headlights on or off based on
ambient light levels.
Automatic High Beams
The Automatic High Beams system provides in-
creased forward lighting at night by automating
high beam control through the use of a digital
camera mounted on the inside rearview mirror.
This camera detects vehicle specific light and automatically switches from high beams to low beams
until the approaching vehicle is out of view. This feature is programmable through the Uconnect®
system. Refer to “Uconnect® Settings ” in “Understanding Your Instrument Panel” in the Owner's
Manual on the DVD for further details.
Instrument Panel Dimmer
• Rotate the dimmer control to the extreme bottom position to fully dim the instrument panel
lights and prevent the interior lights from illuminating when a door is opened.
• Rotate the dimmer control up to increase the brightness of the instrument panel and cupholders when the parking lights or headlights are on.
• Rotate the dimmer control up to the next detent position to fully brighten the odometer and radio when the parking lights or headlights are on.
1 — Auto 4 — Rotate Dimmer
2 — Rotate Headlight
Switch 5 — Rotate Ambient
Light Control
3 — Push For Fog
Lights
OPERATING YOUR VEHICLE
27
Page 30 of 132

• Rotate the dimmer control up to the last detent position to turn on the interior lighting.
• If your vehicle is equipped with a touchscreen, the dimming is programmable through theUconnect® system. Refer to “Uconnect® Settings ” in “Understanding Your Instrument Panel”
in the Owner's Manual on the DVD for further details.
Ambient Light Dimmer
• Rotate the ambient light control up or down to increase or decrease the brightness of therelease handle, map pocket (if equipped), overhead and floor lighting when the parking lights
or headlights are on.
• Rotate to extreme bottom position to turn off.
SPEED CONTROL
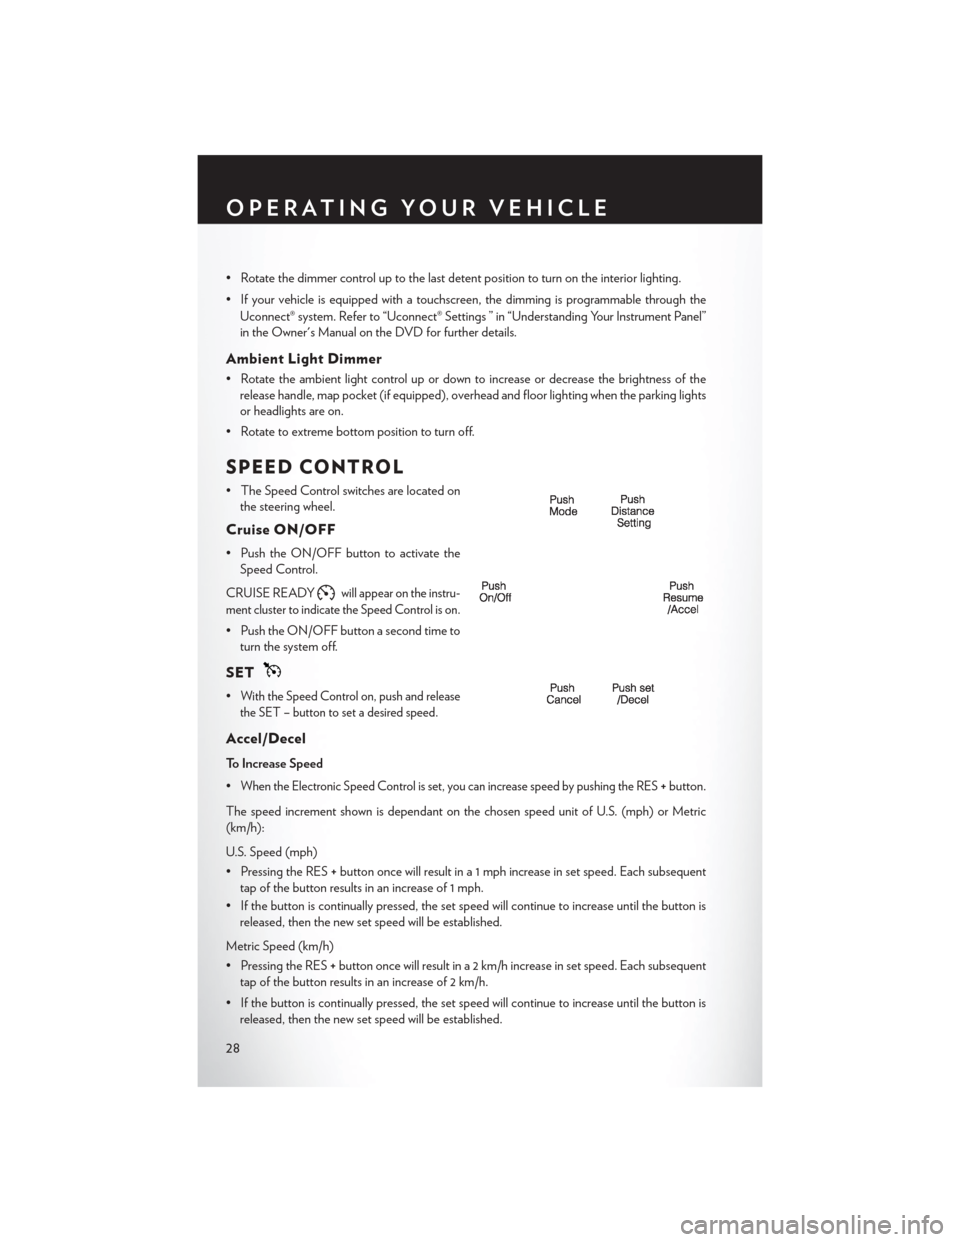
• The Speed Control switches are located on the steering wheel.
Cruise ON/OFF
• Push the ON/OFF button to activate theSpeed Control.
CRUISE READY
will appear on the instru-
ment cluster to indicate the Speed Control is on.
• Push the ON/OFF button a second time to turn the system off.
SET
•With the Speed Control on, push and release
the SET – button to set a desired speed.
Accel/Decel
To Increase Speed
•
When the Electronic Speed Control is set, you can increase speed by pushing the RES+ button.
The speed increment shown is dependant on the chosen speed unit of U.S. (mph) or Metric
(km/h):
U.S. Speed (mph)
• Pressing the RES +button once will result in a 1 mph increase in set speed. Each subsequent
tap of the button results in an increase of 1 mph.
• If the button is continually pressed, the set speed will continue to increase until the button is released, then the new set speed will be established.
Metric Speed (km/h)
• Pressing the RES +button once will result in a 2 km/h increase in set speed. Each subsequent
tap of the button results in an increase of 2 km/h.
• If the button is continually pressed, the set speed will continue to increase until the button is released, then the new set speed will be established.
OPERATING YOUR VEHICLE
28
Page 125 of 132

Adaptive Cruise Control (ACC)(Cruise Control) ............29
Adjustable Pedals .............23
Airbag...................14
AirbagLight................75
Alarm Vehicle Security Alarm .........13
Alarm (Security Alarm) ...........13
Anti-Lock Warning Light ..........74
Arming System (Security Alarm) ......13
Assistance Towing .............72
Audio Settings ...............43
Automatic Headlights ...........27
Automatic High Beams ..........27
Automatic Temperature Control (ATC). . .35
Automatic Transmission Autostick ...............67
Fluid Type ..............101
Autostick .................67
Axle Fluid ................ .101
Blind Spot Monitoring ...........36
Brake Fluid ............... .101
Break-In Recommendations, New Vehicle ..............25
Bulb Replacement .............118
Calibration, Compass ...........61
Change Oil Indicator ...........75
ChangingAFlatTire ...........76
Charging System Light ..........74
Child Restraints CarSeat ................15
Child Restraints .............15
Child Seat Installation ........16, 17
Installing Child Restraints Using
The Vehicle Seat Belt ..........17
Lower Anchors And Tethers For
Children ............ .15, 16, 17
Using The Top Tether Anchorage ....17
ChildSeat.................16
Clock ...................47
Cluster Warning/Indicator Lights Anti-Lock Brake (ABS) Light .....74
Charging System Light ........74
Electronic Throttle Control (ETC)
Indicator Light .............74
Engine Temperature Warning Light . .73 Oil Pressure Warning Light
......74
Tire Pressure Monitoring System
(TPMS) Light .............72
Compass Calibration ............61
Cooling System Coolant Capacity ...........101
Cruise Control (Speed Control) ......28
Cruise Light ................28
Cupholders
Heated/Cooled (Beverage Holder). . .22
Customer Assistance ...........119
Customer Programmable Features . . .62, 70
Defects, Reporting ............120
Dimmer Control ..............27
Dimmer Switch, Headlight .........27
Disabled Vehicle Towing ..........72
Disarming, Security System ........13
Door Locks .................8
ECO....................61
Electronics Your Vehicle's Sound System ....40,41
Electronic Speed Control (Cruise Control) ............28
Electronic Stability Control (ESC) .....72
Electronic Stability Control (ESC) OFF Indicator ................74
Electronic Throttle Control Warning Light ..................74
Electronic Vehicle Information Center (EVIC) ...........61, 62
Emergency, In Case of Brake Warning Light ..........74
Jacking ................76
Overheating ..............76
Towing.................72
Emergency Key ...............9
Engine Break-In Recommendations ......25
Compartment .............98
Oil Selection .............101
Overheating ..............76
Starting ................12
Stopping ................12
Temperature Warning Light ......73
EventDataRecorder ...........94
Exterior Lights ............. .118
INDEX
123
Page 126 of 132

Flat Tire Changing.............76
Fluid Capacities ............. .101
Fluids ...................101
FogLights.................27
Folding Rear Seat .............21
Freeing A Stuck Vehicle ..........93
Fuel Filler Door Emergency Release ....96
Filler Door (Gas Cap) .........96
Specifications ............ .101
Fuse................... .112
Fuses .................. .112
Garage Door Opener (HomeLink®) ....62
Headlights Automatic ...............27
Dimmer Switch ............27
HighBeam ..............27
Heated Mirrors ..............36
Heated Seats ................21
High Beam/Low Beam Select (Dimmer) Switch .................27
HomeLink® (Garage Door Opener) ....62
Hood Release ...............95
Identifying Your Radio ...........42
Instrument Cluster Indicators ................7
Instrument Cluster Warning Lights .....6
Interior and Instrument Lights ........5
Intermittent Wipers (Delay Wipers) ....26
Introduction .................2
Jacking Instructions ............79
Jack Location ...............76
Jack Operation ..............79
Jump Starting ...............88
KeyFob...................8 LockTheDoors.............8
Unlock The Doors ............8
Keyless Enter-N-Go ............10
Lock/Unlock ............10, 11
Starting/Stopping ...........12
Keyless Enter-N-Go™ Lock The Vehicle’s Doors ........8Lane Change Assist
............26
LATCH (Lower Anchors and Tether for CHildren) ................16
Lights Tire Pressure Monitoring (TPMS) . . .72
Warning (Instrument Cluster
Description) ..............6
Locks Door ..................8
Lower Anchors and Tether for CHildren (LATCH)................16
Maintenance Record .........108, 111
Maintenance Schedule .....104,109,110
Malfunction Indicator Light (Check Engine) .............74
Manual Tilt/Telescoping Steering Column . . .24
Memory Seat ...............19
Mirrors H
eated ................36
MOPAR® Accessories ...........121
Navigation Voice Commands .......60
Navigation Voice Prompt Volume .....59
New Vehicle Break-In Period ........25
Oil Change Indicator ...........75
Oil Change Indicator, Reset ........75
Oil, Engine Capacity ...............101
Oil Pressure Light .............74
Outlet Power .................65
Overheating, Engine ............76
Panic Alarm .................8
Pedals, Adjustable .............23
Placard, Tire and Loading Information . . .117
Power Glass Sunroof .............37
Outlet (Auxiliary Electrical Outlet). . .65
Seats ..................18
Steering .............. .101
Tilt/Telescoping Steering Column . . .24
Preparation for Jacking ..........78
Programmable Electronic Features . . .62, 69
INDEX
124