ignition CHRYSLER 300 2014 2.G User Guide
[x] Cancel search | Manufacturer: CHRYSLER, Model Year: 2014, Model line: 300, Model: CHRYSLER 300 2014 2.GPages: 132, PDF Size: 3.65 MB
Page 11 of 132

Emergency Key
Should the battery in the vehicle or the Key Fob transmitter go dead, there is an emergency key
located in the Key Fob.
• To remove the emergency key, slide the button at the back of the Key Fob sideways with yourthumb and then pull the key out with your other hand.
The emergency key is also for locking the glove compartment.
WARNING!
• Never use the PARK position as a substitute for the parking brake. Always apply the parking brake fully when parked to guard against vehicle movement and possible injury or
damage.
• When leaving the vehicle, always remove the Key Fob from the ignition and lock your
vehicle.
• Never leave children alone in a vehicle, or with access to an unlocked vehicle. Allowing
children to be in a vehicle unattended is dangerous for a number of reasons. A child or
others could be seriously or fatally injured. Children should be warned not to touch the
parking brake, brake pedal or the shift lever.
• Do not leave the Key Fob in or near the vehicle, or in a location accessible to children, and
do not leave the ignition of a vehicle equipped with Keyless Enter-N-Go™ in the ACC or
ON/RUN mode. A child could operate power windows, other controls, or move the
vehicle.
Emergency Key
GETTING STARTED
9
Page 12 of 132
REMOTE START
• Push the REMOTE START buttonx2on the Key Fob twice within five seconds. Pushing the
REMOTE START button a third time shuts the engine off.
• To drive the vehicle, push the UNLOCK button and cycle the ignition to the ON/RUN position.
With Remote Start, the engine will only run for 15 minutes (timeout) unless the ignition is cycled
to the ON/RUN position.
The vehicle must be cycled to the ON/RUN position after two consecutive timeouts.
WARNING!
• Do not start or run an engine in a closed garage or confined area. Exhaust gas contains Carbon Monoxide (CO) which is odorless and colorless. Carbon Monoxide is poisonous
and can cause you or others to be severely injured or killed when inhaled.
• Keep Key Fob transmitters away from children. Operation of the Remote Start System,
windows, door locks or other controls could cause you and others to be severely injured or
killed.
KEYLESS ENTER-N-GO™
The Keyless Enter-N-Go™ system is an enhancement to the vehicle's Key Fob. This feature
allows you to lock and unlock the vehicle's door(s) and trunk without having to press the Key Fob
lock or unlock buttons, as well as starting and stopping the vehicle with the press of a button.
To Unlock From The Driver Or Passenger Side:
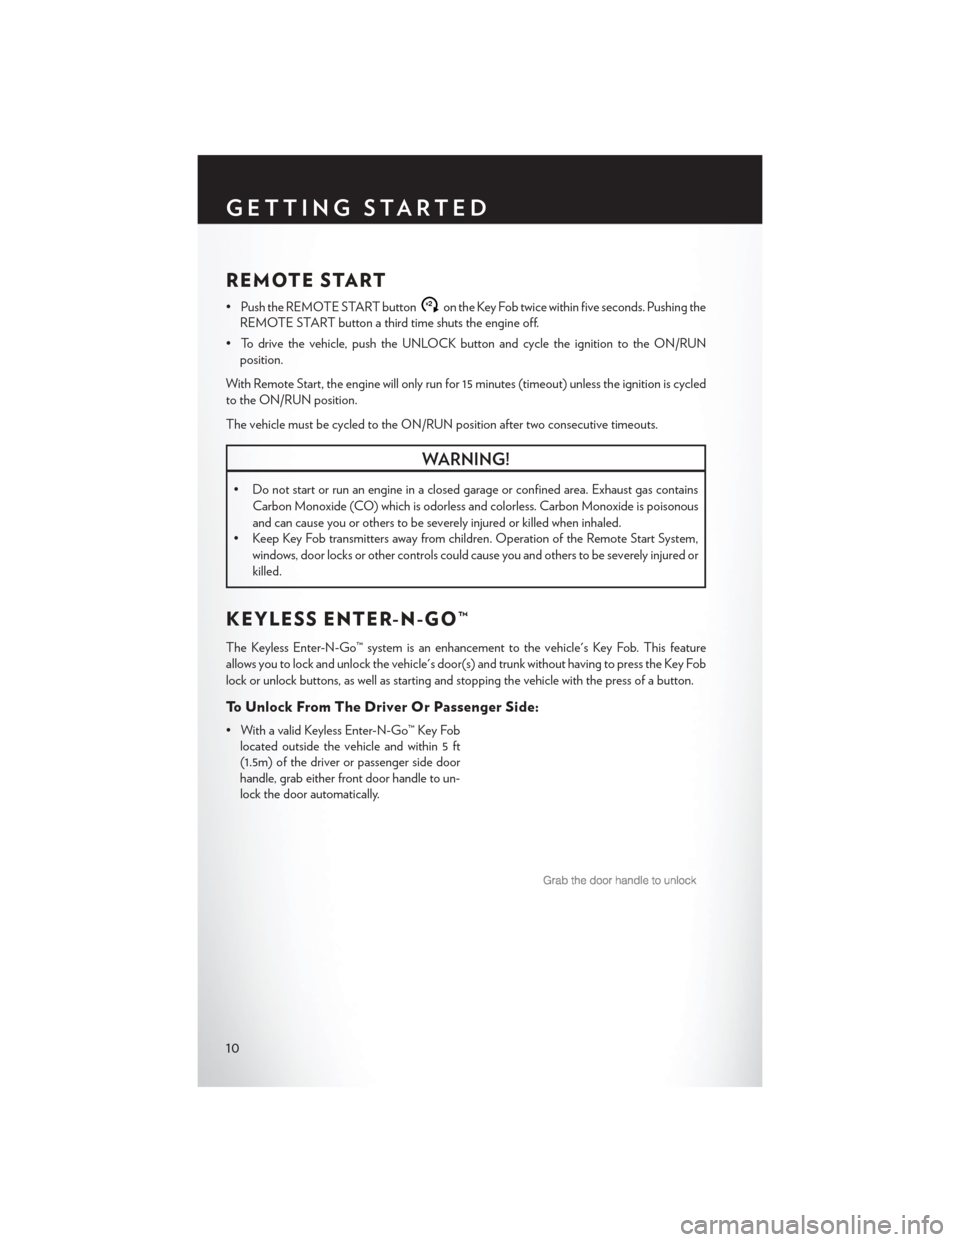
• With a valid Keyless Enter-N-Go™ Key Foblocated outside the vehicle and within 5 ft
(1.5m) of the driver or passenger side door
handle, grab either front door handle to un-
lock the door automatically.
GETTING STARTED
10
Page 14 of 132

To Enter The Trunk:
• With a valid Keyless Enter-N-Go™ Key Foblocated outside the vehicle and within 3 ft
(1.0 m) of the deck lid, press the button on
the located on the center of the light bar
which is located on the deck lid above the
license plate.
NOTE:
Refer to your Owner's Manual on the DVD for
further information.
Engine Starting/Stopping
Starting
• With a valid Keyless Enter-N-Go™ Key Fob inside the vehicle.
• Shift the transmission to PARK or NEUTRAL.
• While pressing the brake pedal, press the ENGINE START/STOP button once. If the engine fails to start, the starter will disengage automatically after 10 seconds.
• To stop the cranking of the engine prior to the engine starting, press the button again.
NOTE:
In case the ignition switch does not change with
the push of a button, the RKE transmitter (Key
Fob) may have a low or dead battery. In this
situation a back up method can be used to
operate the ignition switch. Put the nose side of
the Key Fob (side opposite of the Emergency
Key) against the ENGINE START/STOP but-
ton and push to operate the ignition switch.
Stopping
1. Bring the vehicle to a complete stop.
2. Shift the transmission to PARK (P).
3. Push the ENGINE START/STOP button once. The ignition switch will return to the OFF position.
NOTE:
If the transmission is not in PARK and the vehicle is in motion, the ENGINE START/STOP
button must be held for two seconds with the vehicle speed above 5 mph (8 km/h) before the
engine will shut off.
GETTING STARTED
12
Page 15 of 132
Accessory Positions With Engine Off
NOTE:
The following functions are with the driver’s foot OFF the Brake Pedal (transmission in PARK or
NEUTRAL).
Beginning With The Ignition Switch In The OFF Position:
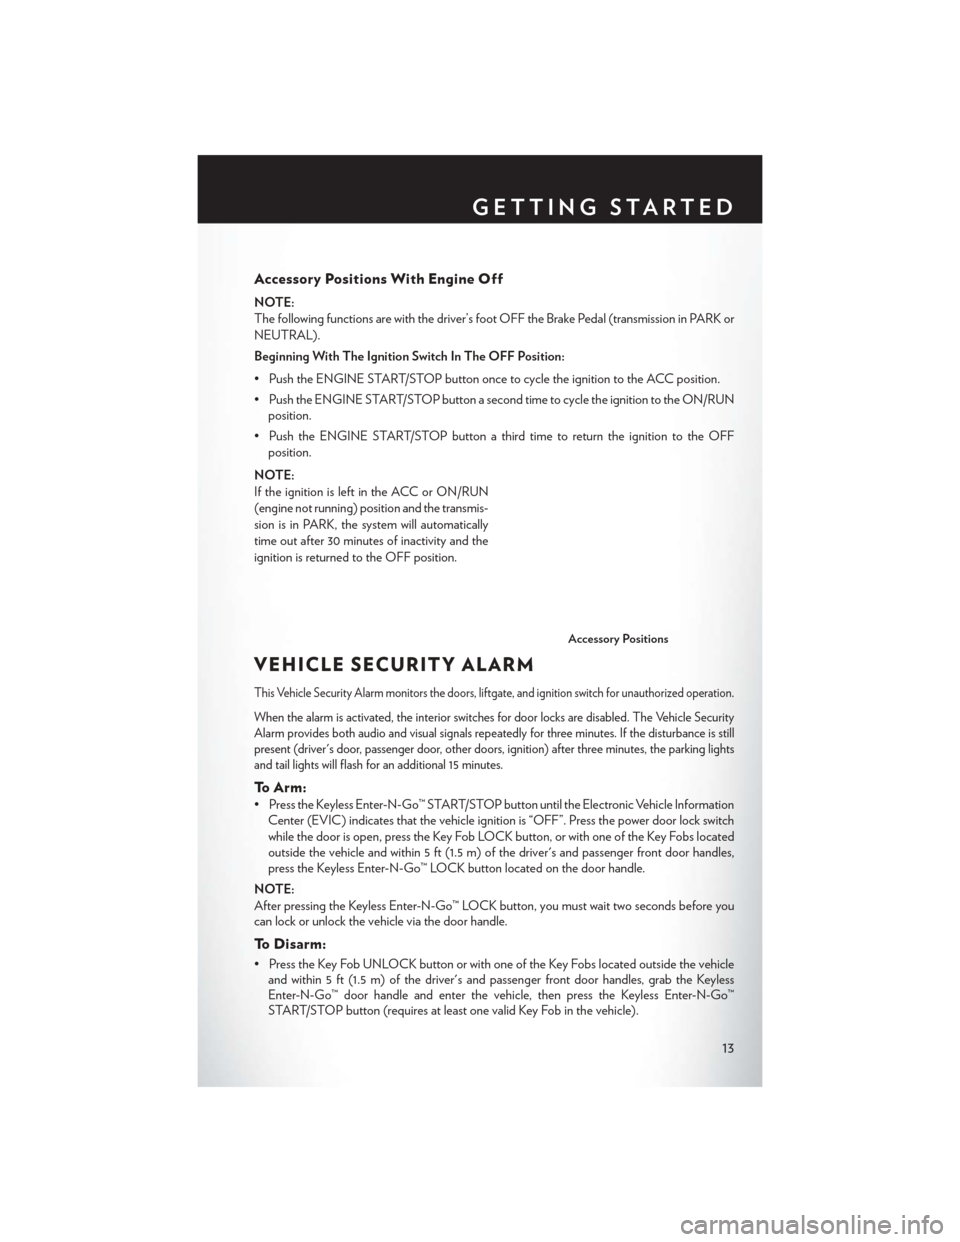
• Push the ENGINE START/STOP button once to cycle the ignition to the ACC position.
• Push the ENGINE START/STOP button a second time to cycle the ignition to the ON/RUNposition.
• Push the ENGINE START/STOP button a third time to return the ignition to the OFF position.
NOTE:
If the ignition is left in the ACC or ON/RUN
(engine not running) position and the transmis-
sion is in PARK, the system will automatically
time out after 30 minutes of inactivity and the
ignition is returned to the OFF position.
VEHICLE SECURITY ALARM
This Vehicle Security Alarm monitors the doors, liftgate, and ignition switch for unauthorized operation.
When the alarm is activated, the interior switches for door locks are disabled. The Vehicle Security
Alarm provides both audio and visual signals repeatedly for three minutes. If the disturbance is still
present (driver's door, passenger door, other doors, ignition) after three minutes, the parking lights
and tail lights will flash for an additional 15 minutes.
To Arm:
• Press the Keyless Enter-N-Go™ START/STOP button until the Electronic Vehicle Information Center (EVIC) indicates that the vehicle ignition is “OFF”. Press the power door lock switch
while the door is open, press the Key Fob LOCK button, or with one of the Key Fobs located
outside the vehicle and within 5 ft (1.5 m) of the driver's and passenger front door handles,
press the Keyless Enter-N-Go™ LOCK button located on the door handle.
NOTE:
After pressing the Keyless Enter-N-Go™ LOCK button, you must wait two seconds before you
can lock or unlock the vehicle via the door handle.
To Disarm:
• Press the Key Fob UNLOCK button or with one of the Key Fobs located outside the vehicle and within 5 ft (1.5 m) of the driver's and passenger front door handles, grab the Keyless
Enter-N-Go™ door handle and enter the vehicle, then press the Keyless Enter-N-Go™
START/STOP button (requires at least one valid Key Fob in the vehicle).
Accessory Positions
GETTING STARTED
13
Page 21 of 132
Power Lumbar
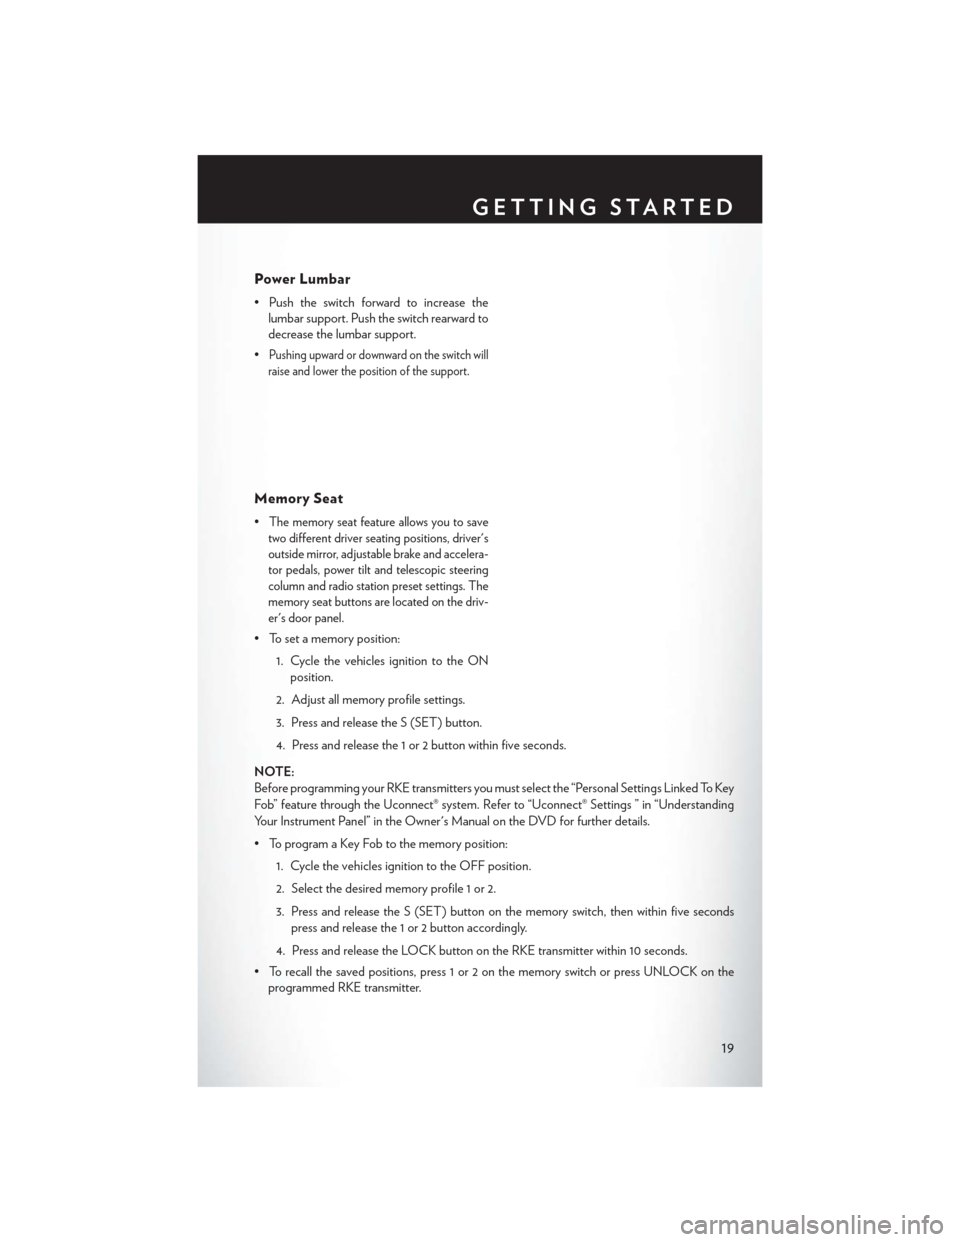
• Push the switch forward to increase thelumbar support. Push the switch rearward to
decrease the lumbar support.
•
Pushing upward or downward on the switch will
raise and lower the position of the support.
Memory Seat
•The memory seat feature allows you to save
two different driver seating positions, driver's
outside mirror, adjustable brake and accelera-
tor pedals, power tilt and telescopic steering
column and radio station preset settings. The
memory seat buttons are located on the driv-
er's door panel.
• To set a memory position:
1. Cycle the vehicles ignition to the ONposition.
2. Adjust all memory profile settings.
3. Press and release the S (SET) button.
4. Press and release the 1 or 2 button within five seconds.
NOTE:
Before programming your RKE transmitters you must select the “Personal Settings Linked To Key
Fob” feature through the Uconnect® system. Refer to “Uconnect® Settings ” in “Understanding
Your Instrument Panel” in the Owner's Manual on the DVD for further details.
• To program a Key Fob to the memory position: 1. Cycle the vehicles ignition to the OFF position.
2. Select the desired memory profile 1 or 2.
3. Press and release the S (SET) button on the memory switch, then within five secondspress and release the 1 or 2 button accordingly.
4. Press and release the LOCK button on the RKE transmitter within 10 seconds.
• To recall the saved positions, press 1 or 2 on the memory switch or press UNLOCK on the programmed RKE transmitter.
GETTING STARTED
19
Page 41 of 132
Pinch Protection Feature
This feature will detect an obstruction in the opening of the sunroof during Express Close
operation. If an obstruction in the path of the sunroof is detected, the sunroof will automatically
retract. Remove the obstruction if this occurs. Next, press the switch forward and release to
Express Close.
NOTE:
If three consecutive sunroof close attempts result in Pinch Protect reversals, the fourth close
attempt will be a Manual Close movement with Pinch Protect disabled.
WARNING!
• Do not let children play with the sunroof. Never leave children unattended in a vehicle, orwith access to an unlocked vehicle. Do not leave the Key Fob in or near the vehicle, and do
not leave the ignition of a vehicle equipped with Keyless Enter-N-Go™ in the ACC or
ON/RUN mode. Occupants, particularly unattended children, can become entrapped by
the power sunroof while operating the power sunroof switch. Such entrapment may result
in serious injury or death.
• In a collision, there is a greater risk of being thrown from a vehicle with an open sunroof.
You could also be severely injured or killed. Always fasten your seat belt properly and make
sure all passengers are properly secured.
• Do not allow small children to operate the sunroof. Never allow your fingers, other body
parts, or any object to project through the sunroof opening. Injury may result.
WIND BUFFETING
Wind buffeting can be described as a helicopter-type percussion sound. If buffeting occurs with
the rear windows open, adjust the front and rear windows together.
If buffeting occurs with the sunroof open, adjust the sunroof opening, or adjust any window.
This will minimize buffeting.
OPERATING YOUR VEHICLE
39
Page 65 of 132
Before You Begin Programming HomeLink®
Ensure that your vehicle is parked outside of the garage before you begin programming.
For efficient programming and accurate transmission of the radio-frequency signal, it is recom-
mended that a new battery be placed in the hand-held transmitter of the device that is being
programmed to the HomeLink® system.
Erase all channels before you begin programming. To erase the channels, place the ignition switch
into the ON/RUN position, then press and hold the two outside HomeLink® buttons (I and III) for
up to 20 seconds or until the red indicator flashes.
NOTE:
Erasing all channels should only be performed when programming HomeLink® for the first time.
Do not erase channels when programming additional buttons.
If you have any problems, or require assistance, please call toll-free 1-800-355-3515 or, on the
Internet at www.HomeLink.com for information or assistance.
Programming A Rolling Code
NOTE:
For programming Garage Door Openers that were manufactured after 1995. These Garage
Door Openers can be identified by the “LEARN” or “TRAIN” button located where the hanging
antenna is attached to the Garage Door Opener. It is NOT the button that is normally used to
open and close the door. The name and color of the button may vary by manufacturer.
1. Place the ignition switch into the ON/RUN position.
2. Place the hand-held transmitter 1 to 3 in (3 to 8 cm) away from the HomeLink® button you wishto program while keeping the HomeLink® indicator light in view.
3. Simultaneously press and hold both the HomeLink® button you want to program and the hand-held transmitter button.
4.
Continue to hold both buttons and observe the indicator light. The HomeLink® indicator will
flash slowly and then rapidly after HomeLink® has received the frequency signal from the
hand-held transmitter. Release both buttons after the indicator light changes from slow to rapid.
5. At the garage door opener motor (in the garage), locate the “LEARN” or “TRAINING” button. This can usually be found where the hanging antenna wire is attached to the garage
door opener motor. Firmly press and release the “LEARN” or “TRAINING” button.
NOTE:
You have 30 seconds in which to initiate the next step after the LEARN button has been pressed.
6.
Return to the vehicle and press the programmed HomeLink® button twice (holding the button for
two seconds each time). If the device is plugged in and activates, programming is complete.
NOTE:
If the device does not activate, press the button a third time (for two seconds) to complete the
training.
7. To program the remaining two HomeLink® buttons, repeat each step for each remaining button. DO NOT erase the channels.
ELECTRONICS
63
Page 66 of 132
Programming A Non-Rolling Code
NOTE:
For programming Garage Door Openers manufactured before 1995.
1. Turn the ignition switch to the ON/RUN position.
2. Place the hand-held transmitter 1 to 3 inches (3 to 8 cm) away from the HomeLink® button youwish to program while keeping the HomeLink® indicator light in view.
3. Simultaneously press and hold both the HomeLink® button you want to program and the hand-held transmitter button.
4. Continue to hold both buttons and observe the indicator light. The HomeLink® indicator will flash slowly and then rapidly after HomeLink® has received the frequency signal from the
hand-held transmitter. Release both buttons after the indicator light changes from slow to
rapid.
5. Press and hold the programmed HomeLink® button and observe the indicator light. If the indicator light stays on constantly, programming is complete and the garage door (or device)
should activate when the HomeLink® button is pressed.
6. To program the two remaining HomeLink® buttons, repeat each step for each remaining button. DO NOT erase the channels.
Using HomeLink®
• To operate, press and release the programmed HomeLink® button. Activation will now occurfor the programmed device (e.g., garage door opener, gate operator, security system, entry
door lock, home/office lighting, etc.,). The hand-held transmitter of the device may also be
used at any time.
WARNING!
• Your motorized door or gate will open and close while you are programming the universal
transceiver. Do not program the transceiver if people or pets are in the path of the door or
gate.
• Do not run your vehicle in a closed garage or confined area while programming the
transceiver. Exhaust gas from your vehicle contains Carbon Monoxide (CO) which is
odorless and colorless. Carbon Monoxide is poisonous when inhaled and can cause you
and others to be severely injured or killed.
ELECTRONICS
64
Page 67 of 132

POWER OUTLETS
• There are three 12 Volt electrical outlets onthis vehicle.
• The front 12 Volt power outlet has power available only when the ignition is placed in
the ACC or RUN position.
•
The center console outlet is powered directly
from the battery (power available at all times).
Items plugged into this outlet may discharge
the battery and/or prevent the engine from
starting.
• There is also a 12 Volt power outlet located on the back of the center console for rear passengers. This power outlet has power available
only when the ignition is placed in the ACC or RUN position.
NOTE:
• Do not exceed the maximum power of 160 Watts (13 Amps) at 12 Volts. If the 160 Watt (13 Amp) power rating is exceeded, the fuse protecting the system will need to be replaced.
• Power outlets are designed for accessory plugs only. Do not insert any other object in the power outlet as this will damage the outlet and blow the fuse. Improper use of the power outlet
can cause damage not covered by your new vehicle warranty.
ELECTRONICS
65
Page 70 of 132
ELECTRONIC CONTROL DAMPING SYSTEM
• This vehicle may be equipped with an electronic controlled damping system. This systemreduces body roll and pitch in many driving situations including cornering, acceleration and
braking. There are three modes of operation:
Automatic (Auto) Mode
• This is the default position when vehicleignition is first turned on. This mode will give
a sporty, but comfortable ride. Within this
mode, the suspension will adapt to the
vehicle inputs, including vehicle speed,
steering inputs, braking, and acceleration.
•
If AutoStick® is engaged while in “Auto”
mode, the transmission will automatically shift
up if maximum engine speed is reached.
• Heavily pressing the accelerator pedal may generate an automatic downshift for im-
proved acceleration.
• This mode should be used for most driving situations.
SPORTSport Mode
• This mode is driver selectable when the vehicle is placed in SPORT mode (press the
CONTROLS button and then the SPORT
button on the display screen). This mode will
set suspension for maximum performance
handling and is intended for spirited driving.
• When SPORT mode is enabled, a flag willlight up in the instrument cluster.
NOTE:
The SPORT setting will provide a firmer ride.
TrackMode
• In track mode, the transmission has a sportier, more aggressive shift pattern.
• This mode includes SPORT Suspension and affects transmission shifting in either
normal DRIVE or AutoStick® mode.
• If AutoStick® (console shifter or paddle shifters) is engaged while in “Track” mode,
the transmission will remain in the selected
gear even when maximum engine speed is
reached. Engine overspeed protection is
achieved through fuel cut off at or near red-
line.
SRT
68