lane assist CHRYSLER 300 2014 2.G User Guide
[x] Cancel search | Manufacturer: CHRYSLER, Model Year: 2014, Model line: 300, Model: CHRYSLER 300 2014 2.GPages: 132, PDF Size: 3.65 MB
Page 28 of 132

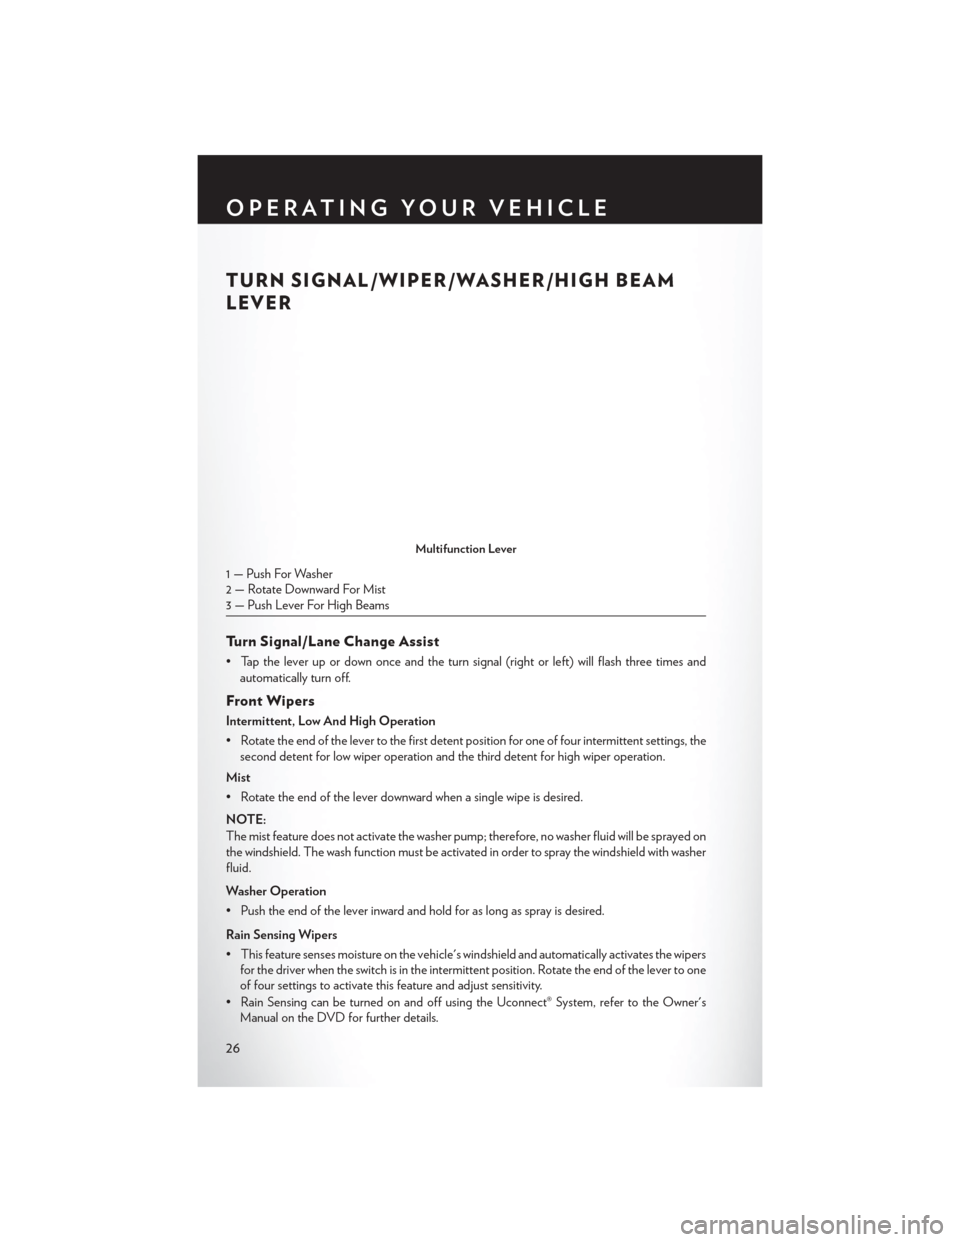
TURN SIGNAL/WIPER/WASHER/HIGH BEAM
LEVER
Turn Signal/Lane Change Assist
• Tap the lever up or down once and the turn signal (right or left) will flash three times andautomatically turn off.
Front Wipers
Intermittent, Low And High Operation
• Rotate the end of the lever to the first detent position for one of four intermittent settings, thesecond detent for low wiper operation and the third detent for high wiper operation.
Mist
• Rotate the end of the lever downward when a single wipe is desired.
NOTE:
The mist feature does not activate the washer pump; therefore, no washer fluid will be sprayed on
the windshield. The wash function must be activated in order to spray the windshield with washer
fluid.
Washer Operation
• Push the end of the lever inward and hold for as long as spray is desired.
Rain Sensing Wipers
• This feature senses moisture on the vehicle's windshield and automatically activates the wipers for the driver when the switch is in the intermittent position. Rotate the end of the lever to one
of four settings to activate this feature and adjust sensitivity.
• Rain Sensing can be turned on and off using the Uconnect® System, refer to the Owner's Manual on the DVD for further details.
Multifunction Lever
1 — Push For Washer
2 — Rotate Downward For Mist
3 — Push Lever For High Beams
OPERATING YOUR VEHICLE
26
Page 50 of 132

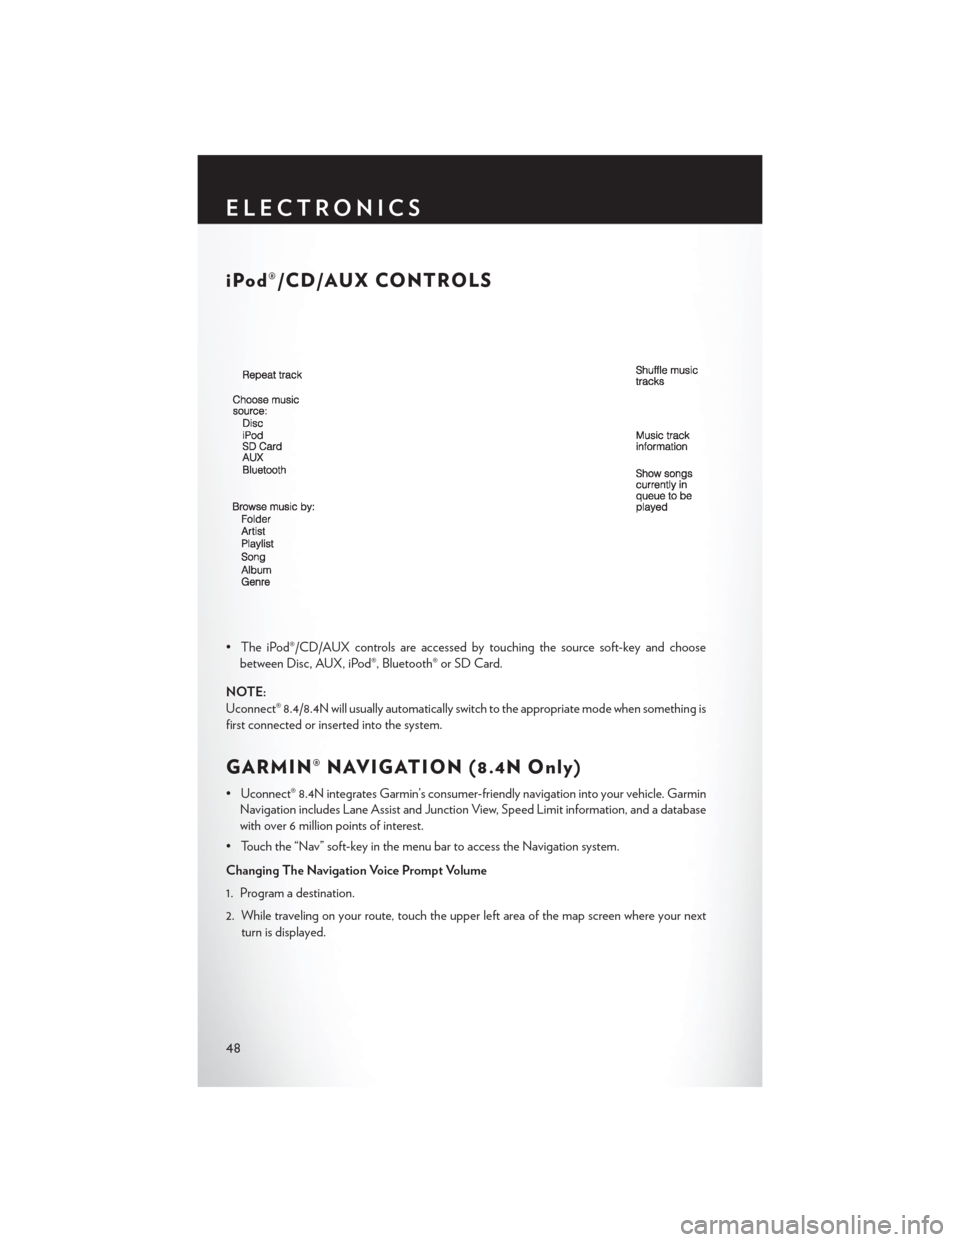
iPod®/CD/AUX CONTROLS
• The iPod®/CD/AUX controls are accessed by touching the source soft-key and choosebetween Disc, AUX, iPod®, Bluetooth® or SD Card.
NOTE:
Uconnect® 8.4/8.4N will usually automatically switch to the appropriate mode when something is
first connected or inserted into the system.
GARMIN® NAVIGATION (8.4N Only)
• Uconnect® 8.4N integrates Garmin’s consumer-friendly navigation into your vehicle. Garmin Navigation includes Lane Assist and Junction View, Speed Limit information, and a database
with over 6 million points of interest.
• Touch the “Nav” soft-key in the menu bar to access the Navigation system.
Changing The Navigation Voice Prompt Volume
1. Program a destination.
2. While traveling on your route, touch the upper left area of the map screen where your next turn is displayed.
ELECTRONICS
48
Page 53 of 132

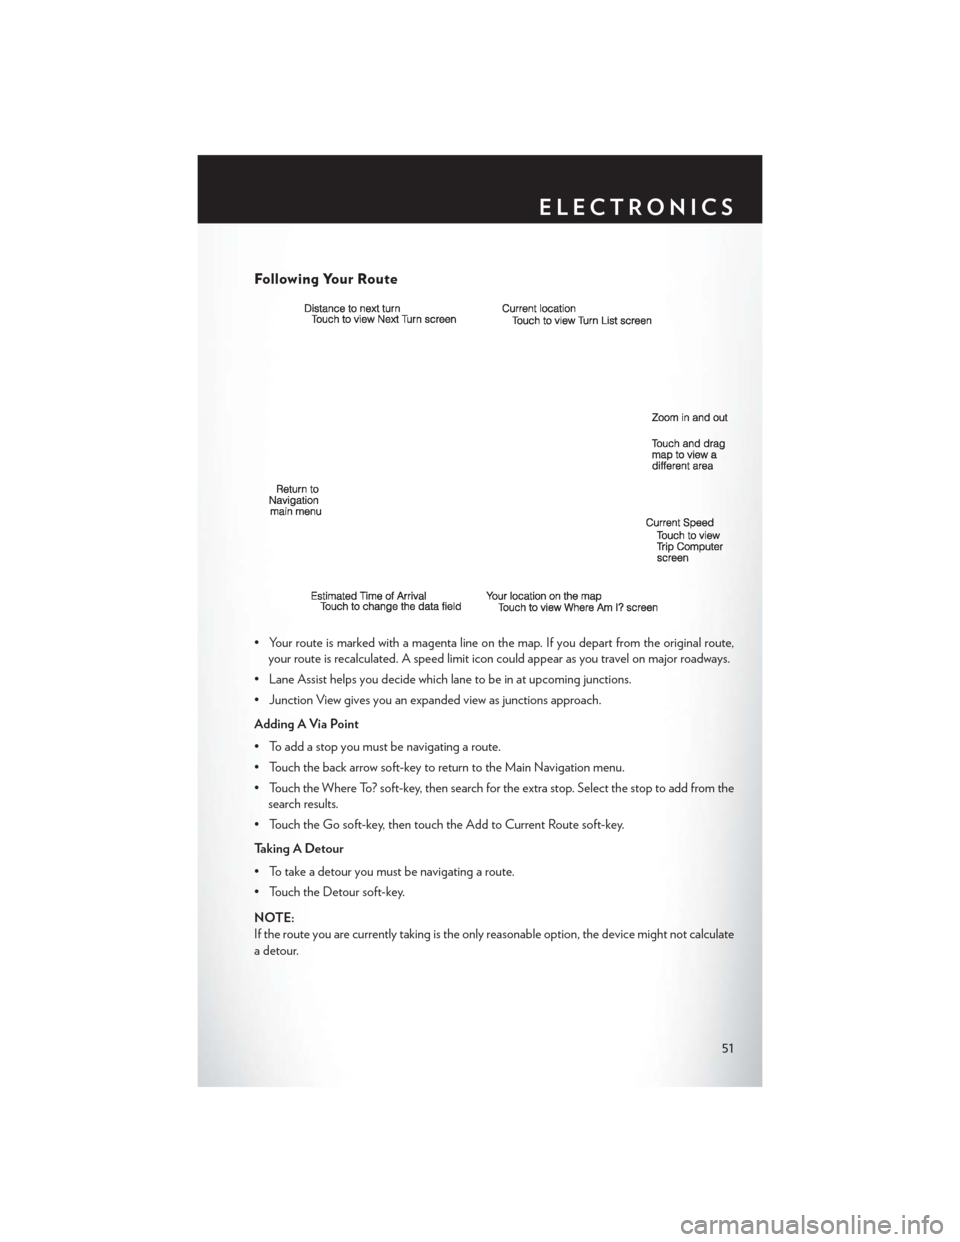
Following Your Route
• Your route is marked with a magenta line on the map. If you depart from the original route,your route is recalculated. A speed limit icon could appear as you travel on major roadways.
• Lane Assist helps you decide which lane to be in at upcoming junctions.
• Junction View gives you an expanded view as junctions approach.
Adding A Via Point
• To add a stop you must be navigating a route.
• Touch the back arrow soft-key to return to the Main Navigation menu.
• Touch the Where To? soft-key, then search for the extra stop. Select the stop to add from the search results.
• Touch the Go soft-key, then touch the Add to Current Route soft-key.
Taking A Detour
• To take a detour you must be navigating a route.
• Touch the Detour soft-key.
NOTE:
If the route you are currently taking is the only reasonable option, the device might not calculate
a detour.
ELECTRONICS
51
Page 126 of 132

Flat Tire Changing.............76
Fluid Capacities ............. .101
Fluids ...................101
FogLights.................27
Folding Rear Seat .............21
Freeing A Stuck Vehicle ..........93
Fuel Filler Door Emergency Release ....96
Filler Door (Gas Cap) .........96
Specifications ............ .101
Fuse................... .112
Fuses .................. .112
Garage Door Opener (HomeLink®) ....62
Headlights Automatic ...............27
Dimmer Switch ............27
HighBeam ..............27
Heated Mirrors ..............36
Heated Seats ................21
High Beam/Low Beam Select (Dimmer) Switch .................27
HomeLink® (Garage Door Opener) ....62
Hood Release ...............95
Identifying Your Radio ...........42
Instrument Cluster Indicators ................7
Instrument Cluster Warning Lights .....6
Interior and Instrument Lights ........5
Intermittent Wipers (Delay Wipers) ....26
Introduction .................2
Jacking Instructions ............79
Jack Location ...............76
Jack Operation ..............79
Jump Starting ...............88
KeyFob...................8 LockTheDoors.............8
Unlock The Doors ............8
Keyless Enter-N-Go ............10
Lock/Unlock ............10, 11
Starting/Stopping ...........12
Keyless Enter-N-Go™ Lock The Vehicle’s Doors ........8Lane Change Assist
............26
LATCH (Lower Anchors and Tether for CHildren) ................16
Lights Tire Pressure Monitoring (TPMS) . . .72
Warning (Instrument Cluster
Description) ..............6
Locks Door ..................8
Lower Anchors and Tether for CHildren (LATCH)................16
Maintenance Record .........108, 111
Maintenance Schedule .....104,109,110
Malfunction Indicator Light (Check Engine) .............74
Manual Tilt/Telescoping Steering Column . . .24
Memory Seat ...............19
Mirrors H
eated ................36
MOPAR® Accessories ...........121
Navigation Voice Commands .......60
Navigation Voice Prompt Volume .....59
New Vehicle Break-In Period ........25
Oil Change Indicator ...........75
Oil Change Indicator, Reset ........75
Oil, Engine Capacity ...............101
Oil Pressure Light .............74
Outlet Power .................65
Overheating, Engine ............76
Panic Alarm .................8
Pedals, Adjustable .............23
Placard, Tire and Loading Information . . .117
Power Glass Sunroof .............37
Outlet (Auxiliary Electrical Outlet). . .65
Seats ..................18
Steering .............. .101
Tilt/Telescoping Steering Column . . .24
Preparation for Jacking ..........78
Programmable Electronic Features . . .62, 69
INDEX
124