instrument panel CHRYSLER 300 SRT 2013 2.G User Guide
[x] Cancel search | Manufacturer: CHRYSLER, Model Year: 2013, Model line: 300 SRT, Model: CHRYSLER 300 SRT 2013 2.GPages: 580, PDF Size: 4.26 MB
Page 60 of 580
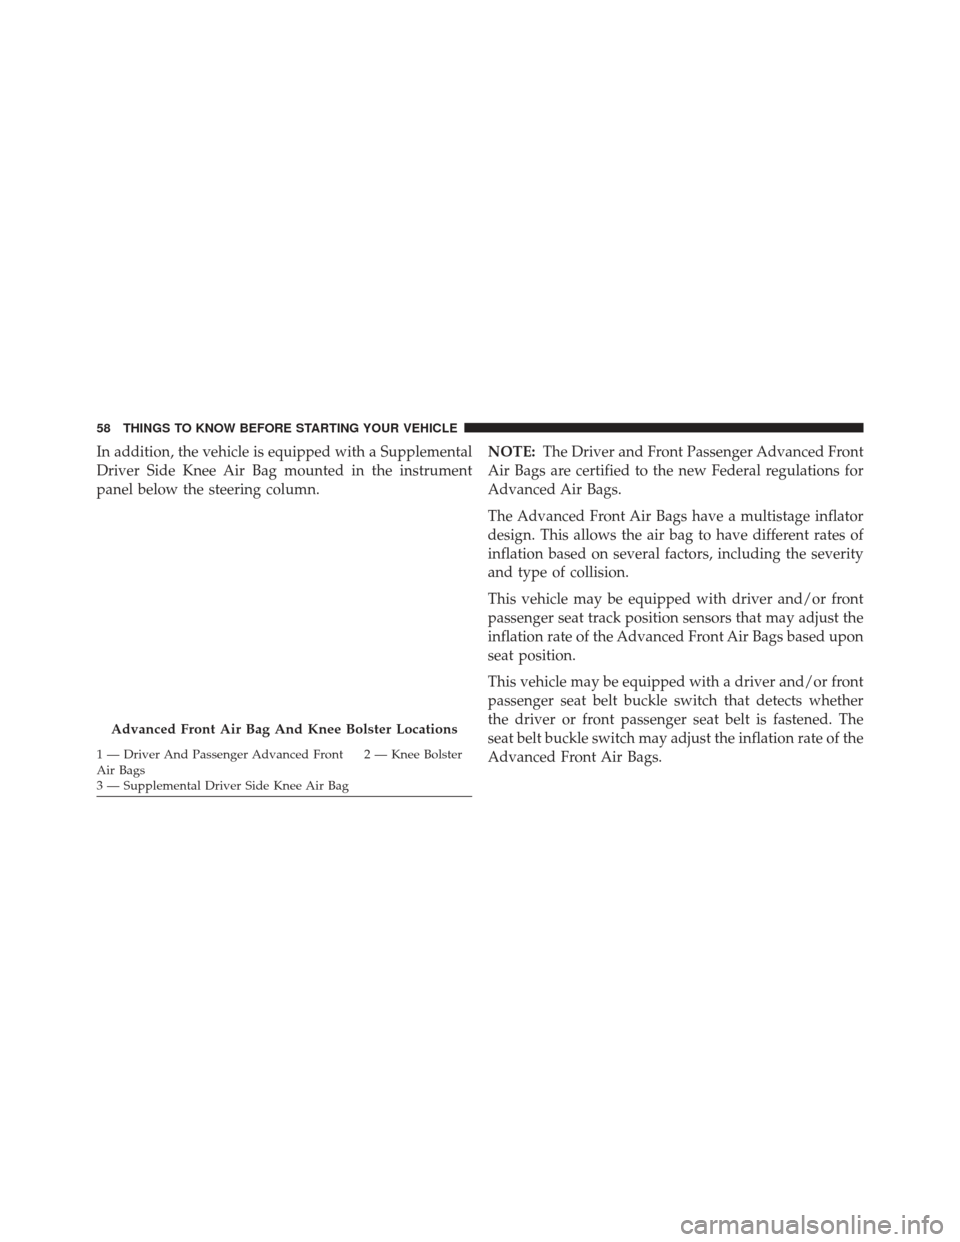
In addition, the vehicle is equipped with a Supplemental
Driver Side Knee Air Bag mounted in the instrument
panel below the steering column.NOTE:
The Driver and Front Passenger Advanced Front
Air Bags are certified to the new Federal regulations for
Advanced Air Bags.
The Advanced Front Air Bags have a multistage inflator
design. This allows the air bag to have different rates of
inflation based on several factors, including the severity
and type of collision.
This vehicle may be equipped with driver and/or front
passenger seat track position sensors that may adjust the
inflation rate of the Advanced Front Air Bags based upon
seat position.
This vehicle may be equipped with a driver and/or front
passenger seat belt buckle switch that detects whether
the driver or front passenger seat belt is fastened. The
seat belt buckle switch may adjust the inflation rate of the
Advanced Front Air Bags.
Advanced Front Air Bag And Knee Bolster Locations
1 — Driver And Passenger Advanced Front
Air Bags 2 — Knee Bolster
3 — Supplemental Driver Side Knee Air Bag 58 THINGS TO KNOW BEFORE STARTING YOUR VEHICLE
Page 61 of 580
This vehicle is equipped with Supplemental Side Air Bag
Inflatable Curtains (SABIC) to protect the driver, front,
and rear passengers sitting next to a window. The SABIC
air bags are located above the side windows and their
covers are also labeled: SRS AIRBAG.
This vehicle is equipped with Supplemental Seat-
Mounted Side Air Bags (SAB) to provide enhanced
protection for an occupant during a side impact. The
Supplemental Seat-Mounted Side Air Bags are located in
the outboard side of the front seats.
NOTE:
•Air Bag covers may not be obvious in the interior trim,
but they will open during air bag deployment.
• After any collision, the vehicle should be taken to an
authorized dealer immediately.Air Bag System Components
Your vehicle may be equipped with the following air bag
system components:
• Occupant Restraint Controller (ORC)
• Air Bag Warning Light
• Steering Wheel and Column
• Instrument Panel
• Supplemental Driver Side Knee Air Bag
• Knee Impact Bolster
• Driver Advanced Front Air Bag
• Passenger Advanced Front Air Bag
• Supplemental Seat-Mounted Side Air Bags (SAB)
2
THINGS TO KNOW BEFORE STARTING YOUR VEHICLE 59
Page 62 of 580
•Supplemental Side Air Bag Inflatable Curtains (SABIC)
• Front and Side Impact Sensors
• Front Seat Belt Pretensioners, Seat Belt Buckle Switch,
and Seat Track Position Sensors
Advanced Front Air Bag Features
The Advanced Front Air Bag system has multistage
driver and front passenger air bags. This system provides
output appropriate to the severity and type of collision as
determined by the Occupant Restraint Controller (ORC),
which may receive information from the front impact
sensors.
The first stage inflator is triggered immediately during an
impact that requires air bag deployment. This low output
is used in less severe collisions. A higher energy output is
used for more severe collisions.
WARNING!
• No objects should be placed over or near the air
bag on the instrument panel, because any such
objects could cause harm if the vehicle is in a
collision severe enough to cause the air bag to
inflate.
• Do not put anything on or around the air bag
covers or attempt to open them manually. You may
damage the air bags and you could be injured
because the air bags may no longer be functional.
The protective covers for the air bag cushions are
designed to open only when the air bags are
inflating.
• Do not drill, cut or tamper with the knee bolster in
any way.
•
Do not mount any accessories to the knee bolster
such as alarm lights, stereos, citizen band radios, etc.
60 THINGS TO KNOW BEFORE STARTING YOUR VEHICLE
Page 67 of 580
Seat belts are necessary for your protection in all colli-
sions, and also are needed to help keep you in position,
away from an inflating air bag.
The ORC monitors the readiness of the electronic parts of
the air bag system whenever the ignition is in the START
or ON/RUN position. If the ignition is in the OFF
position or in the ACC position, the air bag system is not
on and the air bags will not inflate.
The ORC contains a backup power supply system that
may deploy the air bags even if the battery loses power or
it becomes disconnected prior to deployment.Also, the ORC turns on the Air Bag Warning
Light in the instrument panel for approxi-
mately four to eight seconds for a self-check
when the ignition is first turned on. After the
self-check, the Air Bag Warning Light will turn off. If the
ORC detects a malfunction in any part of the system, it turns on the Air Bag Warning Light, either momentarily
or continuously. A single chime will sound if the light
comes on again after initial startup.
It also includes diagnostics that will illuminate the instru-
ment cluster Air Bag Warning Light if a malfunction is
noted that could affect the air bag system. The diagnos-
tics also record the nature of the malfunction.
WARNING!
Ignoring the Air Bag Warning Light in your instru-
ment panel could mean you won’t have the air bags
to protect you in a collision. If the light does not come
on as a bulb check when the ignition is first turned
on, stays on after you start the vehicle, or if it comes
on as you drive, have an authorized dealer service the
air bag system immediately.
2
THINGS TO KNOW BEFORE STARTING YOUR VEHICLE 65
Page 68 of 580
Driver And Passenger Advanced Front Air Bag
Inflator Units
The Driver and Passenger Advanced Front Air Bag
Inflator Units are located in the center of the steering
wheel and on the right side of the instrument panel.
When the ORC detects a collision requiring the Ad-
vanced Front Air Bags, it signals the inflator units. A large
quantity of non-toxic gas is generated to inflate the
Advanced Front Air Bags. Different air bag inflation rates
are possible, based on several factors, including the
collision type and severity. The steering wheel hub trim
cover and the upper right side of the instrument panel
separate and fold out of the way as the air bags inflate to
their full size. The air bags fully inflate in about 50 to
70 milliseconds. This is about half of the time it takes to
blink your eyes. The air bags then quickly deflate while
helping to restrain the driver and front passenger.The Advanced Front Air Bag gas is vented through the
vent holes in the sides of the air bag. In this way, the air
bags do not interfere with your control of the vehicle.
Supplemental Driver Side Knee Air Bag Inflator
Unit
The Supplemental Driver Side Knee Air Bag unit is
located in the instrument panel trim beneath the steering
column. When the ORC detects a collision requiring the
Advanced Front Air Bags, it signals the inflator units. A
large quantity of non-toxic gas is generated to inflate the
Supplemental Driver Side Knee Air Bag. The trim cover
separates and folds out of the way allowing the air bag to
inflate to the full size. The air bag fully inflates in about
15 to 20 milliseconds. The Supplemental Driver Side
Knee Air Bag gas is vented through small vent holes in
the side of the air bag.
66 THINGS TO KNOW BEFORE STARTING YOUR VEHICLE
Page 72 of 580
Maintaining Your Air Bag System
WARNING!
•Modifications to any part of the air bag system
could cause it to fail when you need it. You could
be injured if the air bag system is not there to
protect you. Do not modify the components or
wiring, including adding any kind of badges or
stickers to the steering wheel hub trim cover or the
upper right side of the instrument panel. Do not
modify the front bumper, vehicle body structure, or
add aftermarket side steps or running boards.
• It is dangerous to try to repair any part of the air
bag system yourself. Be sure to tell anyone who
works on your vehicle that it has an air bag system.
(Continued)
WARNING! (Continued)
•Do not attempt to modify any part of your air bag
system. The air bag may inflate accidentally or may
not function properly if modifications are made.
Take your vehicle to an authorized dealer for any
air bag system service. If your seat, including your
trim cover and cushion, needs to be serviced in any
way (including removal or loosening/tightening of
seat attachment bolts), take the vehicle to your
authorized dealer. Only manufacturer approved
seat accessories may be used. If it is necessary to
modify the air bag system for persons with dis-
abilities, contact your authorized dealer.
70 THINGS TO KNOW BEFORE STARTING YOUR VEHICLE
Page 100 of 580
WARNING!(Continued)
•Check mounting of mats on a regular basis. Always
properly reinstall and secure floor mats that have
been removed for cleaning.
• Always make sure that objects cannot fall into the
driver footwell while the vehicle is moving. Ob-
jects can become trapped under the brake pedal
and accelerator pedal causing a loss of vehicle
control.
• If required, mounting posts must be properly in-
stalled, if not equipped from the factory.
Failure to properly follow floor mat installation or
mounting can cause interference with the brake
pedal and accelerator pedal operation causing loss of
control of the vehicle.
Periodic Safety Checks You Should Make Outside
The Vehicle
Tires
Examine tires for excessive tread wear and uneven wear
patterns. Check for stones, nails, glass, or other objects
lodged in the tread or sidewall. Inspect the tread for cuts
and cracks. Inspect sidewalls for cuts, cracks and bulges.
Check the wheel nuts for tightness. Check the tires
(including spare) for proper cold inflation pressure.
Lights
Have someone observe the operation of brake lights and
exterior lights while you work the controls. Check turn
signal and high beam indicator lights on the instrument
panel.
98 THINGS TO KNOW BEFORE STARTING YOUR VEHICLE
Page 112 of 580
Three of the LEDs are turn signal indicators, which flash
with the corresponding turn signal lights in the front and
rear of the vehicle. Turning on the Hazard Warning
flashers will also activate these LEDs.
The fourth LED supplies illuminated entry lighting,
which turns on in both mirrors when you use the Remote
Keyless Entry (RKE) transmitter or open any door. This
LED shines outward to illuminate the front and rear door
handles. It also shines downward to illuminate the area
in front of the doors.
The Illuminated Entry lighting fades to off after about
30 seconds or it will fade to off immediately once the
ignition is placed into the RUN position.
NOTE:The approach lighting will not function when the
shift lever is moved out of the PARK position.Tilt Mirrors In Reverse — If Equipped
Tilt Mirrors in Reverse provides automatic outside mirror
positioning which will aid the driver ’s view of the
ground rearward of the front doors. The outside mirrors
will move slightly downward from the present position
when the vehicle is shifted into REVERSE. The outside
mirrors will then return to the original position when the
vehicle is shifted out of the REVERSE position. Each
stored memory setting will have an associated Tilt Mir-
rors in Reverse position.
NOTE:
• The Tilt Mirrors in Reverse feature is not turned on
when delivered from the factory. The Tilt Mirrors in
Reverse feature can be turned on and off using the
Uconnect® System.
• Refer to “Uconnect® Settings” in “Understanding
Your Instrument Panel” for further information.
110 UNDERSTANDING THE FEATURES OF YOUR VEHICLE
Page 123 of 580
WARNING!
RCP is not a Back Up Aid system. It is intended to be
used to help a driver detect an oncoming vehicle in a
parking lot situation. Drivers must be careful when
backing up, even when using RCP. Always check
carefully behind your vehicle, look behind you, and
be sure to check for pedestrians, animals, other
vehicles, obstructions, and blind spots before back-
ing up. Failure to do so can result in serious injury or
death.
Modes Of Operation
Three selectable modes of operation are available in the
Uconnect® System. Refer to “Uconnect® Settings” in
“Understanding Your Instrument Panel” for further in-
formation.Blind Spot Alert
When operating in Blind Spot Alert mode, the BSM
system will provide a visual alert in the appropriate side
view mirror based on a detected object. However, when
the system is operating in RCP, the system will respond
with both visual and audible alerts when a detected
object is present. Whenever an audible alert is requested,
the radio volume is reduced.
Blind Spot Alert Lights/Chime
When operating in Blind Spot Alert Lights/Chime mode,
the BSM system will provide a visual alert in the appro-
priate side view mirror based on a detected object. If the
turn signal is then activated, and it corresponds to an alert
present on that side of the vehicle, an audible chime will
also be sounded. Whenever a turn signal and detected
object are present on the same side at the same time, both
the visual and audio alerts will be issued. In addition to the
audible alert, the radio (if on) volume will be reduced.
3
UNDERSTANDING THE FEATURES OF YOUR VEHICLE 121
Page 195 of 580
NOTE:
•Memory profiles can be set without the vehicle in
PARK, but the vehicle must be in PARK to recall a
memory profile.
• The Recall Memory with Remote Key Unlock feature
can be enabled through the Uconnect® System, refer to
“Uconnect® Settings” in “Understanding Your Instru-
ment Panel” for further information.
Linking And Unlinking The Remote Keyless Entry
Transmitter To Memory
Your RKE transmitters can be programmed to recall one
of two pre-programmed memory profiles by pressing the
UNLOCK button on the RKE transmitter.
To program your RKE transmitters, perform the following:
1. Remove the Key Fob from the ignition (or change the ignition to OFF, for vehicles equipped with Keyless
Enter-N-Go).
2. Select desired memory profile (1) or (2). The system will recall any stored settings for this profile. Wait for
the system to complete the memory recall before
continuing to Step 3.
3. Once the profile has been recalled, press and release the SET (S) button on the memory switch, then press
and release button (1) or (2) accordingly. “Memory
Profile Set” (1 or 2) will display in the instrument
cluster on vehicles equipped with the EVIC.
4. Press and release the LOCK button on the RKE transmitter within 10 seconds.
3
UNDERSTANDING THE FEATURES OF YOUR VEHICLE 193