water pump CHRYSLER 300 SRT 2013 2.G Owners Manual
[x] Cancel search | Manufacturer: CHRYSLER, Model Year: 2013, Model line: 300 SRT, Model: CHRYSLER 300 SRT 2013 2.GPages: 580, PDF Size: 4.26 MB
Page 458 of 580

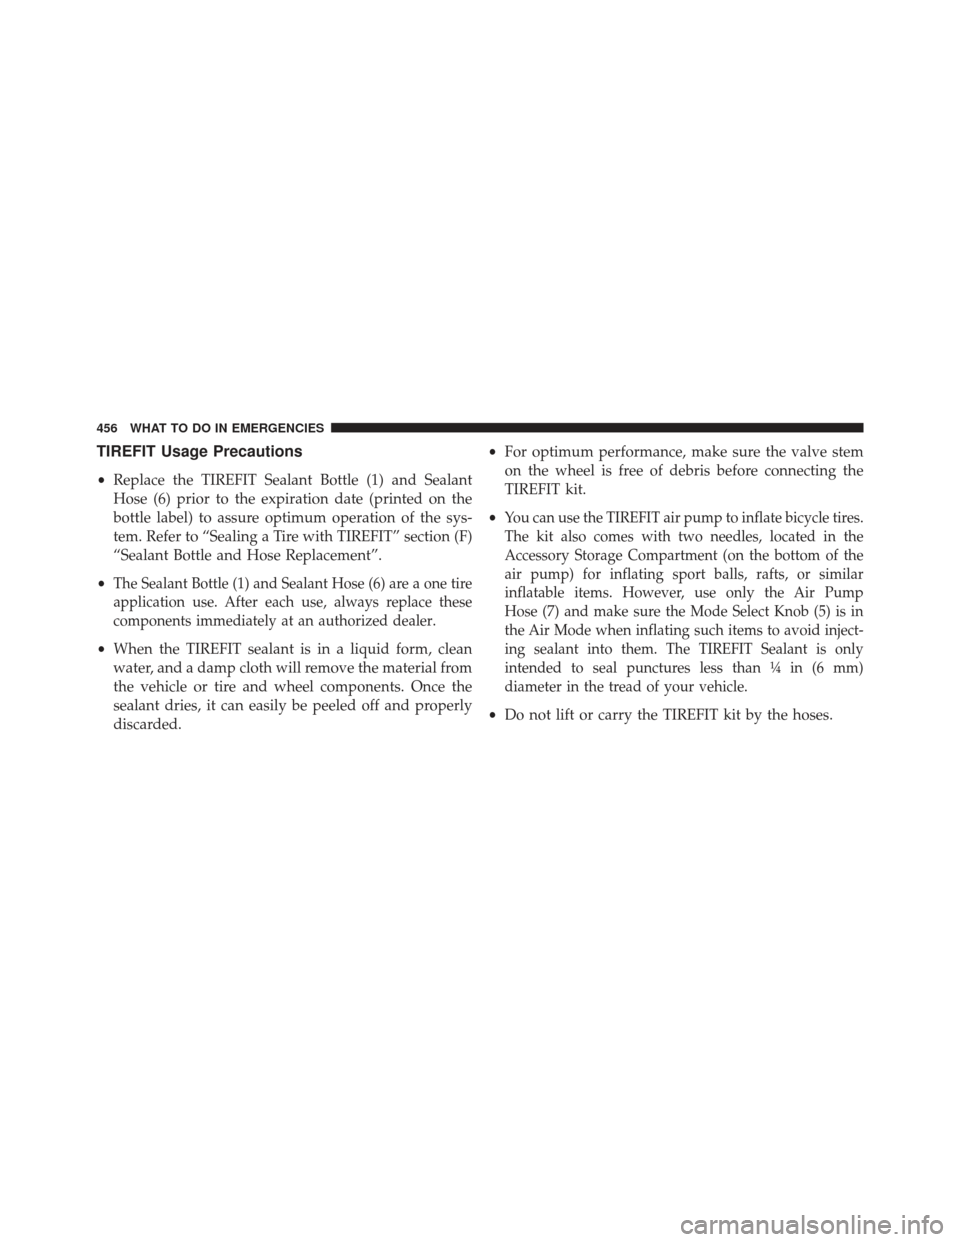
TIREFIT Usage Precautions
•Replace the TIREFIT Sealant Bottle (1) and Sealant
Hose (6) prior to the expiration date (printed on the
bottle label) to assure optimum operation of the sys-
tem. Refer to “Sealing a Tire with TIREFIT” section (F)
“Sealant Bottle and Hose Replacement”.
•
The Sealant Bottle (1) and Sealant Hose (6) are a one tire
application use. After each use, always replace these
components immediately at an authorized dealer.
• When the TIREFIT sealant is in a liquid form, clean
water, and a damp cloth will remove the material from
the vehicle or tire and wheel components. Once the
sealant dries, it can easily be peeled off and properly
discarded. •
For optimum performance, make sure the valve stem
on the wheel is free of debris before connecting the
TIREFIT kit.
•
You can use the TIREFIT air pump to inflate bicycle tires.
The kit also comes with two needles, located in the
Accessory Storage Compartment (on the bottom of the
air pump) for inflating sport balls, rafts, or similar
inflatable items. However, use only the Air Pump
Hose (7) and make sure the Mode Select Knob (5) is in
the Air Mode when inflating such items to avoid inject-
ing sealant into them. The TIREFIT Sealant is only
intended to seal punctures less than ¼ in (6 mm)
diameter in the tread of your vehicle.
• Do not lift or carry the TIREFIT kit by the hoses.
456 WHAT TO DO IN EMERGENCIES
Page 460 of 580

WARNING!(Continued)
•TIREFIT Sealant solution contains latex. In case of
an allergic reaction or rash, consult a physician
immediately. Keep TIREFIT out of reach of children.
If swallowed, rinse mouth immediately with plenty
of water and drink plenty of water. Do not induce
vomiting! Consult a physician immediately.
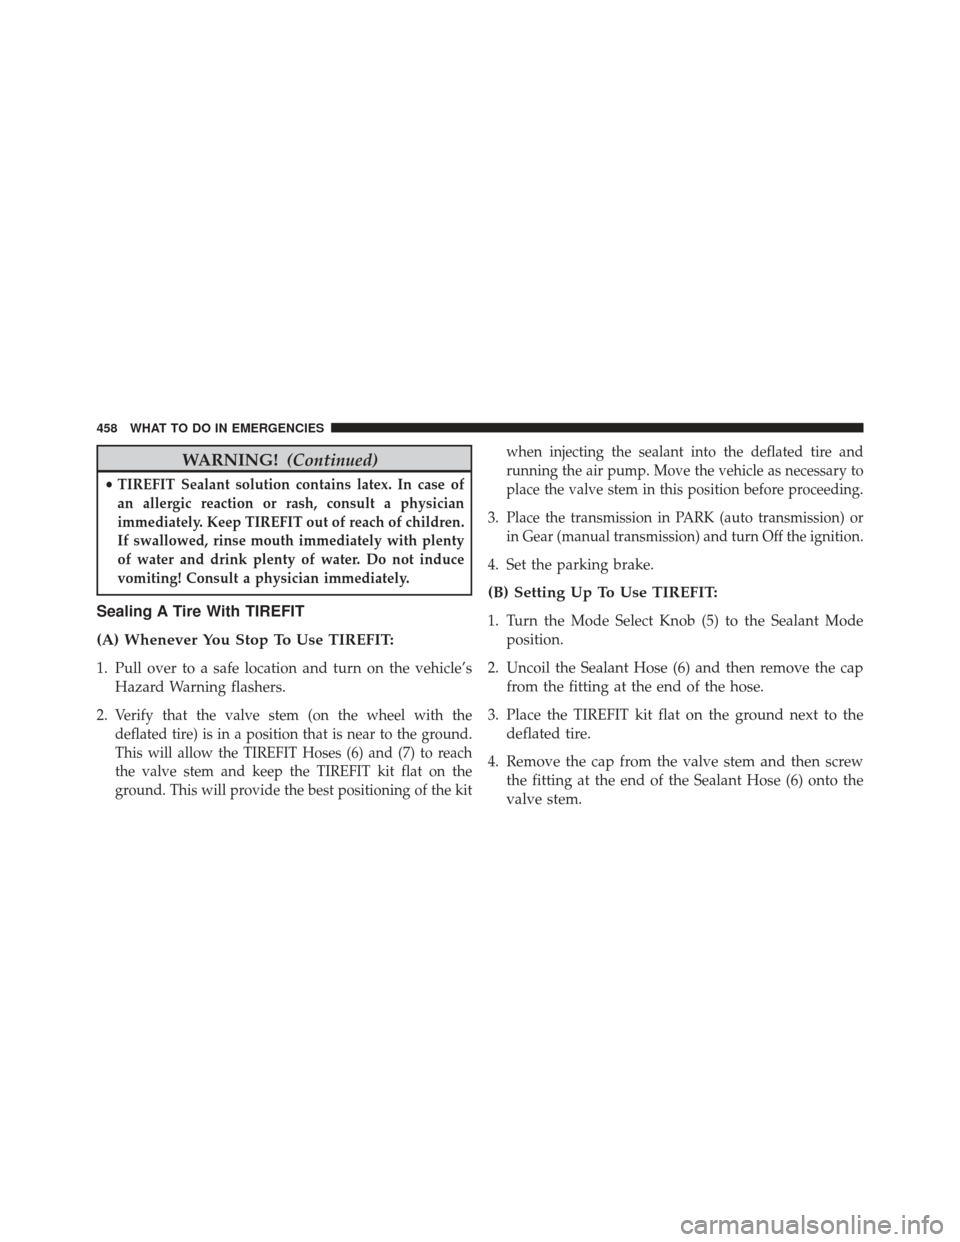
Sealing A Tire With TIREFIT
(A) Whenever You Stop To Use TIREFIT:
1. Pull over to a safe location and turn on the vehicle’s Hazard Warning flashers.
2.
Verify that the valve stem (on the wheel with the
deflated tire) is in a position that is near to the ground.
This will allow the TIREFIT Hoses (6) and (7) to reach
the valve stem and keep the TIREFIT kit flat on the
ground. This will provide the best positioning of the kit when injecting the sealant into the deflated tire and
running the air pump. Move the vehicle as necessary to
place the valve stem in this position before proceeding.
3.Place the transmission in PARK (auto transmission) or
in Gear (manual transmission) and turn Off the ignition.
4. Set the parking brake.
(B) Setting Up To Use TIREFIT:
1. Turn the Mode Select Knob (5) to the Sealant Mode
position.
2. Uncoil the Sealant Hose (6) and then remove the cap from the fitting at the end of the hose.
3. Place the TIREFIT kit flat on the ground next to the deflated tire.
4. Remove the cap from the valve stem and then screw the fitting at the end of the Sealant Hose (6) onto the
valve stem.
458 WHAT TO DO IN EMERGENCIES
Page 516 of 580

CAUTION!
•When installing the power distribution center
cover, it is important to ensure the cover is properly
positioned and fully latched. Failure to do so may
allow water to get into the power distribution
center and possibly result in an electrical system
failure.
• When replacing a blown fuse, it is important to use
only a fuse having the correct amperage rating. The
use of a fuse with a rating other than indicated may
result in a dangerous electrical system overload. If
a properly rated fuse continues to blow, it indicates
a problem in the circuit that must be corrected.
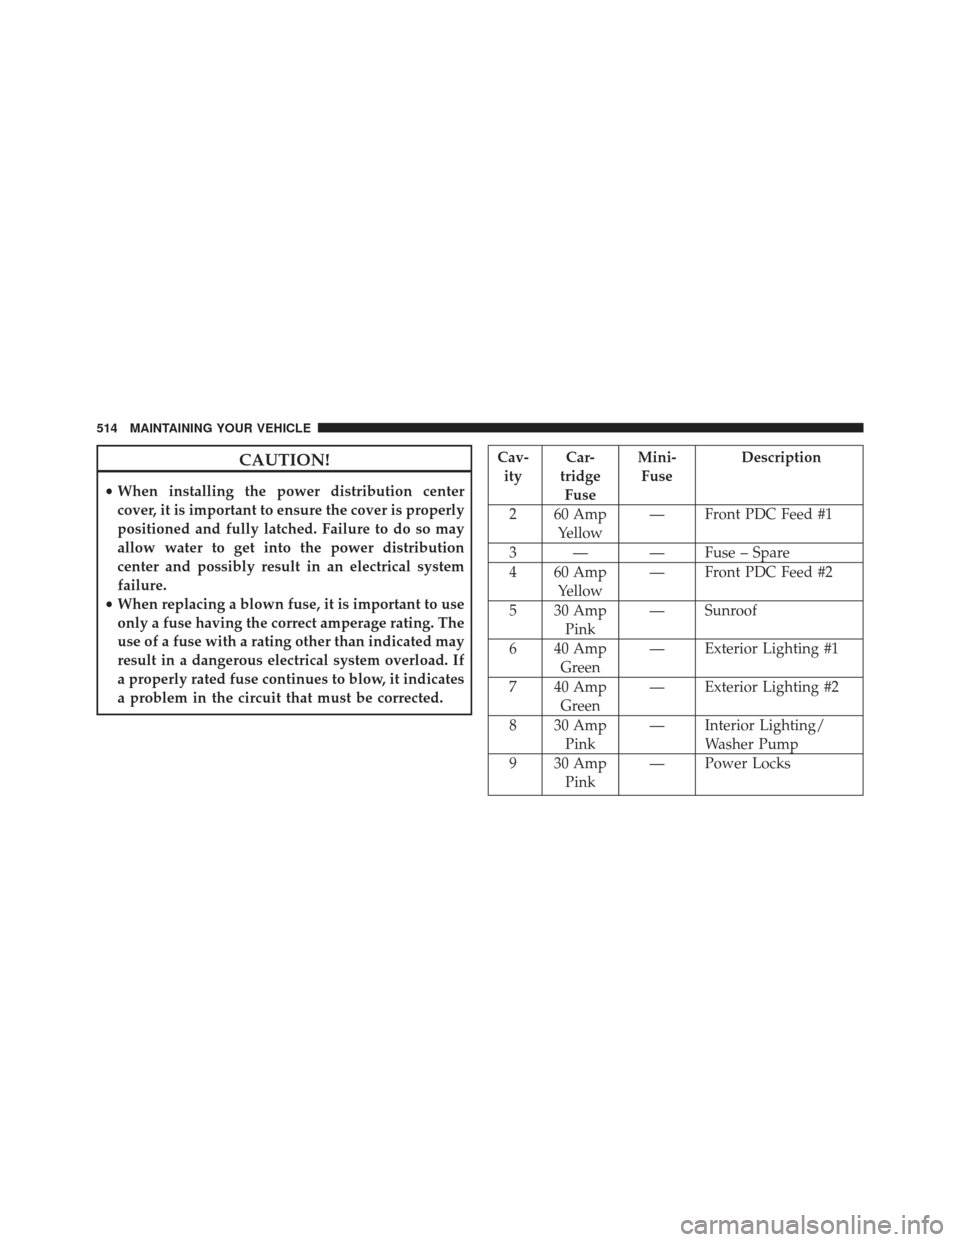
Cav- ity Car-
tridge Fuse Mini-
Fuse Description
2 60 Amp Yellow — Front PDC Feed #1
3 — — Fuse – Spare
4 60 Amp Yellow — Front PDC Feed #2
5 30 Amp Pink — Sunroof
6 40 Amp Green — Exterior Lighting #1
7 40 Amp Green — Exterior Lighting #2
8 30 Amp Pink — Interior Lighting/
Washer Pump
9 30 Amp Pink — Power Locks
514 MAINTAINING YOUR VEHICLE