key CHRYSLER ASPEN 2007 2.G Workshop Manual
[x] Cancel search | Manufacturer: CHRYSLER, Model Year: 2007, Model line: ASPEN, Model: CHRYSLER ASPEN 2007 2.GPages: 472, PDF Size: 7.51 MB
Page 257 of 472

WARNING!
Do not attempt to push or tow your vehicle to get it
started. Vehicles equipped with an automatic trans-
mission cannot be started this way. Unburned fuel
could enter the catalytic converter and once the
engine has started, ignite and damage the converter
and vehicle. If the vehicle has a discharged battery,
booster cables may be used to obtain a start from a
booster battery or the battery in another vehicle. This
type of start can be dangerous if done improperly.
See section 6 of this manual for the proper jump
starting procedures and follow them carefully.
If the engine has been flooded, it may start to run, but not
have enough power to continue running when the key isreleased. If this occurs, continue cranking with the accel-
erator pedal pushed all the way to the floor. Release the
accelerator pedal and the key once the engine is running
smoothly.
If the engine shows no sign of starting after two 15
second periods of cranking with the accelerator pedal
held to the floor, the Normal Starting procedure should
be repeated.
After Starting
The idle speed is automatically controlled on fuel injected
engines and will decrease as the engine warms up.
ENGINE BLOCK HEATER – IF EQUIPPED
The engine block heater warms engine coolant and
permits quicker starts in cold weather. Connect the cord
to a standard 110-115 volt AC electrical outlet with a
grounded, three wire extension cord.
STARTING AND OPERATING 257
5
Page 266 of 472

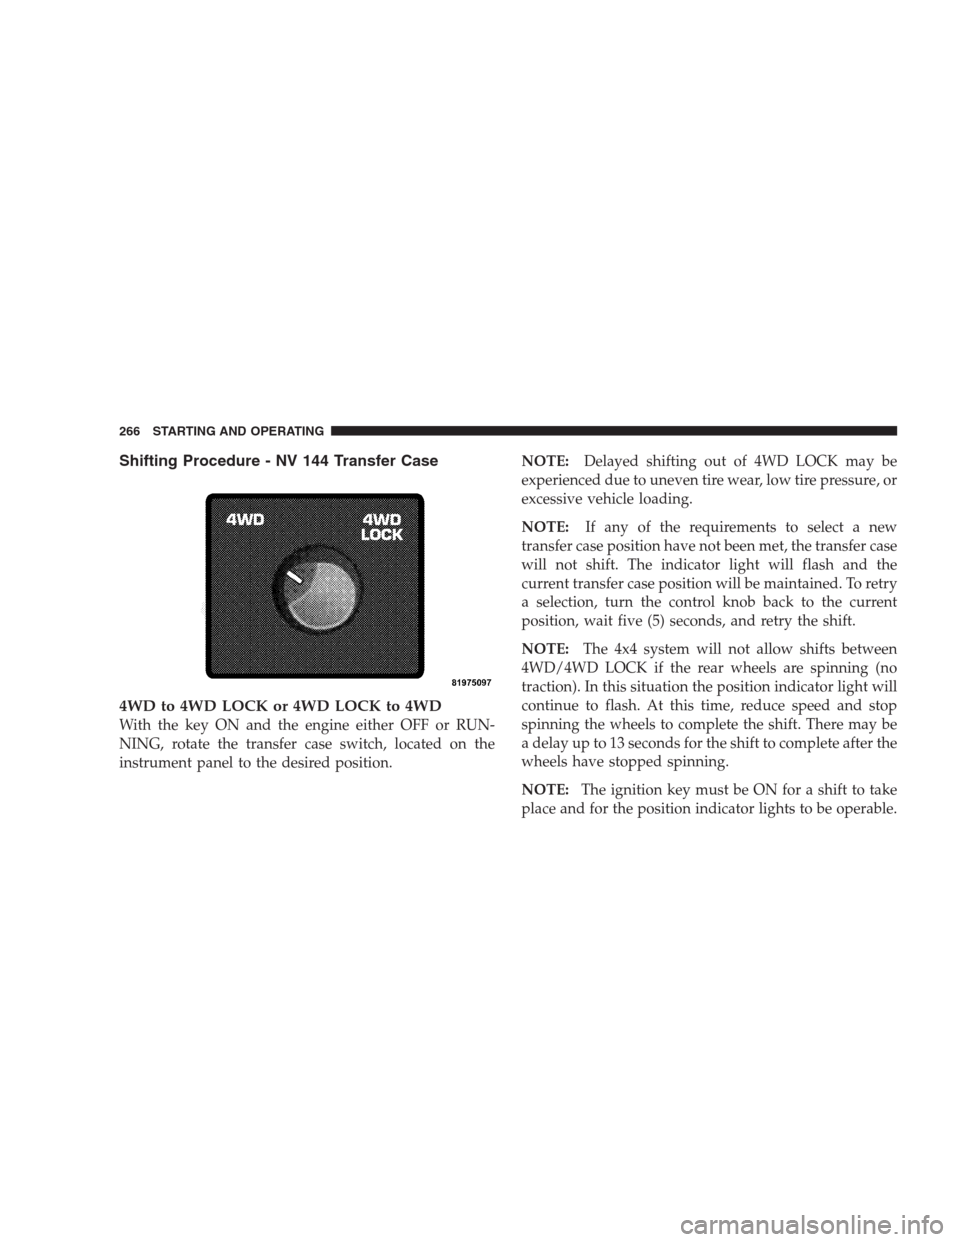
Shifting Procedure - NV 144 Transfer Case
4WD to 4WD LOCK or 4WD LOCK to 4WD
With the key ON and the engine either OFF or RUN-
NING, rotate the transfer case switch, located on the
instrument panel to the desired position.NOTE:Delayed shifting out of 4WD LOCK may be
experienced due to uneven tire wear, low tire pressure, or
excessive vehicle loading.
NOTE:If any of the requirements to select a new
transfer case position have not been met, the transfer case
will not shift. The indicator light will flash and the
current transfer case position will be maintained. To retry
a selection, turn the control knob back to the current
position, wait five (5) seconds, and retry the shift.
NOTE:The 4x4 system will not allow shifts between
4WD/4WD LOCK if the rear wheels are spinning (no
traction). In this situation the position indicator light will
continue to flash. At this time, reduce speed and stop
spinning the wheels to complete the shift. There may be
a delay up to 13 seconds for the shift to complete after the
wheels have stopped spinning.
NOTE:The ignition key must be ON for a shift to take
place and for the position indicator lights to be operable.
266 STARTING AND OPERATING
Page 267 of 472

If the key is not ON then the shift will not take place and
no position indicator lights will be on or flashing.
NV 244 Generation II Transfer Case Operating
Information / Precautions
The NV 244 Generation II is an electric shift transfer case
and is operated by the 4WD Control Switch, which is
located on the instrument panel.
The NV 244 Generation II transfer case provides 4 mode
positions - Normal four-wheel-drive (4WD) high range,
four-wheel-drive lock (4WD LOCK), four-wheel-drive
low (4WD LOW) range, and neutral (N).
This transfer case is equipped with an inter-axle differ-
ential that allows driving the vehicle in the normal
all-wheel-drive position (4WD) at all times on any given
road surface, including dry hard surfaced roads. The
4WD mode allows the front and rear wheels to rotate at
different speeds. This eliminates driveline binding and
component wear normally associated with driving thevehicle in the 4WD LOCK position on dry hard surfaced
roads. This feature provides the safety, security, and
convenience of operating in all-wheel drive at all times
regardless of road conditions.
When additional traction is required, the 4WD LOCK
and 4WD LOW positions can be used to lock the front
and rear driveshafts together through the transfer case
inter-axle differential and force the front and rear wheels
to rotate at the same speed. This is accomplished by
rotating the 4WD Control Switch to these positions. The
4WD LOCK and 4WD LOW positions are intended for
loose, slippery road surfaces only. Driving in the 4WD
LOCK and 4WD LOW positions on dry hard surfaced
roads may cause increased tire wear and damage to the
driveline components.
The transfer case Neutral (N) position is selected by
depressing the recessed button located on the lower left
hand corner of the 4WD Control Switch.
STARTING AND OPERATING 267
5
Page 272 of 472

3. While still rolling, rotate the transfer case control
switch to the desired position.
4. After the position indicator light has stopped flashing,
shift the transmission back into gear.
Alternate Procedure
1. Bring the vehicle to complete stop.
2. With the key ON and the engine either OFF or
RUNNING, shift the transmission into NEUTRAL.
3. Rotate the transfer case control switch to the desired
position.
4. After the position indicator light has stopped flashing,
shift the transmission back into gear.
NOTE:The ignition key must be ON for a shift to take
place and for the position indicator lights to be operable.
If the key is not ON then the shift will not take place and
no position indicator lights will be on or flashing.NOTE:If any of the requirements to select a new
transfer case position have not been met, the transfer case
will not shift. The indicator light will flash and the
current transfer case position will be maintained. To retry
the selection, turn the control knob back to the current
position, wait five (5) seconds, and retry the shift.
DRIVING ON SLIPPERY SURFACES
When driving on wet or slushy roads, it is possible for a
wedge of water to build up between the tire and road
surface. This is known as hydroplaning and may cause
partial or complete loss of vehicle control and stopping
ability. To reduce this possibility, the following precau-
tions should be observed:
1. Slow down during rainstorms or when roads are
slushy.
2. Slow down if road has standing water or puddles.
272 STARTING AND OPERATING
Page 274 of 472

NOTE:The instrument cluster brake warning light
indicates only that the parking brake is applied. You must
be sure the parking brake is fully applied before leaving
the vehicle.
When parking on a hill, turn the front wheels toward the
curb on a downhill grade and away from the curb on an
uphill grade.
The parking brake should be applied whenever the
driver is not in the vehicle.WARNING!
•Always fully apply the parking brake when leav-
ing your vehicle, or vehicle may roll and cause
damage or injury. Also be certain to leave an
automatic transmission in Park. Failure to do so
may cause the vehicle to roll and cause damage or
injury.
•Be sure the parking brake is fully disengaged
before driving, failure to do so can lead to brake
failure and an accident.
•Never leave children alone in a vehicle. Leaving
children in a vehicle unattended is dangerous for
a number of reasons. A child or others could be
seriously or fatally injured. Don’t leave the keys
in the ignition. A child could operate power
windows, other controls, or move the vehicle.
274 STARTING AND OPERATING
Page 309 of 472

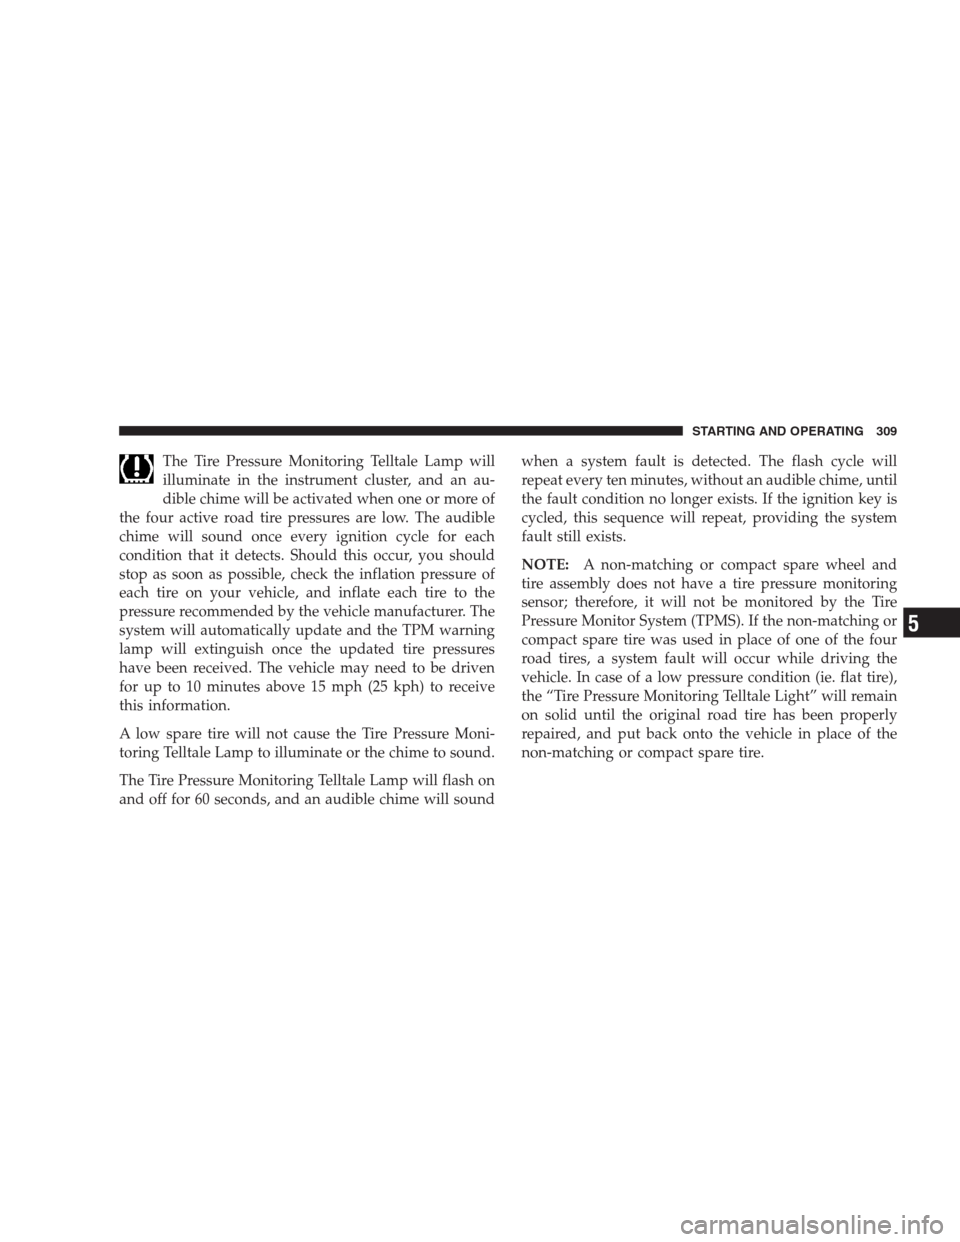
The Tire Pressure Monitoring Telltale Lamp will
illuminate in the instrument cluster, and an au-
dible chime will be activated when one or more of
the four active road tire pressures are low. The audible
chime will sound once every ignition cycle for each
condition that it detects. Should this occur, you should
stop as soon as possible, check the inflation pressure of
each tire on your vehicle, and inflate each tire to the
pressure recommended by the vehicle manufacturer. The
system will automatically update and the TPM warning
lamp will extinguish once the updated tire pressures
have been received. The vehicle may need to be driven
for up to 10 minutes above 15 mph (25 kph) to receive
this information.
A low spare tire will not cause the Tire Pressure Moni-
toring Telltale Lamp to illuminate or the chime to sound.
The Tire Pressure Monitoring Telltale Lamp will flash on
and off for 60 seconds, and an audible chime will soundwhen a system fault is detected. The flash cycle will
repeat every ten minutes, without an audible chime, until
the fault condition no longer exists. If the ignition key is
cycled, this sequence will repeat, providing the system
fault still exists.
NOTE:A non-matching or compact spare wheel and
tire assembly does not have a tire pressure monitoring
sensor; therefore, it will not be monitored by the Tire
Pressure Monitor System (TPMS). If the non-matching or
compact spare tire was used in place of one of the four
road tires, a system fault will occur while driving the
vehicle. In case of a low pressure condition (ie. flat tire),
the “Tire Pressure Monitoring Telltale Light” will remain
on solid until the original road tire has been properly
repaired, and put back onto the vehicle in place of the
non-matching or compact spare tire.
STARTING AND OPERATING 309
5
Page 340 of 472

NOTE:The NV 244 Generation II transfer case must be
shifted into Neutral (N) for recreational towing. The
Neutral (N) selection button is located on the lower left
hand corner of the 4WD Control Switch. Shifts into and
out of transfer case Neutral (N) can take place with the
selector switch in any mode position.
Shifting into Neutral (N)
Use the following procedure to prepare your vehicle for
recreational towing.
CAUTION!
It is necessary to follow these steps to be certain that
the transfer case is fully in Neutral (N) before
recreational towing to prevent damage to internal
parts.
1. Bring vehicle to a complete stop.2. Shut engine OFF.
3. Turn the ignition key to the ON position without
starting the engine.
4. Depress brake pedal.
5. Shift automatic transmission to Neutral (N).
6. Using the point of a ballpoint pen or similar object,
depress the recessed transfer case Neutral (N) button for
4 seconds.
7. After shift is completed and the Neutral (N) light
comes on release Neutral (N) button.
8. Start engine.
9. Shift automatic transmission into Reverse (R).
10. Release brake pedal for five seconds and ensure that
there is no vehicle movement.
340 STARTING AND OPERATING
Page 341 of 472

11. Repeat steps 9 and 10 with the transmission in Drive
(D).
12. Turn ignition key to the unlocked OFF position.
13. Shift automatic transmission into Park (P).
14. Attach vehicle to tow vehicle with tow bar.
NOTE:Items 1 through 5 are requirements that must be
met prior to depressing the Neutral (N) selection button,
and must continue to be met until the 4 seconds elaspes
and the shift has been completed.
If any of these requirements (with the exception of3-Key
ON) are not met prior to depressing the Neutral (N)
button or are no longer met during the 4 second timer,
then the Neutral (N) indicator light will flash continu-
ously until all requirements are met or until the Neutral
(N) button is released.NOTE:The ignition key must be ON for a shift to take
place and for the position indicator lights to be operable.
If the key is not ON, the shift will not take place and no
position indicator lights will be on or flashing.
CAUTION!
Damage to the transmission may occur if the trans-
mission is shifted into Park (P) with the transfer case
in Neutral (N) and the engine RUNNING. With the
transfer case in Neutral (N) ensure that the engine is
OFF prior to shifting the transmission into Park (P)
Shifting OUT of Neutral (N)
Use the following procedure to prepare your vehicle for
normal usage.
1. Bring vehicle to a complete stop.
2. Shut engine OFF.
STARTING AND OPERATING 341
5
Page 342 of 472

3. Turn the ignition key to the ON position without
starting the engine.
4. Depress brake pedal.
5. Shift automatic transmission to Neutral (N).
6. Using the point of a ballpoint pen or similar object,
depress the recessed transfer case Neutral (N) button for
1 second.
7. After the Neutral (N) indicator light turns off release
the Neutral (N) button.
8. After the Neutral (N) button has been released the
transfer case will shift to the position identified by the
selector switch.
9. Shift automatic transmission into Park (P).
10. Start the engine.
11. Shift automatic transmission into Drive (D).NOTE:Items 1 through 5 are requirements that must be
met prior to depressing the Neutral (N) selection button,
and must continue to be met until 1 second elapses and
the shift has been completed.
If any of these requirements are not met prior to depress-
ing the Neutral (N) button or are no longer met during
the 1 second time, then all of the position indicator lights
will flash continuously until all requirements are met or
until the Neutral (N) button is released.
NOTE:The ignition key must be ON for a shift to take
place and for the position indicator lights to be operable.
If the key is not On, the shift will not take place and no
position indicator lights will be on or flashing.
NOTE:Flashing neutral (N) position indicator light
indicates that shift requirements have not been met.
342 STARTING AND OPERATING
Page 346 of 472

HAZARD WARNING FLASHER
The flasher switch is on the top of the steering column,
just behind the steering wheel. Press the flasher switch
and all front and rear directional signals will flash
intermittently.
Press the switch a second time to turn off the emergency
flashers.This is an emergency warning system and should not be
used when the vehicle is in motion. Use it when your
vehicle is disabled and is creating a safety hazard for
other motorists.
If it is necessary to leave the vehicle to go for service, the
flasher system will continue to operate with the ignition
key removed and the vehicle locked.
346 WHAT TO DO IN EMERGENCIES