check engine light CHRYSLER ASPEN 2009 2.G User Guide
[x] Cancel search | Manufacturer: CHRYSLER, Model Year: 2009, Model line: ASPEN, Model: CHRYSLER ASPEN 2009 2.GPages: 481, PDF Size: 9.28 MB
Page 215 of 481
If the MIL comes on and remains on while driving, it
suggests a potential engine control problem and the need
for system service. See an authorized dealer as soon as
possible.
Although your vehicle will usually be drivable and not
need towing, see an authorized dealer for service as soon
as possible.
CAUTION!
Prolonged driving with the MIL on could cause
damage to the engine control system. It also could
affect fuel economy and driveability.
If the MIL is flashing, severe catalytic converter
damage and power loss will soon occur. Immediate
service is required. See an authorized dealer for
service immediately.24. Tire Pressure Monitoring Telltale Light
Each tire, including the spare (if provided),
should be checked monthly when cold and
inflated to the inflation pressure recommended
by the vehicle manufacturer on the vehicle
placard or tire inflation pressure label. (If your vehicle
has tires of a different size than the size indicated on the
vehicle placard or tire inflation pressure label, you should
determine the proper tire inflation pressure for those
tires.)
UNDERSTANDING YOUR INSTRUMENT PANEL 213
4
Page 274 of 481
NShallow Standing Water................ 291
mPower Steering........................ 293
NPower Steering Fluid Check............. 294
mMulti-Displacement System (MDS)
Ð 5.7L Engine Only..................... 294
mParking Brake........................ 294
mAnti-Lock Brake System................. 296
mElectronic Brake Control System........... 299
NAnti-Lock Brake System (ABS)........... 299
NTraction Control System (TCS)........... 300
NBrake Assist System (BAS).............. 300
NElectronic Roll Mitigation (ERM).......... 302
NElectronic Stability Program (ESP)......... 303NTrailer Sway Control (TSC).............. 306
NESP/BAS Warning Light And ESP/TCS
Indicator Light...................... 306
mTire Safety Information.................. 307
NTire Markings....................... 307
NTire Identification Number (TIN).......... 311
NTire Loading And Tire Pressure........... 312
mTires Ð General Information.............. 316
NTire Pressure........................ 316
NTire Inflation Pressures................. 317
NTire Pressures For High Speed Operation.... 319
NRadial Ply Tires...................... 319
NCompact Spare Tire Ð If Equipped........ 319
272 STARTING AND OPERATING
Page 296 of 481
Power Steering Fluid Check
Checking the power steering fluid level at a defined
service interval is not required. The fluid should only be
checked if a leak is suspected, abnormal noises are
apparent, and/or the system is not functioning as antici-
pated. Coordinate inspection efforts through an autho-
rized dealer.
WARNING!
Fluid level should be checked on a level surface and
with the engine off to prevent injury from moving
parts and to ensure accurate fluid level reading. Do
not overfill. Use only manufacturers recommended
power steering fluid.
If necessary, add fluid to restore to the proper indicated
level. With a clean cloth, wipe any spilled fluid from allsurfaces. For correct fluid type, refer to ºPower Steering
Reservoirº under ªFluids, Lubricants, and Genuine
Partsº in this section.
MULTI-DISPLACEMENT SYSTEM (MDS) Ð 5.7L
ENGINE ONLY
This feature offers improved fuel economy by shutting
off four of the engine's eight cylinders during light load
and cruise conditions. The system is automatic with no
driver inputs or additional driving skills required.
NOTE:The MDS system may take some time to return
to full functionality after a battery disconnect.
PARKING BRAKE
The foot operated parking brake is positioned below the
lower left corner of the instrument panel. To release the
parking brake, pull the parking brake release handle.
294 STARTING AND OPERATING
Page 363 of 481
NOTE:Check the automatic transmission fluid level
before towing.
Towing Tips Ð Tow/Haul (If Equipped)
To reduce potential for automatic transmission overheat-
ing, turn the TOW/HAUL feature ON when driving in
hilly areas or shift the transmission to DRIVE position 2
on more severe grades.
Towing Tips Ð Electronic Speed Control (If
Equipped)
þ
Don't use in hilly terrain or with heavy loads.
þWhen using the speed control, if you experience speed
drops greater than 10 mph (16 km/h), disengage until
you can resume cruising speed.
þUse speed control in flat terrain and with light loads to
maximize fuel efficiency.
Towing Tips Ð Cooling System
To reduce potential for engine and transmission over-
heating, take the following actions:
þCity Driving
When stopped for short periods of time, put transmission
in NEUTRAL and increase engine idle speed.
þHighway Driving
Reduce speed.
þAir Conditioning
Turn off temporarily.
þrefer to ªCooling System Operatingº under ªMainte-
nance Proceduresº in Section 7.
STARTING AND OPERATING 361
5
Page 390 of 481
problem persists, the message will appear the next time
the vehicle is started. This might indicate a damaged cap.
If the problem is detected twice in a row, the system will
turn on the MIL. Resolving the problem will turn the MIL
off.
EMISSIONS INSPECTION AND MAINTENANCE
PROGRAMS
In some localities, it may be a legal requirement to pass
an inspection of your vehicle's emissions control system.
Failure to pass could prevent vehicle registration.
For states that require an Inspection and Mainte-
nance (I/M), this check verifies the Malfunction
Indicator Light (MIL) is functioning and is not on
when the engine is running, and that the OBD II system
is ready for testing.
Normally, the OBD II system will be ready. The OBD II
system maynotbe ready if your vehicle was recentlyserviced, recently had a dead battery, or a battery replace-
ment. If the OBD II system should be determined not
ready for the I/M test, your vehicle may fail the test.
Your vehicle has a simple ignition key-actuated test,
which you can use prior to going to the test station. To
check if your vehicle's OBD II system is ready, you must
do the following:
1. Insert your ignition key into the ignition switch.
2. Turn the ignition to the ON position, but do not crank
or start the engine.
3. If you crank or start the engine, you will have to start
this test over.
4. As soon as you turn your key to the ON position, you
will see the MIL symbol come on as part of a normal bulb
check.
388 MAINTAINING YOUR VEHICLE
Page 399 of 481
Windshield and Rear Window Washers
The fluid reservoir for the windshield washers and the
rear window washer is shared. The fluid reservoir is
located in the engine compartment: be sure to check the
fluid level at regular intervals. Fill the reservoir with
windshield washer solvent only (not radiator antifreeze).
When refilling the washer fluid reservoir, take some
washer fluid and apply it to a cloth or towel and wipe
clean the wiper blades; this will help blade performance.
To prevent freeze-up of your windshield washer system
in cold weather, select a solution or mixture that meets or
exceeds the temperature range of your climate. This
rating information can be found on most washer fluid
containers.
The washer fluid reservoir will hold a full gallon/liter of
fluid when the Low Washer Fluid Light illuminates.WARNING!
Commercially available windshield washer solvents
are flammable. They could ignite and burn you. Care
must be exercised when filling or working around
the washer solution.
Exhaust System
The best protection against carbon monoxide entry into
the vehicle body is a properly maintained engine exhaust
system.
Whenever a change is noticed in the sound of the exhaust
system, when exhaust fumes can be detected inside the
vehicle, or when the underside or rear of the vehicle is
damaged, have a competent mechanic inspect the com-
plete exhaust system and adjacent body areas for broken,
damaged, deteriorated, or mispositioned parts. Open
seams or loose connections could permit exhaust fumes
to seep into the passenger compartment. In addition,
MAINTAINING YOUR VEHICLE 397
7
Page 407 of 481
²Do not change the thermostat for Summer or Winter
operation. If replacement is ever necessary, install
ONLY the correct type thermostat. Other designs may
result in unsatisfactory coolant performance, poor gas
mileage, and increased emissions.
Brake System
Brake Master Cylinder
The fluid level in the master cylinder should be checked
whenever the vehicle is serviced, or immediately if the
brake system warning light is on. If necessary, add fluid
to bring level to the full mark on the side of the reservoir
of the brake master cylinder. Be sure to clean the top of
the master cylinder area before removing the cap. With
disc brakes, fluid level can be expected to fall as the brake
pads wear. Brake fluid level should be checked when
pads are replaced. If the brake fluid level is abnormally
low, check system for leaks.For correct fluid type, refer to ºBrake Master Cylinderº
under ªFluids, Lubricants and Genuine Partsº in this
section.
WARNING!
²Use of brake fluid that may have a lower initial
boiling point, or is unidentified as to specifica-
tions may result in sudden brake failure during
hard prolonged braking. You could have an acci-
dent.
²Overfilling the brake fluid reservoir can result in
spilling brake fluid on hot engine parts and the
brake fluid catching on fire.
Use only brake fluid that has been in a tightly closed
container to avoid contamination from foreign matter or
moisture.
MAINTAINING YOUR VEHICLE 405
7
Page 440 of 481
²Check the fluid levels of coolant reservoir, brake
master cylinder, power steering and transmission and
add as needed.
²Check all lights and other electrical items for correct
operation.
At Each Oil Change
²Change the engine oil filter.
²Inspect the brake hoses and lines.
CAUTION!
Failure to perform the required maintenance items
may result in damage to the vehicle.
Required Maintenance Intervals
NOTE:** Vehicles built with the 4.7L engine are
equipped with 16 spark plugs; one set is located on the
top of the engine under the coils and the second set is
located on the side of the engine.
The spark plugs located under the coils are a standard
plug and must be changed every 30,000 miles (50 000
km).
The spark plugs located on the side of the engine are a
premium plug and must be changed every 102,000 miles
(170 000 km).
438 MAINTENANCE SCHEDULES
8
M
A
I
N
T
E
N
A
N
C
E
S
C
H
E
D
U
L
E
S
Page 462 of 481
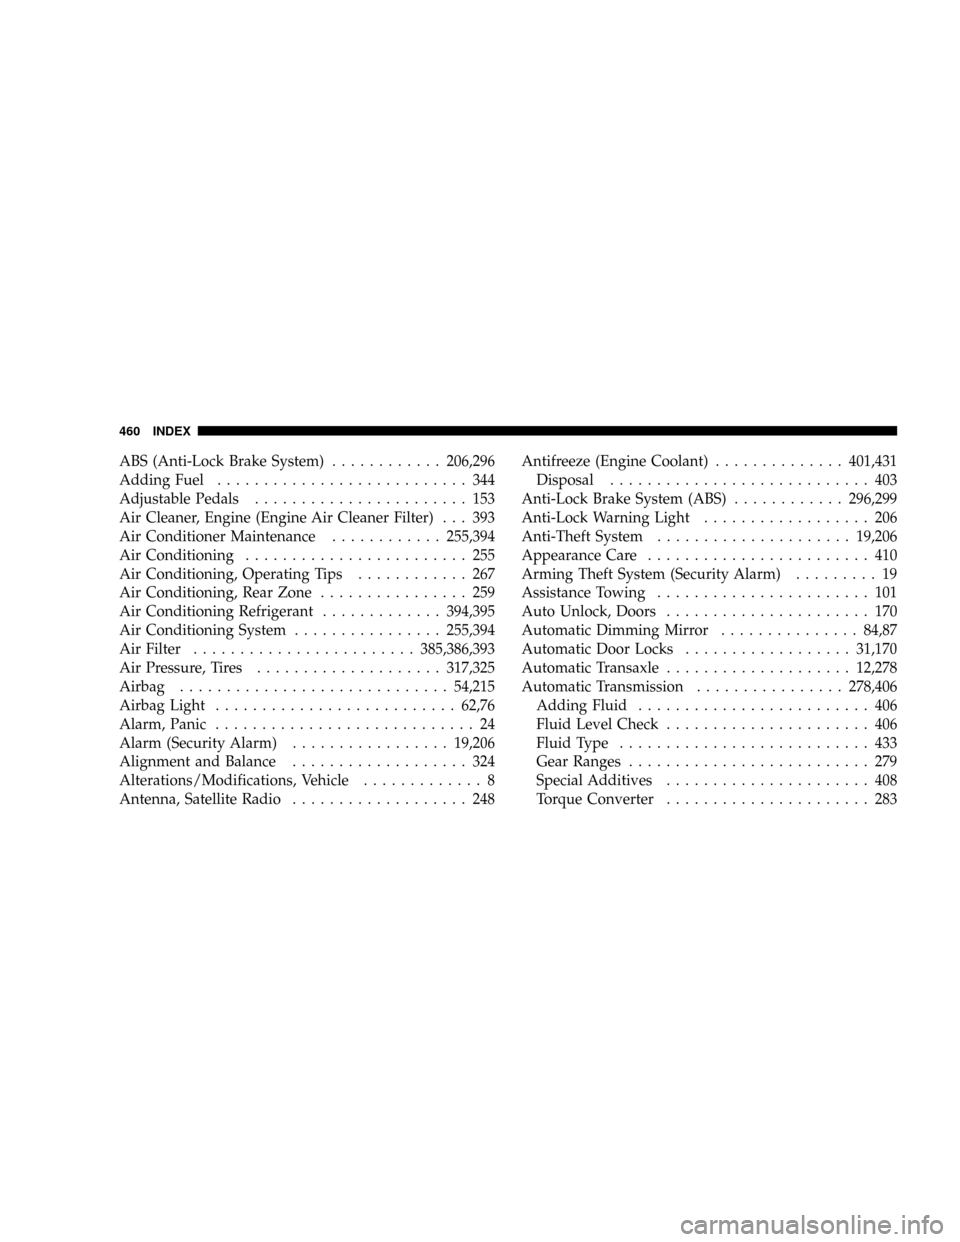
ABS (Anti-Lock Brake System)............206,296
Adding Fuel........................... 344
Adjustable Pedals....................... 153
Air Cleaner, Engine (Engine Air Cleaner Filter) . . . 393
Air Conditioner Maintenance............255,394
Air Conditioning........................ 255
Air Conditioning, Operating Tips............ 267
Air Conditioning, Rear Zone................ 259
Air Conditioning Refrigerant.............394,395
Air Conditioning System................255,394
Air Filter........................385,386,393
Air Pressure, Tires....................317,325
Airbag.............................54,215
Airbag Light..........................62,76
Alarm, Panic............................ 24
Alarm (Security Alarm).................19,206
Alignment and Balance................... 324
Alterations/Modifications, Vehicle............. 8
Antenna, Satellite Radio................... 248Antifreeze (Engine Coolant)..............401,431
Disposal............................ 403
Anti-Lock Brake System (ABS)............296,299
Anti-Lock Warning Light.................. 206
Anti-Theft System.....................19,206
Appearance Care........................ 410
Arming Theft System (Security Alarm)......... 19
Assistance Towing....................... 101
Auto Unlock, Doors...................... 170
Automatic Dimming Mirror...............84,87
Automatic Door Locks..................31,170
Automatic Transaxle....................12,278
Automatic Transmission................278,406
Adding Fluid......................... 406
Fluid Level Check...................... 406
Fluid Type........................... 433
Gear Ranges.......................... 279
Special Additives...................... 408
Torque Converter...................... 283
460 INDEX
Page 463 of 481
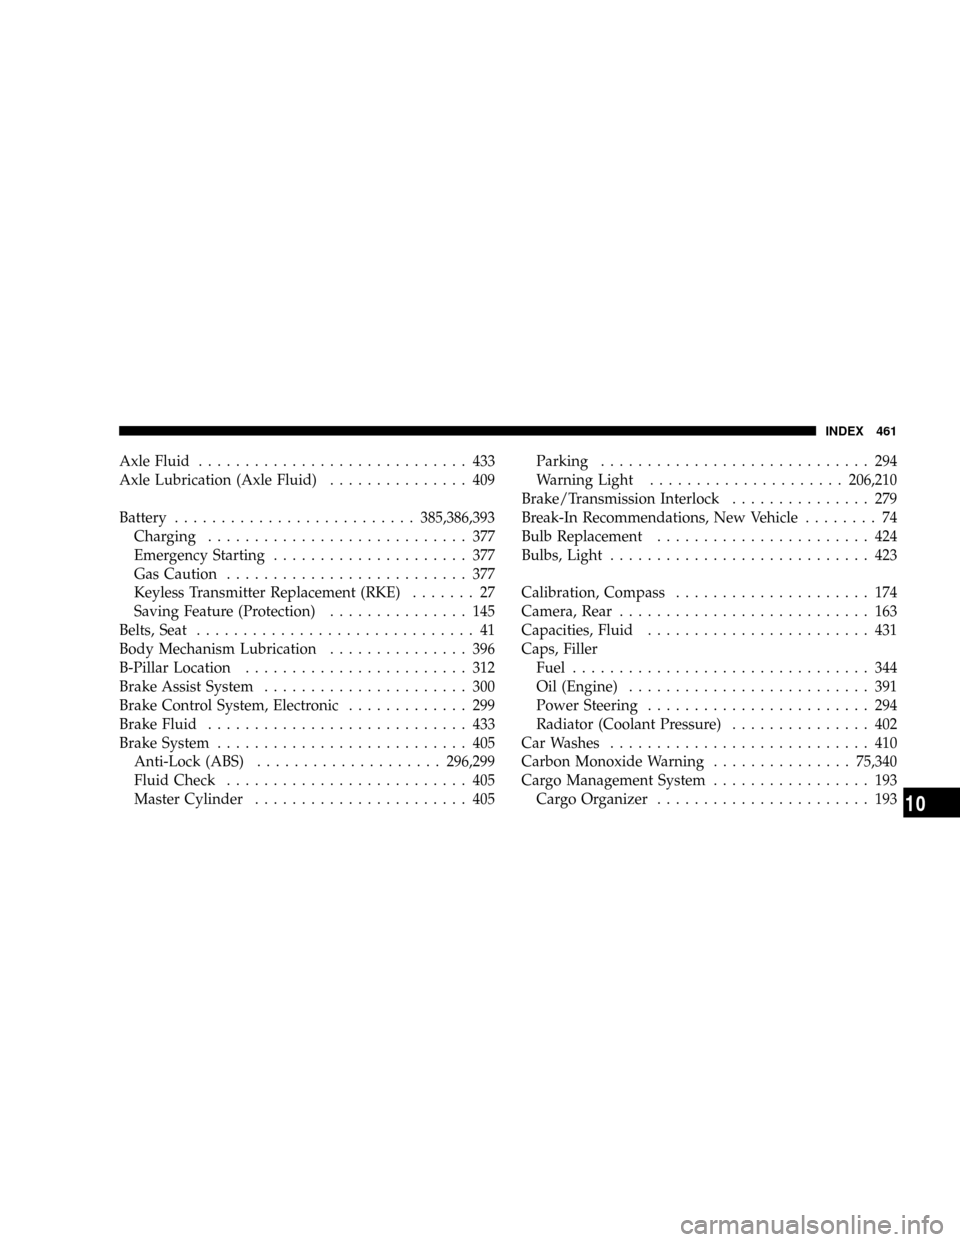
Axle Fluid............................. 433
Axle Lubrication (Axle Fluid)............... 409
Battery..........................385,386,393
Charging............................ 377
Emergency Starting..................... 377
Gas Caution.......................... 377
Keyless Transmitter Replacement (RKE)....... 27
Saving Feature (Protection)............... 145
Belts, Seat.............................. 41
Body Mechanism Lubrication............... 396
B-Pillar Location........................ 312
Brake Assist System...................... 300
Brake Control System, Electronic............. 299
Brake Fluid............................ 433
Brake System........................... 405
Anti-Lock (ABS)....................296,299
Fluid Check.......................... 405
Master Cylinder....................... 405Parking............................. 294
Warning Light.....................206,210
Brake/Transmission Interlock............... 279
Break-In Recommendations, New Vehicle........ 74
Bulb Replacement....................... 424
Bulbs, Light............................ 423
Calibration, Compass..................... 174
Camera, Rear........................... 163
Capacities, Fluid........................ 431
Caps, Filler
Fuel................................ 344
Oil (Engine).......................... 391
Power Steering........................ 294
Radiator (Coolant Pressure)............... 402
Car Washes............................ 410
Carbon Monoxide Warning...............75,340
Cargo Management System................. 193
Cargo Organizer....................... 193
INDEX 461
10