check engine CHRYSLER ASPEN 2009 2.G Owner's Manual
[x] Cancel search | Manufacturer: CHRYSLER, Model Year: 2009, Model line: ASPEN, Model: CHRYSLER ASPEN 2009 2.GPages: 481, PDF Size: 9.28 MB
Page 393 of 481
Checking the oil while the vehicle is on level ground will
improve the accuracy of the oil level readings. Always
maintain the oil level within the SAFE zone on the
dipstick. Adding 1 quart/liter of oil when the reading is
at the bottom of the SAFE zone will result in a reading at
the top of the SAFE zone on these engines.
CAUTION!
Overfilling or underfilling the crankcase will cause
oil aeration or loss of oil pressure. This could damage
your engine.
Change Engine Oil
Refer to the Maintenance Schedule in Section 8 for
recommended engine oil change intervals.
Engine Oil Selection
For best performance and maximum protection under all
types of operating conditions, the manufacturer onlyrecommends engine oils that are API certified and meet
the requirements of Chrysler Material Standard MS-6395.
American Petroleum Institute (API) Engine Oil
Identification Symbol
This symbol means that the oil has
been certified by the American
Petroleum Institute (API). The
manufacturer only recommends
API Certified engine oils.
Engine Oil Viscosity (SAE Grade)
SAE 5W-20 engine oil is recommended for all operating
temperatures. This engine oil improves low temperature
starting and vehicle fuel economy.
MAINTAINING YOUR VEHICLE 391
7
Page 399 of 481
Windshield and Rear Window Washers
The fluid reservoir for the windshield washers and the
rear window washer is shared. The fluid reservoir is
located in the engine compartment: be sure to check the
fluid level at regular intervals. Fill the reservoir with
windshield washer solvent only (not radiator antifreeze).
When refilling the washer fluid reservoir, take some
washer fluid and apply it to a cloth or towel and wipe
clean the wiper blades; this will help blade performance.
To prevent freeze-up of your windshield washer system
in cold weather, select a solution or mixture that meets or
exceeds the temperature range of your climate. This
rating information can be found on most washer fluid
containers.
The washer fluid reservoir will hold a full gallon/liter of
fluid when the Low Washer Fluid Light illuminates.WARNING!
Commercially available windshield washer solvents
are flammable. They could ignite and burn you. Care
must be exercised when filling or working around
the washer solution.
Exhaust System
The best protection against carbon monoxide entry into
the vehicle body is a properly maintained engine exhaust
system.
Whenever a change is noticed in the sound of the exhaust
system, when exhaust fumes can be detected inside the
vehicle, or when the underside or rear of the vehicle is
damaged, have a competent mechanic inspect the com-
plete exhaust system and adjacent body areas for broken,
damaged, deteriorated, or mispositioned parts. Open
seams or loose connections could permit exhaust fumes
to seep into the passenger compartment. In addition,
MAINTAINING YOUR VEHICLE 397
7
Page 402 of 481
Cooling System
WARNING!
You or others can be badly burned by hot coolant or
steam from your radiator. If you see or hear steam
coming from under the hood, do not open the hood
until the radiator has had time to cool. Never try to
open a cooling system pressure cap when the radiator
is hot.
Engine Coolant Checks
Check the engine coolant (antifreeze) protection every 12
months (before the onset of freezing weather, where
applicable). If coolant is dirty or rusty in appearance, the
system should be drained, flushed and refilled with fresh
coolant. Check the front of the A/C condenser and
radiator for any accumulation of bugs, leaves, etc. If dirty,
clean by gently spraying water from a garden hose
vertically down the face of the condenser and radiator.Check the coolant recovery bottle tubing for brittle rub-
ber, cracking, tears, cuts and tightness of the connection
at the bottle and radiator. Inspect the entire system for
leaks.
With the engine at normal operating temperature (but
not running), check the cooling system pressure cap for
proper vacuum sealing by draining a small amount of
coolant from the radiator drain cock. If the cap is sealing
properly, the engine coolant (antifreeze) will begin to
drain from the coolant recovery bottle. DO NOT RE-
MOVE THE COOLANT PRESSURE CAP WHEN THE
COOLING SYSTEM IS HOT.
Cooling System Ð Drain, Flush and Refill
At the intervals shown on the Maintenance Schedule, the
system should be drained, flushed and refilled. Refer to
Section 8 of this manual.
400 MAINTAINING YOUR VEHICLE
Page 405 of 481
WARNING!
²The warning words ªDO NOT OPEN HOTº on
the cooling system pressure cap are a safety pre-
caution. Never add coolant when the engine is
overheated. Do not loosen or remove the cap to
cool an overheated engine. Heat causes pressure to
build up in the cooling system. To prevent scald-
ing or injury, do not remove the pressure cap while
the system is hot or under pressure.
²Do not use a pressure cap other than the one
specified for your vehicle. Personal injury or en-
gine damage may result.
Disposal of Used Engine Coolant
Used ethylene glycol-based engine coolant is a regulated
substance requiring proper disposal. Check with your
local authorities to determine the disposal rules for your
community. To prevent ingestion by animals or childrendo not store ethylene glycol-based engine coolant in open
containers or allow it to remain in puddles on the
ground. If ingested by a child, contact a physician
immediately. Clean up any ground spills immediately.
Coolant Level
The coolant bottle provides a quick visual method for
determining that the coolant level is adequate. With the
engine cold, the level of the coolant in the coolant
recovery bottle should be between the ranges indicated
on the bottle dipstick.
The radiator normally remains completely full, so there is
no need to remove the radiator cap unless checking for
coolant freeze point or replacing coolant. Advise your
service attendant of this. As long as the engine operating
temperature is satisfactory, the coolant bottle need only
be checked once a month.
MAINTAINING YOUR VEHICLE 403
7
Page 406 of 481
When additional coolant is needed to maintain the
proper level, it should be added to the coolant bottle. Do
not overfill.
Points to Remember
NOTE:When the vehicle is stopped after a few miles
(kilometers) of operation, you may observe vapor coming
from the front of the engine compartment. This is nor-
mally a result of moisture from rain, snow, or high
humidity accumulating on the radiator and being vapor-
ized when the thermostat opens, allowing hot coolant to
enter the radiator.
If an examination of your engine compartment shows no
evidence of radiator or hose leaks, the vehicle may be
safely driven. The vapor will soon dissipate.
²Do not overfill the coolant recovery bottle.
²Check coolant freeze point in the radiator and in the
coolant recovery bottle. If antifreeze needs to be
added, contents of coolant recovery bottle must also be
protected against freezing.
²If frequent coolant additions are required, or if the
level in the coolant recovery bottle does not drop when
the engine cools, the cooling system should be pres-
sure tested for leaks.
²Maintain coolant concentration at 50% HOAT engine
coolant (minimum) and distilled/deionized water for
proper corrosion protection of your engine, which
contains aluminum components.
²Make sure that the radiator and coolant recovery
bottle overflow hoses are not kinked or obstructed.
²Keep the front of the radiator clean. If your vehicle is
equipped with air conditioning, keep the front of the
condenser clean, also.
404 MAINTAINING YOUR VEHICLE
Page 407 of 481
²Do not change the thermostat for Summer or Winter
operation. If replacement is ever necessary, install
ONLY the correct type thermostat. Other designs may
result in unsatisfactory coolant performance, poor gas
mileage, and increased emissions.
Brake System
Brake Master Cylinder
The fluid level in the master cylinder should be checked
whenever the vehicle is serviced, or immediately if the
brake system warning light is on. If necessary, add fluid
to bring level to the full mark on the side of the reservoir
of the brake master cylinder. Be sure to clean the top of
the master cylinder area before removing the cap. With
disc brakes, fluid level can be expected to fall as the brake
pads wear. Brake fluid level should be checked when
pads are replaced. If the brake fluid level is abnormally
low, check system for leaks.For correct fluid type, refer to ºBrake Master Cylinderº
under ªFluids, Lubricants and Genuine Partsº in this
section.
WARNING!
²Use of brake fluid that may have a lower initial
boiling point, or is unidentified as to specifica-
tions may result in sudden brake failure during
hard prolonged braking. You could have an acci-
dent.
²Overfilling the brake fluid reservoir can result in
spilling brake fluid on hot engine parts and the
brake fluid catching on fire.
Use only brake fluid that has been in a tightly closed
container to avoid contamination from foreign matter or
moisture.
MAINTAINING YOUR VEHICLE 405
7
Page 408 of 481
CAUTION!
Do not allow a petroleum-base fluid to contaminate
the brake fluid. Seal damage may result.
Automatic Transmission
Fluid Level Check
NOTE:If equipped with a dipstick, use the following
procedure. If your vehicle has a capped dipstick, it is
sealed and should not be tampered with. Your authorized
dealer has the proper tools to ensure that the fluid level
is set properly.
Check the fluid level while the transmission is at normal
operating temperature 180ÉF (82ÉC). This occurs after at
least 15 miles (24 km) of driving. At normal operating
temperature the fluid cannot be held comfortably be-
tween the fingertips.To check the automatic transmission fluid level properly,
the following procedure must be used:
1. Operate the engine at idle speed and normal operating
temperature.
2. The vehicle must be on level ground.
3. Fully apply the parking brake and press the brake
pedal.
4. Place the shift lever momentarily in each gear position
ending with the lever in PARK.
5. Remove the dipstick, wipe it clean and reinsert it until
seated.
6. Remove the dipstick again and note the fluid level on
both sides. The fluid level should be between the ªHOTº
(upper) reference holes on the dipstick at normal operat-
ing temperature. Verify that solid coating of oil is seen on
both sides of the dipstick. If the fluid is low, add as
406 MAINTAINING YOUR VEHICLE
Page 439 of 481
NOTE:
²The oil change indicator message will not monitor the
time since the last oil change. Change your vehicle's
oil if it has been 6 months since your last oil change
even if the oil change indicator message is NOT
illuminated.
²Change your engine oil more often if you drive your
vehicle off-road for an extended period of time.
²Under no circumstances should oil change intervals
exceed 6,000 miles (10 000 km) or 6 months, whichever
comes first.
Your authorized dealer will reset the oil change indicator
message after completing the scheduled oil change. If this
scheduled oil change is performed by someone other
than your authorized dealer the message can be reset by
referring to the steps described under ªOIL CHANGE
REQUIRED ± If Equippedº under ªSystem Status (EVICDisplays)º in Section 3, or under ªOdometer/Trip Odom-
eterº under ªInstrument Cluster Descriptionº in Section
4.
At Each Stop for Fuel
²Check the engine oil level about five minutes after a
fully warmed engine is shut off. Checking the oil level
while the vehicle is on level ground will improve the
accuracy of the oil level reading. Add oil only when
the level is at or below the ADD or MIN mark.
²Check the windshield washer solvent and add if
required.
Once a Month
²Check tire pressure and look for unusual wear or
damage.
²Inspect the battery and clean and tighten the terminals
as required.
MAINTENANCE SCHEDULES 437
8
M
A
I
N
T
E
N
A
N
C
E
S
C
H
E
D
U
L
E
S
Page 440 of 481
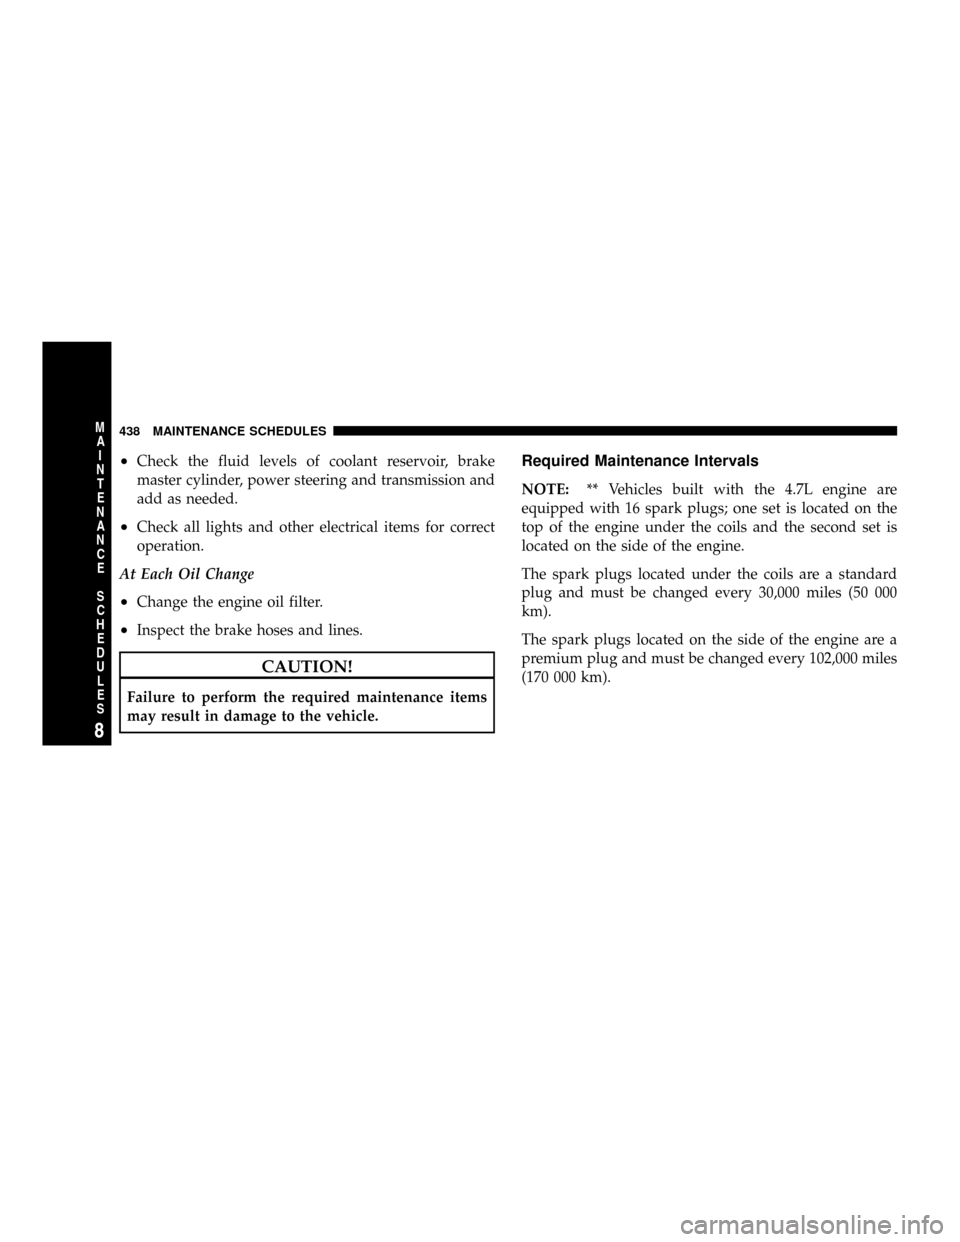
²Check the fluid levels of coolant reservoir, brake
master cylinder, power steering and transmission and
add as needed.
²Check all lights and other electrical items for correct
operation.
At Each Oil Change
²Change the engine oil filter.
²Inspect the brake hoses and lines.
CAUTION!
Failure to perform the required maintenance items
may result in damage to the vehicle.
Required Maintenance Intervals
NOTE:** Vehicles built with the 4.7L engine are
equipped with 16 spark plugs; one set is located on the
top of the engine under the coils and the second set is
located on the side of the engine.
The spark plugs located under the coils are a standard
plug and must be changed every 30,000 miles (50 000
km).
The spark plugs located on the side of the engine are a
premium plug and must be changed every 102,000 miles
(170 000 km).
438 MAINTENANCE SCHEDULES
8
M
A
I
N
T
E
N
A
N
C
E
S
C
H
E
D
U
L
E
S
Page 462 of 481
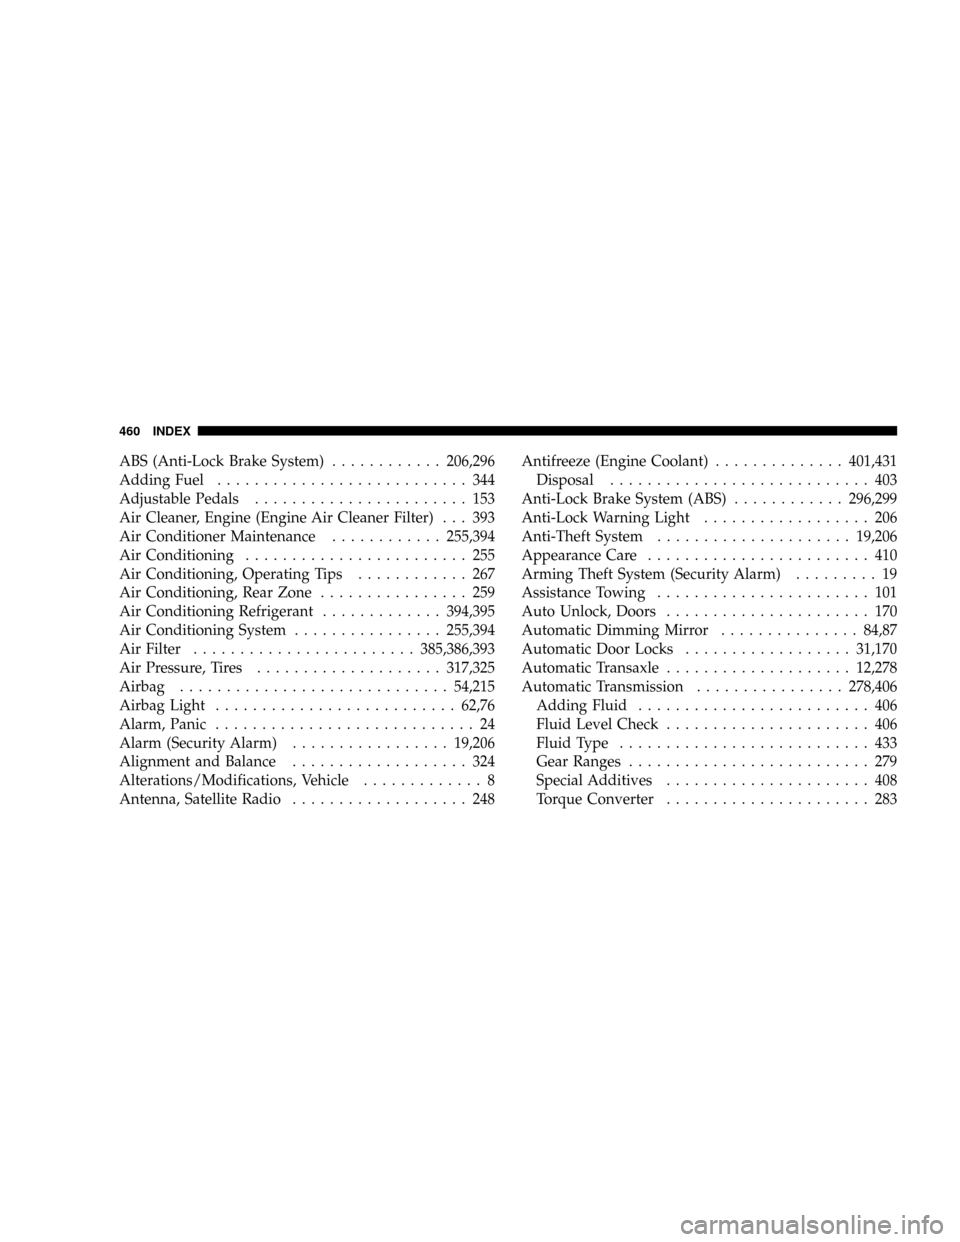
ABS (Anti-Lock Brake System)............206,296
Adding Fuel........................... 344
Adjustable Pedals....................... 153
Air Cleaner, Engine (Engine Air Cleaner Filter) . . . 393
Air Conditioner Maintenance............255,394
Air Conditioning........................ 255
Air Conditioning, Operating Tips............ 267
Air Conditioning, Rear Zone................ 259
Air Conditioning Refrigerant.............394,395
Air Conditioning System................255,394
Air Filter........................385,386,393
Air Pressure, Tires....................317,325
Airbag.............................54,215
Airbag Light..........................62,76
Alarm, Panic............................ 24
Alarm (Security Alarm).................19,206
Alignment and Balance................... 324
Alterations/Modifications, Vehicle............. 8
Antenna, Satellite Radio................... 248Antifreeze (Engine Coolant)..............401,431
Disposal............................ 403
Anti-Lock Brake System (ABS)............296,299
Anti-Lock Warning Light.................. 206
Anti-Theft System.....................19,206
Appearance Care........................ 410
Arming Theft System (Security Alarm)......... 19
Assistance Towing....................... 101
Auto Unlock, Doors...................... 170
Automatic Dimming Mirror...............84,87
Automatic Door Locks..................31,170
Automatic Transaxle....................12,278
Automatic Transmission................278,406
Adding Fluid......................... 406
Fluid Level Check...................... 406
Fluid Type........................... 433
Gear Ranges.......................... 279
Special Additives...................... 408
Torque Converter...................... 283
460 INDEX