lights CHRYSLER CROSSFIRE 2007 1.G User Guide
[x] Cancel search | Manufacturer: CHRYSLER, Model Year: 2007, Model line: CROSSFIRE, Model: CHRYSLER CROSSFIRE 2007 1.GPages: 299, PDF Size: 8.26 MB
Page 90 of 299

Passing Light
You can signal another vehicle with your headlights by
lightly pulling the multifunction control lever toward the
steering wheel. This will cause the headlights to turn on
at high beam and remain on until the control lever is
released.
Windshield Wipers And Washer
The wipers and washer are operated by a switch in the
multifunction control lever. Turn the end of the lever to
select desired wiper speed: off, intermittent, normal, or
fast.
NOTE:Wiper speed is altered when the vehicle is
stopped with the wipers on. If the speed setting is
intermittent, the wipers will stop wiping when the ve-
hicle comes to a complete stop. If the wiper speed setting
is normal, the wipers will change to intermittent wiping
when the vehicle comes to a complete stop.
90 UNDERSTANDING THE FEATURES OF YOUR VEHICLE
Page 118 of 299

The indicator light will come on when the exterior light
fails. If a brake light fails, the light outage indicator will
come on when applying the brake and stays on until the
engine is turned off.
NOTE:If additional lighting equipment is installed
(e.g., auxiliary headlights, etc.) be certain to connect into
the fuse before the failure indicator monitoring unit in
order to avoid damaging the system.
12. Antilock Warning Indicator Light
The ABS warning indicator light comes on
with the key in the ignition switch turned to
the ON/RUN position, and should go out
with the engine running.
If the ABS warning indicator light comes on while the
engine is running, it indicates that the ABS has detected
a malfunction and has switched off. In this case, the brake
system functions in the usual manner, but without an-
tilock assistance.
If the ABS light is on, have the system checked at your
authorized dealer as soon as possible.
13. Brake Assist Indicator Light
The indicator light for the Brake Assist Sys-
tem (BAS) is combined with the Electronic
Stability Program (ESP). This yellow indica-
tor light in the instrument cluster comes on with the
key in the ignition switch turned to the ON/RUN
position. The BAS/ESP warning indicator light also
comes on when a malfunction is detected in either the
Brake Assist System or the Electronic Stability Pro-
gram. It should go out with the engine running. If the
BAS/ESP indicator light comes on continuously, see
an authorized dealer as soon as possible.
14. Seat Belt Indicator Light
With the key in the ignition, the light comes
on, and a warning sounds for a short time if
the driver's seat belt is not fastened.
After starting the engine, the seat belt indicator light
blinks and a chime sounds periodically for up to 90
seconds to remind the driver and passenger to fasten the
seat belts. Fastening the seat belts will extinguish the
light and silence the chime.
118 UNDERSTANDING YOUR INSTRUMENT PANEL
Page 119 of 299
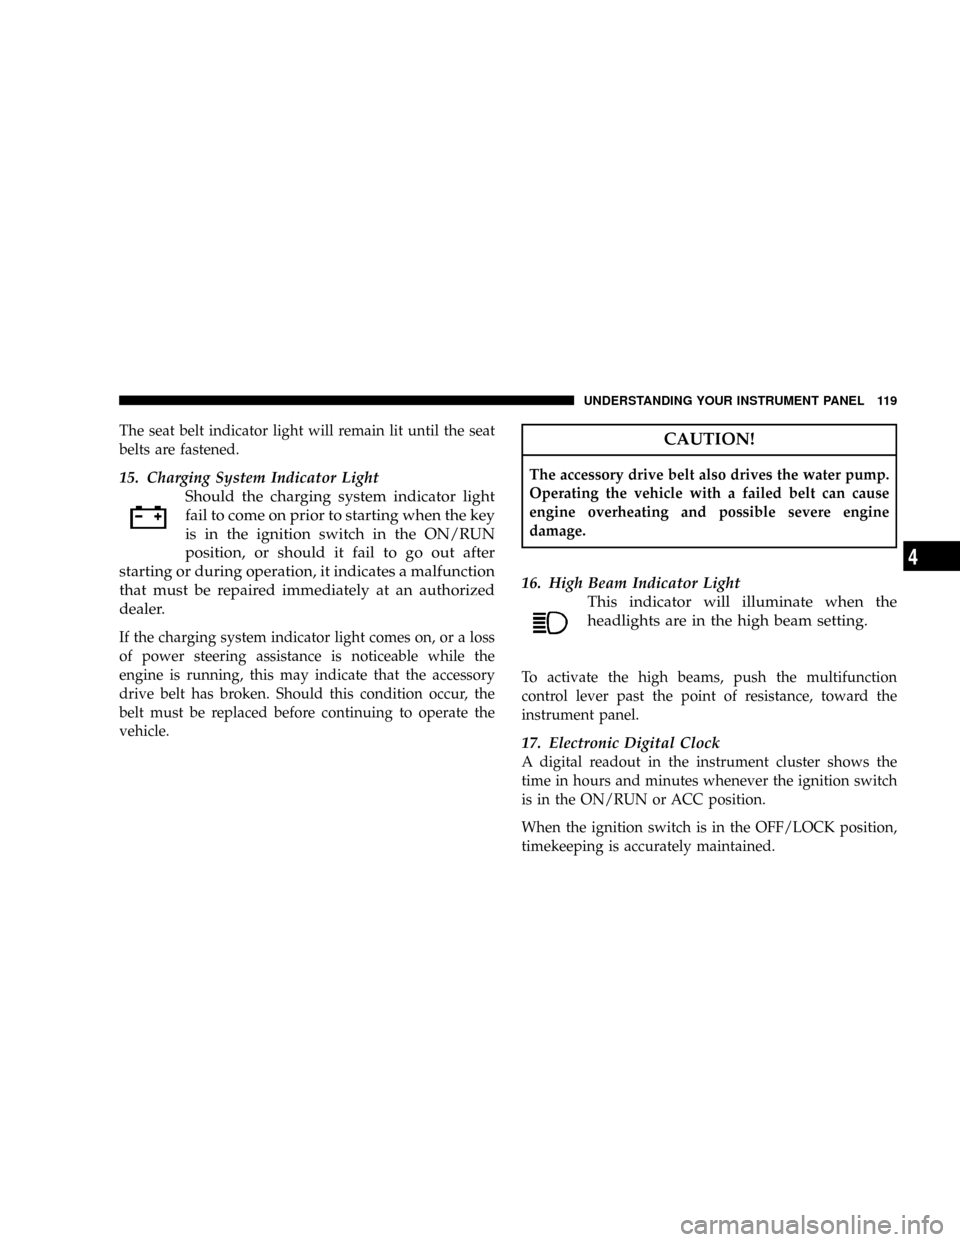
The seat belt indicator light will remain lit until the seat
belts are fastened.
15. Charging System Indicator Light
Should the charging system indicator light
fail to come on prior to starting when the key
is in the ignition switch in the ON/RUN
position, or should it fail to go out after
starting or during operation, it indicates a malfunction
that must be repaired immediately at an authorized
dealer.
If the charging system indicator light comes on, or a loss
of power steering assistance is noticeable while the
engine is running, this may indicate that the accessory
drive belt has broken. Should this condition occur, the
belt must be replaced before continuing to operate the
vehicle.
CAUTION!
The accessory drive belt also drives the water pump.
Operating the vehicle with a failed belt can cause
engine overheating and possible severe engine
damage.
16. High Beam Indicator Light
This indicator will illuminate when the
headlights are in the high beam setting.
To activate the high beams, push the multifunction
control lever past the point of resistance, toward the
instrument panel.
17. Electronic Digital Clock
A digital readout in the instrument cluster shows the
time in hours and minutes whenever the ignition switch
is in the ON/RUN or ACC position.
When the ignition switch is in the OFF/LOCK position,
timekeeping is accurately maintained.
UNDERSTANDING YOUR INSTRUMENT PANEL 119
4
Page 120 of 299

The display can be adjusted with the knob/button lo-
cated to the left of the clock.
18. Gear Indicator
For automatic transmission vehicles, the current gear
shift selector range is indicated in the gear range indica-
tor display.
19. Push Button for Time Setting
To adjust the time display, turn the key in the ignition
switch to the ON/RUN or ACC position. The knob/
button located just to the left of the clock is used to
change the time. Pull out the knob and turn it to the left
for hour adjustment; pull out the knob and turn it to the
right for minute adjustment.
Time is set 5 seconds after adjusting the minute setting.
20. Trip Odometer, Flexible Service System (FSS)
Indicator
This display shows the distance traveled since last reset.
To reset:
²Press the button to the left of the display once (with
the key in the ON/RUN position).
²Press the button twice (with the key removed or in
the OFF/LOCK or ACC position).
21. Main Odometer, Flexible Service System (FSS)
This shows the total distance the vehicle has been driven.
U.S. Federal regulations require that upon transfer of
vehicle ownership, the seller certify to the purchaser the
correct distance that the vehicle has been driven. There-
fore, if the odometer reading is changed during repair or
replacement be sure to keep a record of the reading
before and after service so that the correct distance can be
determined.
22. Push Button for Activating the Instrument
Cluster, Intensity of Instrument Lights, for Resetting
Trip Odometer and Flexible Service System (FSS)
Indicator
Press the knob/button to illuminate the display. To vary
the intensity of the instrument cluster lights, rotate the
knob/button.
120 UNDERSTANDING YOUR INSTRUMENT PANEL
Page 159 of 299

system. As a result, it is possible that only partial engine
output will be available, and pressing the accelerator
pedal will require more effort.
If the BAS malfunctions, the brake system functions in
the usual manner, but without BAS.
With the ABS malfunctioning, the BAS and ESP will be
disabled. In this condition, both malfunction indicator
lights come on while the engine is running. If the
malfunction indicator light stays illuminated, have the
BAS and ESP checked at your authorized dealer as soon
as possible.
Electronic Stability Program (ESP)
The ESP enhances directional control and reduces wheel-
spin under various driving conditions. When ESP is
active, engine torque is limited and the ESP warning light
starts to flash.In winter operation, the effectiveness of the ESP can be
enhanced by equipping the vehicle with DaimlerChrysler
recommended mud and snow (M+S) rated radial-ply
tires and/or snow chains.
STARTING AND OPERATING 159
5
Page 164 of 299

The ABS malfunction indicator light in the instrument
cluster comes on with the key in the ignition switch
turned to the ON/RUN position, and should go out with
the engine running. If the ABS light does not illuminate
briefly during this procedure, or remains on after the
engine is running, have the system checked by an autho-
rized dealer.When the ABS malfunction indicator light in the instru-
ment cluster comes on while the engine is running, it
indicates that the ABS has detected a malfunction and has
switched off. In this case, the brake system functions in
the usual manner, but without antilock assistance. With
the ABS malfunctioning, the BAS and ESP are also
switched off. Both malfunction indicator lights come on
with the engine running. If the charging voltage falls
below 10 volts, the malfunction indicator light comes on
and the ABS is switched off. When the voltage is above
this value again, the malfunction indicator light should
go out and the ABS is operational. If the malfunction
indicator light stays illuminated, have the system
checked at your authorized dealer as soon as possible.
164 STARTING AND OPERATING
Page 210 of 299

Tow-Away Alarm
Once the alarm system has been armed, the exterior
vehicle lights will flash and an alarm will sound when
anyone attempts to raise the vehicle for towing. The
alarm will last approximately three minutes in the form
of flashing exterior lights. At the same time, an alarm will
sound for 30 seconds. The alarm will stay on even if the
vehicle is immediately lowered. To cancel the alarm,
insert the key in the ignition switch or press the transmit
button on the key fob.To prevent triggering the tow-away alarm feature, press
the tow-away alarm switch to turn off the tow-away
alarm before towing the vehicle, or when parking on a
surface subject to movement, such as a ferry or auto train.
To do so, turn the key in the ignition switch to the
OFF/LOCK or ACC positions, or remove key from the
ignition switch. Press the upper half of the tow-away
alarm switch. The indicator light will illuminate briefly.
Then, exit the vehicle and lock with a key or the remote
control. The tow-away alarm remains switched off until
the vehicle is locked again with a key or the remote
control, at which time it is automatically reactivated.
210 WHAT TO DO IN EMERGENCIES
Page 220 of 299

NManual Transmission..................245
NAppearance Care And Protection From
Corrosion...........................246
mConvertible Top Care...................251
NWashing............................251
NGeneral Cleaning.....................252
NWeather Strip Care....................252
mFuses...............................253
NUnderhood Accessory Fuse Block Fuses.....253
NRelay Control Module Fuses.............257
NInterior Fuses........................258
mReplacement Bulbs.....................259
NInterior Light Bulbs....................259
NExterior Light Bulbs...................259
mExterior Light Bulb Service...............260NHeadlights..........................260
NFront Turn Signal And Parking/Standing
Lights.............................261
NFront And Rear Sidemarker Lights.........261
NTail, Stop, Back Up And Turn Signal Lights . . . 261
NLicense Plate Light....................262
NHeadlight Aiming.....................262
mVehicle Storage........................263
mSpecifications.........................265
mFluid Capacities.......................267
mRecommended Fluids, Lubricants And
Genuine Parts
.........................268
NEngine.............................268
NChassis............................269
NBody..............................270
220 MAINTAINING YOUR VEHICLE
Page 249 of 299
CAUTION!
Many wheel cleaners contain acids that may harm the
wheel surface.
Interior Care
Use MopartFabric Cleaner to clean fabric upholstery
and carpeting.
Use MopartVinyl Cleaner to clean vinyl upholstery.
MopartVinyl Cleaner is specifically recommended for
vinyl trim.
Leather Seat Care and Cleaning
Leather is best preserved by regular cleaning with a
damp soft cloth. Small particles of dirt can act as an
abrasive and damage the leather surface and should be
removed immediately with a damp cloth. Stubborn soils
can be removed easily with a soft cloth and MopartTotal
Clean. Care should be taken to avoid soaking your
leather upholstery with any liquid. Please do not use
polishes, oils, cleaning fluids, solvents, detergents, orammonia based cleaners to clean your leather upholstery.
Application of a leather conditioner is not required to
maintain the original condition.
CAUTION!
The use of vinyl, leather or plastic protectants may
cause excessive gloss and/or discoloration of interior
trim parts.
WARNING!
Do not use volatile solvents for cleaning purposes.
Many are potentially flammable, and if used in
closed areas they may cause respiratory harm.
Cleaning Headlights
Your vehicle has plastic headlights that are lighter and
less susceptible to stone breakage than glass headlights.
Plastic is not as scratch resistant as glass and therefore
different lens cleaning procedures must be followed.
MAINTAINING YOUR VEHICLE 249
7
Page 259 of 299
Cavity Fuse Circuits
6 15 Amp
BlueRight Low Beam
7 7.5 Amp
BrownRight Parking/Tail Light Side
Marker
8 15 Amp
BlueLeft Low Beam
9 15 Amp
BlueFog Light
10 7.5 Amp
BrownLeft Parking/Tail Light Side
Marker
11 7.5 Amp
BrownLicense Plate/Instrument Cluster
Lighting/Symbol Lighting
12 Not Used - Spare Fuse
13 Not Used - Spare Fuse
14 Not Used - Spare FuseREPLACEMENT BULBS
Interior Light Bulbs
For lighted switches and interior lights, see your autho-
rized dealer for servicing requirements.
Exterior Light Bulbs
Bulb Bulb No.
Headlight - High and Low Beam......12V55W H7U
Front Turn Signal.......................Y21W
Front Parking/Standing Light.............. W5W
Front Side Marker Light.................. W5W
Rear Marker Light...................... W5W
Center High-Mounted Stop Light (CHMSL)..... LED
Front Fog Lights.....................HB455W
Rear Turn Signal Light...................Y21W
Rear Tail and Stop Light.................21/5W
Backup Light........................... 21W
License................................ 168
MAINTAINING YOUR VEHICLE 259
7