remove seats CHRYSLER PACIFICA 2007 1.G Owners Manual
[x] Cancel search | Manufacturer: CHRYSLER, Model Year: 2007, Model line: PACIFICA, Model: CHRYSLER PACIFICA 2007 1.GPages: 464, PDF Size: 5.92 MB
Page 71 of 464
shoulder portion of the lap/shoulder belt will tighten
the belt. The cinching latch plate will keep the belt
tight, however, any seat belt system will loosen with
time, so check the belt occasionally and pull it tight if
necessary.
•In the rear seat, you may have trouble tightening the
lap/shoulder belt on the child restraint because the
buckle or latch plate is too close to the belt path
opening on the restraint. Disconnect the latch plate
from the buckle and twist the short buckle end of the
belt several times to shorten it. Insert the latch plate
into the buckle with the release button facing out.
•If the belt still can’t be tightened, or if pulling and
pushing on the restraint loosens the belt, disconnect
the latch plate from the buckle, turn the buckle
around, and insert the latch plate into the buckle
again. If you still can’t make the child restraint secure,
try a different seating position.
•Buckle the child into the seat according to the child
restraint manufacturer’s directions.
•When your child restraint is not in use, secure it in the
vehicle with the seat belt or remove it from the vehicle.
Don’t leave it loose in the vehicle. In a sudden stop or
collision, it could strike the occupants or seatbacks and
cause serious personal injury.
Lower Anchors and Tether for CHildren (LATCH)
Each vehicle is equipped with two child restraint anchor-
age systems called LATCH, which stands for Lower
Anchors and Tether for CHildren. The LATCH child
restraint anchorage systems are installed on second-row
seats only. LATCH child restraint anchorage systems are
not provided on the six passenger third row seats.
THINGS TO KNOW BEFORE STARTING YOUR VEHICLE 71
2
Page 120 of 464
WARNING!
Adjust the seat only while the vehicle is parked.
Adjusting a seat while the vehicle is moving is
dangerous. The seat belt might not be properly
adjusted and you could be injured.
Second Row Bench Seating — If Equipped
The second row seats may be used with either or both
seatbacks folded forward for additional storage space.
To fold the seat, remove any objects from in front of or on
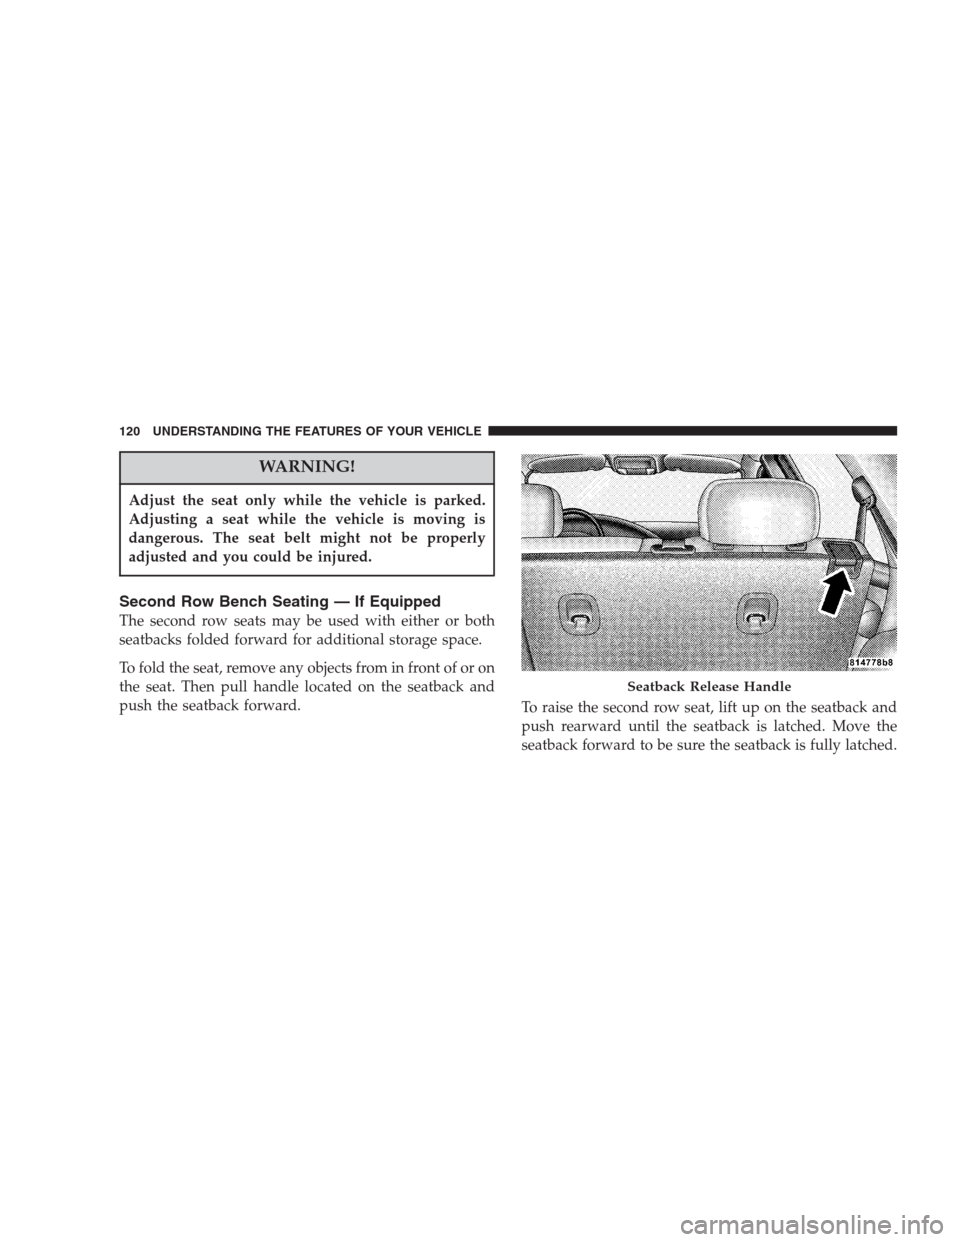
the seat. Then pull handle located on the seatback and
push the seatback forward.
To raise the second row seat, lift up on the seatback and
push rearward until the seatback is latched. Move the
seatback forward to be sure the seatback is fully latched.
Seatback Release Handle
120 UNDERSTANDING THE FEATURES OF YOUR VEHICLE
Page 121 of 464
CAUTION!
Be sure there is nothing in front of the second row
seat cushion before folding it down. Damage to the
seat may occur.
Second Row Fold & Tumble Seats — If Equipped
The second row seats can be folded and tumbled forward
for easy access to the third seat or rear cargo area.
To fold and tumble the seat, follow these steps:
1. Remove any obstructions from the floor in front of the
seat.
2. Lower the head restraint to its full downward position
and rotate the arm rest to the upright position.
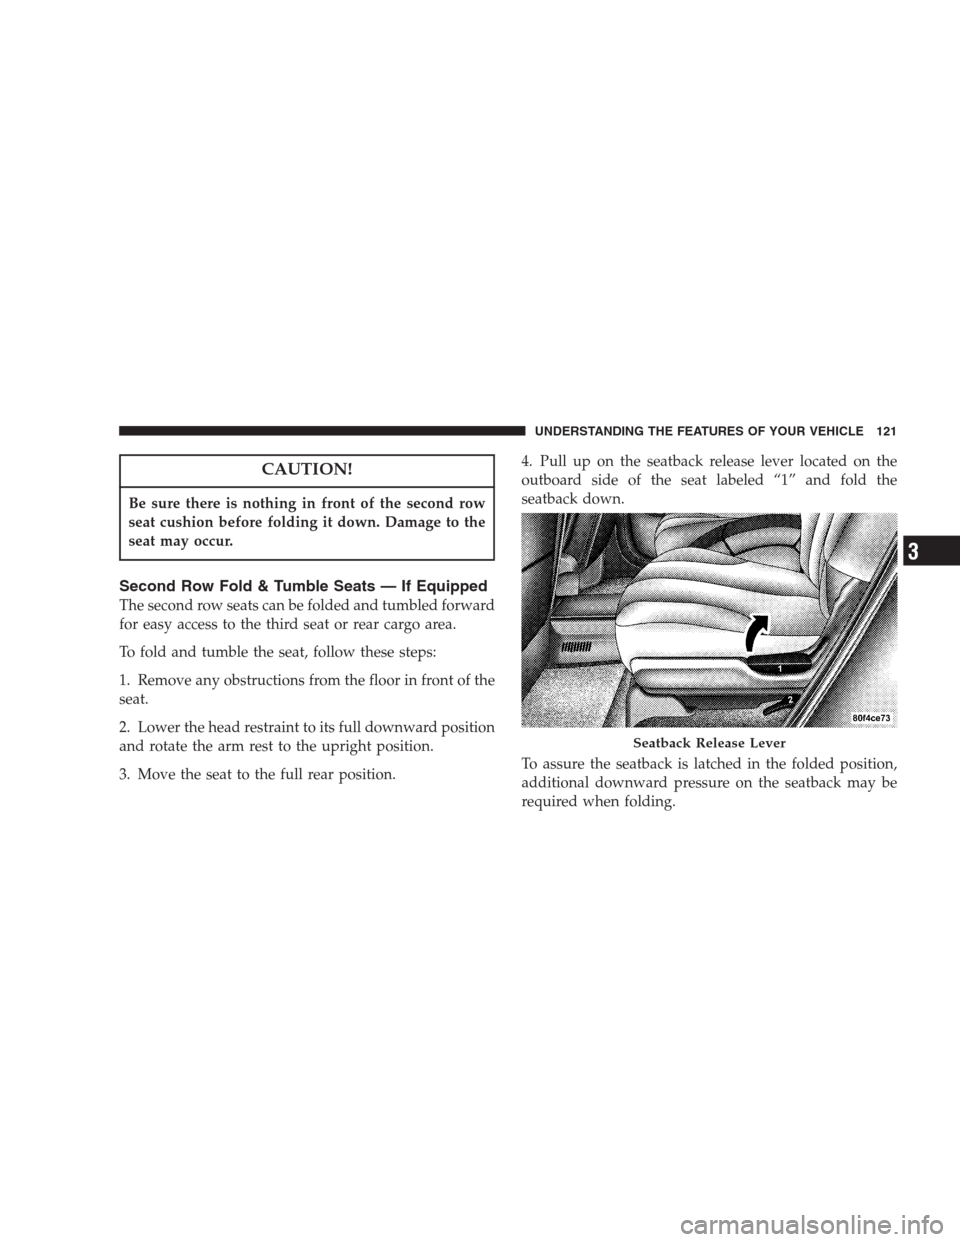
3. Move the seat to the full rear position.4. Pull up on the seatback release lever located on the
outboard side of the seat labeled “1” and fold the
seatback down.
To assure the seatback is latched in the folded position,
additional downward pressure on the seatback may be
required when folding.
Seatback Release Lever
UNDERSTANDING THE FEATURES OF YOUR VEHICLE 121
3
Page 124 of 464
Third Row Seating — If Equipped
The third row seats may be used with either or both
seatbacks folded forward for additional storage space.
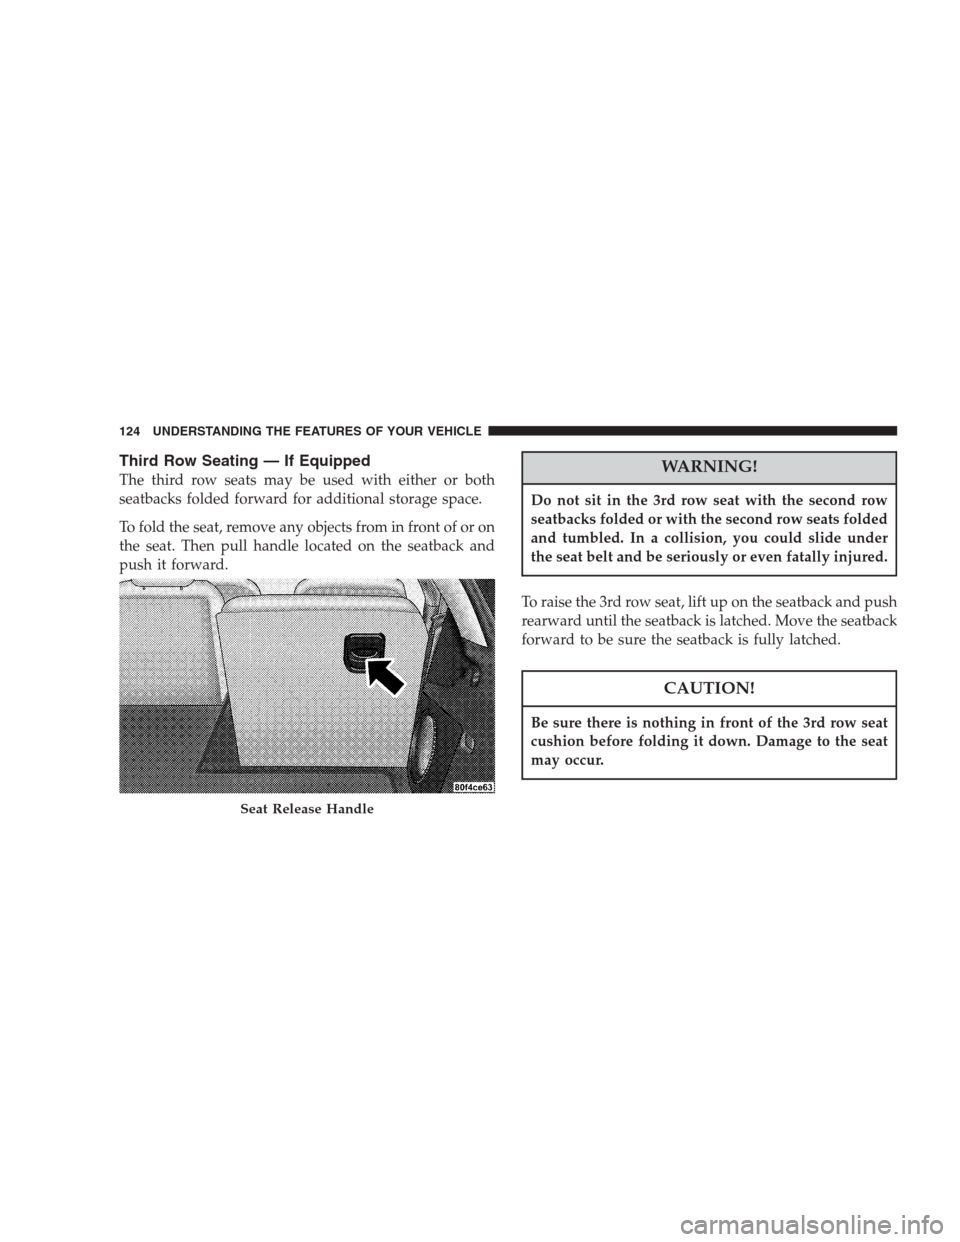
To fold the seat, remove any objects from in front of or on
the seat. Then pull handle located on the seatback and
push it forward.WARNING!
Do not sit in the 3rd row seat with the second row
seatbacks folded or with the second row seats folded
and tumbled. In a collision, you could slide under
the seat belt and be seriously or even fatally injured.
To raise the 3rd row seat, lift up on the seatback and push
rearward until the seatback is latched. Move the seatback
forward to be sure the seatback is fully latched.
CAUTION!
Be sure there is nothing in front of the 3rd row seat
cushion before folding it down. Damage to the seat
may occur.
Seat Release Handle
124 UNDERSTANDING THE FEATURES OF YOUR VEHICLE
Page 125 of 464
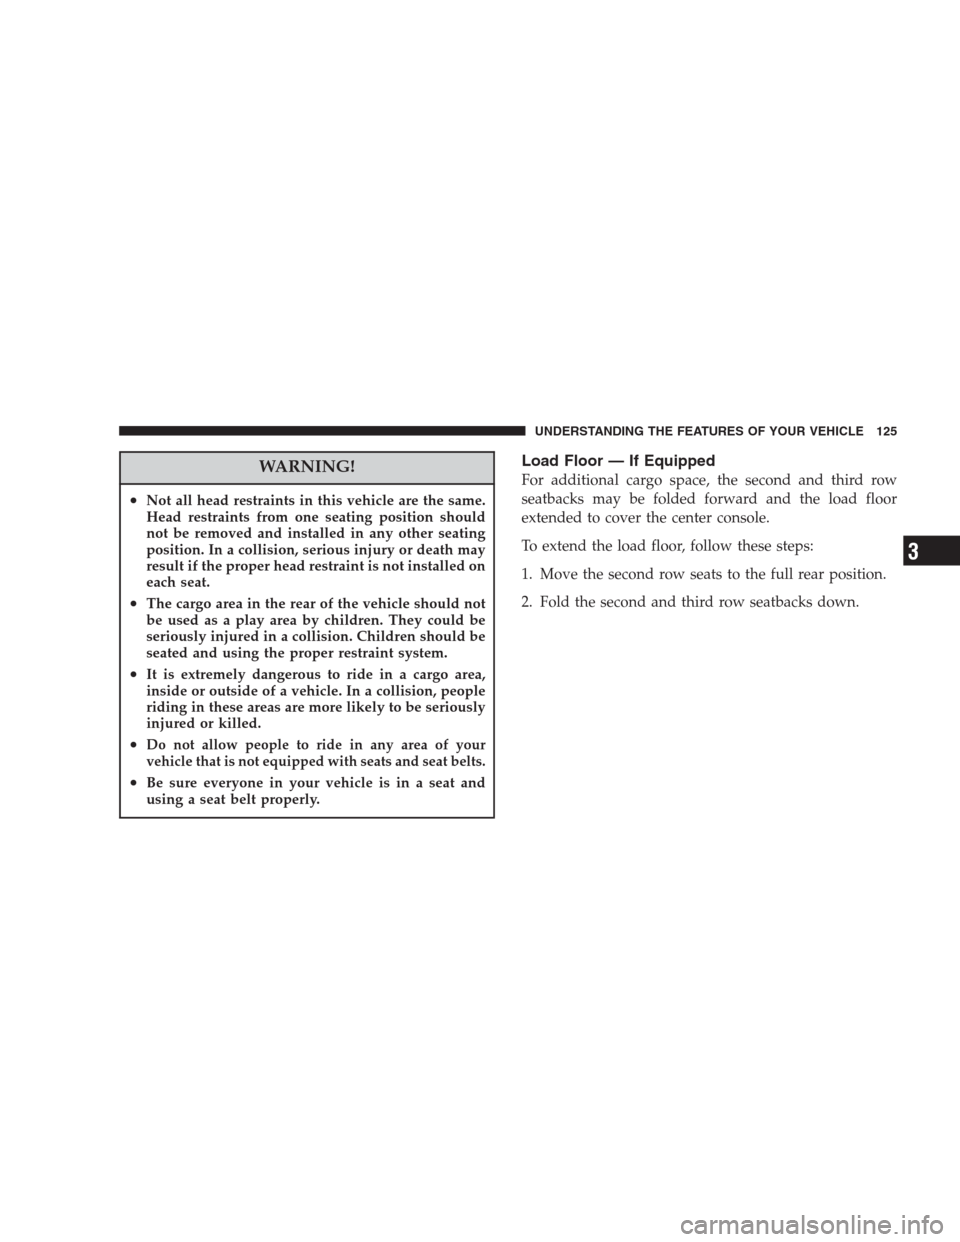
WARNING!
•Not all head restraints in this vehicle are the same.
Head restraints from one seating position should
not be removed and installed in any other seating
position. In a collision, serious injury or death may
result if the proper head restraint is not installed on
each seat.
•The cargo area in the rear of the vehicle should not
be used as a play area by children. They could be
seriously injured in a collision. Children should be
seated and using the proper restraint system.
•It is extremely dangerous to ride in a cargo area,
inside or outside of a vehicle. In a collision, people
riding in these areas are more likely to be seriously
injured or killed.
•Do not allow people to ride in any area of your
vehicle that is not equipped with seats and seat belts.
•Be sure everyone in your vehicle is in a seat and
using a seat belt properly.
Load Floor — If Equipped
For additional cargo space, the second and third row
seatbacks may be folded forward and the load floor
extended to cover the center console.
To extend the load floor, follow these steps:
1. Move the second row seats to the full rear position.
2. Fold the second and third row seatbacks down.
UNDERSTANDING THE FEATURES OF YOUR VEHICLE 125
3