Oil pump CHRYSLER PACIFICA 2018 Owners Manual
[x] Cancel search | Manufacturer: CHRYSLER, Model Year: 2018, Model line: PACIFICA, Model: CHRYSLER PACIFICA 2018Pages: 696, PDF Size: 8.48 MB
Page 186 of 696
3. Speedometer•Indicates vehicle speed.
4. Fuel Gauge •The gauge shows the level of fuel in the fuel tank when
the ignition switch is in the ON/RUN position.
•
The fuel pump symbol points to the side of the
vehicle where the fuel door is located.
5. Temperature Gauge
•The temperature gauge shows engine coolant tem-
perature. Any reading within the normal range indi-
cates that the engine cooling system is operating
satisfactorily.
• The gauge can indicate a higher temperature when
driving in hot weather or up mountain grades. It
should not be allowed to exceed the upper limits of the
normal operating range.
WARNING!
Driving with a hot engine cooling system could dam-
age your vehicle. If the temperature gauge reaches “H”
pull over and stop the vehicle. Idle the vehicle with the
(Continued)
WARNING! (Continued)
air conditioner turned off until the gauge drops back
into the normal range and is no longer red. If the gauge
remains on the “H”, turn the engine off immediately
and call an authorized dealer for service.
WARNING!
A hot engine cooling system is dangerous. You or
others could be badly burned by steam or boiling
coolant. You may want to call an authorized dealer for
service if your vehicle overheats. If you decide to look
under the hood yourself, see “Servicing And Mainte-
nance”.
NOTE: The hard telltales will illuminate for a bulb check
when the ignition is first cycled.
184 GETTING TO KNOW YOUR INSTRUMENT PANEL
Page 463 of 696
WARNING!(Continued)
provided. Failure to follow these warnings can result
in injuries that are serious or fatal to you, your
passengers, and others around you.
• Take care not to allow the contents of Tire Service Kit
to come in contact with hair, eyes, or clothing. Tire
Service Kit sealant is harmful if inhaled, swallowed,
or absorbed through the skin. It causes skin, eye, and
respiratory irritation. Flush immediately with plenty
of water if there is any contact with eyes or skin.
Change clothing as soon as possible, if there is any
contact with clothing.
• Tire Service Kit Sealant solution contains latex. In
case of an allergic reaction or rash, consult a physi-
cian immediately. Keep Tire Service Kit out of reach
of children. If swallowed, rinse mouth immediately
with plenty of water and drink plenty of water. Do
not induce vomiting! Consult a physician immedi-
ately.
Whenever You Stop To Use Tire Service Kit:
1. Pull over to a safe location and turn on the vehicle’s Hazard Warning flashers. 2. Verify that the valve stem (on the wheel with the
deflated tire) is in a position that is near to the ground.
This will allow the Tire Service Kit Hose to reach the
valve stem and keep the Tire Service Kit flat on the
ground. This will provide the best positioning of the kit
when running the air pump. Move the vehicle as
necessary to place the valve stem in this position before
proceeding.
3. Place the transmission in PARK and cycle the ignition in the OFF position.
4. Ensure the park brake is engaged.
Setting Up To Use Tire Service Kit:
1. Remove the Tire Service Kit from the storage location.
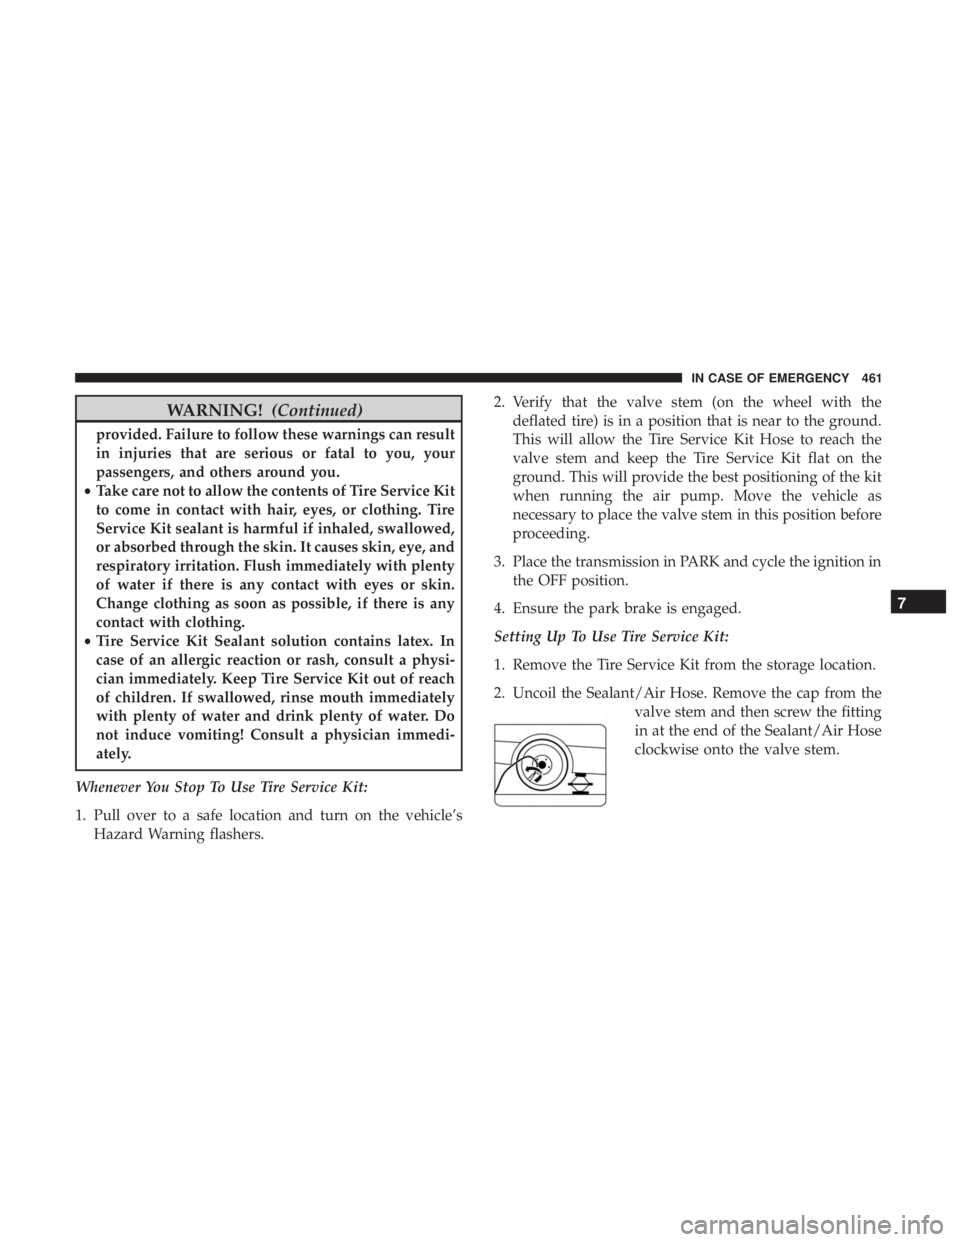
2. Uncoil the Sealant/Air Hose. Remove the cap from the valve stem and then screw the fitting
in at the end of the Sealant/Air Hose
clockwise onto the valve stem.
7
IN CASE OF EMERGENCY 461
Page 470 of 696
Sealing A Tire With Tire Service Kit
Whenever You Stop To Use Tire Service Kit:
1. Pull over to a safe location and turn on the vehicle’sHazard Warning flashers.
2. Verify that the valve stem (on the wheel with the deflated tire) is in a position that is near to the ground.
This will allow the Tire Service Kit Hose to reach the
valve stem and keep the Tire Service Kit flat on the
ground. This will provide the best positioning of the kit
when injecting the sealant into the deflated tire and
running the air pump. Move the vehicle as necessary to
place the valve stem in this position before proceeding.
3. Place the transmission in PARK and cycle the ignition in the OFF position.
4. Apply the parking brake.
Setting Up To Use Tire Service Kit:
1. Uncoil the Sealant Hose and then remove the cap from the fitting at the end of the hose.
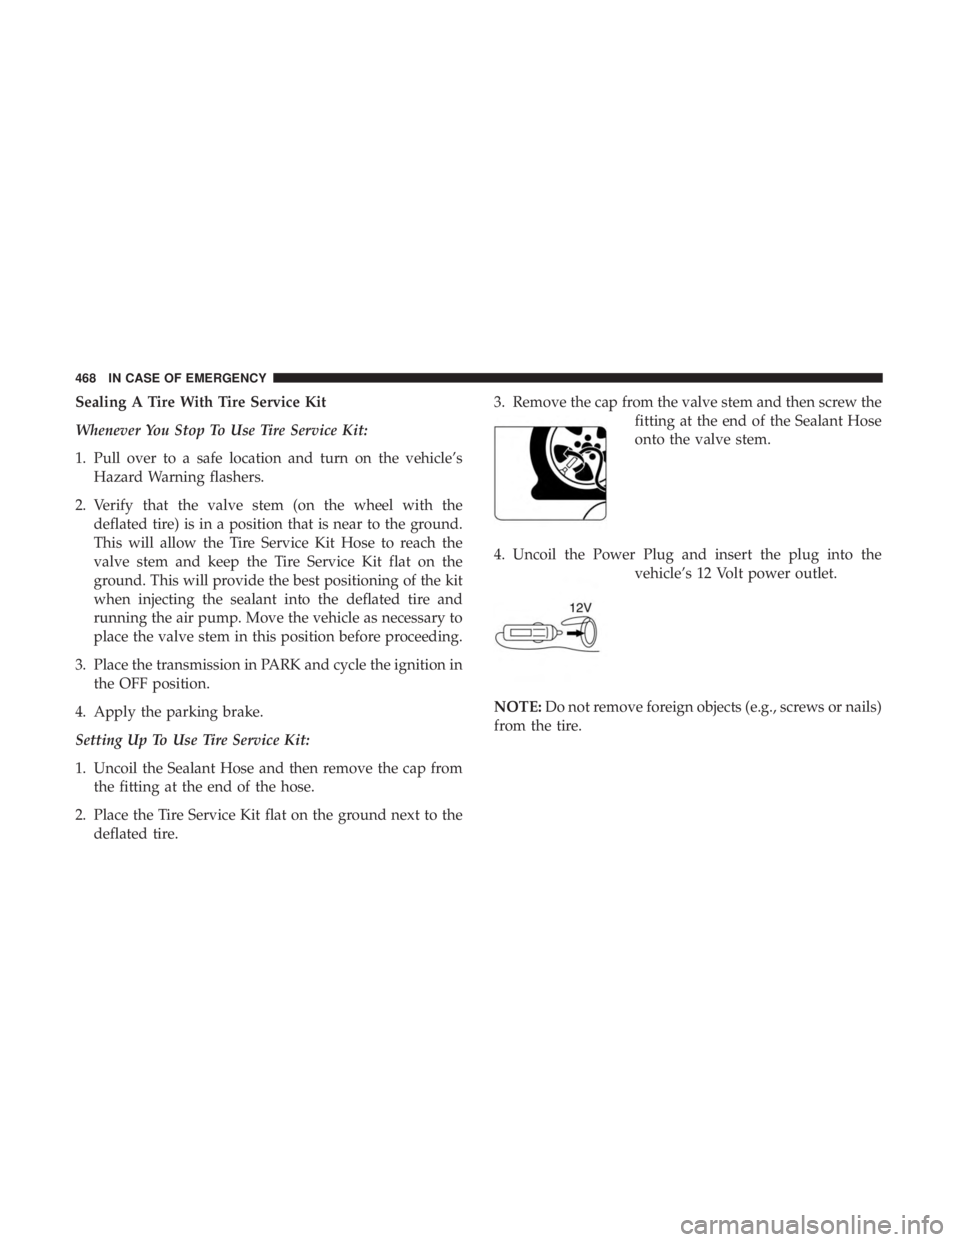
2. Place the Tire Service Kit flat on the ground next to the deflated tire. 3. Remove the cap from the valve stem and then screw the
fitting at the end of the Sealant Hose
onto the valve stem.
4. Uncoil the Power Plug and insert the plug into the vehicle’s 12 Volt power outlet.
NOTE: Do not remove foreign objects (e.g., screws or nails)
from the tire.
468 IN CASE OF EMERGENCY