roof rack CHRYSLER PACIFICA 2020 Owners Manual
[x] Cancel search | Manufacturer: CHRYSLER, Model Year: 2020, Model line: PACIFICA, Model: CHRYSLER PACIFICA 2020Pages: 516, PDF Size: 28.69 MB
Page 5 of 516
3
MIRRORS ..............................................................59 Inside Day/Night Mirror — If Equipped ....... 59
Automatic Dimming Mirror —
If Equipped .................................................. 60 Outside Mirrors ........................................... 60
Driver's Outside Automatic Dimming
Mirror — If Equipped .................................... 60 Conversation Mirror ..................................... 60
Power Mirrors — If Equipped ...................... 61
Outside Mirrors Folding Feature ................. 61
Heated Mirrors — If Equipped ..................... 61
Tilt Side Mirrors In Reverse (Available With
Memory Seat Only) — If Equipped............... 61 Power Folding Mirrors — If Equipped .......... 62
Illuminated Vanity Mirrors — If Equipped .. 62
EXTERIOR LIGHTS ................................................63
Multifunction Lever ...................................... 63
Headlight Switch .......................................... 63
Daytime Running Lights (DRLs) —
If Equipped ................................................... 63 High/Low Beam Switch ............................... 64
Automatic High Beam — If Equipped ......... 64
Flash-To-Pass .............................................. 64
Automatic Headlights — If Equipped .......... 64
Headlights On With Wipers — If Equipped.. 65
Headlight Delay — If Equipped .................... 65
Lights-On Reminder .................................... 65
Front Fog Lights — If Equipped .................. 65
Turn Signals ................................................. 65
Lane Change Assist — If Equipped ............. 66
Battery Protection ....................................... 66 INTERIOR LIGHTS ................................................ 66
Courtesy/Interior Lighting .......................... 66
WINDSHIELD WIPER AND WASHERS .............. 68
Windshield Wiper Operation ....................... 68
Rain Sensing Wipers — If Equipped............ 69
Rear Wiper And Washer .............................. 70
CLIMATE CONTROLS ........................................... 70
Manual Climate Controls Overview ............ 70
Automatic Climate Control Overview .......... 80
Climate Control Functions........................... 90
Automatic Temperature Control (ATC) — If
Equipped ..................................................... 90 Operating Tips ............................................. 91
WINDOWS ............................................................. 93
Power Windows............................................ 93
PANORAMIC SUNROOF — IF EQUIPPED ........... 95
Opening Sunroof .......................................... 95
Closing Sunroof............................................ 96
Wind Buffeting ............................................. 96
Power Sunshade — If Equipped .................. 96
Pinch Protect Feature.................................. 97
Sunroof Maintenance.................................. 97
Ignition Off Operation .................................. 97
HOOD .................................................................... 97
Opening ........................................................ 97
Closing .......................................................... 98 LIFTGATE ................................................................99
Opening ........................................................ 99
Closing.......................................................... 99
Power Liftgate — If Equipped .................... 100 Hands-Free Liftgate — If Equipped ........... 101
Cargo Area Features ................................. 103
GARAGE DOOR OPENER — IF EQUIPPED ....... 109
Before You Begin Programming
HomeLink® ................................................ 109 Canadian/Gate Operator Programming... 111
Using HomeLink®...................................... 112
Security ...................................................... 112Troubleshooting Tips ................................. 112General Information .................................. 113
INTERNAL EQUIPMENT ..................................... 113
Storage ....................................................... 113
Sun Screens — If Equipped ....................... 117Power Outlets ............................................ 118Power Inverter — If Equipped ................... 119
Cigar Lighter — If Equipped ...................... 120
Smoker's Package Kit — If Equipped ....... 120
Overhead Sunglass Storage ..................... 120
STOW ‘N PLACE ROOF RACK —
IF EQUIPPED ...................................................... 121
Deploying The Crossbars .......................... 121
Stowing The Crossbars.............................. 123
20_RU_OM_EN_US_t.book Page 3
Page 99 of 516
GETTING TO KNOW YOUR VEHICLE97
NOTE:
If the sunroof is open, the shade will close to the
half-open position. Pushing the shade close
button again will automatically close both the
sunroof and shade completely.
Closing Power Shade — Manual Mode
To close the shade, push and hold the
sunshade close switch. Any release of the
switch will stop the movement and the shade
will remain in a partially closed condition until
the switch is pushed again.
Pinch Protect Feature
This feature will detect an obstruction in the
closing of the sunroof during the Express Close
operation. If an obstruction in the path of the
sunroof is detected, the sunroof will
automatically retract. Remove the obstruction if
this occurs. NOTE:
If three consecutive sunroof close attempts
result in Pinch Protect reversals, Pinch Protect
will disable and the sunroof must be closed in
Manual Mode.
Sunroof Maintenance
Use only a non-abrasive cleaner and a soft cloth
to clean the glass panel. Periodically check for
and clear out any debris that may have
collected in the tracks.
Ignition Off Operation
The power sunroof switch will remain active for
up to approximately 10 minutes after the
ignition switch is placed in the OFF position.
Opening either front door will cancel this
feature.
NOTE:
Ignition off time is programmable through the
Uconnect System. Refer to “Uconnect Settings”
in “Multimedia” for further information.
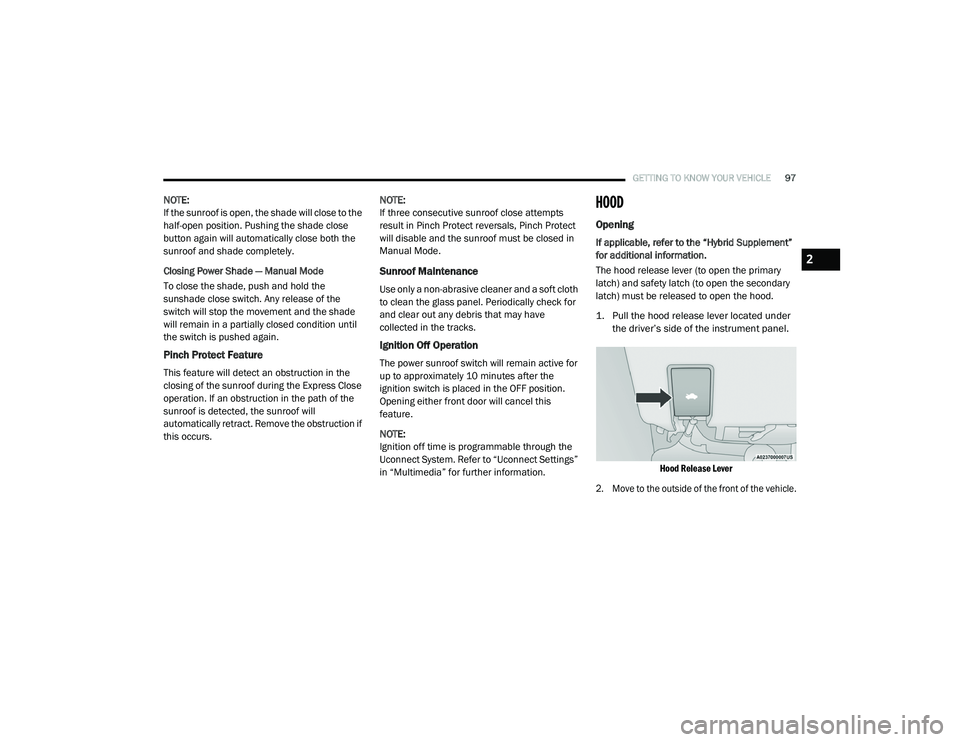
HOOD
Opening
If applicable, refer to the “Hybrid Supplement”
for additional information.
The hood release lever (to open the primary
latch) and safety latch (to open the secondary
latch) must be released to open the hood.
1. Pull the hood release lever located under
the driver’s side of the instrument panel.
Hood Release Lever
2. Move to the outside of the front of the vehicle.
2
20_RU_OM_EN_US_t.book Page 97
Page 123 of 516
GETTING TO KNOW YOUR VEHICLE121
From the closed position, push the intention to
open the compartment.
Overhead Sunglass Door Latch
The door will slowly rotate to the full open
position.
Full Open Position
STOW ‘N PLACE ROOF RACK — IF EQUIPPED
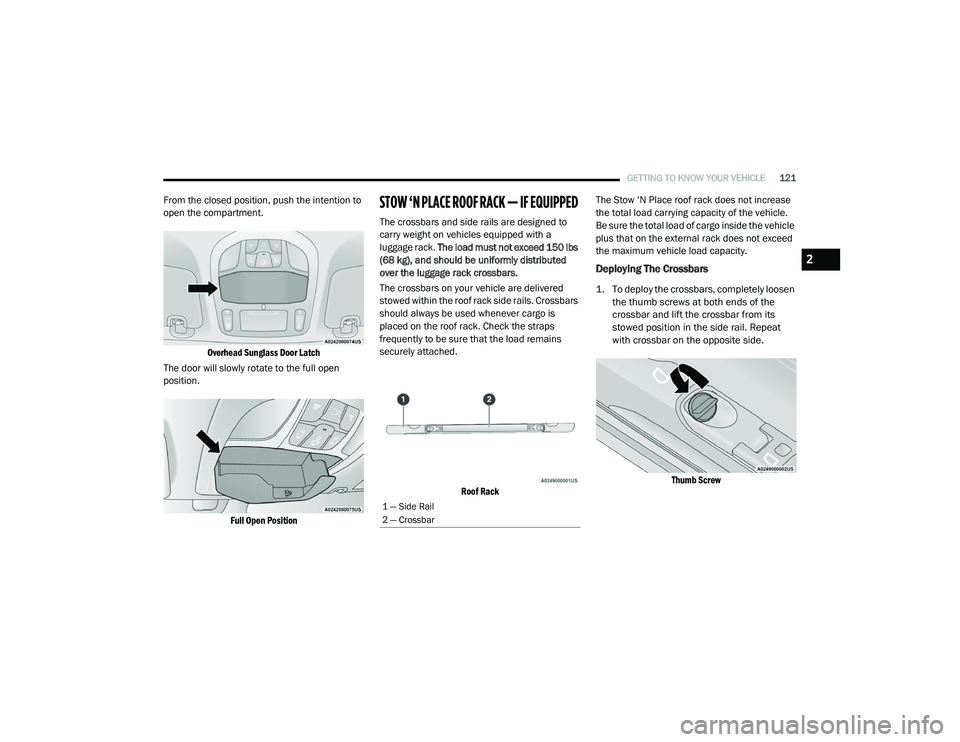
The crossbars and side rails are designed to
carry weight on vehicles equipped with a
luggage rack. The load must not exceed 150 lbs
(68 kg), and should be uniformly distributed
over the luggage rack crossbars.
The crossbars on your vehicle are delivered
stowed within the roof rack side rails. Crossbars
should always be used whenever cargo is
placed on the roof rack. Check the straps
frequently to be sure that the load remains
securely attached.
Roof Rack
The Stow ‘N Place roof rack does not increase
the total load carrying capacity of the vehicle.
Be sure the total load of cargo inside the vehicle
plus that on the external rack does not exceed
the maximum vehicle load capacity.
Deploying The Crossbars
1. To deploy the crossbars, completely loosen
the thumb screws at both ends of the
crossbar and lift the crossbar from its
stowed position in the side rail. Repeat
with crossbar on the opposite side.
Thumb Screw
1 — Side Rail
2 — Crossbar
2
20_RU_OM_EN_US_t.book Page 121
Page 126 of 516
124GETTING TO KNOW YOUR VEHICLE
(Continued)
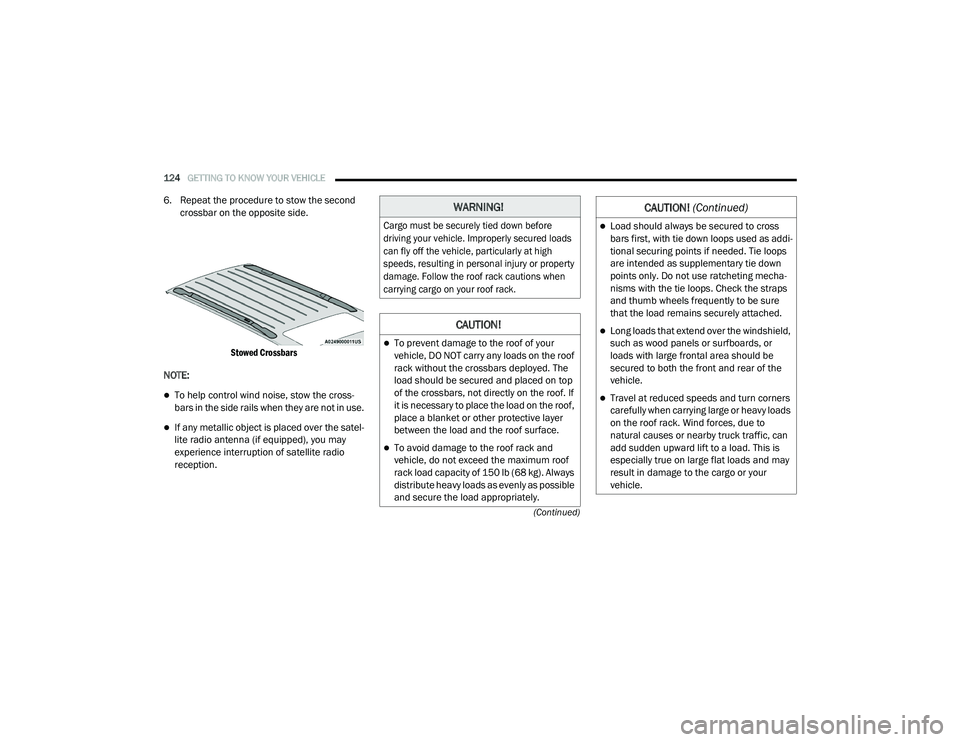
6. Repeat the procedure to stow the second crossbar on the opposite side.
Stowed Crossbars
NOTE:
To help control wind noise, stow the cross -
bars in the side rails when they are not in use.
If any metallic object is placed over the satel -
lite radio antenna (if equipped), you may
experience interruption of satellite radio
reception.
WARNING!
Cargo must be securely tied down before
driving your vehicle. Improperly secured loads
can fly off the vehicle, particularly at high
speeds, resulting in personal injury or property
damage. Follow the roof rack cautions when
carrying cargo on your roof rack.
CAUTION!
To prevent damage to the roof of your
vehicle, DO NOT carry any loads on the roof
rack without the crossbars deployed. The
load should be secured and placed on top
of the crossbars, not directly on the roof. If
it is necessary to place the load on the roof,
place a blanket or other protective layer
between the load and the roof surface.
To avoid damage to the roof rack and
vehicle, do not exceed the maximum roof
rack load capacity of 150 lb (68 kg). Always
distribute heavy loads as evenly as possible
and secure the load appropriately.
Load should always be secured to cross
bars first, with tie down loops used as addi -
tional securing points if needed. Tie loops
are intended as supplementary tie down
points only. Do not use ratcheting mecha -
nisms with the tie loops. Check the straps
and thumb wheels frequently to be sure
that the load remains securely attached.
Long loads that extend over the windshield,
such as wood panels or surfboards, or
loads with large frontal area should be
secured to both the front and rear of the
vehicle.
Travel at reduced speeds and turn corners
carefully when carrying large or heavy loads
on the roof rack. Wind forces, due to
natural causes or nearby truck traffic, can
add sudden upward lift to a load. This is
especially true on large flat loads and may
result in damage to the cargo or your
vehicle.
CAUTION! (Continued)
20_RU_OM_EN_US_t.book Page 124
Page 195 of 516
SAFETY193
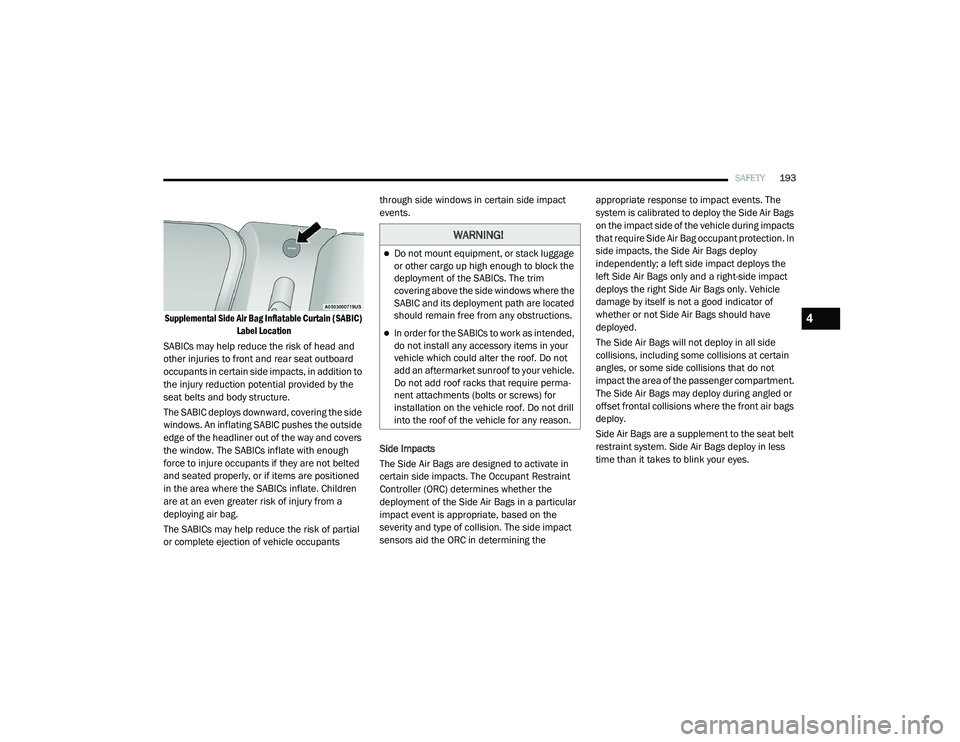
Supplemental Side Air Bag Inflatable Curtain (SABIC)
Label Location
SABICs may help reduce the risk of head and
other injuries to front and rear seat outboard
occupants in certain side impacts, in addition to
the injury reduction potential provided by the
seat belts and body structure.
The SABIC deploys downward, covering the side
windows. An inflating SABIC pushes the outside
edge of the headliner out of the way and covers
the window. The SABICs inflate with enough
force to injure occupants if they are not belted
and seated properly, or if items are positioned
in the area where the SABICs inflate. Children
are at an even greater risk of injury from a
deploying air bag.
The SABICs may help reduce the risk of partial
or complete ejection of vehicle occupants through side windows in certain side impact
events.
Side Impacts
The Side Air Bags are designed to activate in
certain side impacts. The Occupant Restraint
Controller (ORC) determines whether the
deployment of the Side Air Bags in a particular
impact event is appropriate, based on the
severity and type of collision. The side impact
sensors aid the ORC in determining the
appropriate response to impact events. The
system is calibrated to deploy the Side Air Bags
on the impact side of the vehicle during impacts
that require Side Air Bag occupant protection. In
side impacts, the Side Air Bags deploy
independently; a left side impact deploys the
left Side Air Bags only and a right-side impact
deploys the right Side Air Bags only. Vehicle
damage by itself is not a good indicator of
whether or not Side Air Bags should have
deployed.
The Side Air Bags will not deploy in all side
collisions, including some collisions at certain
angles, or some side collisions that do not
impact the area of the passenger compartment.
The Side Air Bags may deploy during angled or
offset frontal collisions where the front air bags
deploy.
Side Air Bags are a supplement to the seat belt
restraint system. Side Air Bags deploy in less
time than it takes to blink your eyes.
WARNING!
Do not mount equipment, or stack luggage
or other cargo up high enough to block the
deployment of the SABICs. The trim
covering above the side windows where the
SABIC and its deployment path are located
should remain free from any obstructions.
In order for the SABICs to work as intended,
do not install any accessory items in your
vehicle which could alter the roof. Do not
add an aftermarket sunroof to your vehicle.
Do not add roof racks that require perma
-
nent attachments (bolts or screws) for
installation on the vehicle roof. Do not drill
into the roof of the vehicle for any reason.
4
20_RU_OM_EN_US_t.book Page 193
Page 511 of 516
509
Power Brakes
....................................................... 388Inverter...................................................... 119Mirrors......................................................... 61Outlet (Auxiliary Electrical Outlet).............. 118Seats.................................................... 48, 50Steering..................................................... 234Power SeatsDown........................................................... 49Forward....................................................... 49Rearward..................................................... 49Up................................................................ 49Power Sliding DoorOn / Off Switch................................... 30, 100Pregnant Women And Seat Belts...................180Preparation For Jacking................................. 321PretensionersSeat Belts.................................................. 181
R
Radial Ply Tires.............................................. 376Radiator Cap (Coolant Pressure Cap)............ 363RadioPresets...................................................... 440Radio Operation.................................. 438, 491Rear Air Conditioning................................ 78, 87Rear Camera................................................. 284Rear Cross Path............................................. 162Rear ParkSense System...................... 254, 259Rear Seat Removal.......................................... 37
Rear View......................................................... 59Reclining Front Seats....................................... 36Recreational Towing..................................... 298Reformulated Gasoline................................. 390Refrigerant.................................................... 354Release, Hood................................................. 97Reminder, Lights On........................................ 63Reminder, Seat Belt...................................... 173Remote ControlStarting System........................................... 19Remote Keyless EntryArm The Alarm............................................. 24Disarm The Alarm........................................ 24Programming Additional Key Fobs........ 16, 23Remote StartingExit Remote Start Mode.............................. 21Uconnect Customer Programmable Features.................................................. 21Uconnect Settings....................................... 21Remote Starting System.................................. 19Replacement Bulbs...................................... 306Replacement Keys........................................... 23Replacement Tires........................................ 377Reporting Safety Defects.............................. 501Restraints, Child........................................... 198Restraints, Head.............................................. 55Roof Luggage Rack....................................... 121Rotation, Tires.............................................. 382
S
Safety Checks Inside Vehicle........................ 217Safety Checks Outside Vehicle...................... 218Safety Defects, Reporting............................. 501Safety Information, Tire................................. 366Safety Tips.................................................... 216Safety, Exhaust Gas...................................... 216Schedule, Maintenance................................ 345Seat Belt Reminder....................................... 143Seat Belts............................................ 172, 217Adjustable Shoulder Belt.......................... 177Adjustable Upper Shoulder Anchorage..... 177Adjustable Upper Shoulder Belt Anchorage............................................ 177Automatic Locking Retractor (ALR)........... 181Child Restraints........................................ 198Energy Management Feature................... 181Extender................................................... 180Front Seat............................... 172, 174, 175Inspection................................................. 217Lap/Shoulder Belt Operation.................... 175Lap/Shoulder Belt Untwisting................... 176Lap/Shoulder Belts................................... 174Operating Instructions.............................. 175Pregnant Women...................................... 180Pretensioners........................................... 181Rear Seat.................................................. 174Reminder.................................................. 17311
20_RU_OM_EN_US_t.book Page 509