power steering fluid CHRYSLER PACIFICA 2022 Owners Manual
[x] Cancel search | Manufacturer: CHRYSLER, Model Year: 2022, Model line: PACIFICA, Model: CHRYSLER PACIFICA 2022Pages: 384, PDF Size: 23.92 MB
Page 124 of 384

122GETTING TO KNOW YOUR INSTRUMENT PANEL
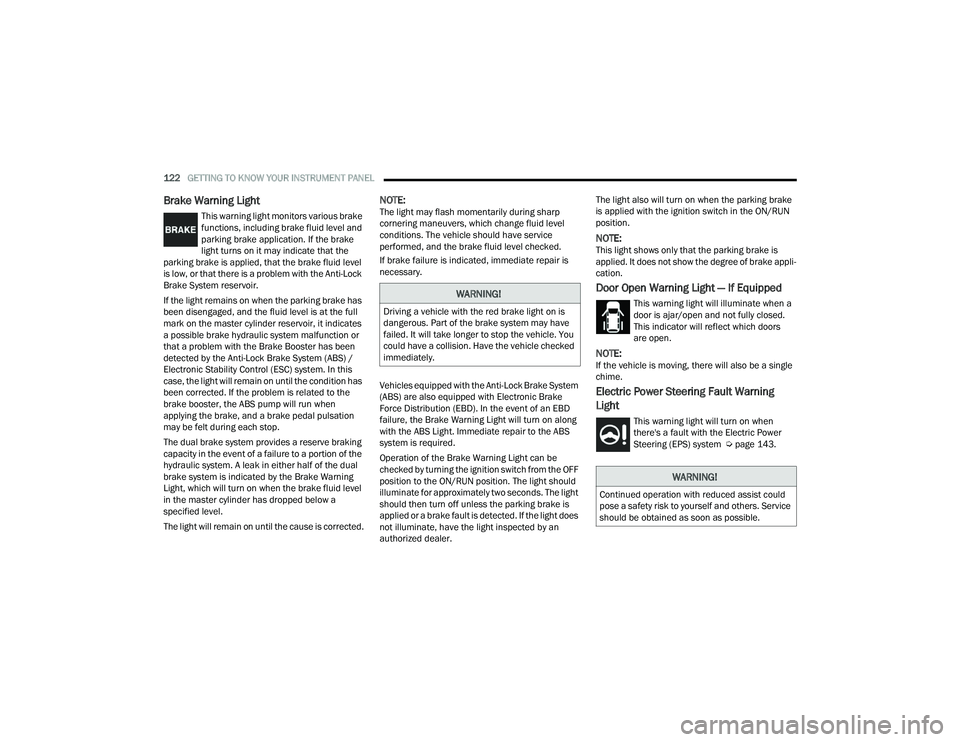
Brake Warning Light
This warning light monitors various brake
functions, including brake fluid level and
parking brake application. If the brake
light turns on it may indicate that the
parking brake is applied, that the brake fluid level
is low, or that there is a problem with the Anti-Lock
Brake System reservoir.
If the light remains on when the parking brake has
been disengaged, and the fluid level is at the full
mark on the master cylinder reservoir, it indicates
a possible brake hydraulic system malfunction or
that a problem with the Brake Booster has been
detected by the Anti-Lock Brake System (ABS) /
Electronic Stability Control (ESC) system. In this
case, the light will remain on until the condition has
been corrected. If the problem is related to the
brake booster, the ABS pump will run when
applying the brake, and a brake pedal pulsation
may be felt during each stop.
The dual brake system provides a reserve braking
capacity in the event of a failure to a portion of the
hydraulic system. A leak in either half of the dual
brake system is indicated by the Brake Warning
Light, which will turn on when the brake fluid level
in the master cylinder has dropped below a
specified level.
The light will remain on until the cause is corrected.
NOTE:The light may flash momentarily during sharp
cornering maneuvers, which change fluid level
conditions. The vehicle should have service
performed, and the brake fluid level checked.
If brake failure is indicated, immediate repair is
necessary.
Vehicles equipped with the Anti-Lock Brake System
(ABS) are also equipped with Electronic Brake
Force Distribution (EBD). In the event of an EBD
failure, the Brake Warning Light will turn on along
with the ABS Light. Immediate repair to the ABS
system is required.
Operation of the Brake Warning Light can be
checked by turning the ignition switch from the OFF
position to the ON/RUN position. The light should
illuminate for approximately two seconds. The light
should then turn off unless the parking brake is
applied or a brake fault is detected. If the light does
not illuminate, have the light inspected by an
authorized dealer. The light also will turn on when the parking brake
is applied with the ignition switch in the ON/RUN
position.
NOTE:This light shows only that the parking brake is
applied. It does not show the degree of brake appli
-
cation.
Door Open Warning Light — If Equipped
This warning light will illuminate when a
door is ajar/open and not fully closed.
This indicator will reflect which doors
are open.
NOTE:If the vehicle is moving, there will also be a single
chime.
Electric Power Steering Fault Warning
Light
This warning light will turn on when
there's a fault with the Electric Power
Steering (EPS) system Ú page 143.
WARNING!
Driving a vehicle with the red brake light on is
dangerous. Part of the brake system may have
failed. It will take longer to stop the vehicle. You
could have a collision. Have the vehicle checked
immediately.
WARNING!
Continued operation with reduced assist could
pose a safety risk to yourself and others. Service
should be obtained as soon as possible.
22_RUP_OM_EN_USC_t.book Page 122
Page 145 of 384

STARTING AND OPERATING143
ALL-WHEEL DRIVE (AWD) — IF EQUIPPED
This feature provides on-demand All-Wheel Drive
(AWD). The system is automatic with no driver
inputs or additional driving skills required. Under
normal driving conditions, the front wheels provide
most of the traction. If the front wheels begin to
lose traction, power is shifted automatically to the
rear wheels. The greater the front wheel traction
loss, the greater the power transfer to the rear
wheels.
Additionally, on dry pavement under heavy throttle
input (where one may have no wheel spin), torque
will be sent to the rear in a preemptive effort to
improve vehicle launch and performance
characteristics.
ACTIVE NOISE CANCELLATION
Your vehicle is equipped with an Active Noise
Cancellation system. This system is designed to
address exhaust and engine noise. The system
relies on four microphones embedded in the
headliner, which monitor exhaust and engine noise, and assists an onboard frequency
generator, which creates counteracting sound
waves in the audio system’s speakers. This helps
keep the vehicle quiet at idle and during drive.
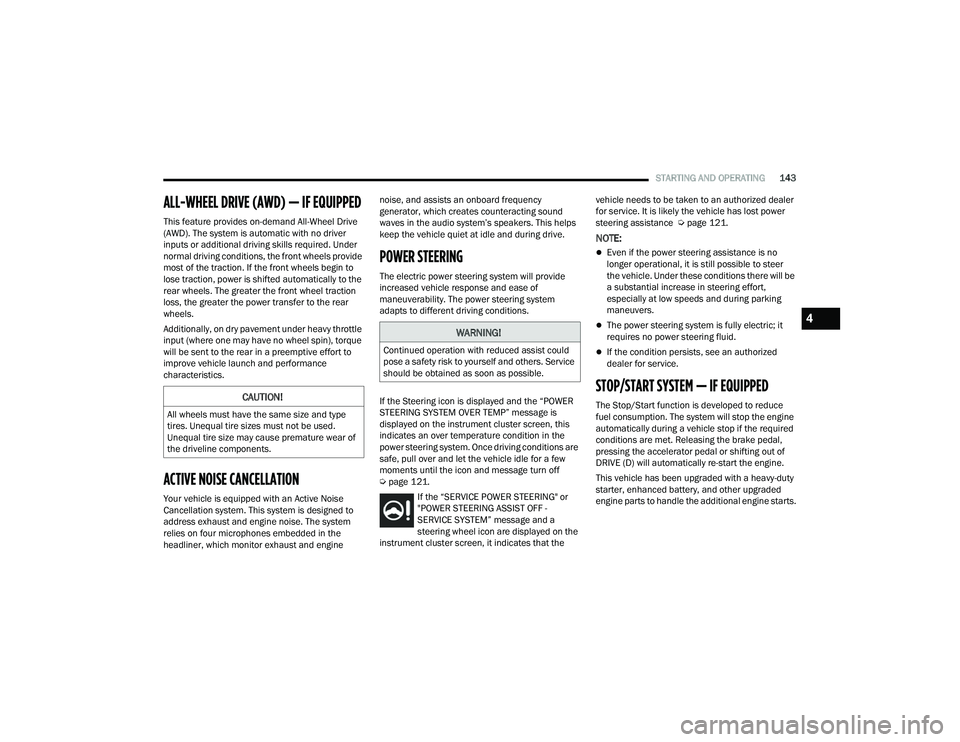
POWER STEERING
The electric power steering system will provide
increased vehicle response and ease of
maneuverability. The power steering system
adapts to different driving conditions.
If the Steering icon is displayed and the “POWER
STEERING SYSTEM OVER TEMP” message is
displayed on the instrument cluster screen, this
indicates an over temperature condition in the
power steering system. Once driving conditions are
safe, pull over and let the vehicle idle for a few
moments until the icon and message turn off
Ú
page 121.
If the “SERVICE POWER STEERING" or
"POWER STEERING ASSIST OFF -
SERVICE SYSTEM” message and a
steering wheel icon are displayed on the
instrument cluster screen, it indicates that the vehicle needs to be taken to an authorized dealer
for service. It is likely the vehicle has lost power
steering assistance Ú
page 121.
NOTE:
Even if the power steering assistance is no
longer operational, it is still possible to steer
the vehicle. Under these conditions there will be
a substantial increase in steering effort,
especially at low speeds and during parking
maneuvers.
The power steering system is fully electric; it
requires no power steering fluid.
If the condition persists, see an authorized
dealer for service.
STOP/START SYSTEM — IF EQUIPPED
The Stop/Start function is developed to reduce
fuel consumption. The system will stop the engine
automatically during a vehicle stop if the required
conditions are met. Releasing the brake pedal,
pressing the accelerator pedal or shifting out of
DRIVE (D) will automatically re-start the engine.
This vehicle has been upgraded with a heavy-duty
starter, enhanced battery, and other upgraded
engine parts to handle the additional engine starts.CAUTION!
All wheels must have the same size and type
tires. Unequal tire sizes must not be used.
Unequal tire size may cause premature wear of
the driveline components.
WARNING!
Continued operation with reduced assist could
pose a safety risk to yourself and others. Service
should be obtained as soon as possible.
4
22_RUP_OM_EN_USC_t.book Page 143
Page 300 of 384

298IN CASE OF EMERGENCY
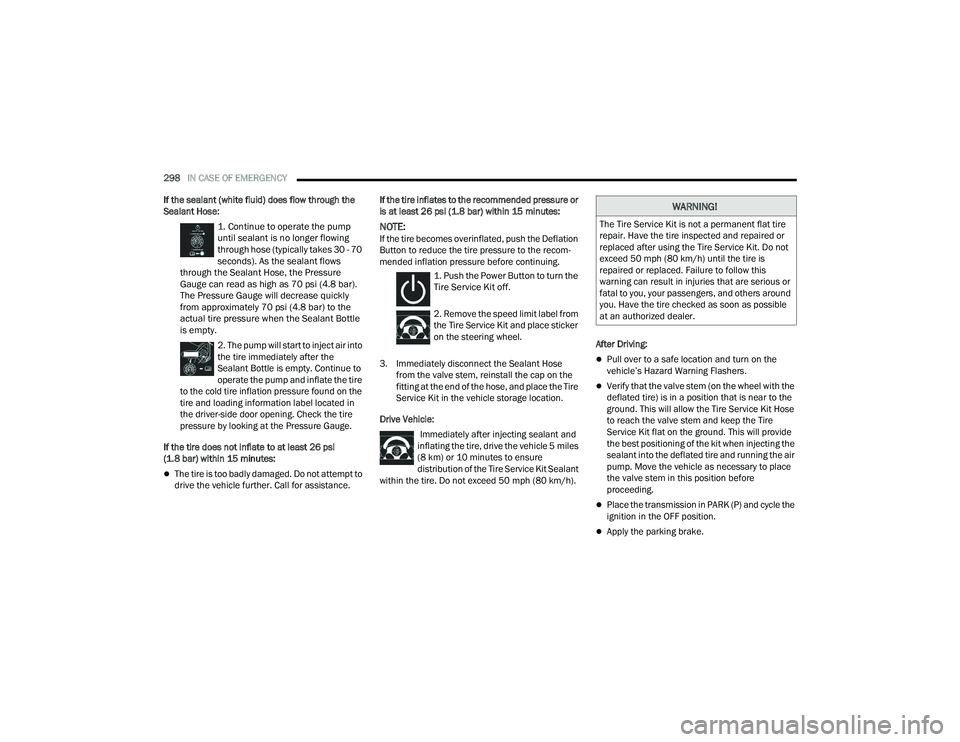
If the sealant (white fluid) does flow through the
Sealant Hose:
1. Continue to operate the pump
until sealant is no longer flowing
through hose (typically takes 30 - 70
seconds). As the sealant flows
through the Sealant Hose, the Pressure
Gauge can read as high as 70 psi (4.8 bar).
The Pressure Gauge will decrease quickly
from approximately 70 psi (4.8 bar) to the
actual tire pressure when the Sealant Bottle
is empty.
2. The pump will start to inject air into
the tire immediately after the
Sealant Bottle is empty. Continue to
operate the pump and inflate the tire
to the cold tire inflation pressure found on the
tire and loading information label located in
the driver-side door opening. Check the tire
pressure by looking at the Pressure Gauge.
If the tire does not inflate to at least 26 psi
(1.8 bar) within 15 minutes:
The tire is too badly damaged. Do not attempt to
drive the vehicle further. Call for assistance. If the tire inflates to the recommended pressure or
is at least 26 psi (1.8 bar) within 15 minutes:
NOTE:If the tire becomes overinflated, push the Deflation
Button to reduce the tire pressure to the recom
-
mended inflation pressure before continuing.
1. Push the Power Button to turn the
Tire Service Kit off.
2. Remove the speed limit label from
the Tire Service Kit and place sticker
on the steering wheel.
3. Immediately disconnect the Sealant Hose from the valve stem, reinstall the cap on the
fitting at the end of the hose, and place the Tire
Service Kit in the vehicle storage location.
Drive Vehicle: Immediately after injecting sealant and
inflating the tire, drive the vehicle 5 miles
(8 km) or 10 minutes to ensure distribution of the Tire Service Kit Sealant
within the tire. Do not exceed 50 mph (80 km/h). After Driving:
Pull over to a safe location and turn on the
vehicle’s Hazard Warning Flashers.
Verify that the valve stem (on the wheel with the
deflated tire) is in a position that is near to the
ground. This will allow the Tire Service Kit Hose
to reach the valve stem and keep the Tire
Service Kit flat on the ground. This will provide
the best positioning of the kit when injecting the
sealant into the deflated tire and running the air
pump. Move the vehicle as necessary to place
the valve stem in this position before
proceeding.
Place the transmission in PARK (P) and cycle the
ignition in the OFF position.
Apply the parking brake.
WARNING!
The Tire Service Kit is not a permanent flat tire
repair. Have the tire inspected and repaired or
replaced after using the Tire Service Kit. Do not
exceed 50 mph (80 km/h) until the tire is
repaired or replaced. Failure to follow this
warning can result in injuries that are serious or
fatal to you, your passengers, and others around
you. Have the tire checked as soon as possible
at an authorized dealer.
22_RUP_OM_EN_USC_t.book Page 298
Page 377 of 384

375
Heated Mirrors
......................................... 57, 60Heated Seats................................................... 51Heater, Engine Block..................................... 135Hill Start Assist.............................................. 227Hitches Trailer Towing............................................ 176HomeLink (Garage Door Opener).................... 61Hood Prop........................................................ 96Hood Release.................................................. 96
I
Ignition............................................................ 18Switch......................................................... 18Indicator LightsBlue........................................................... 129Green........................................................ 127White......................................................... 128Yellow........................................................ 127Inside Rearview Mirror............................ 57, 282Instrument Cluster............................... 110, 112Display...................................................... 112Display Controls........................................ 113Menu Items............................................... 116Instrument Panel Lens Cleaning.................... 359Interior And Instrument Lights......................... 69Interior Appearance Care............................... 358
Interior Lights................................................... 69Intermittent Wipers (Delay Wipers).................. 70InverterPower.......................................................... 91
J
Jack Location................................................ 287Jack Operation.............................................. 286Jump Starting............................................... 300
K
Key Fob............................................................ 14Arm The System.......................................... 22Disarm The Alarm........................................ 22Programming Additional Key Fobs............... 16Key Fob Battery Service
(Remote Keyless Entry).................................... 15Key Fob Programming
(Remote Keyless Entry).................................... 16Keyless Enter 'n Go™....................................... 24Passive Entry............................................... 24Keys................................................................. 14Keysense...................................................... 115
L
Lane Change And Turn Signals........................65Lane Change Assist................................... 65, 68LaneSense.................................................... 166Lap/Shoulder Belts....................................... 241Latches......................................................... 281Hood............................................................96Lead Free Gasoline....................................... 361Leaks, Fluid................................................... 281Life Of Tires................................................... 349Liftgate.............................................................97Power...........................................................97Light Bulbs........................................... 281, 338Lights............................................................ 281Air Bag.................................... 121, 250, 279Anti Lock Brake System............................ 124Automatic Emergency Braking OFF........... 127Battery Saver...............................................68Brake Assist Warning................................ 227Brake Warning.......................................... 122Bulb Replacement........................... 337, 338Cruise.............................................. 127, 128Daytime Running.........................................65Dimmer Switch, Headlight...........................65Electric Power Steering Fault.................... 122
11
22_RUP_OM_EN_USC_t.book Page 375