oil pressure CHRYSLER PACIFICA HYBRID 2017 2.G Owners Manual
[x] Cancel search | Manufacturer: CHRYSLER, Model Year: 2017, Model line: PACIFICA HYBRID, Model: CHRYSLER PACIFICA HYBRID 2017 2.GPages: 592, PDF Size: 6.73 MB
Page 162 of 592
Instrument Cluster Display Menu Items
NOTE:The Instrument Cluster Display menu items dis-
play in the center of the instrument cluster. Menu items
may vary depending on your vehicle features.
Speedometer
Push and release the upordown arrow button until
Speedometer is highlighted in the instrument cluster dis-
play. Push and release the OKbutton to toggle between
MPH and km/h.
Vehicle Info
Push and release the upordown arrow button until
Vehicle Info is highlighted in the instrument cluster dis-
play. Push the leftorright arrow button to scroll through
the following information submenus:
• Tire Pressure
• If tire pressure is OKfor all tires, a vehicle ICON is
displayed with tire pressure values in each corner of the
ICON.
• If one or more tires have low pressure, “Inflate Tire To
XX” is displayed with the vehicle ICON, and the tire
pressure values in each corner of the ICON with the
pressure value of the low tire displayed in a different
color than the other tire pressure value. •
If the Tire Pressure system requires service, “Service Tire
Pressure System” is displayed.
• Tire PSI is an information only function and cannot be
reset.
• Refer to “Tire Pressure Monitoring System (TPMS)”
under “Safety” for further information.
• Coolant Temperature
Displays the actual coolant temperature.
• Oil Temperature
Displays the actual oil temperature.
• Oil Pressure
Displays the actual oil pressure.
• Oil Life (Hold OK Button To Reset)
• The “Hold OK to Reset” instruction will be displayed at
all times, but the following conditions will need to be
met in order to reset Oil Life:
The vehicle must be off
160 GETTING TO KNOW YOUR INSTRUMENT PANEL
Page 175 of 592
Oil Temperature Warning Light
Red TelltaleLight What It Means
Oil Temperature Warning Light
This telltale indicates vehicle oil temperature is high. If the light turns on while driving, stop the
vehicle and shut off the engine as soon as possible.
Oil Pressure Warning Light
Red Telltale
Light What It Means
Oil Pressure Warning Light
This light indicates low engine oil pressure. If the light turns on while driving, stop the vehicle
and shut off the engine as soon as possible. A chime will sound when this light turns on.
Do not operate the vehicle until the cause is corrected. This light does not indicate how much oil
is in the engine. The engine oil level must be checked under the hood.
4
GETTING TO KNOW YOUR INSTRUMENT PANEL 173
Page 280 of 592
WARNING!(Continued)
interference with the accelerator, brake, or clutch
pedals then re-install the floor mats.
• It is recommended to only use mild soap and water
to clean your floor mats. After cleaning, always check
your floor mat has been properly installed and is
secured to your vehicle using the floor mat fasteners
by lightly pulling mat.
Periodic Safety Checks You Should Make Outside
The Vehicle
Tires
Examine tires for excessive tread wear and uneven wear
patterns. Check for stones, nails, glass, or other objects
lodged in the tread or sidewall. Inspect the tread for cuts
and cracks. Inspect sidewalls for cuts, cracks, and bulges.
Check the wheel nuts for tightness. Check the tires (includ-
ing spare) for proper cold inflation pressure.
Lights
Have someone observe the operation of brake lights and
exterior lights while you work the controls. Check turn
signal and high beam indicator lights on the instrument
panel.
Door Latches
Check for proper closing, latching, and locking.
Fluid Leaks
Check area under vehicle after overnight parking for fuel,
coolant, oil, or other fluid leaks. Also, if gasoline fumes are
detected or if fuel, or brake fluid leaks are suspected. The
cause should be located and corrected immediately.
278 SAFETY
Page 416 of 592
After Driving:
Pull over to a safe location. Refer to “Whenever You Stop
To Use Tire Service Kit” in this section before continuing.
1. Uncoil the Sealant Hose, and then remove the cap fromthe fitting at the end of the hose.
2. Place the Tire Service Kit flat on the ground next to the deflated tire.
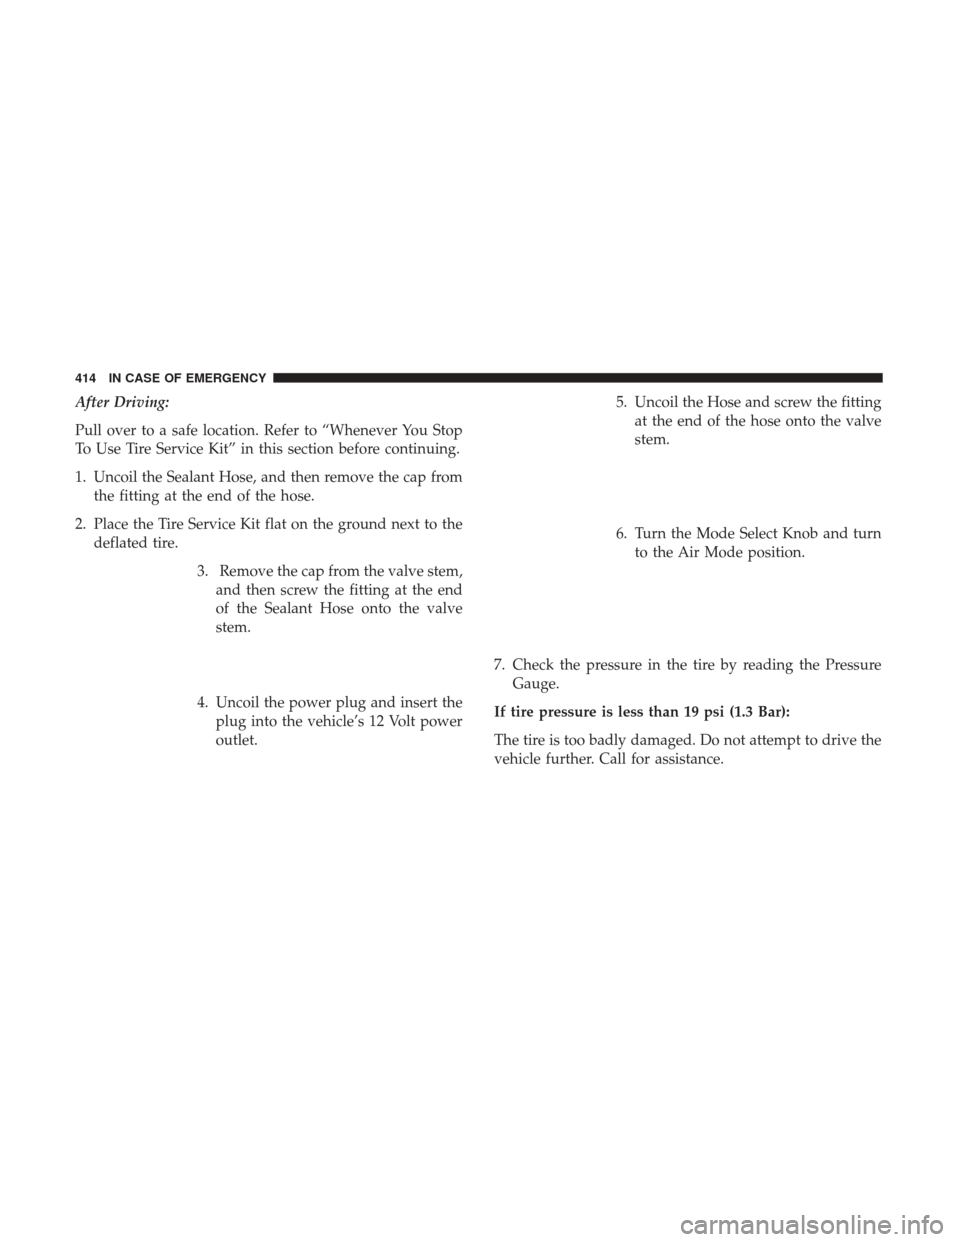
3. Remove the cap from the valve stem,and then screw the fitting at the end
of the Sealant Hose onto the valve
stem.
4. Uncoil the power plug and insert the plug into the vehicle’s 12 Volt power
outlet. 5. Uncoil the Hose and screw the fitting
at the end of the hose onto the valve
stem.
6. Turn the Mode Select Knob and turn to the Air Mode position.
7. Check the pressure in the tire by reading the Pressure Gauge.
If tire pressure is less than 19 psi (1.3 Bar):
The tire is too badly damaged. Do not attempt to drive the
vehicle further. Call for assistance.
414 IN CASE OF EMERGENCY
Page 431 of 592
SCHEDULED SERVICING
Your vehicle is equipped with an automatic oil change
indicator system. The oil change indicator system will
remind you that it is time to take your vehicle in for
scheduled maintenance.
Based on engine operation conditions, the oil change
indicator message will illuminate. This means that service
is required for your vehicle. Operating conditions such as
frequent short-trips, or extremely hot or cold ambient
temperatures will influence when the “Oil Change Re-
quired” message is displayed. Severe Operating Condi-
tions can cause the change oil message to illuminate as
early as 3,500 miles (5,600 km) since last reset. Have your
vehicle serviced as soon as possible, within the next
500 miles (805 km).
NOTE:Even though the vehicle may not have been driven,
both the fuel in the tank and oil in the engine will still
degrade over time. Additionally, there will be a notification
to the driver if the engine is being run to maintain the oil
and fuel systems.
Your authorized dealer will reset the oil change indicator
message after completing the scheduled oil change. If a
scheduled oil change is performed by someone other than
your authorized dealer, the message can be reset by referring to “Vehicle Info” in “Instrument Cluster Display”
in “Getting To Know Your Instrument Panel”.
NOTE:
Under no circumstances should oil change inter-
vals exceed 10,000 miles (16,000 km), twelve months or 350
hours of engine run time, whichever comes first. The 350
hours of engine run or idle time is generally only a concern
for fleet customers.
Once A Month Or Before A Long Trip:
• Check engine oil level.
• Check windshield washer fluid level.
• Check tire pressure and look for unusual wear or
damage. Rotate tires at the first sign of irregular wear,
even if it occurs before the oil indicator system turns on.
• Check the fluid levels of the coolant reservoir and brake
master cylinder, fill as needed.
• Check function of all interior and exterior lights.
Required Maintenance Intervals
Refer to the maintenance schedules on the following page
for the required maintenance intervals.
8
SERVICING AND MAINTENANCE 429
Page 436 of 592

Checking Oil Level
To assure proper engine lubrication, the engine oil must be
maintained at the correct level. Check the oil level at
regular intervals, such as every fuel stop. The best time to
check the engine oil level is about five minutes after a fully
warmed engine is shut OFF.
Checking the oil while the vehicle is on level ground will
improve the accuracy of the oil level readings. Maintain the
oil level between the MIN and MAX markings on the
dipstick. Adding one quart of oil when the reading is at the
MIN mark will result in a MAX reading on these engines.
CAUTION!
Overfilling or underfilling will cause oil aeration, or
loss of oil pressure. This could damage your engine.
Adding Washer Fluid
The fluid reservoir is located in the front of the engine
compartment. Be sure to check the fluid level in the
reservoir at regular intervals. Fill the reservoir with wind-
shield washer solvent (not radiator antifreeze) and operate
the system for a few seconds to flush out the residual
washer fluid.
When refilling the washer fluid reservoir, take some
washer fluid, apply it to a cloth or towel, and wipe clean
the wiper blades; this will help blade performance.
Windshield Washer Fluid Cap
434 SERVICING AND MAINTENANCE
Page 442 of 592
•Noise (objectionable squeal, squeak, or rumble is heard
or felt while drive belt is in operation)
Some conditions can be caused by a faulty component such
as a belt pulley. Belt pulleys should be carefully inspected
for damage and proper alignment.
Belt replacement on some models requires the use of
special tools, we recommend having your vehicle serviced
at an authorized dealer.
Air Conditioner Maintenance
For best possible performance, your air conditioner should
be checked and serviced by an authorized dealer at the
start of each warm season. This service should include
cleaning of the condenser fins and a performance test.
WARNING!
•Use only refrigerants and compressor lubricants ap-
proved by the manufacturer for your air conditioning
system. Some unapproved refrigerants are flammable
and can explode, injuring you. Other unapproved re-
frigerants or lubricants can cause the system to fail,
requiring costly repairs. Refer to Warranty Information
Book, located in your owner ’s information kit, for
further warranty information.
(Continued)
WARNING! (Continued)
•The air conditioning system contains refrigerant un-
der high pressure. To avoid risk of personal injury or
damage to the system, adding refrigerant or any
repair requiring lines to be disconnected should be
done by an experienced technician.
CAUTION!
Do not use chemical flushes in your air conditioning
system as the chemicals can damage your air condition-
ing components. Such damage is not covered by the
New Vehicle Limited Warranty.
Refrigerant Recovery And Recycling — R–1234yf
R–1234yf Air Conditioning Refrigerant is a hydrofluo-
roolefin (HFO) that is endorsed by the Environmental
Protection Agency and is an ozone-friendly substance with
a low global-warming potential. The manufacturer recom-
mends that air conditioning service be performed by
authorized dealer using recovery and recycling equipment.
NOTE: Use only manufacturer approved A/C system
POE compressor oil, and refrigerants.
440 SERVICING AND MAINTENANCE
Page 470 of 592
Keep dismounted tires in a cool, dry place with as little
exposure to light as possible. Protect tires from contact with
oil, grease, and gasoline.
Replacement Tires
The tires on your new vehicle provide a balance of many
characteristics. They should be inspected regularly for
wear and correct cold tire inflation pressures. The manu-
facturer strongly recommends that you use tires equivalent
to the originals in size, quality and performance when
replacement is needed. Refer to the paragraph on “Tread
Wear Indicators” in this section. Refer to the Tire and
Loading Information placard or the Vehicle Certification
Label for the size designation of your tire. The Load Index
and Speed Symbol for your tire will be found on the
original equipment tire sidewall.
See the Tire Sizing Chart example found in the “Tire Safety
Information” section of this manual for more information
relating to the Load Index and Speed Symbol of a tire.
It is recommended to replace the two front tires or two rear
tires as a pair. Replacing just one tire can seriously affect
your vehicle’s handling. If you ever replace a wheel, make
sure that the wheel’s specifications match those of the
original wheels.It is recommended you contact your authorized tire dealer
or original equipment dealer with any questions you may
have on tire specifications or capability. Failure to use
equivalent replacement tires may adversely affect the
safety, handling, and ride of your vehicle.
WARNING!
•
Do not use a tire, wheel size, load rating, or speed
rating other than that specified for your vehicle.
Some combinations of unapproved tires and wheels
may change suspension dimensions and perfor-
mance characteristics, resulting in changes to steer-
ing, handling, and braking of your vehicle. This can
cause unpredictable handling and stress to steering
and suspension components. You could lose control
and have a collision resulting in serious injury or
death. Use only the tire and wheel sizes with load
ratings approved for your vehicle.
• Never use a tire with a smaller load index or capacity,
other than what was originally equipped on your
vehicle. Using a tire with a smaller load index could
result in tire overloading and failure. You could lose
control and have a collision.
(Continued)
468 SERVICING AND MAINTENANCE
Page 580 of 592
How To Stow An Unused ALR Seat Belt........267
Infants And Child Restraints ................255
Lower Anchors And Tethers For Children .......260
Older Children And Child Restraints ...........257
Seating Positions ........................ .259
Using The Top Tether Anchorage .............272
Clean Air Gasoline ........................ .486
Cleaning Wheels ............................... .472
Climate Control ........................... .104
Manual ............................... .104
Coat Hook .............................. .138
Compact Disc (CD) Maintenance ................567
Compact Spare Tire ........................ .470
Connector UCI ................................. .521
Universal Consumer Interface (UCI) ...........521
Contract, Service .......................... .572
Coolant Pressure Cap (Radiator Cap) .............451
Cooling System ........................... .447
Coolant Capacity ........................ .489
Coolant Level .......................... .451
Disposal Of Used Coolant ..................451
Drain, Flush, And Refill ....................448
Inspection ......................... .448, 451Pressure Cap
........................... .451
Radiator Cap .......................... .451
Selection Of Coolant (Antifreeze) .......449, 489, 490
Corrosion Protection ....................... .478
Cruise Control (Speed Control) .................299
Cruise Light .................186, 187, 188, 189, 190
Customer Assistance ....................... .570
Daytime Brightness, Interior Lights ..............100
Daytime Running Lights ......................95
Dealer Service ............................ .436
Defroster, Windshield ....................... .276
Delay
(Intermittent) Wipers ...................101
Diagnostic System, Onboard ...................190
Dipsticks Oil (Engine) ........................... .434
Disabled Vehicle Towing .....................423
Disposal Antifreeze (Engine Coolant) .................451
Door Ajar ............................... .175
Door Ajar Light ........................... .175
Door Locks Key Fob Emergency Key ....................43
Driver’s Seat Back Tilt ........................69
578 INDEX
Page 585 of 592
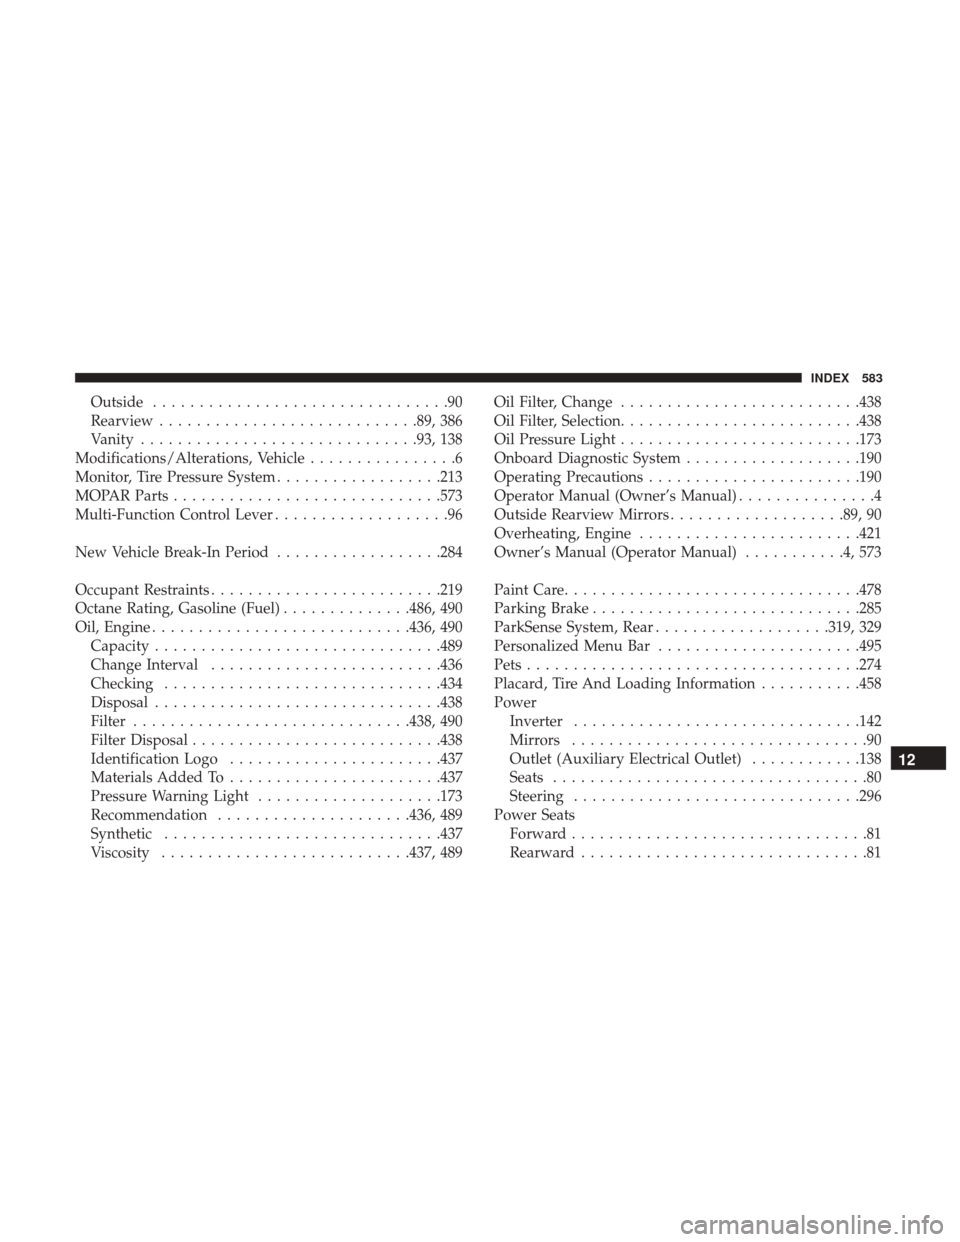
Outside................................90
Rearview ........................... .89, 386
Vanity ............................. .93, 138
Modifications/Alterations, Vehicle ................6
Monitor, Tire Pressure System ..................213
MOPAR Parts ............................ .573
Multi-Function Control Lever ...................96
New Vehicle Break-In Period ..................284
Occupant Restraints ........................ .219
Octane Rating, Gasoline (Fuel) ..............486, 490
Oil, Engine ........................... .436, 490
Capacity .............................. .489
Change Interval ........................ .436
Checking ............................. .434
Disposal .............................. .438
Filter ............................. .438, 490
Filter Disposal .......................... .438
Identification Logo ...................... .437
Materials Added To ...................... .437
Pressure Warning Light ....................173
Recommendation .....................436, 489
Synthetic ............................. .437
Viscosity .......................... .437, 489Oil Filter, Change
......................... .438
Oil Filter, Selection ......................... .438
Oil Pressure Light ......................... .173
Onboard Diagnostic System ...................190
Operating Precautions ...................... .190
Operator Manual (Owner’s Manual) ...............4
Outside Rearview Mirrors ...................89, 90
Overheating, Engine ....................... .421
Owner’s Manual (Operator Manual) ...........4,573
Paint Care ............................... .478
Parking Brake ............................ .285
ParkSense System, Rear ...................319, 329
Personalized Menu Bar ..................... .495
Pets ................................... .274
Placar
d, Tire And Loading Information ...........458
Power Inverter .............................. .142
Mirrors ................................90
Outlet (Auxiliary Electrical Outlet) ............138
Seats ..................................80
Steering .............................. .296
Power Seats Forward ................................81
Rearward ...............................81
12
INDEX 583