AC operation CHRYSLER PT CRUISER 2007 1.G User Guide
[x] Cancel search | Manufacturer: CHRYSLER, Model Year: 2007, Model line: PT CRUISER, Model: CHRYSLER PT CRUISER 2007 1.GPages: 467, PDF Size: 7.57 MB
Page 114 of 467

Front seat belt assemblies must be replaced after a
collision. Rear seat belt assemblies must be replaced after
a collision if they have been damaged (bent retractor, torn
webbing, etc. If there is any question regarding belt or
retractor condition, replace the belt.
Airbag Light
The light should come on and remain on for 6 to 8
seconds as a bulb check when the ignition switch is first
turned ON. If the LED is not lit during starting, have it
checked. If the light stays on or comes on while driving,
have the system checked by an authorized dealer.
Defroster
Check operation by selecting the defrost mode and place
the blower control on high speed. You should be able to
feel the air directed against the windshield.
Periodic Safety Checks You Should Make Outside
The Vehicle
Tires
Examine tires for excessive tread wear or uneven wear
patterns. Check for stones, nails, glass, or other objects
lodged in the tread. Inspect tread and sidewall for cuts or
cracks. Check wheel nuts for tightness, and tires (includ-
ing spare) for proper pressure.
Lights
Have someone observe the operation of exterior lights
while you work the controls. Check turn signal and high
beam indicator lights on the instrument panel.
Fluid Leaks
Check area under vehicle after overnight parking for fuel,
engine coolant, oil or other fluid leaks. Also, if gasoline
fumes are detected or fuel, power steering fluid or brake
fluid leaks are suspected, the cause should be located and
corrected immediately.
114 THINGS TO KNOW BEFORE STARTING YOUR VEHICLE
Page 115 of 467

UNDERSTANDING THE FEATURES OF YOUR VEHICLE
CONTENTS
mConvertible Top Operation................119
NTo Lower The Top.....................119
NTo Raise The Top.....................122
NConvertible Top Boot Cover Installation±
If Equipped.........................124
NConvertible Top Boot Cover Removal And
Storage............................128
NConvertible Top Manual Override.........130
mMirrors..............................131
NInside Day/Night Mirror Ð If Equipped.....131NOutside MirrorÐDriver's Side............132
NOutside MirrorÐPassenger's Side..........132
NElectric Remote-Control Mirrors Ð
If Equipped.........................133
NIlluminated Vanity Mirrors Ð If Equipped . . . 133
NSun Visor Sliding Feature...............134
mHands±Free Communication (UConnectŸ) Ð
If Equipped...........................134
NOperations..........................136
NPhone Call Features...................143
3
Page 117 of 467

NDaytime Running Lights (DRL) Ð
If Equipped.........................183
NLights-On Reminder...................183
NFog Lights Ð If Equipped...............183
NTurn Signals.........................184
NHighbeam/Lowbeam Select Switch.........185
NPassing Light........................185
mWindshield Wipers And Washers...........186
NWindshield Washers...................186
NMist Feature.........................187
NWindshield Wiper Operation.............187
NIntermittent Wiper System...............188
mTilt Steering Column....................189mElectronic Speed Control Ð If Equipped......190
NTo Activate..........................190
NTo Set At A Desired Speed...............191
NTo Deactivate........................191
NTo Resume Speed.....................191
NTo Vary The Speed Setting...............191
NManual Transaxle.....................192
NTo Accelerate For Passing...............192
mGarage Door Opener Ð If Equipped.........193
NProgramming The Universal Transceiver.....195
NªRolling Codeº Programming............197
NCanadian Programming/Gate Programming . . 198
NOperation...........................199
UNDERSTANDING THE FEATURES OF YOUR VEHICLE 117
3
Page 119 of 467

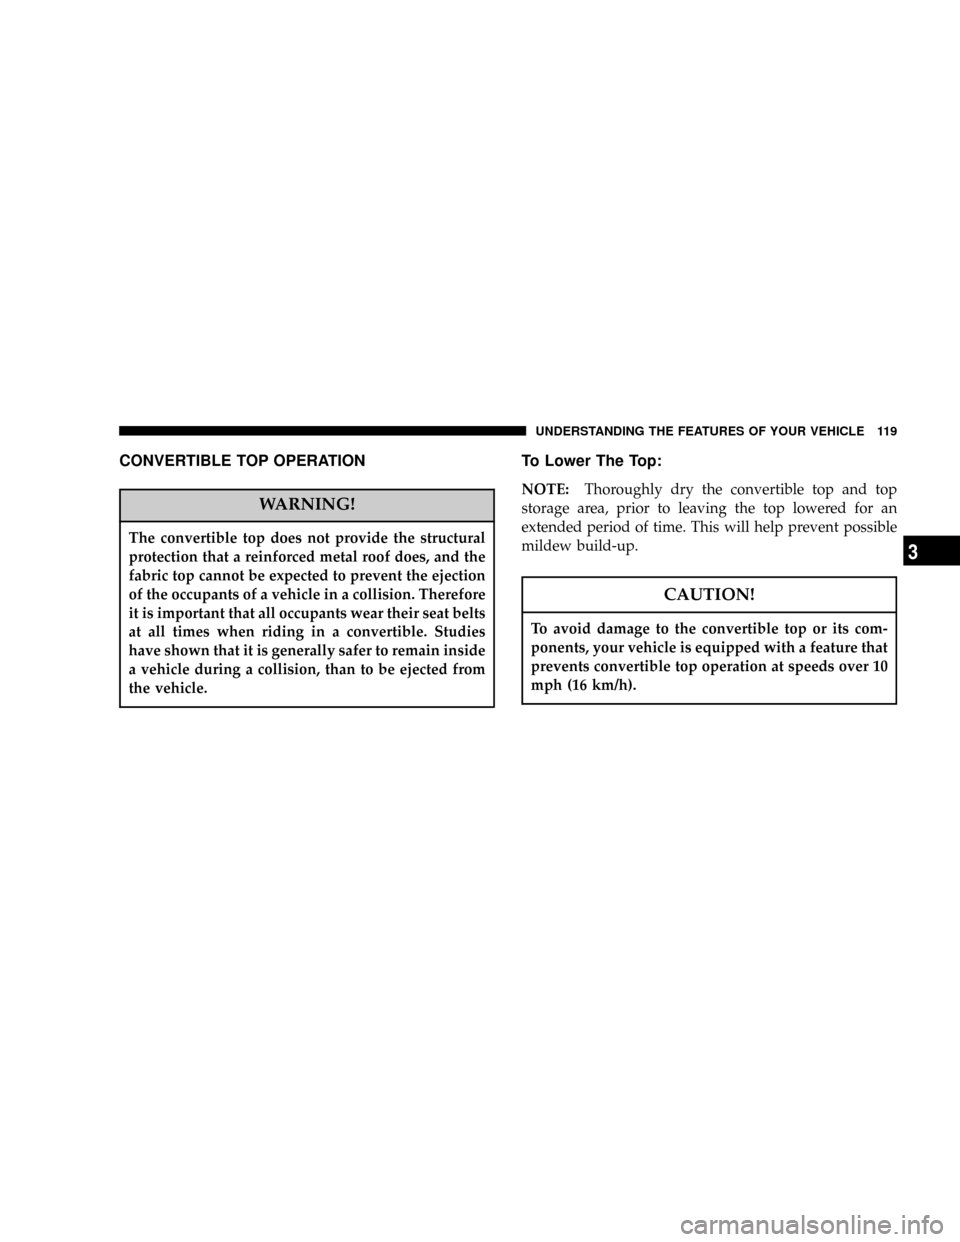
CONVERTIBLE TOP OPERATION
WARNING!
The convertible top does not provide the structural
protection that a reinforced metal roof does, and the
fabric top cannot be expected to prevent the ejection
of the occupants of a vehicle in a collision. Therefore
it is important that all occupants wear their seat belts
at all times when riding in a convertible. Studies
have shown that it is generally safer to remain inside
a vehicle during a collision, than to be ejected from
the vehicle.
To Lower The Top:
NOTE:Thoroughly dry the convertible top and top
storage area, prior to leaving the top lowered for an
extended period of time. This will help prevent possible
mildew build-up.
CAUTION!
To avoid damage to the convertible top or its com-
ponents, your vehicle is equipped with a feature that
prevents convertible top operation at speeds over 10
mph (16 km/h).
UNDERSTANDING THE FEATURES OF YOUR VEHICLE 119
3
Page 122 of 467

4. Continue pressing the Power Top Switch until the
convertible top is lowered completely.
5. Install the Convertible Top Boot Cover, if equipped.
Refer to Convertible Top Boot Cover Installation±If
Equipped, in this section.
CAUTION!
Damage to the convertible top boot cover could
result if the latch handle is not completely closed
when the top is lowered. The convertible top boot
cover cannot be installed while the latch handle is
open.
To Raise The Top:
CAUTION!
To avoid damage to the convertible top or its com-
ponents, your vehicle is equipped with a feature that
prevents convertible top operation at speeds over 10
mph (16 km/h).
CAUTION!
To fully insure that no damage occurs, be sure that
the vehicle is at a complete stop with the gear
selector in the Park position (automatic transaxle) or
in the Neutral position (manual transaxle) before
lowering or raising the top.
122 UNDERSTANDING THE FEATURES OF YOUR VEHICLE
Page 136 of 467

The UConnectŸ system can be used with any Hands-
Free Profile certified BluetoothŸ cellular phone. See
www.chrysler.com/uconnect for supported phones. If
your cellular phone supports a different profile (e.g.,
Headset Profile), you may not be able to use any UCon-
nectŸ features. Refer to your cellular service provider or
the phone manufacturer for details.
The UConnectŸ system is fully integrated with the
vehicle's audio system. The volume of the UConnectŸ
system can be adjusted either from the radio volume
control knob, or from the steering wheel radio control
(right switch), if so equipped.
The radio display will be used for visual prompts from
the UConnectŸ system such as9CELL9or caller ID on
certain radios.Operations
Voice commands can be used to operate the UConnectŸ
system and to navigate through the UConnectŸ menu
structure. Voice commands are required after most
UConnectŸ system prompts. You will be prompted for a
specific command and then guided through the available
options.
²Prior to giving a voice command, one must wait for
the voice on beep, which follows the9Ready9prompt
or another prompt.
²For certain operations, compound commands can be
used. For example, instead of saying9Setup9and then
9Phone Pairing,9the following compound command
can be said:9Setup Phone Pairing.9
²For each feature explanation in this section, only the
combined form of the voice command is given. You
can also break the commands into parts and say each
part of the command, when you are asked for it. For
136 UNDERSTANDING THE FEATURES OF YOUR VEHICLE
Page 142 of 467

²After you enter the name, the UConnectŸ system will
ask you which designation you wish to delete, home,
work, mobile, or pager. Say the designation you wish
to delete.
²Note that only the phonebook entry in the current
language is deleted.
After confirmation, the phonebook entries will be de-
leted. Note that only the phonebook in the current
language is deleted.
Delete All Entries in the UConnectŸ Phonebook
²
Press the 'Phone' button to begin.
²After the9Ready9prompt and the following beep, say
9Phonebook Erase All.9
²The UConnectŸ system will ask you to verify that you
wish to delete all the entries from the phonebook.
²After confirmation, the phonebook entries will be
deleted.
List All Names in the UConnectŸ Phonebook
²
Press the 'Phone' button to begin.
²After the9Ready9prompt and the following beep, say
9Phonebook List Names.9
²The UConnectŸ system will play the names of all the
phonebook entries.
²To call one of the names in the list, press the9Voice
Recognition' button during the playing of the desired
name, and then say9Call.9NOTE: the user can also
exercise9Edit9or9Delete9operations at this point.
²The UConnectŸ system will then prompt you as to
number designation you wish to call.
²The selected number will be dialed.
142 UNDERSTANDING THE FEATURES OF YOUR VEHICLE
Page 146 of 467

²After the9Ready9prompt and the following beep, say
the name of the language you wish to switch to
(English, Espanol, or Francais, if so equipped).
²Continue to follow the system prompts to complete
language selection.
After selecting one of the languages, all prompts and
voice commands will be in that language.
NOTE:After every UConnectŸ language change op-
eration, only the language specific 32-name phonebook is
usable. The paired phone name is not language specific
and usable across all languages.
For command translations and alternate commands in
supported languages, refer to ªCommand Translationsº
at the end of this section.
Emergency Assistance
If you are in an emergency and the mobile phone is
reachable:
²Pick up the phone and manually dial the emergency
number for your area.
If the phone is not reachable and the UConnectŸ system
is operational, you may reach the emergency number as
follows:
²Press the 'Phone' button to begin.
²After the9Ready9prompt and the following beep, say
9Emergency9and the UConnectŸ system will instruct
the paired cellular phone to call the emergency num-
ber. This feature is only supported in the USA.
NOTE:The emergency number dialed is based on the
Country where the vehicle is purchased (911 for USA and
Canada and 060 for Mexico). The number dialed may not
be applicable with the available cellular service and area.
The UConnectŸ system does slightly lower your chances
of successfully making a phone call as compared to that
for the cell phone directly.
146 UNDERSTANDING THE FEATURES OF YOUR VEHICLE
Page 153 of 467

²In a convertible vehicle, the system performance may
be compromised with roof top down.
²Even though the system is designed for users speaking
in North American English, French, and Spanish ac-
cents, the system may not always work for some.
²When navigating through an automated system, such
as voice mail, or when sending a page at the end of
speaking the digit string, make sure to say9send.9
²Storing names in phonebook when vehicle is not in
motion is recommended.
²It is not recommended to store similar sounding
names in the UConnectŸ phonebook.
²UConnectŸ phonebook nametag recognition rate is
optimized for the voice of the person who stored the
name in the phonebook.
²You can say9O9(letter9O9) for909(zero).98009must be
spoken9eight-zero-zero.9
²Even though international dialing for most number
combinations is supported, some shortcut dialing
number combinations may not be supported.
Far End Audio Performance
²
Audio quality is maximized under:
²low-to-medium blower setting,
²low-to-medium vehicle speed,
²low road noise,
²smooth road surface,
²fully closed windows, and
²dry weather condition.
²Operation from driver seat.
UNDERSTANDING THE FEATURES OF YOUR VEHICLE 153
3
Page 159 of 467

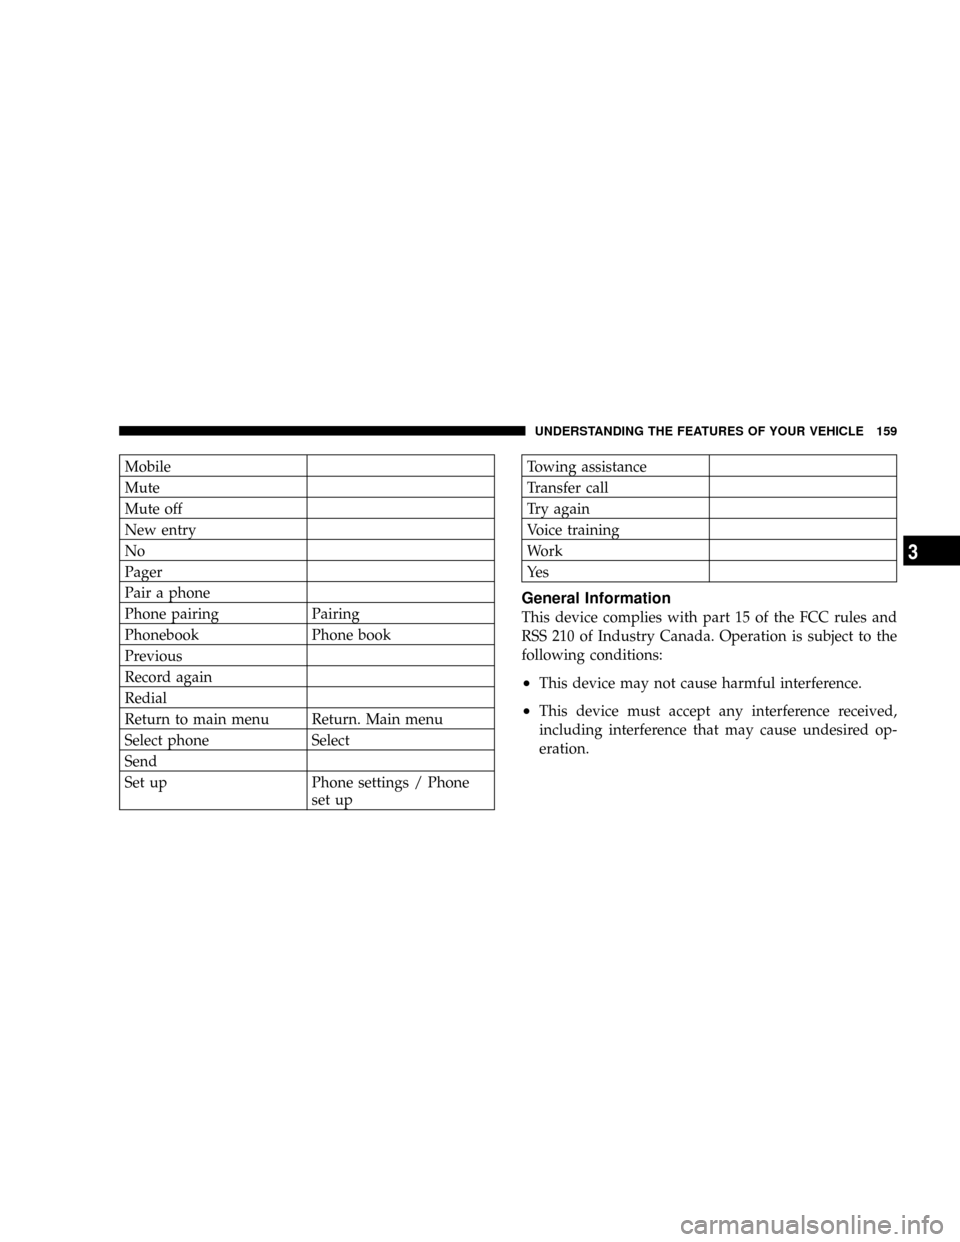
Mobile
Mute
Mute off
New entry
No
Pager
Pair a phone
Phone pairing Pairing
Phonebook Phone book
Previous
Record again
Redial
Return to main menu Return. Main menu
Select phone Select
Send
Set up Phone settings / Phone
set upTowing assistance
Transfer call
Try again
Voice training
Work
Ye s
General Information
This device complies with part 15 of the FCC rules and
RSS 210 of Industry Canada. Operation is subject to the
following conditions:
²This device may not cause harmful interference.
²This device must accept any interference received,
including interference that may cause undesired op-
eration.
UNDERSTANDING THE FEATURES OF YOUR VEHICLE 159
3