charging CHRYSLER PT CRUISER 2010 1.G User Guide
[x] Cancel search | Manufacturer: CHRYSLER, Model Year: 2010, Model line: PT CRUISER, Model: CHRYSLER PT CRUISER 2010 1.GPages: 60, PDF Size: 6.19 MB
Page 8 of 60

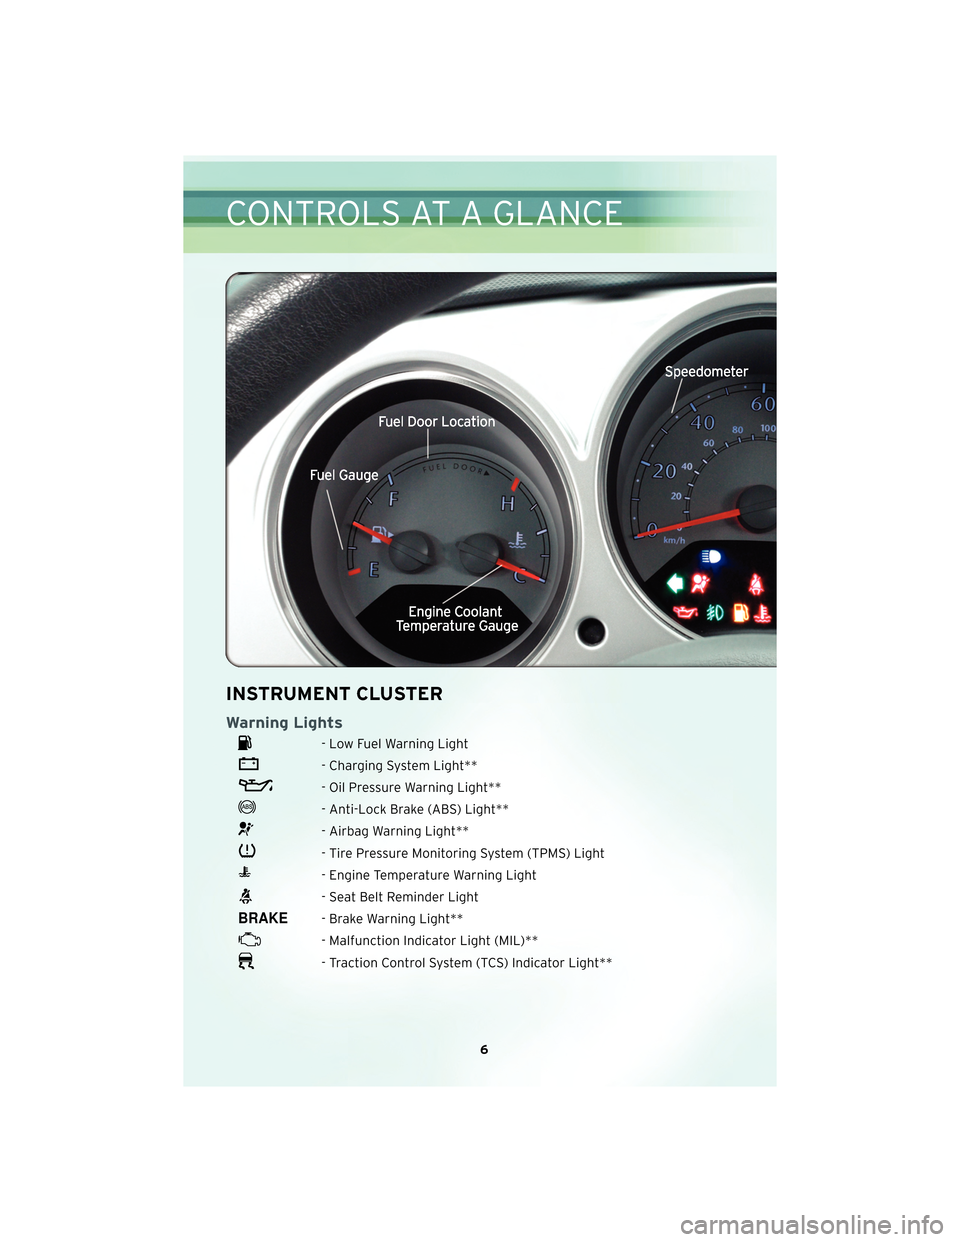
INSTRUMENT CLUSTER
Warning Lights
- Low Fuel Warning Light
- Charging System Light**
- Oil Pressure Warning Light**
- Anti-Lock Brake (ABS) Light**
- Airbag Warning Light**
- Tire Pressure Monitoring System (TPMS) Light
- Engine Temperature Warning Light
- Seat Belt Reminder Light
- Brake Warning Light**
- Malfunction Indicator Light (MIL)**
- Traction Control System (TCS) Indicator Light**
6
CONTROLS AT A GLANCE
Page 30 of 60

• We recommend you drive to the nearest Service Center and have the vehicleserviced immediately.
WARNING!
Driving a vehicle with the red brake light on is dangerous. Part of the brake system
may have failed. It will take longer to stop the vehicle. You could have an accident.
Have the vehicle checked immediately.
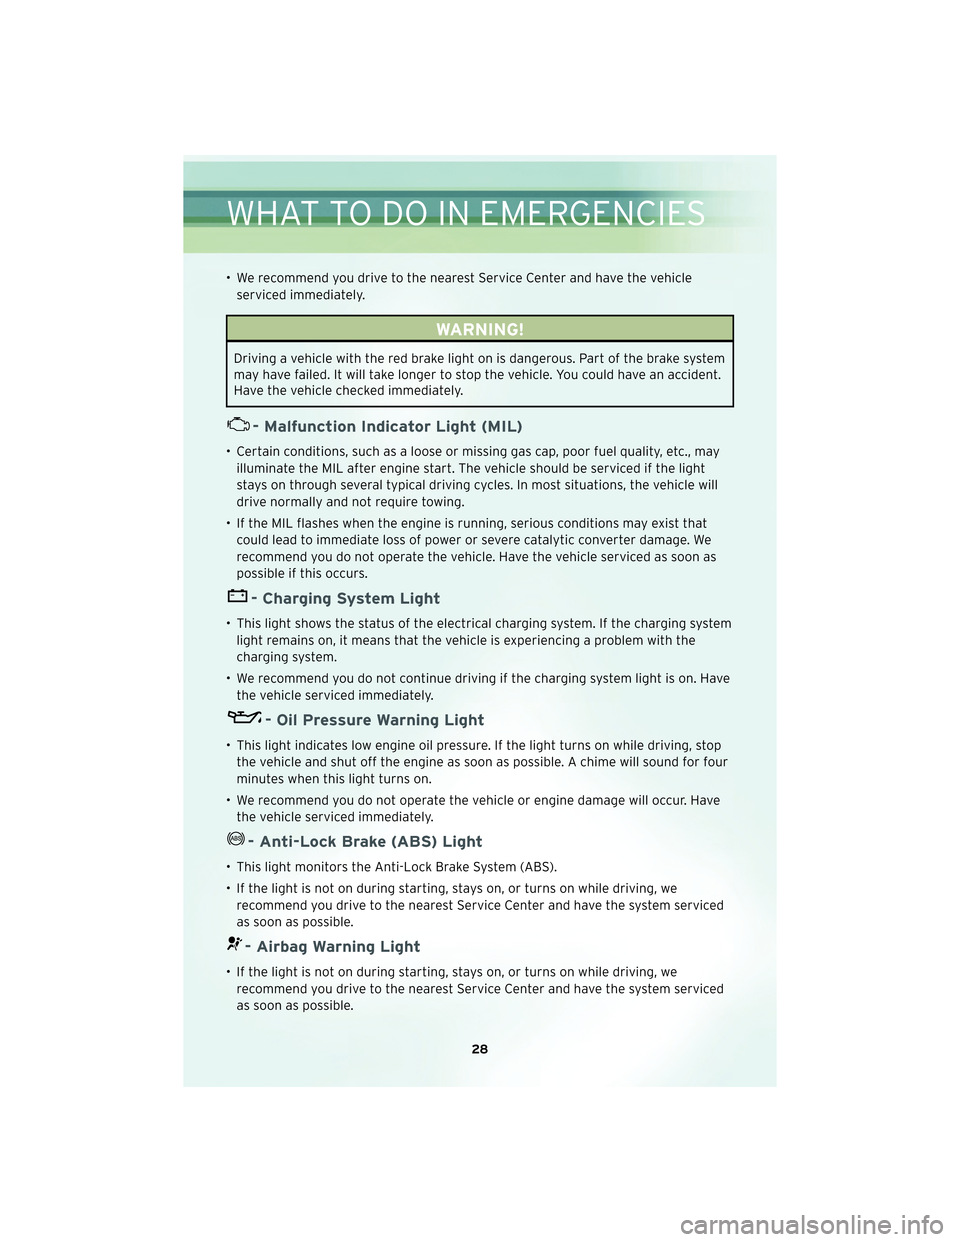
- Malfunction Indicator Light (MIL)
• Certain conditions, such as a loose or missing gas cap, poor fuel quality, etc., mayilluminate the MIL after engine start. The vehicle should be serviced if the light
stays on through several typical driving cycles. In most situations, the vehicle will
drive normally and not require towing.
• If the MIL flashes when the engine is running, serious conditions may exist that could lead to immediate loss of power or severe catalytic converter damage. We
recommend you do not operate the vehicle. Have the vehicle serviced as soon as
possible if this occurs.
- Charging System Light
• This light shows the status of the electrical charging system. If the charging systemlight remains on, it means that the vehicle is experiencing a problem with the
charging system.
• We recommend you do not continue driving if the charging system light is on. Have the vehicle serviced immediately.
- Oil Pressure Warning Light
• This light indicates low engine oil pressure. If the light turns on while driving, stopthe vehicle and shut off the engine as soon as possible. A chime will sound for four
minutes when this light turns on.
• We recommend you do not operate the vehicle or engine damage will occur. Have the vehicle serviced immediately.
- Anti-Lock Brake (ABS) Light
• This light monitors the Anti-Lock Brake System (ABS).
• If the light is not on during starting, stays on, or turns on while driving, werecommend you drive to the nearest Service Center and have the system serviced
as soon as possible.
- Airbag Warning Light
• If the light is not on during starting, stays on, or turns on while driving, werecommend you drive to the nearest Service Center and have the system serviced
as soon as possible.
WHAT TO DO IN EMERGENCIES
28
Page 38 of 60

Jump-Starting Procedure
WARNING!
Failure to follow this procedure could result in personal injury or property damage
due to battery explosion.
CAUTION!
Failure to follow these procedures could result in damage to the charging system
of the booster vehicle or the discharged vehicle.
• Connect the positive (+)end of the jumper cable to the positive (+)post of the
discharged vehicle.
• Connect the opposite end of the positive (+)jumper cable to the positive (+)post
of the booster battery.
• Connect the negative end (-)of the jumper cable to the negative (-)post of the
booster battery.
• Connect the opposite end of the negative (-)jumper cable to the stud on the hood
latch assembly (-)of the vehicle with the discharged battery.
WARNING!
Do not connect the cable to the negative post (-)of the discharged battery. The
resulting electrical spark could cause the battery to explode and could result in
personal injury.
• Start the engine in the vehicle that has the booster battery, let the engine idle a few minutes, and then start the engine in the vehicle with the discharged battery.
Once the engine is started, remove the jumper cables in the reverse sequence:
• Disconnect the negative (-)jumper cable from the stud on the hood latch assembly
(-) of the vehicle with the discharged battery.
• Disconnect the negative end (-)of the jumper cable from the negative (-)post of
the booster battery.
• Disconnect the opposite end of the positive (+)jumper cable from the positive (+)
post of the booster battery.
• Disconnect the positive (+)end of the jumper cable from the positive (+)post of
the discharged vehicle.
• If frequent jump-starting is required to start your vehicle you should have the battery and charging system inspected at your authorized dealer.
WHAT TO DO IN EMERGENCIES
36