CHRYSLER SEBRING CONVERTIBLE 2004 2.G Manual PDF
Manufacturer: CHRYSLER, Model Year: 2004, Model line: SEBRING CONVERTIBLE, Model: CHRYSLER SEBRING CONVERTIBLE 2004 2.GPages: 271, PDF Size: 5.31 MB
Page 71 of 271

To Activate:
Press the ON/OFF switch to turn the speed control
system ON. To turn the system OFF, press the ON/OFF
switch again. The system should be turned OFF when not
in use. The CRUISE Indicator in the instrument cluster
will light up when the Speed Control is ON.
NOTE:You must press the ON button to activate the
system each time the engine is started.
WARNING!
Leaving the Electronic Speed Control system ON
when not in use is dangerous. You could accidentally
set the system or cause it to go faster than you want.
You could lose control and have an accident. Always
leave the system OFF when you aren't using it.
To Set At A Desired Speed:
When the vehicle has reached the desired speed and the
system is ON, press and release the SET button. Release
the accelerator and the vehicle will operate at the selected
speed. The speed control is now Engaged.
To Deactivate:
A soft tap on the brake pedal, pushing the CANCEL
button, or normal brake or clutch pressure will deactivate
speed control without erasing the memory. Pushing the
ON/OFF button or turning off the ignition turns the
speed control system off and erases the memory.
To Resume Speed:
To resume a previously set speed, push and release the
RESUME/ACCEL button. Resume can be used at any
speed above 25 mph (40 km/h).
To Vary The Speed Setting:
When the speed control is Engaged (actively controlling
to a SET speed), speed can be increased by pressing and
holding the RESUME/ACCEL button. When the button
is released, a new set speed will be established.
Tapping the RESUME/ACCEL button once will result in
a 2 mph (3 km/h) increase in the SET speed. Each time
the button is tapped, the SET speed increases. For ex-
ample tapping the button three times will increase speed
by 6 mph (10 km/h), etc.
UNDERSTANDING THE FEATURES OF YOUR VEHICLE 71
3
Page 72 of 271

To decrease speed while speed control is Engaged, press
and hold the COAST button. Releasing the button when
the desired speed is reached, will establish a new SET
speed.
Tapping the COAST button once will result ina1mph
(1.6 km/h) decrease in the SET speed. Each time the
button is tapped, the SET speed decreases. For example,
tapping the button three times will decrease speed by 3
mph (5 km/h).
To Accelerate For Passing:
NOTE:
If the set speed is exceeded by 20 mph (32
km/h) or more during the acceleration, the set speed will
have to manually re-engaged.
Depress the accelerator as you would normally. When the
pedal is released, the vehicle will return to the SET speed.
Using Speed Control On Hills
Vehicles with automatic transmissions are equipped with
Interactive Speed Control. This feature operates when
travelling up or down hills with the Speed Control
engaged and the driver's foot off of the accelerator.
When Climbing A Hill
If vehicle speed drops 3 mph (5 km/h) below the Speed
Control set speed, the transaxle will downshift to third
gear. Under severe conditions the transaxle may down-
shift again to second gear. The transaxle will upshift to
fourth gear after the vehicle has reached the top of the
hill.
When Descending A Hill
If vehicle speed rises 3 mph (5 km/h) over the Speed
Control set speed, the transaxle will downshift to third
gear. This provides engine braking to keep vehicle speed
under control. The transaxle will not downshift below
third gear to control vehicle overspeed. The transaxle will
upshift to fourth gear after the vehicle has reached the
bottom of the hill.
NOTE:On very steep hills, a greater speed loss or gain
may occur. It may be preferable to drive without Speed
Control.
72 UNDERSTANDING THE FEATURES OF YOUR VEHICLE
Page 73 of 271

Rolling Hills
The transaxle may downshift into third gear and remain
there as the vehicle travels over rolling hills. The trans-
axle will upshift into fourth gear when the road flattens
out.
The transaxle will resume its normal shift schedule if you
depress the accelerator pedal during any of the above
conditions.
WARNING!
Speed Control can be dangerous where the system
can't maintain a constant speed. Your vehicle could
go too fast for the conditions, and you could lose
control. An accident could be the result. Don't use
Speed Control in heavy traffic or on roads that are
winding, icy, snow-covered, or slippery.
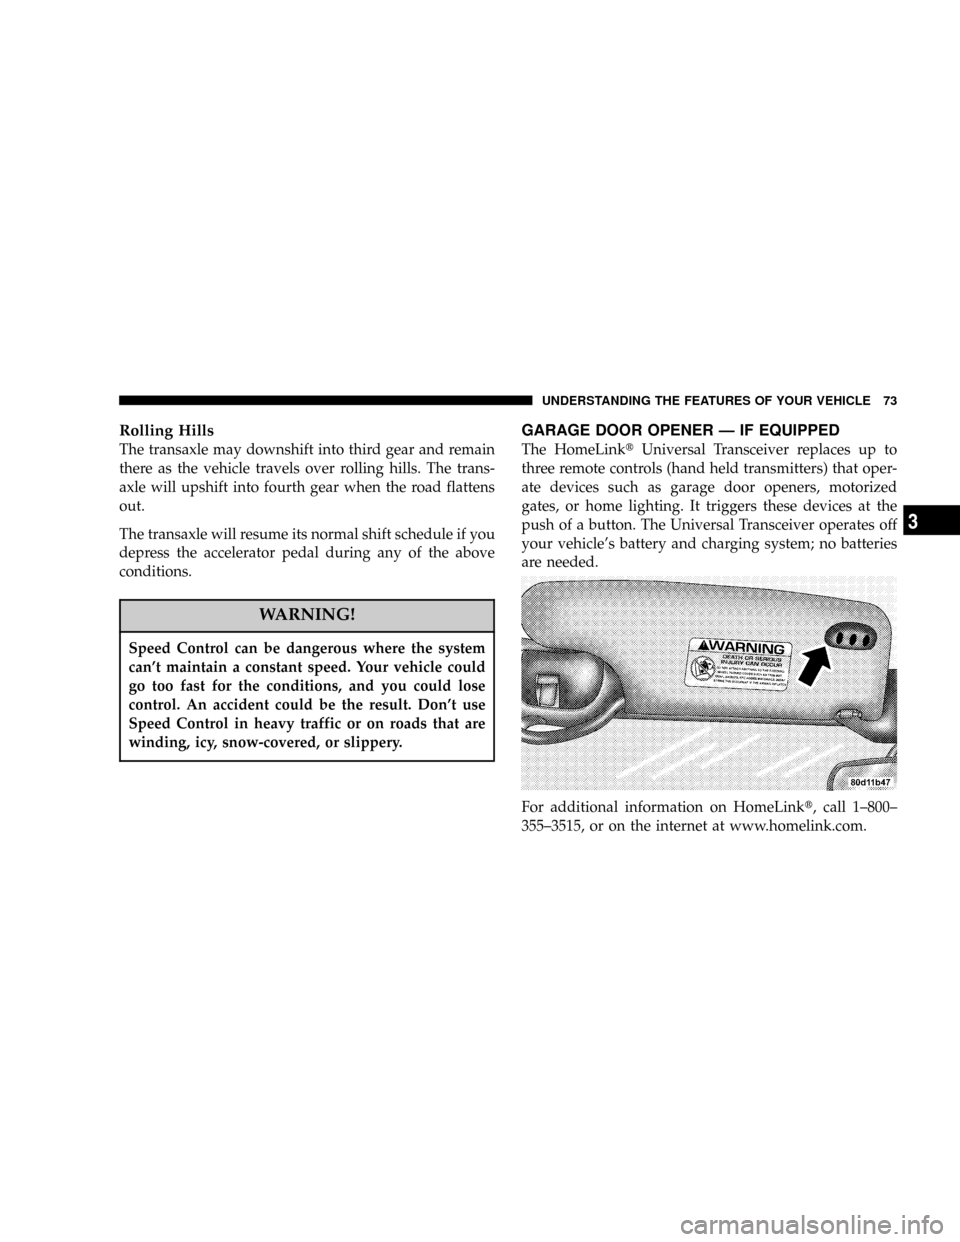
GARAGE DOOR OPENER Ð IF EQUIPPED
The HomeLinktUniversal Transceiver replaces up to
three remote controls (hand held transmitters) that oper-
ate devices such as garage door openers, motorized
gates, or home lighting. It triggers these devices at the
push of a button. The Universal Transceiver operates off
your vehicle's battery and charging system; no batteries
are needed.
For additional information on HomeLinkt, call 1±800±
355±3515, or on the internet at www.homelink.com.
UNDERSTANDING THE FEATURES OF YOUR VEHICLE 73
3
Page 74 of 271

WARNING!
A moving garage door can cause injury to people and
pets in the path of the door. People or pets could be
seriously or fatally injured. Only use this transceiver
with a garage door opener that has a ªstop and
reverseº feature as required by federal safety stan-
dards. This includes most garage door opener mod-
els manufactured after 1982. Do not use a garage
door opener without these safety features it could
cause injury or death. Call toll-free 1±800±355±3515
or, on the Internet at www.homelink.com for safety
information or assistance.
Programming The Universal Transceiver
For best results, install a new battery in the hand held
transmitter before programming. If your garage door
opener (located in the garage) is equipped with an
antenna, make sure that the antenna is hanging straight
down.
1. Turn off the engine.
WARNING!
Vehicle exhaust contains carbon monoxide, a danger-
ous gas. Do not run the vehicle's exhaust while
training the transceiver. Exhaust gas can cause seri-
ous injury or death.
WARNING!
Your motorized door or gate will open and close
while you are training the Universal Transceiver. Do
not train the transceiver if people or pets are in the
path of the door or gate. A moving door or gate can
cause serious injury or death to people and pets or
damage to objects.
2. Erase the factory test codes by pressing the two
outside buttons. Release the buttons when the light in the
Universal Transceiver begins to flash (about 20 seconds).
NOTE:Step 2 does not have to be followed to program
additional hand held transmitters.
74 UNDERSTANDING THE FEATURES OF YOUR VEHICLE
Page 75 of 271

3. Choose one of the three Universal Transceiver buttons
to program. Place the hand held controller one to three
inches from the Universal Transceiver while keeping its
indicator light in view.
4. Using both hands, press the hand held transmitter
button and the desired Universal Transceiver button. Do
not release the buttons until step 5 has been completed.
NOTE:Some entry gates and garage door openers may
require you to replace step 4 with the procedures listed
under Canadian Programming.5. The indicator light in the Universal Transceiver will
begin to flash, first slowly and then rapidly. The rapid
flashing indicates successful programming. If after 90
seconds the indicator light does not flash rapidly or goes
out, return to step 1 and repeat the procedure. To train the
other buttons, repeat steps 3 and 4. Be sure to keep your
hand held transmitters in case you need to retrain the
Universal Transceiver.
NOTE:If you do not successfully program the
Universal Transceiver to learn the signal of your hand
held transmitter, refer to the Rolling Code Paragraph, or
call toll free for customer assistance at 1±800±355±3515,
or on the internet at www.homelink.com.
ªRolling Codeº Programming
NOTE:
If your hand held transmitter appears to pro-
gram the Universal Transceiver, but your garage door or
other device does not operate, and your device was
manufactured after 1996, your garage door opener or
other device may have a ªRolling Codeº system.
UNDERSTANDING THE FEATURES OF YOUR VEHICLE 75
3
Page 76 of 271

On garage door openers with the ªRolling Codeº feature,
the transmitter code changes after each use to prevent the
copying of your code.
To check if your device is protected by a ªRolling Codeº
system:
²Check the owner's manual for the device for mention
of ªRolling Codesº.
²Press and hold the programmed button on the Univer-
sal Transceiver. If the Universal Transceiver indicator
light flashes rapidly and then stays on after 2 seconds,
the device has the ªRolling Codeº feature.
To train a garage door opener (or other rolling code
equipped devices) with the rolling code feature, follow
these instructionsaftercompleting theProgramming
portion of this text:
NOTE:The assistance of a second person may make the
following programming procedure quicker and easier.
1. Locate the training button on the garage door motor
head unit. The exact location and color of the button may
vary by garage door opener manufacturer. If you havedifficulty in locating the training button, check your
garage door opener manual, or call 1-800-355-3515 or, on
the Internet, at www.homelink.com.
2. Press and hold the training button on the garage door
opener head unit This will activate the ªtrainingº light.
NOTE:After completing step 2, you have 30 seconds to
start step 3.
3. Return to the Universal Transceiver in the vehicle and
firmly press and release the garage door button. Press
and release the button a second time to complete the
training process. Some garage door openers may require
you to do this procedure a third time to complete the
training.
Your garage door opener should now recognize your
Universal Transceiver. The remaining two buttons may
now be programmed if this has not previously been
done. Refer to the Programming instructions. You may
use either your Universal Transceiver or your original
hand-held transmitter to open you garage door.
76 UNDERSTANDING THE FEATURES OF YOUR VEHICLE
Page 77 of 271

Canadian Programming/Gate Programming
Canadian frequency laws, and the technology of some
entry gates, require you to press and release the hand
held transmitter button every two seconds during pro-
gramming
Continue to press and hold the Universal Transceiver
button while you press and release the hand held trans-
mitter button until the frequency signal has been learned.
The Universal Transceiver light will flash slowly and
then rapidly when the programming is successful.
NOTE:When programming such a garage door opener
or gate, unplug the device to prevent possible damage to
the garage door or gate motor.
Operation
Press and hold the desired button on the Universal
Transceiver until the garage door or other device begins
to operate. The light in the display shows that the signal
is being transmitted. The hand held transmitter may also
be used at any time.
Reprogramming A Single Button
1. Press and hold the Universal Transceiver button to be
reprogrammed. Do not release until step 4 has been
completed.
2. When the indicator light begins to flash slowly (after
20 seconds) position the hand held transmitter one to
three inches away from the button to be trained.
3. Press and hold the hand held transmitter button.
4. The Universal Transceiver indicator light will begin to
flash, first slowly, then rapidly. When the indicator lights
begin to flash rapidly, release both buttons.
Security
If you sell your vehicle, be sure to erase the frequencies.
To erase all of the previously trained frequencies, hold
down both outside buttons until the green light begins to
flash.
This device complies with part 15 of FCC rules and with
RS-210 of Industry Canada. Operation is subject to the
following conditions:
UNDERSTANDING THE FEATURES OF YOUR VEHICLE 77
3
Page 78 of 271

1. This device may not cause harmful interference.
2. This device must accept any interference that may be
received including interference that may cause undesired
operation.
NOTE:Changes or modifications not expressly ap-
proved by the party responsible for compliance could
void the user's authority to operate the equipment.
HomeLinktis a trademark owned by Johnson Controls,
Inc.
ELECTRICAL POWER OUTLET
The power outlet is located in the lower center of your
instrument panel. A second power outlet is located inside
the center console, if so equipped. All accessories con-
nected to any outlet should be removed or turned off
when the vehicle is not in use.
CAUTION!
Electrical Outlet Use With Engine Off
²Many accessories that can be plugged in draw
power from the vehicle's battery, even when not
in use (i.e., cellular phones, etc.). Eventually, if
plugged in long enough, the vehicle's battery will
discharge sufficiently to degrade battery life
and/or prevent engine starting.
²Accessories that draw higher power (i.e., coolers,
vacuum cleaners, lights, etc.) will degrade the
battery even more quickly. Only use these inter-
mittently and with greater caution.
²After the use of high power draw accessories, or
long periods of the vehicle not being started (with
accessories still plugged in), the vehicle must be
driven a sufficient length of time to allow the
alternator to recharge the vehicle's battery.
78 UNDERSTANDING THE FEATURES OF YOUR VEHICLE
Page 79 of 271

UNDERSTANDING YOUR INSTRUMENT PANEL
CONTENTS
mInstruments And Controls.................83
mInstrument Cluster Standard...............84
mInstrument Cluster Premium...............85
mInstrument Cluster ± GTC Model...........86
mInstrument Cluster Description.............87
mCompass, Temperature, And Trip Computer
Display Ð If Equipped
...................92
NControl Buttons.......................92
NTrip Conditions........................93
NCompass Temperature Display.............94
mCigar Lighter/Ashtray...................96
mElectronic Digital Clock..................96NTo Set The Clock.......................96
mRadio General Information................96
NRadio Broadcast Signals..................96
NTwo Types Of Signals...................97
NElectrical Disturbances...................97
NAM Reception........................97
NFM Reception.........................97
mSales Code RAZÐAM/ FM Stereo Radio With
Cassette Tape Player, CD Player And CD
Changer Controls Ð If Equipped
...........97
NOperating Instructions Ð Radio............97
NPower Switch, Volume Control.............97
4
Page 80 of 271

NSeek Button (Radio Mode)................98
NTuning..............................98
NPTY (Program Type) Button...............98
NBalance.............................99
NFade...............................99
NTone Control.........................99
NAM/FM Selection.....................100
NScan Button.........................100
NTo Set The Radio Push-Button Memory......100
NTo Change From Clock To Radio Mode......100
NOperating Instructions Ð Tape Player.......100
NSeek Button.........................101
NFast Forward (FF).....................101
NRewind (RW)........................101
NTape Eject...........................101
NScan Button.........................101NChanging Tape Direction................101
NMetal Tape Selection...................101
NPinch Roller Release...................101
NNoise Reduction......................102
NOperating Instructions Ð CD Player........102
NInserting The Compact Disc..............102
NSeek Button.........................103
NEJT CD (Eject) Button..................103
NFF/Tune/RW........................103
NProgram Button 4 (Random Play)..........103
NMode..............................103
NTape CD Button......................104
NTime Button.........................104
NScan Button.........................104
NCD Changer Control Capability Ð If
Equipped...........................104
80 UNDERSTANDING YOUR INSTRUMENT PANEL