brake light CHRYSLER SEBRING CONVERTIBLE 2010 3.G Owners Manual
[x] Cancel search | Manufacturer: CHRYSLER, Model Year: 2010, Model line: SEBRING CONVERTIBLE, Model: CHRYSLER SEBRING CONVERTIBLE 2010 3.GPages: 457, PDF Size: 8.76 MB
Page 29 of 457
•Hood closed
•Trunk closed
•Hazard switch off
•Brake switch inactive (brake pedal not pressed)
•Ignition key removed from ignition switch
•Battery at an acceptable charge level, and
•RKE PANIC button not pressed
WARNING!
•Do not start or run an engine in a closed garage or
confined area. Exhaust gas contains Carbon Mon-
oxide (CO) which is odorless and colorless. Car-
bon Monoxide is poisonous and can cause serious
injury or death when inhaled.(Continued)
WARNING! (Continued)
•Keep Remote Keyless Entry (RKE) transmitters
away from children. Operation of the Remote Start
System, windows, door locks or other controls
could cause serious injury or death.
To Enter Remote Start Mode
Press and release the REMOTE START button
on the RKE transmitter twice, within five sec-
onds. The parking lights will flash and the horn
will chirp twice (if programmed). Then, the
engine will start and the vehicle will remain in the
Remote Start mode for a 15-minute cycle.
NOTE:
•For security, power window operation is disabled
when the vehicle is in the Remote Start mode.
•The engine can be started two consecutive times (two
15 minute cycles) with the RKE transmitter. However,
28 THINGS TO KNOW BEFORE STARTING YOUR VEHICLE
Page 67 of 457
1. Used for research purposes, such as to match data
with a particular crash record in an aggregate database,
provided confidentiality of personal data is thereafter
preserved.
2. Used in defense of litigation involving a Chrysler
Group LLC product.
3. Requested by police under a legal warrant.
4. Otherwise required by law.
Data parameters that are recorded:
•Diagnostic trouble code(s) and warning light status for
electronically-controlled safety systems, including the
airbag system
•Vehicle speed
•Engine RPM
•Brake switch status
•Pedal position
•And other parameters depending on vehicle
configuration
Child Restraints
Everyone in your vehicle needs to be buckled up all the
time, including babies and children. Every state in the
United States and all Canadian provinces require that
small children ride in proper restraint systems. This is the
law, and you can be prosecuted for ignoring it.
Children 12 years and younger should ride properly
buckled up in a rear seat, if available. According to crash
statistics, children are safer when properly restrained in
the rear seats, rather than in the front.
66 THINGS TO KNOW BEFORE STARTING YOUR VEHICLE
Page 82 of 457
WARNING! (Continued)
•Check mounting of mats on a regular basis. Al-
ways properly reinstall and secure floor mats that
have been removed for cleaning.
•Always make sure that objects cannot fall into the
driver foot well while the vehicle is moving.
Objects can become trapped under the brake pedal
and accelerator pedal causing a loss of vehicle
control.
•If required, mounting posts must be properly
installed, if not equipped from the factory.
Failure to properly follow floor mat installation or
mounting can cause interference with the brake
pedal and accelerator pedal operation causing loss
of control of the vehicle.
Periodic Safety Checks You Should Make Outside
the Vehicle
Tires
Examine tires for excessive tread wear and uneven wear
patterns. Check for stones, nails, glass, or other objects
lodged in the tread. Inspect the tread and sidewall for
cuts and cracks. Check the wheel nuts for tightness.
Check the tires (including spare) for proper pressure.
Lights
Have someone observe the operation of exterior lights
while you work the controls. Check turn signal and high
beam indicator lights on the instrument panel.
2
THINGS TO KNOW BEFORE STARTING YOUR VEHICLE 81
Page 128 of 457
Fog Lights — If Equipped
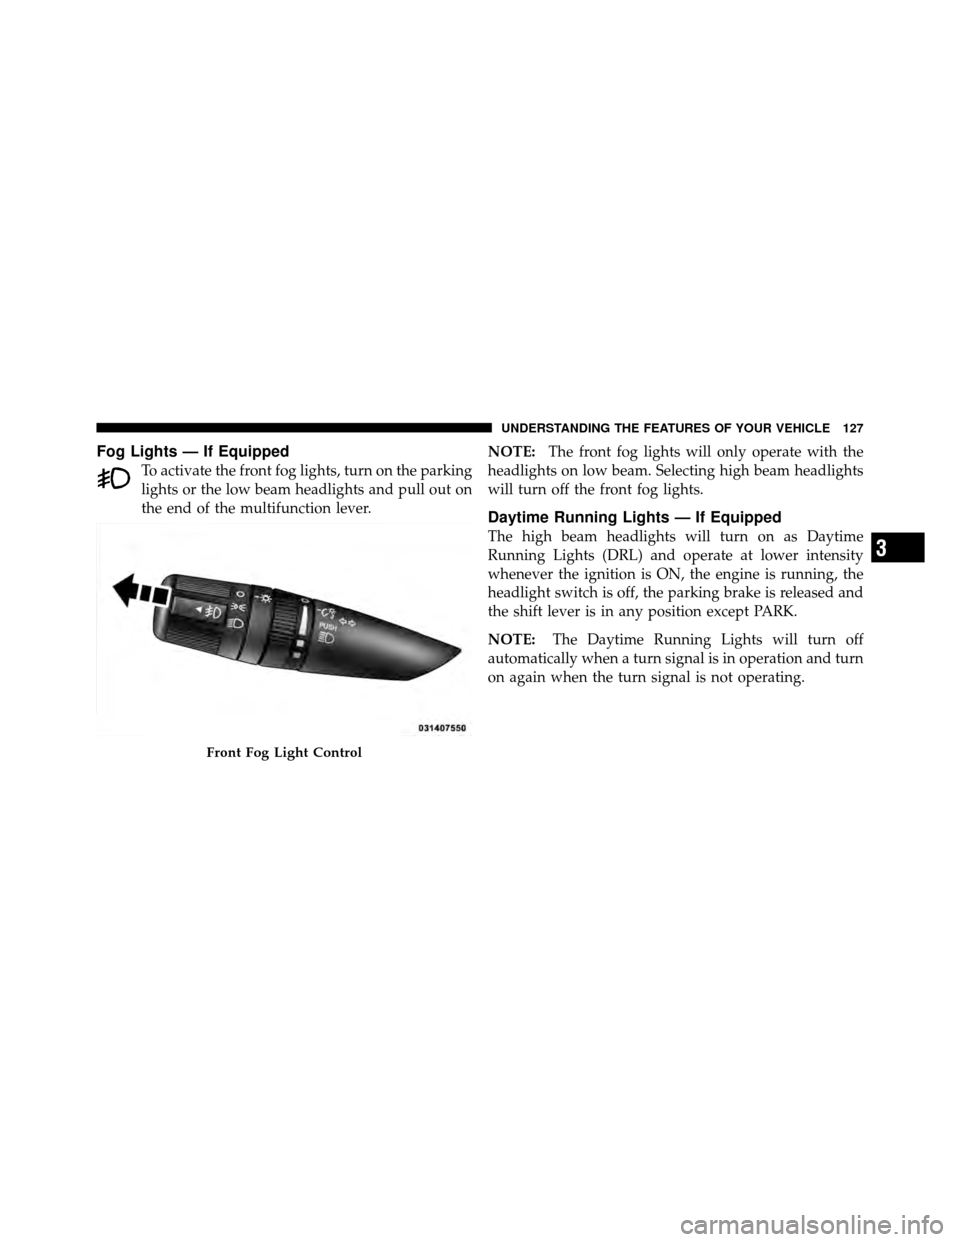
To activate the front fog lights, turn on the parking
lights or the low beam headlights and pull out on
the end of the multifunction lever.NOTE:
The front fog lights will only operate with the
headlights on low beam. Selecting high beam headlights
will turn off the front fog lights.
Daytime Running Lights — If Equipped
The high beam headlights will turn on as Daytime
Running Lights (DRL) and operate at lower intensity
whenever the ignition is ON, the engine is running, the
headlight switch is off, the parking brake is released and
the shift lever is in any position except PARK.
NOTE: The Daytime Running Lights will turn off
automatically when a turn signal is in operation and turn
on again when the turn signal is not operating.
Front Fog Light Control
3
UNDERSTANDING THE FEATURES OF YOUR VEHICLE 127
Page 161 of 457
you do not buckle up, the light will remain on. Refer to
“Occupant Restraints” in “Things To Know Before Start-
ing Your Vehicle” for further information.
9. Oil Pressure Warning LightThis light indicates low engine oil pressure. The
light will come on and remain on when the
ignition switch is turned from the OFF to the ON
position, and the light will turn off after the engine is
started. If the bulb does not come on during starting,
have the system checked by an authorized dealer.
If the light comes on and remains on while driving, stop
the vehicle and shut off the engine. DO NOT OPERATE
THE VEHICLE UNTIL THE CAUSE IS CORRECTED.
The light does not show the quantity of oil in the engine.
This can be determined using the procedure shown in
“Maintaining Your Vehicle”. 10. Engine Temperature Warning Light
This light warns of an overheated engine condi-
tion. If the engine is critically hot, a warning chime
will sound 10 times. After the chime turns off, the
engine will still be critically hot until the light goes out.
11. Brake Warning Light This light monitors various brake functions,
including brake fluid level and parking brake
application. If the brake light turns on, it may
indicate that the parking brake is applied, that
the brake fluid level is low, or that there is a problem with
the anti-lock brake system.
The dual brake system provides a reserve braking capac-
ity in the event of a failure to a portion of the hydraulic
system. Failure of either half of the dual brake system is
indicated by the Brake Warning Light which will turn on
when the brake fluid level in the master cylinder has
dropped below a specified level.
160 UNDERSTANDING YOUR INSTRUMENT PANEL
Page 162 of 457
The light will remain on until the cause is corrected.
NOTE:The light may flash momentarily during sharp
cornering maneuvers which change fluid level condi-
tions. The vehicle should have service performed, and
the brake fluid level checked.
If brake failure is indicated, immediate repair is neces-
sary.
WARNING!
Driving a vehicle with the brake light on is danger-
ous. Part of the brake system may have failed. It will
take longer to stop the vehicle. You could have an
accident. Have the vehicle checked immediately.
Vehicles equipped with Anti-Lock brakes (ABS), are also
equipped with Electronic Brake Force Distribution (EBD). In the event of an EBD failure, the Brake Warning Light
will turn on along with the ABS Light. Immediate repair
to the ABS system is required.
The operation of the Brake Warning Light can be checked
by turning the ignition switch from the OFF position to
the ON position. The light should illuminate for approxi-
mately three seconds. The light should then turn off
unless the parking brake is applied or a brake fault is
detected. If the light does not illuminate, have the light
inspected by an authorized dealer.
The light also will turn on when the parking brake is
applied with the ignition switch in the ON position.
NOTE:
This light shows only that the parking brake is
applied. It does not show the degree of brake application.
4
UNDERSTANDING YOUR INSTRUMENT PANEL 161
Page 167 of 457
If the light is flashing when the engine is running you
may experience power loss, an elevated/rough idle, and
increased brake pedal effort, and your vehicle may
require towing. Immediate service is required.
The light will come on when the ignition switch is first
turned on and remain on approximately 15 seconds as a
bulb check. This is normal. If the light does not come on
during starting, have the system checked by an autho-
rized dealer.
18. Position Light Indicator — If EquippedThis indicator will illuminate when the park
lights or headlights are turned on.
19. Electronic Stability Control (ESC) OFF Indicator
Light — If Equipped This light indicates the Electronic Stability Con-
trol system (ESC) has been turned off by the
driver. 20. Turn Signal Indicators
The arrows will flash in unison with the exterior
turn signal, when using the turn signal lever.
21. Front Fog Light Indicator — If Equipped This indicator will illuminate when the front fog
lights are on.
22. Vehicle Security Light — If Equipped This light will flash rapidly for approximately
16 seconds when the alarm system is arming.
The light will begin to flash slowly indicating
that the system is armed. The light will stop
flashing when the vehicle is disarmed.
23. Anti-Lock Brake (ABS) Light — If Equipped This light monitors the ABS. This light will
come on when the ignition key is turned to the
ON position and may stay on for approxi-
mately three seconds.
166 UNDERSTANDING YOUR INSTRUMENT PANEL
Page 168 of 457
If the ABS light remains on or comes on during driving,
it indicates that the Anti-Lock portion of the brake system
is not functioning and that service is required, however,
the conventional brake system will continue to operate
normally provided that the BRAKE warning light is not
on.
If the ABS light is on, the brake system should be serviced
as soon as possible to restore the benefit of Anti-Lock
Brakes.
The ABS warning light should be checked frequently to
assure that it is operating properly. Turn the ignition key
to the on position, but do not start the vehicle. The light
should come on. If the light does not come on, have the
system inspected by an authorized dealer.24. Electronic Stability Control (ESC) Malfunction
Indicator Light — If Equipped
The “ESC Malfunction Indicator Light” in the
instrument cluster will come on when the
ignition switch is turned to the ON position. It
should go out with the engine running. If the
“ESC Malfunction Indicator Light” comes on continu-
ously with the engine running, a malfunction has been
detected in the ESC system. If this light remains on after
several ignition cycles, and the vehicle has been driven
several miles (kilometers) at speeds greater than 30 mph
(48 km/h), see your authorized dealer as soon as possible
to have the problem diagnosed and corrected.
NOTE:
•The “ESC Off Indicator Light” and the “ESC Malfunc-
tion Indicator Light” come on momentarily each time
the ignition switch is turned ON.
4
UNDERSTANDING YOUR INSTRUMENT PANEL 167
Page 182 of 457
off if they were turned on by this feature. To make your
selection, press and hold the RESET button until ON or
OFF appears.
NOTE:Turning the headlights on during the daytime
causes the instrument panel lights to dim. To increase the
brightness, refer to “Lights” in “Understanding The
Features Of Your Vehicle”.
Key Off Power Delay
When this feature is selected, the power window
switches, radio, Uconnect™ Phone (if equipped), and
power outlets will remain active for up to 10 minutes
after the ignition switch is turned to the LOCK position.
Opening a vehicle door will cancel this feature. To make
your selection, press and hold the RESET button until
OFF, 45 sec, 5 min, or 10 min appears.
Illuminated Approach
When this feature is selected, the headlights will activate
and remain on for up to 90 seconds when the doors are
unlocked with the remote keyless entry transmitter. To
make your selection, press and hold the RESET button
until “OFF,” “30 sec,” “60 sec,” or “90 sec” appears.
Hill Start Assist (HSA) — If Equipped
When on is selected, the HSA system is active. Refer to
“Electronic Brake Control System” in “Starting And
Operating” for system function and operating informa-
tion. To make your selection, press and release the RESET
button until “On” or “Off” appears.
Display Units In
The EVIC and odometer can be changed between English
and Metric units of measure. To make your selection,
press and release the RESET button until “ENGLISH” or
“METRIC” appears.
4
UNDERSTANDING YOUR INSTRUMENT PANEL 181
Page 251 of 457
ENGINE BLOCK HEATER — IF EQUIPPED
The engine block heater warms the engine, and permits
quicker starts in cold weather. Connect the cord to a
standard 110-115 Volt AC electrical outlet with a
grounded, three-wire extension cord.
The engine block heater cord is bundled under the hood
between the headlight assembly and the Totally Inte-
grated Power Module (Fuse Box) on the driver ’s side of
the vehicle.
WARNING!
Remember to disconnect the cord before driving.
Damage to the 110-115 Volt electrical cord could cause
electrocution.
AUTOMATIC TRANSMISSION
CAUTION!
Damage to the transmission may occur if the follow-
ing precautions are not observed:
•Shift the shift lever into PARK only after the
vehicle has come to a complete stop.
•Shift the shift lever into or out of REVERSE only
after the vehicle has come to a complete stop and
the engine is at idle speed.
•Do not shift the shift lever from REVERSE, PARK,
or NEUTRAL into any forward gear when the
engine is above idle speed.
•Before shifting the shift lever into any gear, make
sure your foot is firmly on the brake pedal.
250 STARTING AND OPERATING