door lock CHRYSLER SEBRING COUPE 2004 2.G Owner's Manual
[x] Cancel search | Manufacturer: CHRYSLER, Model Year: 2004, Model line: SEBRING COUPE, Model: CHRYSLER SEBRING COUPE 2004 2.GPages: 382, PDF Size: 2.23 MB
Page 51 of 382

Alarm deactivation
The alarm can be deactivated in the following ways.
1. By turning the key (in the driver's, passenger 's door or
the trunk lid) in either direction (toward lock or unlock).
2. By using the remote keyless transmitter to lock or
unlock the door or trunk lid.
Disarmed stage
The system will be disarmed when either of the following
steps are taken:
1. The front driver's door, passenger's door or the trunk
lid is unlocked by using the key or the remote keyless
transmitter.
2. The ignition key is turned to the ªACCº or ªON º
position.
F30A0040T
Disarm....by key (or by keyless transmitter)
LOCKING AND UNLOCKING 51
2
Page 52 of 382
3. If the UNLOCK switch is pressed when all doors are
closed and no door is opened within approximately 30
seconds, re-arming will automatically occur.
NOTE: Once the system has been disarmed, it cannot be
rearmed except by repeating the arming procedure.
Testing the theft-alarm system
Use the following procedure to test the system:
1. Lower the driver's window.
2. Arm the system as explained in ªArmed stageº.
3. Make sure that the theft-alarm indicator illuminates
and goes off in approximately 20 seconds.
4. Wait a few seconds and then unlock the driver's side
door by using the inside door lock knob and opening the
door.
5. Check to be sure that the horn sounds intermittently
and the headlights blink on and off when the door is
opened.6. Disarm the system by unlocking the front driver's
door, passenger's door or the trunk lid by using the key
or the remote keyless transmitter.
NOTE: To make sure the alarm sounds when the trunk
lid is opened, open the trunk lid by using the trunk lid
release lever.
52 LOCKING AND UNLOCKING
Page 55 of 382
Your vehicle has seat belts and other features that help
protect you and your passengers in an accident.
Seat belts are the most important safety device. When
worn properly, seat belts can reduce the chance of serious
injury or death in various types of crashes. For added
protection during a severe frontal collision, your vehicle
has a Supplemental Restraint System (SRS) with air bags
for the driver and front seat passenger. The seats, head
restraints, and door locks also are safety equipment,
which must be used correctly.
Always check the following before you drive:
1. Everyone in the vehicle is properly wearing their seat
belt.
2. Infants and small children are properly secured in
appropriate child restraints in the rear seat.
3. All doors are closed and locked.
4. Seat backs are fully upright, with head restraints
properly adjusted.No safety equipment can prevent all injuries or deaths
that can occur in severe collisions, but by making sure all
your passengers follow the instructions in this manual,
you can help reduce the risk of injury.
FRONT SEATS
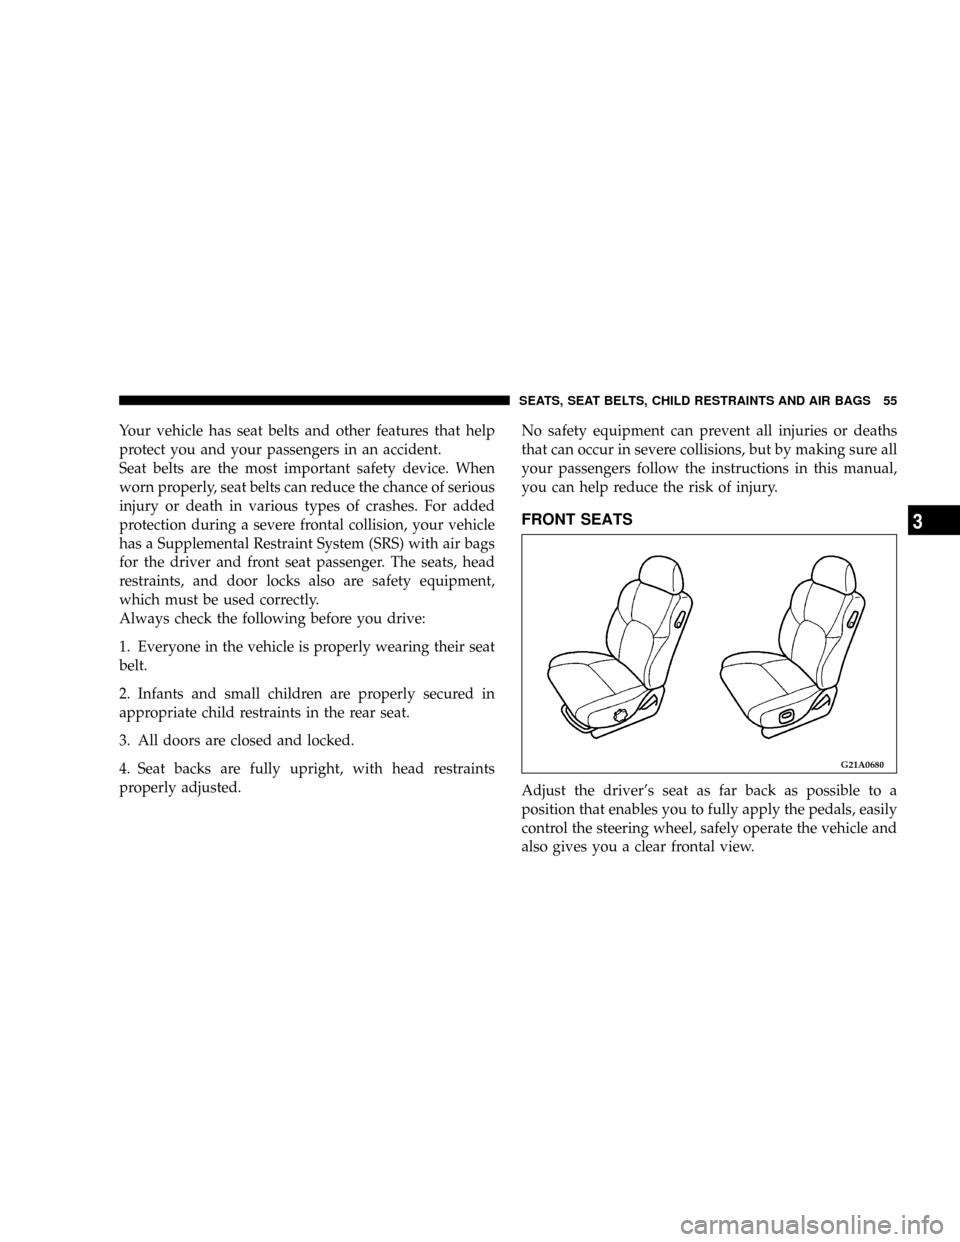
Adjust the driver's seat as far back as possible to a
position that enables you to fully apply the pedals, easily
control the steering wheel, safely operate the vehicle and
also gives you a clear frontal view.
G21A0680
SEATS, SEAT BELTS, CHILD RESTRAINTS AND AIR BAGS 55
3
Page 66 of 382
SEAT BELTS
Seat belts are installed in your vehicle for the protection
of the driver and passengers.
Always use the seat belts. In an accident, injury to the
driver and passengers may be reduced if the seat belts are
properly used.
NOTE: Legislation in your state may require seat belt
usage; however, even if it is not required seat belts should
always be used.
WARNING!
²Lock all doors before driving to reduce the risk of
injury or ejection in a collision.
²Seat belts should always be worn by every adult who
drives or rides in this vehicle, and by all children
who are large enough to wear seat belts properly.
²Never use one seat belt for more than one occupant.
²Never carry more people in the vehicle than there
are seat belts.
²Always adjust the belt for a snug fit.
²Always route the shoulder belt over your shoulder
and across your chest. Never put it behind you or
under your arm.
²Always wear the lap belt as low as possible across
your hips, not around your waist.
²To reduce the risk of serious or fatal injury in a
collision, including from a deploying driver air
bag, the driver should adjust the driver's seat to
the rear most position that still allows good vis-
ibility and good control of the steering wheel, the
brake, accelerator, and vehicle controls.
66 SEATS, SEAT BELTS, CHILD RESTRAINTS AND AIR BAGS
Page 85 of 382

WARNING!
²Children who are not buckled up, with all the
doors locked, can be thrown out of the vehicle or
otherwise be seriously or fatally injured in the
event of a collision.
²A child should never be left unattended or unsu-
pervised around the vehicle. When you leave the
vehicle, always take the child out as well.
²Children can die from heat stroke if trapped
inside vehicles, especially on hot days.
²Keep vehicles locked and trunks closed when not
in use. Keep vehicle keys away from children.
Seat Belts And Pregnant Women
We recommend that pregnant women use the seat belts
throughout their pregnancy. Keeping the mother safe is
the best way to keep the baby safe.
Pregnant women should wear the lap part of the belt
across the thighs and as snug across the hips as possible.
Keep the belt low so that it does not come across the
abdomen. That way the strong bones of the hips will take
the force if there is a collision.
SEATS, SEAT BELTS, CHILD RESTRAINTS AND AIR BAGS 85
3
Page 101 of 382
INSTRUMENTS AND CONTROLS
CONTENTS
mInstrument cluster......................104
NMeter cluster.........................104
NIndicator and warning light package........105
NSpeedometer.........................106
NTachometer..........................106
NFuel gauge..........................107
NOdometer/Trip odometer................108
NEngine coolant temperature gauge..........109
NTurn signal indicators/hazard warning lights . . 110
NHigh beam indicator...................110
NTheft-alarm indicator...................110
NDoor-ajar warning light and chime.........110NAnti-lock braking system warning light
(if so equipped).......................111
NCruise/speed control indicator............111
NLow-fuel warning light and chime..........111
NFront fog light indicator.................112
NCharging system warning light............112
NOil pressure warning light...............112
NMalfunction indicator light
(SERVICE ENGINE SOON)...............113
NSupplemental Restraint System (SRS)-air bag
warning light.........................114
NBrake warning light....................115
NSeat belt reminder/warning light...........116
4
Page 105 of 382

Indicator and warning light package
1. Washer fluid level indicator!P. 1 1 7
2. Anti-lock braking system warning light
(if so equipped)!P. 111
3. Low-fuel warning light!P. 111
4. Brake warning light!P. 1 1 55. Supplemental Restraint System (SRS) - air bag
warning light!P. 1 1 4
6. Seat belt reminder/warning light!P. 1 1 6
7. Turn signal indicators/hazard warning light!P. 1 1 0
8. Trunk-ajar warning light!P 111
9. Front fog light indicator (if so equipped)!P. 1 1 2
10. Door-ajar warning light!P. 1 1 0
D50A439D
INSTRUMENTS AND CONTROLS 105
4
Page 116 of 382
Seat belt reminder/warning light
A chime and warning light are used to
remind the driver to fasten the seat belt.
When the ignition key is turned to the
``ON'' position, the warning light will illu-
minate and a chime will sound for about 6
seconds. If the driver 's seat belt remains unfastened
approximately 1 minute later, the warning light will flash
and the chime sound intermittently (each 12 times) when
the vehicle is driven. If the driver subsequently unfastens
the seat belt while driving, the warning light and chime
will issue further warnings. And if the seat belt remains
unfastened, the warning light and chime will issue
further warnings each time the vehicle starts moving.
When the seat belt is fastened, the warnings will stop.
Changing the setting for warning operation
It is possible to disable the warning function so that
warnings are not issued after the start of driving. (The
function is initially enabled at the factory.)
1. Fasten the driver 's seat belt.
2. Turn the ignition switch to the ``ON'' position.3. With the seat belt still fastened, confirm that the
warning light goes off.
4. Within 1 minute of seeing the warning light go off,
remove the plate from the buckle and re-insert it 3 times.
5. Turn the ignition switch to the ``LOCK'' or ``ACC''
position. The buzzer (with a short tone) will sound once
to indicate that the setting change is complete.
NOTE
²
If the driver 's door is open at this time, the buzzer
(with long intermittent tones) will sound continously
but the setting change will not be completed. To
complete the setting change, remove the key or close
the driver 's door. The buzzer (with a short tone) will
sound once to indicate that the setting change is
complete.
²If you wish to change the setting again, perform the
same procedure again.
²If you do not understand how to change the setting,
consult an authorized Mitisubishi dealer.
116 INSTRUMENTS AND CONTROLS
Page 119 of 382

1. Rotate the ignition key to ªLOCKº or ªACCº position
with the light switch in the ON ª
º position.
2. Turn light switch to ªOFFº position within about 45
seconds of ignition key removal.
3. The headlights will stay on for about 60 seconds, then
automatically turn off.
Headlight reminder chime
If the driver 's door is opened (ignition key in ªLOCKº,
ªACCº or out of ignition cylinder) with the light switch
in the ON ª
ºorªº position, a chime will sound
to remind the driver to turn off the lights. Turning off the
light switch will stop the chime.
Headlight flasher (high/low beam)
The headlights can be made to flash (high beam) when
the lever is pulled slightly to (2), and will go back to
normal when it is released. While the high beam is on, a
blue light in the instrument cluster will also illuminate.
E11C0130
INSTRUMENTS AND CONTROLS 119
4
Page 128 of 382
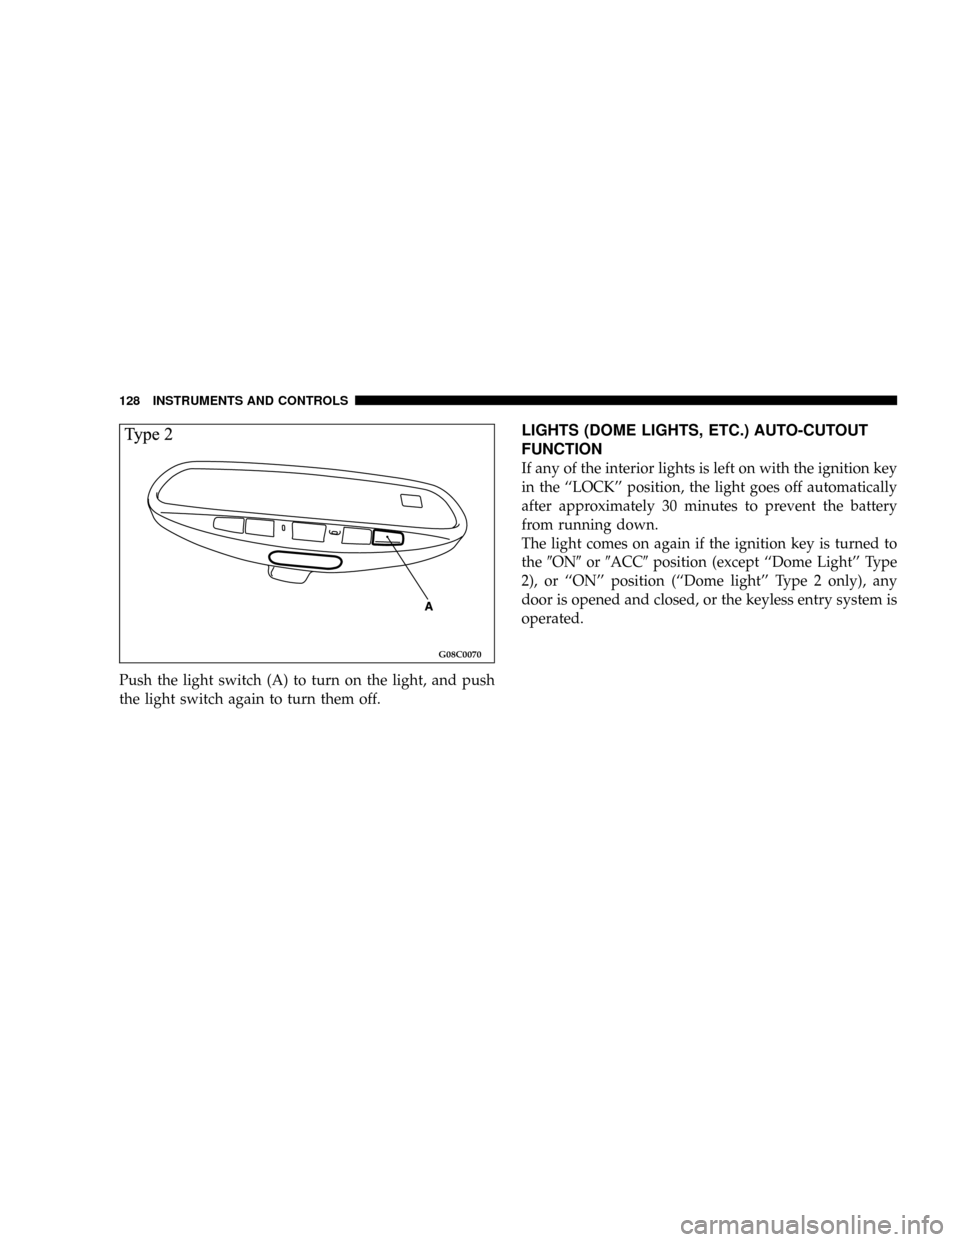
Push the light switch (A) to turn on the light, and push
the light switch again to turn them off.
LIGHTS (DOME LIGHTS, ETC.) AUTO-CUTOUT
FUNCTION
If any of the interior lights is left on with the ignition key
in the ``LOCK'' position, the light goes off automatically
after approximately 30 minutes to prevent the battery
from running down.
The light comes on again if the ignition key is turned to
the9ON9or9ACC9position (except ``Dome Light'' Type
2), or ``ON'' position (``Dome light'' Type 2 only), any
door is opened and closed, or the keyless entry system is
operated.
G08C0070
128 INSTRUMENTS AND CONTROLS