key CHRYSLER SEBRING COUPE 2004 2.G Workshop Manual
[x] Cancel search | Manufacturer: CHRYSLER, Model Year: 2004, Model line: SEBRING COUPE, Model: CHRYSLER SEBRING COUPE 2004 2.GPages: 382, PDF Size: 2.23 MB
Page 148 of 382

NOTE: For vehicles with an automatic transaxle, the key
cannot be removed unless the selector lever is set to the
ªPº (PARK) position.
ACC
Allows operation of electrical accessories with the engine
off.
START
Engages the starter. After the engine starts, release the
key and it will return automatically to the ªONº position.
ON
The engine runs and all accessories can be used.
NOTE:Do not use the ªONº position to operate acces-
sories.
CAUTION!
²Do not remove the ignition key from the ignition
switch while driving. The steering wheel will
lock, causing loss of control.
²If the engine is turned off while driving, the
power brake servomechanism will cease to func-
tion and braking efficiency will deteriorate. Also,
the power steering system will not function and it
will require greater effort to operate the steering.
²Do not leave the key in the ªONº position for a
long time when the engine is not running; doing
so will cause the battery to discharge.
²Do not turn the key to the ªSTARTº position
when the engine is running; doing so could dam-
age the starter motor.
KEY REMINDER CHIME
If the driver's door is opened while the ignition key is in
the ªLOCKº or ªACCº position, a warning chime
sounds.
148 STARTING AND DRIVING
Page 149 of 382

THEFT PROTECTION
CAUTION!
Always remove the key from the ignition switch and
lock all doors when leaving the vehicle unattended.
Always try to park your vehicle in a well lighted
area.
The ignition key can only be removed in the ªLOCKº
position. If the key is left in the lock cylinder, a warning
chime sounds when the driver's door is opened.
NOTE: If your vehicle is equipped with a Theft-alarm
system, refer to ªTheft-alarm systemº.
STEERING LOCK
Withdraw the key and the steering wheel will be locked.
Turn the steering wheel to confirm that it is locked.
CAUTION!
If your vehicle needs to be towed, turn the key to the
(ACC(position to unlock the steering wheel.
STARTING
Tips for starting
1. Do not operate the starter motor continuously for
longer than 15 seconds at a time; doing so could run
down the battery. If the engine does not start, turn the
ignition switch back to ªLOCKº, wait a few seconds, and
then try again.
2. If the engine will not start because the battery is weak
or dead, refer to ªJump-starting the engineº section (page
273) for instructions on starting the engine.
3. The engine is well warmed up if the pointer of the
coolant temperature gauge starts to move. Extended
warm up operation will result in excessive fuel consump-
tion.
STARTING AND DRIVING 149
5
Page 150 of 382

WARNING!
Never run the engine in a closed or poorly ventilated
area any longer than is needed to move your vehicle
in or out of the area. Carbon monoxide gas, which is
odorless, colorless and extremely poisonous, could
build up, and cause serious injury or death.
CAUTION!
²Do not start the vehicle by pushing or pulling.
²Do not run the engine at high rpm or drive the
vehicle at high speed until the engine has had a
chance to warm up.
²Release the ignition key as soon as the engine
starts to avoid damaging the starter motor.
This vehicle is equipped with an electronically controlled
fuel injection system that automatically controls fuel
quantity. When starting the engine, there is normally no
need to depress the accelerator pedal.
Normal conditions
The starting procedure is as follows:
1. Insert the ignition key and make sure all occupants are
properly seated with seat belts fastened.
2. Depress and hold the brake pedal down with your
right foot.
3. Set the gearshift selector lever (manual transaxle) in
the ªNº (NEUTRAL) position, or the selector lever (au-
tomatic transaxle) in the ªPº (PARK) position.
4. Fully depress the clutch pedal (manual transaxle).
NOTE: For models equipped with a manual trans-
axle, the starter will not operate unless the clutch
pedal is fully depressed (Clutch interlock).
5. After turning the ignition key to the ªONº position,
make certain that all warning lights are functioning
properly before starting the engine.
6. Turn the ignition key to the ªSTARTº position without
depressing the accelerator pedal, and release the key
when the engine starts.
150 STARTING AND DRIVING
Page 152 of 382

CAUTION!
The electronically controlled transaxle system is
strictly intended to provide supplementary func-
tions. When driving downhill under certain condi-
tions, or immediately after starting when the auto-
matic transaxle is cold, no automatic shift-down may
be made. The driver should shift down to a low gear
(3rd gear or 2nd gear), which will permit the engine
to exert a braking effect.
NOTE: During the brake-in period or immediately after
re-connection of the battery cable, the vehicle may not
shift as smoothly. This does not indicate a faulty trans-
mission. The transaxle system must have a short period
to learn parameters for proper shifting. Shifting will
become smooth after the transaxle has been shifted
several times by the electronic control system.
Selector lever operation
As an additional safety precaution, models equipped
with an automatic transaxle have a shift-lock device that
holds the selector lever in the ªPº (PARK) position. To
move the selector lever from the ªPº (PARK) position to
another position, follow the steps below.
1. Depress and hold down the brake pedal.
2. Move the selector lever to the desired position.
NOTE: The selector lever cannot be moved from ªPº
(PARK) to another position if the ignition key is at the
ªLOCKº position, removed, or if the brake pedal is not
depressed and held down.
152 STARTING AND DRIVING
Page 156 of 382

Transaxle Reset Mode
The transaxle is monitored for abnormal conditions. If a
condition is detected that could cause damage, the trans-
axle automatically shifts into second gear. The transaxle
remains in second gear despite the forward gear selected.
Park (P), Reverse (R), and Neutral (N) will continue to
operate. This Reset feature allows the vehicle to be driven
to a dealer for service without damaging the transaxle.
If the problem has been momentary, the transaxle can be
reset to regain all forward gears.
²Stop the vehicle and shift into PARK (P).
²Turn the key to OFF then start the engine.
²Shift into ªDº and resume driving.
NOTE:Even if the transaxle can be reset, we recom-
mend that you visit a dealer at your earliest possible
convenience. Your dealer has diagnostic equipment to
determine if the problem could recur.
If the transaxle cannot be reset, dealer service is required.
AUTOMATIC TRANSAXLE AUTOSTICK
(IF SO EQUIPPED)
Designed for optimum control and equipped with adap-
tive control capabilities, the electronically controlled
transaxle optimally matches gear shifts to almost all
driving and road conditions.
DRIVING UPHILL
The transaxle may not upshift to a higher gear if the
computer determines the current speed cannot be main-
tained once a higher gear is engaged.
For smoother vehicle performance, if you release the
throttle while climbing a steep grade, the transaxle may
not upshift. This is normal, as the computer is controlling
the shifting. After reaching the top of the hill, normal gear
shift function will resume.
DRIVING DOWNHILL
When traveling down steep grades and depressing the
brake pedal, the computer may automatically select a
lower gear. This function assists engine braking efforts,
reducing the need to use the brakes.
156 STARTING AND DRIVING
Page 164 of 382

Transaxle Reset Mode
The transaxle is monitored for abnormal conditions. If a
condition is detected that could cause damage, the trans-
axle automatically shifts into second gear. The transaxle
remains in second gear despite the forward gear selected.
Park (P), Reverse (R), and Neutral (N) will continue to
operate. This Reset feature allows the vehicle to be driven
to a dealer for service without damaging the transaxle.
If the problem has been momentary, the transaxle can be
reset to regain all forward gears.
²Stop the vehicle and shift into PARK (P).
²Turn the key to OFF then start the engine.
²Shift into ªDº and resume driving.
NOTE:Even if the transaxle can be reset, we recom-
mend that you visit a dealer at your earliest possible
convenience. Your dealer has diagnostic equipment to
determine if the problem could recur.
If the transaxle cannot be reset, dealer service is required.
MANUAL TRANSAXLE (IF SO EQUIPPED)
The shift pattern is shown on the gearshift lever. Depress
the clutch pedal fully while shifting gears.
NOTE: During cold weather, shifting may be difficult/
stiff until the transaxle lubricant has warmed up. This is
normal and not a sign of a problem.
I29A0020
164 STARTING AND DRIVING
Page 169 of 382

You should always apply the parking brake before leav-
ing the vehicle.
WARNING!
²Leaving children in a vehicle unattended is dan-
gerous for a number of reasons. A child or others
could be injured. Children should be warned not
to touch the parking brake or the gear selector.
Don't leave the keys in the ignition. A child could
operate power windows, other controls, or move
the vehicle.
²Be sure the parking brake is fully disengaged
before driving; failure to do so can lead to brake
failure and an accident.
BRAKE PEDAL
Excessive use of the brake can cause fading, resulting in
poor brake response and premature wear of brake lin-
ings.
When driving down a long or steep grade, use engine
braking by shifting the transaxle into a lower gear
(manual transaxle and Autostick A/T) or ª3º (THIRD) or
ª2º (SECOND) or ªLº (LOW) position (except Autostick
A/T).
WARNING!
Do not leave any objects on the floor near the brake
pedal or permit a floor mat to interfere with the
brake pedal. Doing so could prevent proper depres-
sion of the pedal. Make sure that the pedal can be
operated freely at all times.
STARTING AND DRIVING 169
5
Page 176 of 382

Electrochromic inside rearview mirror (if so
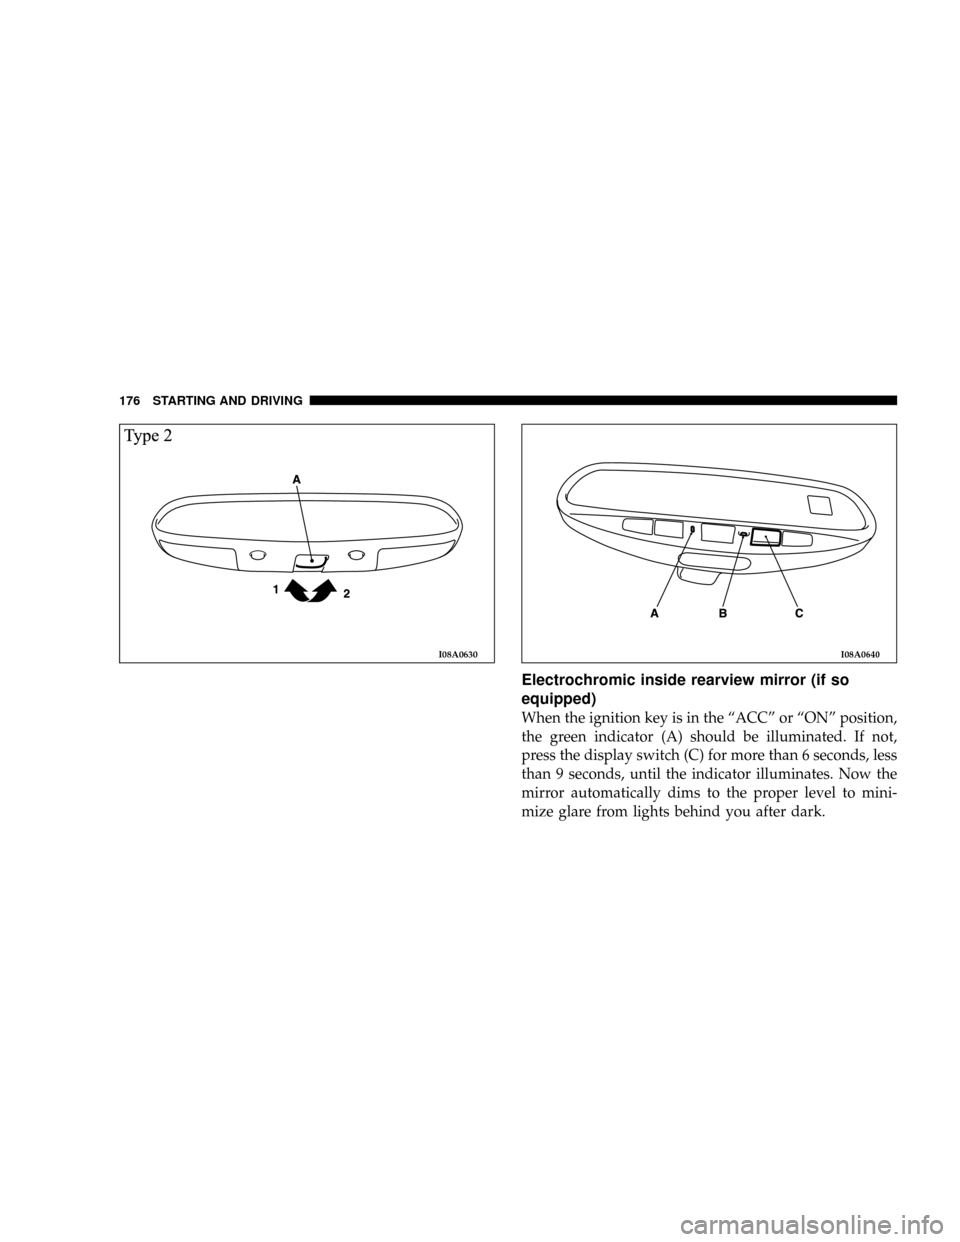
equipped)
When the ignition key is in the ªACCº or ªONº position,
the green indicator (A) should be illuminated. If not,
press the display switch (C) for more than 6 seconds, less
than 9 seconds, until the indicator illuminates. Now the
mirror automatically dims to the proper level to mini-
mize glare from lights behind you after dark.
I08A0630I08A0640
176 STARTING AND DRIVING
Page 178 of 382

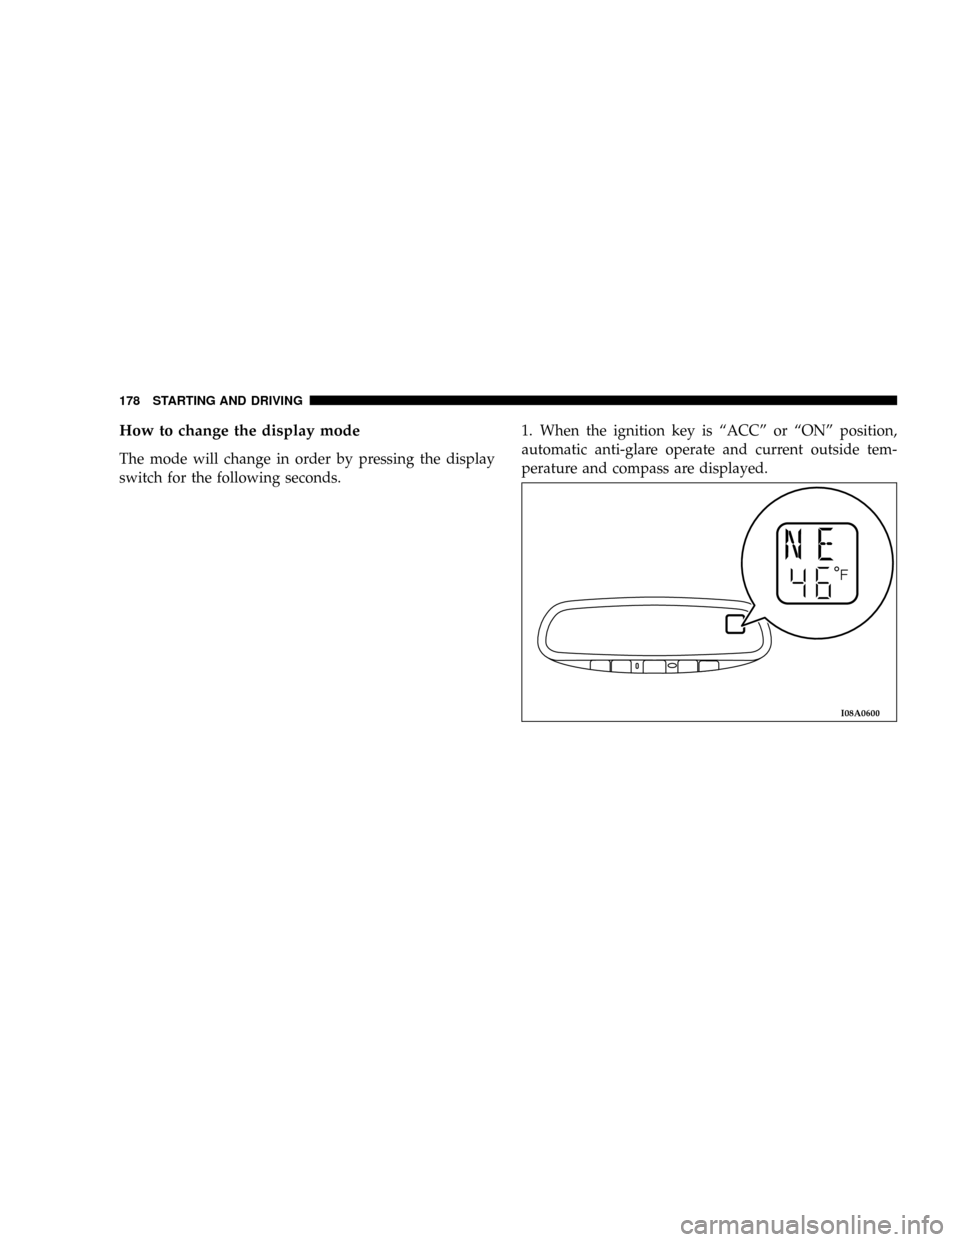
How to change the display mode
The mode will change in order by pressing the display
switch for the following seconds.1. When the ignition key is ªACCº or ªONº position,
automatic anti-glare operate and current outside tem-
perature and compass are displayed.
I08A0600
178 STARTING AND DRIVING
Page 181 of 382

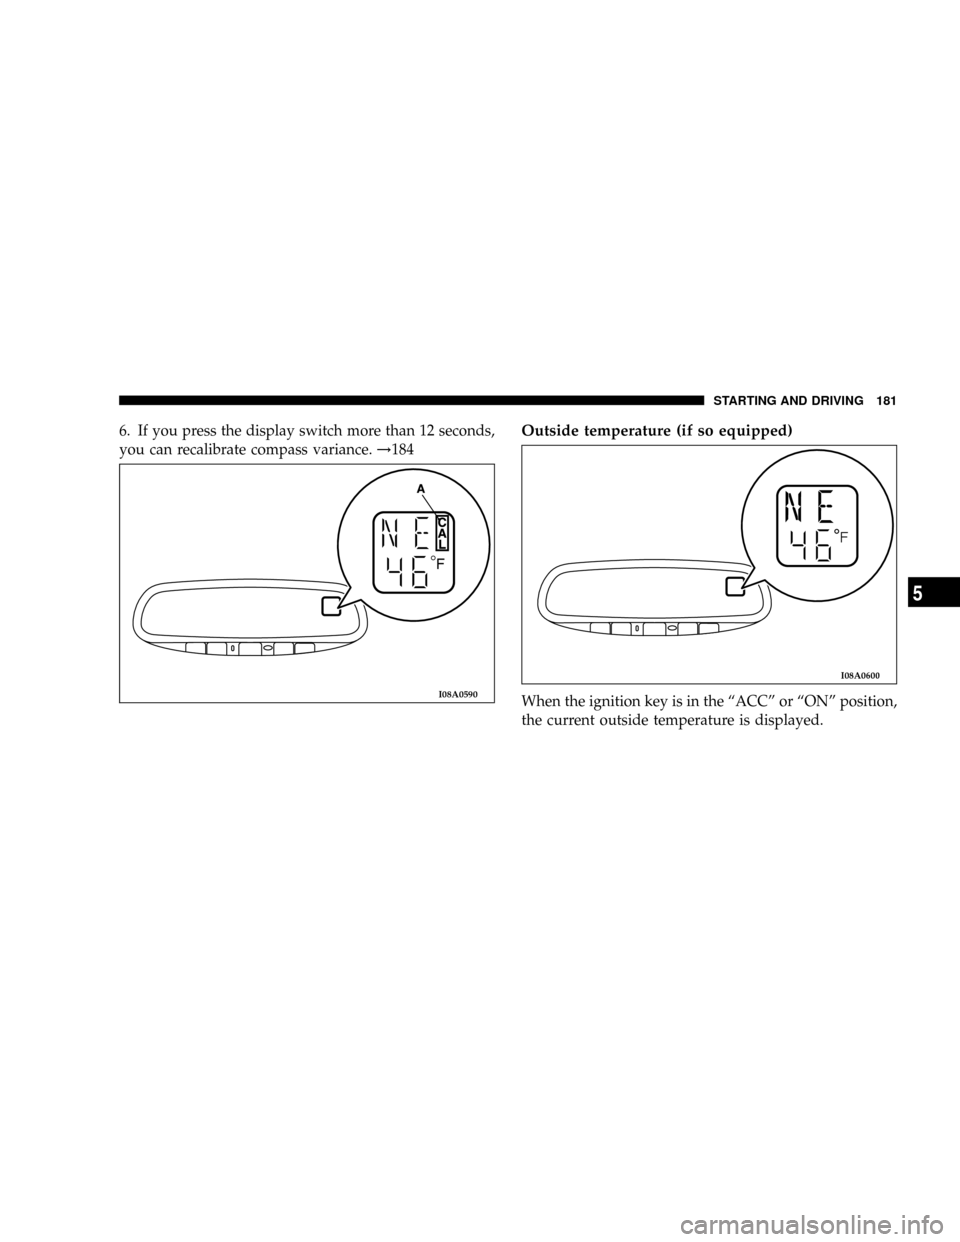
6. If you press the display switch more than 12 seconds,
you can recalibrate compass variance.!184Outside temperature (if so equipped)
When the ignition key is in the ªACCº or ªONº position,
the current outside temperature is displayed.I08A0590
I08A0600
STARTING AND DRIVING 181
5