oil reset CHRYSLER TOWN AND COUNTRY 2012 5.G Owners Manual
[x] Cancel search | Manufacturer: CHRYSLER, Model Year: 2012, Model line: TOWN AND COUNTRY, Model: CHRYSLER TOWN AND COUNTRY 2012 5.GPages: 652, PDF Size: 11.05 MB
Page 293 of 652
U.S. Federal regulations require that upon transfer of
vehicle ownership, the seller certify to the purchaser the
correct mileage that the vehicle has been driven. If your
odometer needs to be repaired or serviced, the repair
technician should leave the odometer reading the same
as it was before the repair or service. If s/he cannot do so,
then the odometer must be set at zero, and a sticker must
be placed in the door jamb stating what the mileage was
before the repair or service. It is a good idea for you to
make a record of the odometer reading before the repair/
service, so that you can be sure that it is properly reset, or
that the door jamb sticker is accurate if the odometer
must be reset at zero.
This also displays Trip A and Trip B, DTE, MPG or
L/100km, OAT (Outside Air Temperature) information to
Base Cluster, use STEP and RESET button (on steering
wheel) to access or reset the display. For further informa-
tion refer to “Compass Mini-Trip Computer”.Message Display Area
When the appropriate conditions exist, the following
odometer messages will display:
door
............................. Door Ajar
gATE ........................... Liftgate Ajar
LoW tirE ..................... LowTirePr essure
gASCAP ....................... Fuel Cap Fault
noFUSE .......................... Fuse Fault
CHAngE OIL ............... Oil Change Required
LoCOOL ........................ Low Coolant
NOTE: Some of the above warnings will be displayed in
the Electronic Vehicle Information Center Display Area
located in the instrument cluster.
Refer to ”Electronic Vehicle Information Center (EVIC)
Display — If Equipped” for further information.
4
UNDERSTANDING YOUR INSTRUMENT PANEL 291
Page 294 of 652
LoW tirE
When the appropriate condition exists, the odometer
display will toggle between LoW and tirE for three cycles.
gASCAP
If the vehicle diagnostic system determines that the fuel
filler cap is loose, improperly installed, or damaged, a
“gASCAP” message will display in the odometer display
area. Tighten the fuel filler cap properly and press the
STEP button on the steering wheel to turn off the
message. If the problem continues, the message will
appear the next time the vehicle is started.
noFUSE
If the vehicle diagnostic system determines that the
Ignition Off Draw (IOD) fuse is improperly installed, or
damaged, a “noFUSE” message will display in the odom-
eter display area. For further information on fuses and
fuse locations refer to “Fuses” in “Maintaining Your
Vehicle”.CHAngE OIL
Your vehicle is equipped with an engine oil change
indicator system. The
CHAngE OILmessage will flash in
the instrument cluster odometer for approximately
12 seconds, after a single chime has sounded, to indicate
the next scheduled oil change interval. The engine oil
change indicator system is duty cycle-based, which
means the engine oil change interval may fluctuate
dependent upon your personal driving style.
Unless reset, this message will continue to display each
time you turn the ignition switch to the ON/RUN
position. To turn off the message temporarily, press and
release the STEP button on the steering wheel. To reset
the oil change indicator system (after performing the
scheduled maintenance), perform the following steps.
1. Turn the ignition switch to the ON/RUN position (do
not start the engine).
292 UNDERSTANDING YOUR INSTRUMENT PANEL
Page 295 of 652
2. Fully depress the accelerator pedal, slowly, three times
within 10 seconds.
3. Turn the ignition switch to the OFF/LOCK position.
NOTE:If the indicator message illuminates when you
start the engine, the oil change indicator system did not
reset. If necessary, repeat these steps.
Electronic Vehicle Information Center
(EVIC) Display — If Equipped
The Electronic Vehicle Information Center (EVIC) fea-
tures a driver-interactive display that is located in the
instrument cluster. For further information, refer to
“Electronic Vehicle Information Center (EVIC)”.
7. Anti-Lock Brake (ABS) Light This light monitors the Anti-Lock Brake System
(ABS). The light will turn on when the ignition
switch is turned to the ON/RUN position and
may stay on for as long as four seconds. If the ABS light remains on or turns on while driving, it
indicates that the Anti-Lock portion of the brake system
is not functioning and that service is required. However,
the conventional brake system will continue to operate
normally if the BRAKE warning light is not on.
If the ABS light is on, the brake system should be serviced
as soon as possible to restore the benefits of Anti-Lock
brakes. If the ABS light does not turn on when the
ignition switch is turned to the ON/RUN position, have
the light inspected by an authorized dealer.
8. Tire Pressure Monitoring Telltale Light — If
Equipped
Each tire, including the spare (if provided),
should be checked monthly when cold and
inflated to the inflation pressure recommended
by the vehicle manufacturer on the vehicle
placard or tire inflation pressure label. (If your vehicle has
tires of a different size than the size indicated on the
4
UNDERSTANDING YOUR INSTRUMENT PANEL 293
Page 315 of 652
WARNING!
If the Transmission Temperature Warning Light is
illuminated and you continue operating the vehicle,
in some circumstances you could cause the fluid to
boil over, come in contact with hot engine or exhaust
components and cause a fire.
Oil Change Required
Your vehicle is equipped with an engine oil change
indicator system. TheOil Change Required message will
flash in the EVIC display for approximately 10 seconds,
after a single chime has sounded, to indicate the next
scheduled oil change interval. The engine oil change
indicator system is duty-cycle based, which means the
engine oil change interval may fluctuate dependent upon
your personal driving style. Unless reset, this message will continue to display each
time you turn the ignition switch to the ON/RUN
position or cycle the ignition to the ON/RUN position if
equipped with Keyless Enter-N-Go. To turn off the
message temporarily, press and release the MENU but-
ton. To reset the oil change indicator system (after
performing the scheduled maintenance) refer to the fol-
lowing procedure.
Vehicles Equipped With Keyless Enter-N-Go
1. Without pressing the brake pedal, push the ENGINE
START/STOP button and cycle the ignition to the ON/
RUN position (Do not start the engine.)
2. Fully depress the accelerator pedal, slowly, three times
within 10 seconds.
3. Without pressing the brake pedal, push the ENGINE
START/STOP button once to return the ignition to the
OFF/LOCK position.
4
UNDERSTANDING YOUR INSTRUMENT PANEL 313
Page 316 of 652
Vehicles Not Equipped With Keyless Enter-N-Go
1. Turn the ignition switch to the ON/RUN position (Do
not start the engine.)
2. Fully depress the accelerator pedal, slowly, three times
within 10 seconds.
3. Turn the ignition switch to the OFF/LOCK position.
NOTE:If the indicator message illuminates when you
start the engine, the oil change indicator system did not
reset. If necessary, repeat these steps.Fuel Economy
Press and release the UP or DOWN button until “Fuel
Economy” displays highlighted in the EVIC and press
the SELECT button. The following Fuel Economy func-
tions display in the EVIC:
•Average Fuel Economy (AVG)
•Distance To Empty (DTE)
•Miles Per Gallon (MPG)
Average Fuel Economy
Shows the average fuel economy since the last reset. The
Average Fuel Economy can be reset by following the
prompt in the EVIC to use the SELECT button. When the
fuel economy is reset, the display will read “zero” for two
seconds. Then, the history information will be erased,
and the averaging will continue from the last fuel aver-
age reading before the reset.
314 UNDERSTANDING YOUR INSTRUMENT PANEL
Page 319 of 652
To Reset A Trip Function
Reset will only occur while a resettable function is
selected (highlighted). Press and hold the SELECT button
to clear the resettable function being displayed.
Tire PSI
Press and release the UP or DOWN button until “Tire
PSI:” displays highlighted in the EVIC. Press the SELECT
button to view a graphic of the vehicle with a tire
pressure value at each corner of the graphic.
Units
Press and release the UP or DOWN button until “Units”
displays highlighted in the EVIC and press the SELECT
button. The EVIC, odometer, and navigation system (if
equipped) can be changed between English and Metric
units of measure. To make your selection, scroll up or
down until the preferred setting is highlighted, thenpress and release the SELECT button until a check-mark
appears next to the setting, showing that the setting has
been selected.
Vehicle Info (Customer Information Features)
Press and release the UP or DOWN button until “Vehicle
Info” displays in the EVIC and press the SELECT button.
Press the UP and DOWN button to scroll through the
selections below:
•Coolant Temp
Displays the actual coolant temperature.
•Oil Temperature
Displays the actual oil temperature.
•Oil Pressure
Displays the actual oil pressure.
•Engine Hours
Displays the number of hours of engine operation.
4
UNDERSTANDING YOUR INSTRUMENT PANEL 317
Page 606 of 652
MAINTENANCE SCHEDULE
The Scheduled Maintenance services listed in this
manual must be done at the times or mileages specified
to protect your vehicle warranty and ensure the best
vehicle performance and reliability. More frequent main-
tenance may be needed for vehicles in severe operating
conditions, such as dusty areas and very short trip
driving. Inspection and service should also be done
anytime a malfunction is suspected.
Your vehicle is equipped with an automatic oil change
indicator system. The oil change indicator system will
remind you that it is time to take your vehicle in for
scheduled maintenance.
On Electronic Vehicle Information Center (EVIC)
equipped vehicles, “Oil Change Required” will be dis-
played in the EVIC and a single chime will sound,
indicating that an oil change is necessary.On Non-EVIC equipped vehicles, “Change Oil” will flash
in the instrument cluster odometer and a single chime
will sound, indicating that an oil change is necessary.
Based on engine operation conditions, the oil change
indicator message will illuminate. This means that ser-
vice is required for your vehicle. Operating conditions
such as frequent short-trips, trailer tow, extremely hot or
cold ambient temperatures, and E85 fuel usage will
influence when the “Change Oil” message is displayed.
Depending on operating conditions, the message may
appear as early as 3,500 miles (5 630 km) since last reset.
Have your vehicle serviced as soon as possible, within
the next 500 miles (805 km).
8
M
A I
N T
E
N A
N CE
S
C
H E
D
U L
E
S604 MAINTENANCE SCHEDULES
Page 607 of 652
NOTE:
•The oil change indicator message will not monitor the
time since the last oil change. Change your vehicle’s
oil if it has been six months since your last oil change,
even if the oil change indicator message is NOT
illuminated.
•Change your engine oil more often if you drive your
vehicle off-road for an extended period of time.
•Under no circumstances should oil change intervals
exceed 8,000 miles (13 000 km) or six months, which-
ever comes first.
Your authorized dealer will reset the oil change indicator
message after completing the scheduled oil change. If a
scheduled oil change is performed by someone other
than your authorized dealer, the message can be reset by
referring to the steps described under “Electronic Vehicle
Information Center (EVIC)/Oil Change Required” in “Understanding Your Instrument Panel” or under “In-
strument Cluster Description/Odometer/Trip Odom-
eter” in “Understanding Your Instrument Panel” for
further information.
At Each Stop For Fuel
•Check the engine oil level about five minutes after a
fully warmed engine is shut OFF. Checking the oil
level while the vehicle is on level ground will improve
the accuracy of the oil level reading. Add oil only
when the level is at or below the ADD, SAFE or MIN
mark.
•Check the windshield washer solvent and add if
required.
8
M
A I
N T
E
N A
N CE
S
C
H E
D
U L
E
SMAINTENANCE SCHEDULES 605
Page 643 of 652
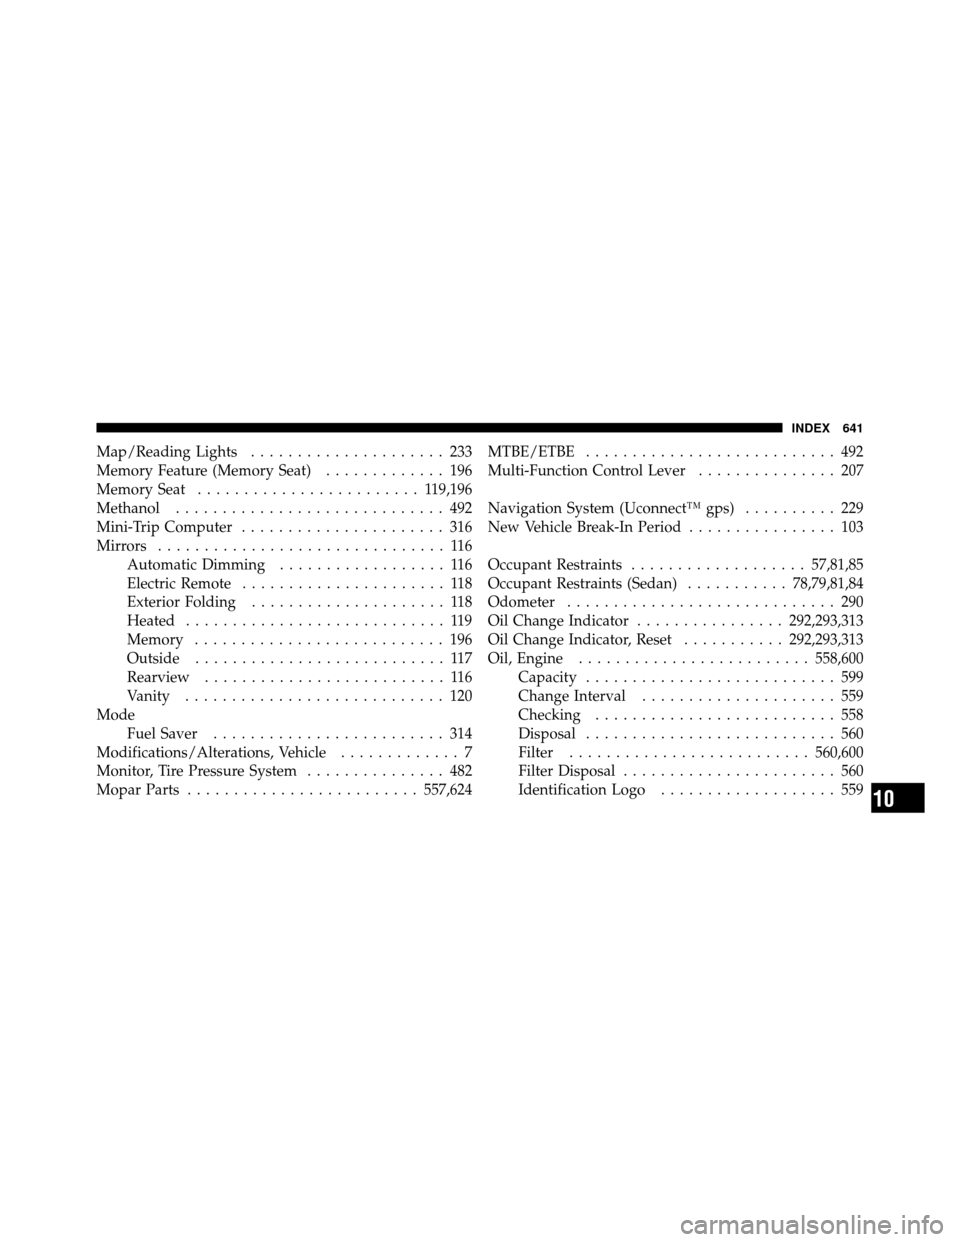
Map/Reading Lights..................... 233
Memory Feature (Memory Seat) ............. 196
Memory Seat ........................ 1 19,196
Methanol ............................. 492
Mini-Trip Computer ...................... 316
Mirrors ............................... 116
Automatic Dimming .................. 116
Electric Remote ...................... 118
Exterior Folding ..................... 118
Heated ............................ 119
Memory ........................... 196
Outside ........................... 117
Rearview .......................... 116
Vanity ............................ 120
Mode Fuel Saver ......................... 314
Modifications/Alterations, Vehicle ............. 7
Monitor, Tire Pressure System ............... 482
Mopar Parts ......................... 557,624MTBE/ETBE
........................... 492
Multi-Function Control Lever ............... 207
Navigation System (Uconnect™ gps) .......... 229
New Vehicle Break-In Period ................ 103
Occupant Restraints ................... 57,81,85
Occupant Restraints (Sedan) ...........78,79,81,84
Odometer ............................. 290
Oil Change Indicator ................ 292,293,313
Oil Change Indicator, Reset ...........292,293,313
Oil, Engine ......................... 558,600
Capacity ........................... 599
Change Interval ..................... 559
Checking .......................... 558
Disposal ........................... 560
Filter .......................... 560,600
Filter Disposal ....................... 560
Identification Logo ................... 559
10
INDEX 641
Page 645 of 652
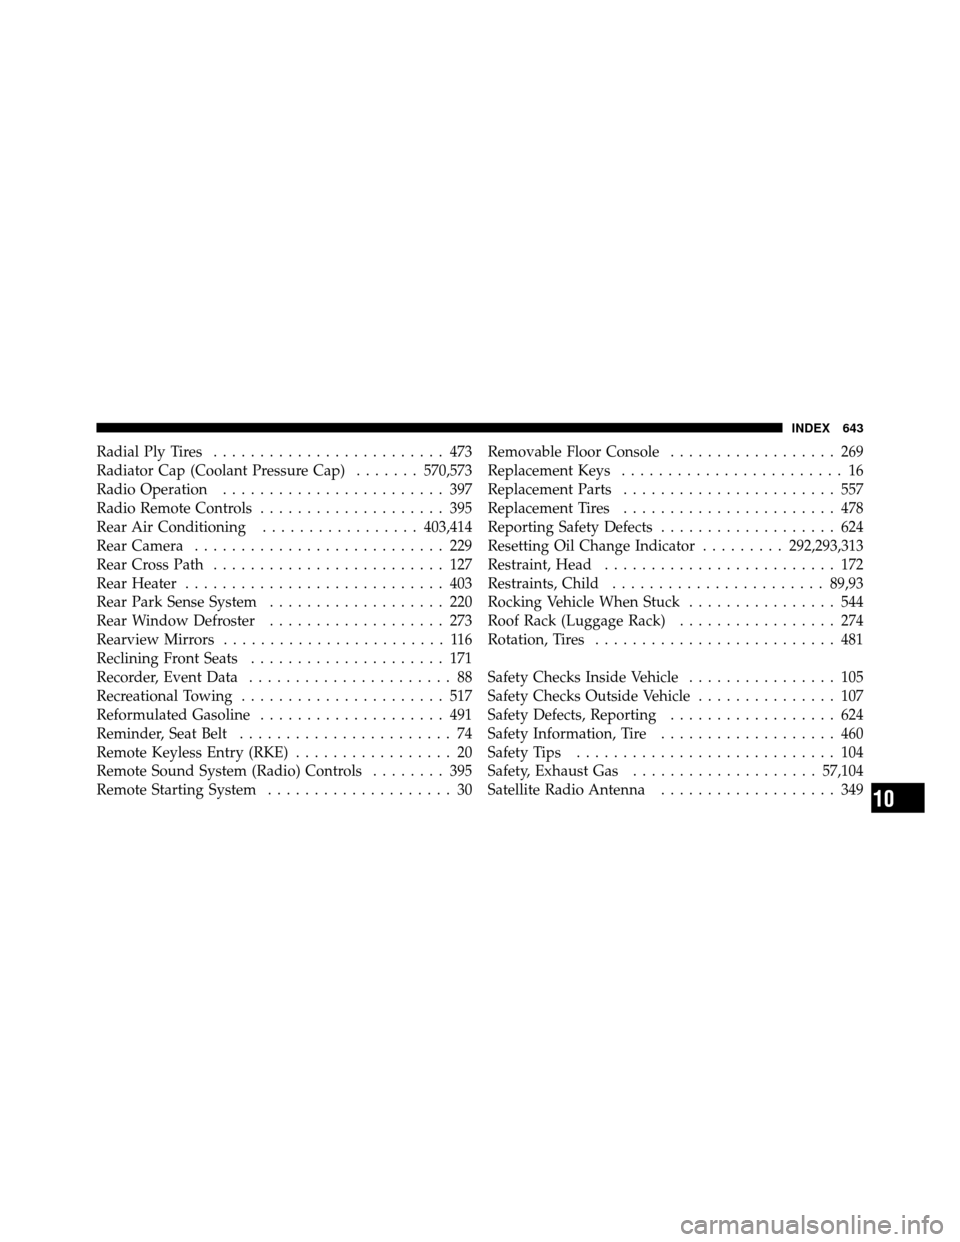
Radial Ply Tires......................... 473
Radiator Cap (Coolant Pressure Cap) .......570,573
Radio Operation ........................ 397
Radio Remote Controls .................... 395
Rear Air Conditioning .................403,414
Rear Camera ........................... 229
Rear Cross Path ......................... 127
Rear Heater ............................ 403
Rear Park Sense System ................... 220
Rear Window Defroster ................... 273
Rearview Mirrors ........................ 116
Reclining Front Seats ..................... 171
Recorder, Event Data ...................... 88
Recreational Towing ...................... 517
Reformulated Gasoline .................... 491
Reminder, Seat Belt ....................... 74
Remote Keyless Entry (RKE) ................. 20
Remote Sound System (Radio) Controls ........ 395
Remote Starting System .................... 30 Removable Floor Console
.................. 269
Replacement Keys ........................ 16
Replacement Parts ....................... 557
Replacement Tires ....................... 478
Reporting Safety Defects ................... 624
Resetting Oil Change Indicator .........292,293,313
Restraint, Head ......................... 172
Restraints, Child ....................... 89,93
Rocking Vehicle When Stuck ................ 544
Roof Rack (Luggage Rack) ................. 274
Rotation, Tires .......................... 481
Safety Checks Inside Vehicle ................ 105
Safety Checks Outside Vehicle ............... 107
Safety Defects, Reporting .................. 624
Safety Information, Tire ................... 460
Safety Tips ............................ 104
Safety, Exhaust Gas .................... 57,104
Satellite Radio Antenna ................... 349
10
INDEX 643