horn CHRYSLER TOWN AND COUNTRY 2013 5.G User Guide
[x] Cancel search | Manufacturer: CHRYSLER, Model Year: 2013, Model line: TOWN AND COUNTRY, Model: CHRYSLER TOWN AND COUNTRY 2013 5.GPages: 140, PDF Size: 4.18 MB
Page 15 of 140

To Unlock From The Driver or Passenger Side:
• With a valid Keyless Enter-N-Go™ Key Foblocated outside the vehicle and within 5 ft
(1.5m) of the driver or passenger side door
handle, grab either front door handle to
unlock the door automatically.
To Lock the Vehicle
•Both front door handles have LOCK buttons
located on the outside of the handle. With
one of the vehicles Keyless Enter-N-Go™ Key
Fobs located outside the vehicle and within
5 ft (1.5m) of the driver's or passenger front
door handle, press the door handle LOCK
button to lock all four doors and liftgate.
• DO NOT grab the door handle, when pressing the door handle lock button. This could unlock the door(s).
NOTE:
• If “Unlock All Doors 1st Press” is programmed all doors will unlock when you grab hold of the front driver's door handle. To select between “Unlock Driver Door 1st Press” and “Unlock All
Doors 1st Press”, refer to the Electronic Vehicle Information Center (EVIC) in your vehicles
Owner's Manual on the DVD or Programmable Features in this guide for further information.
•
If “Unlock All Doors 1st Press” is programmed all doors and liftgate will unlock when you press the
liftgate button. If “Unlock Driver Door 1st Press” is programmed only the liftgate will unlock when
you press the liftgate button. To select between “Unlock Driver Door 1st Press” and “Unlock All
Doors 1st Press”, refer to the Electronic Vehicle Information Center (EVIC) in your vehicles
Owner's Manual on the DVD or Programmable Features in this guide for further information.
•If a Key Fob is detected in the vehicle when locking the vehicle using the power door lock switch,
the doors and liftgate will unlock and the horn will chirp three times. On the third attempt, your
Key Fob can be locked inside the vehicle.
• After pressing the Keyless Enter-N-Go™ LOCK button, you must wait 2 seconds before you can lock or unlock the vehicle using the door handle. This is done to allow you to check if the
vehicle is locked by pulling the door handle, without the vehicle reacting and unlocking.
GETTING STARTED
13
Page 84 of 140

ELECTRONIC VEHICLE INFORMATION
CENTER (EVIC)
• The EVIC features a driver interactive dis-play that is located in the instrument cluster.
Pressing the controls on the left side of the
steering wheel allows the driver to select
vehicle information and Personal Settings.
For additional information, refer to “Pro-
grammable Features” located in this guide.
•
Press and release the UPbutton to scroll
upward through the main menus (Fuel Econ-
omy, Vehicle Info, Tire PSI, Cruise, Messages,
Units, System Setup) and sub menus.
• Press and release the DOWNbutton to
scroll downward through the main menus and sub menus.
• Press and release the SELECT
button for access to main menus, sub menus or to select a
personal setting in the setup menu.
• Press the BACK button to scroll back to a previous menu or sub menu.
Compass Calibration
• This compass is self-calibrating, which eliminates the need to set the compass manually. When the vehicle is new, the compass may appear erratic and the EVIC will display “CAL” until the
compass is calibrated.
• You may also calibrate the compass by completing one or more 360 degree turns (in an area free from large metal or metallic objects) until the “CAL” message displayed in the EVIC turns
off. The compass will now function normally.
PROGRAMMABLE FEATURES
Electronic Vehicle Information Center (EVIC) – If Equipped
• The EVIC can be used to program the following Personal Settings. Press and release theMENU button until Personal Settings displays, then press the DOWN button
to scroll
through the settings. Press the SELECT button
to change the setting.
• Language • Intermittent Wiper Option
• Nav-Turn By Turn • Rain Sensing Wipers
•
Enable/Disable the Rear Park Assist System• Key-Off Power Delay
• Auto Unlock Doors • Illuminated Approach
• Remote Unlock Sequence • Flashers with Sliding Door
• RKE Linked To Memory • Hill Start Assist (HSA)
• Remote Start Comfort Sys. • Keyless Enter-N-Go™ (Passive Entry)
• Horn With Remote Lock • Easy Exit Seat
ELECTRONICS
82
Page 85 of 140

• Horn With Remote Start• Tilt Mirror In Reverse
• Flash Lamps With Lock • Blind Spot Alert
• Automatic High Beams • Calibrate Compass
• Headlamp Off Delay • Compass Variance
• Headlamps with Wipers (Available with Auto Headlights Only) • Turn Menu Off
Key Fob Programmable Features
•The following features may also be programmed by using the Key Fob transmitter or the ignition
switch and driver's door lock switch.
NOTE:
Pressing the LOCK button while you are inside the vehicle will activate the Vehicle Security
Alarm. Opening a door with the Vehicle Security Alarm activated will cause the alarm to sound.
Press the UNLOCK button to deactivate the Vehicle Security Alarm.
Unlock On First Press
• To unlock either the driver's side, or all doors, on the first press of the UNLOCK button: • Press and hold the LOCK button for at least four seconds, but no longer than 10 seconds.
Then, press and hold the UNLOCK button while still holding the LOCK button.
• Release both buttons at the same time.
Auto Unlock Doors On Exit
• To have all of the vehicle doors unlock when any door is opened: • Enter your vehicle and close all the doors, and fasten your seat belt.
• Cycle the ignition switch between the LOCK and ON position four times, ending in the
LOCK position (do not start the engine).
• Press the power door UNLOCK switch to unlock the doors. A single chime will indicate that programming is complete.
Sound Horn With Lock
• To turn the horn chirp on or off when the doors are locked: • Press the LOCK button for at least four seconds, but no longer than 10 seconds. Then, press
the PANIC button while still holding the LOCK button.
• Release both buttons at the same time.
Flashing Lights With Lock
• The turn signal lights flashing, when the doors are locked or unlocked, feature can be turned on or off. To turn this feature on or off:•
Press and hold the UNLOCK button for at least four seconds, but no longer than 10 seconds.
Then, press and hold the LOCK button while still holding the UNLOCK button.
• Release both buttons at the same time.
ELECTRONICS
83
Page 123 of 140

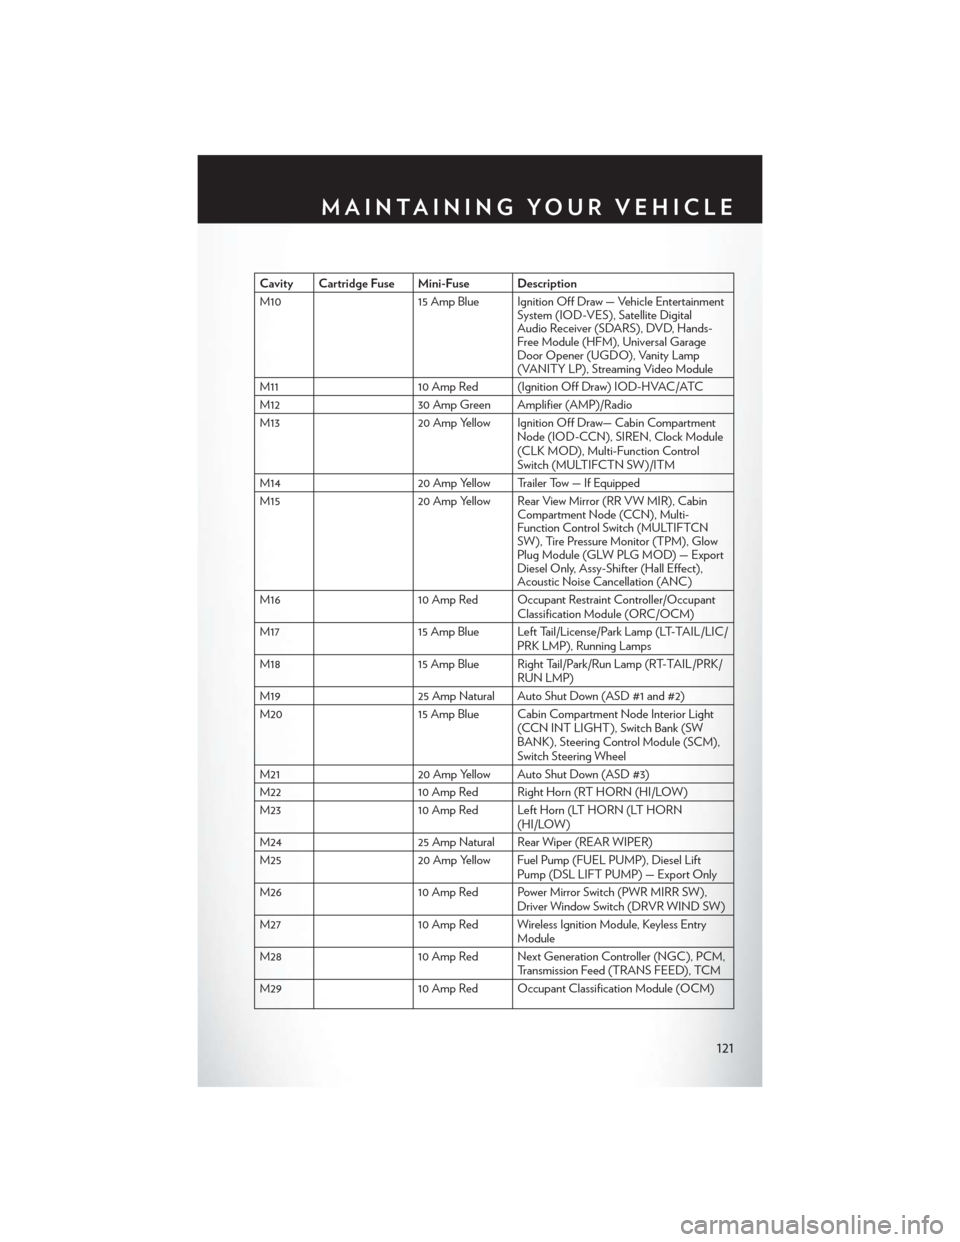
Cavity Cartridge Fuse Mini-Fuse Description
M1015 Amp Blue Ignition Off Draw — Vehicle Entertainment
System (IOD-VES), Satellite Digital
Audio Receiver (SDARS), DVD, Hands-
Free Module (HFM), Universal Garage
Door Opener (UGDO), Vanity Lamp
(VANITY LP), Streaming Video Module
M11 10 Amp Red (Ignition Off Draw) IOD-HVAC/ATC
M12 30 Amp Green Amplifier (AMP)/Radio
M13 20 Amp Yellow Ignition Off Draw— Cabin Compartment
Node (IOD-CCN), SIREN, Clock Module
(CLK MOD), Multi-Function Control
Switch (MULTIFCTN SW)/ITM
M14 20 Amp Yellow Trailer Tow — If Equipped
M15 20 Amp Yellow Rear View Mirror (RR VW MIR), Cabin
Compartment Node (CCN), Multi-
Function Control Switch (MULTIFTCN
SW), Tire Pressure Monitor (TPM), Glow
Plug Module (GLW PLG MOD) — Export
Diesel Only, Assy-Shifter (Hall Effect),
Acoustic Noise Cancellation (ANC)
M16 10 Amp Red Occupant Restraint Controller/Occupant
Classification Module (ORC/OCM)
M17 15 Amp Blue Left Tail/License/Park Lamp (LT-TAIL/LIC/
PRK LMP), Running Lamps
M18 15 Amp Blue Right Tail/Park/Run Lamp (RT-TAIL/PRK/
RUN LMP)
M19 25 Amp Natural Auto Shut Down (ASD #1 and #2)
M20 15 Amp Blue Cabin Compartment Node Interior Light
(CCN INT LIGHT), Switch Bank (SW
BANK), Steering Control Module (SCM),
Switch Steering Wheel
M21 20 Amp Yellow Auto Shut Down (ASD #3)
M22 10 Amp Red Right Horn (RT HORN (HI/LOW)
M23 10 Amp Red Left Horn (LT HORN (LT HORN
(HI/LOW)
M24 25 Amp Natural Rear Wiper (REAR WIPER)
M25 20 Amp Yellow Fuel Pump (FUEL PUMP), Diesel Lift
Pump (DSL LIFT PUMP) — Export Only
M26 10 Amp Red Power Mirror Switch (PWR MIRR SW),
Driver Window Switch (DRVR WIND SW)
M27 10 Amp Red Wireless Ignition Module, Keyless Entry
Module
M28 10 Amp Red Next Generation Controller (NGC), PCM,
Transmission Feed (TRANS FEED), TCM
M29 10 Amp Red Occupant Classification Module (OCM)
MAINTAINING YOUR VEHICLE
121