pairing phone CHRYSLER TOWN AND COUNTRY 2013 5.G User Guide
[x] Cancel search | Manufacturer: CHRYSLER, Model Year: 2013, Model line: TOWN AND COUNTRY, Model: CHRYSLER TOWN AND COUNTRY 2013 5.GPages: 140, PDF Size: 4.18 MB
Page 77 of 140

Uconnect® Phone
• To determine if your vehicle is equipped with Uconnect® Phone, press the “Uconnect® Phone”button
located on the radio faceplate. If your vehicle has this feature, you will hear a voice
prompt. If not, you will see a message on the radio “Uconnect phone not available”.
• The Uconnect® Phone is a voice-activated, hands-free, in-vehicle communications system with Voice Command Capability (see Voice Command section).
NOTE:
To access the tutorial, press the “Uconnect® Phone” button
. After the BEEP, say “tutorial.”
Press any hard-key/button or touch the display (Touch-Screen radio) to cancel the “tutorial”.
• The Uconnect® Phone allows you to dial a phone number with your mobile phone using simple voice commands.
• Refer to your vehicle Owner's Manual on the DVD for further details.
NOTE:
The Uconnect® Phone requires a mobile phone equipped with the Bluetooth® Hands-Free
Profile, Version 1.0 or higher. For Uconnect® Customer Support: U.S. residents -
visit www.UconnectPhone.com or call 1–877–855–8400. Canadian residents -
visit www.UconnectPhone.com or call, 1-800-465–2001 (English) or 1-800-387-9983 (French).
This site will provide specific instructions based on the type of mobile phone being paired.
Phone Pairing
NOTE:
Pairing is a one - time initial setup before using the phone. Prior to starting the pairing procedure
ensure all additional phones within the vehicle have their Bluetooth® disabled.
• Press the “Phone”
button to begin.
• Wait for the “ready” prompt and BEEP.
• After the BEEP, say ”setup” or “Uconnect device setup”.
• After the BEEP, say “device pairing”.
• After the BEEP, say “pair a device”.
• Follow the audible prompts.
• You will be asked to say a four-digit Personal Identification Number (PIN), which you will
later need to enter into your mobile phone.
You can say any four-digit PIN. You will not
need to remember this PIN after the initial
pairing process.
• You will then be prompted to give the phone pairing a name (each phone paired should have a unique name).
ELECTRONICS
75
Page 78 of 140

• Next you will be asked to give this new pairing a priority of 1 through 7 (up to seven phonesmay be paired); 1 is the highest and 7 is the lowest priority. The system will only connect to the
highest priority phone that exists within the proximity of the vehicle.
• You will then need to start the pairing procedure on your cell phone. Follow the Bluetooth® instructions in your cell phone Owner's Manual to complete the phone pairing setup.
Phonebook
Phonebook Download – Automatic Phonebook Transfer From Mobile Phone
•
If equipped and specifically supported by your phone, Uconnect® Phone automatically down-
loads names (text names) and number entries from your mobile phone’s phonebook. Specific
Bluetooth® Phones with Phone Book Access Profile may support this feature. Automatic Transfer
is indicated by a green arrow at the bottom of the screen. See www.UconnectPhone.com for
supported phones.
• Automatic download and update, if sup- ported, begins as soon as the Bluetooth®
wireless phone connection is made to the
Uconnect® Phone. For example, after you
start the vehicle.
NOTE:
The mobile phone may require authorization
prior to download.
• A maximum of 1000 entries per phone will be downloaded and updated every time a phone is connected to the Uconnect® Phone.
• Depending on the maximum number of entries downloaded, there may be a short delay before the latest downloaded names can be used. Until then, if available, the previously
downloaded phonebook is available for use.
• Only the phonebook of the currently connected mobile phone is accessible.
• Only the mobile phone’s phonebook is downloaded. The SIM card phonebook is not part of the Mobile phonebook.
• This downloaded phonebook cannot be edited or deleted on the Uconnect® Phone. These can only be edited on the mobile phone. The changes are transferred and updated to
Uconnect® Phone on the next phone connection.
Making A Phone Call
• Press the “Phone” button.
• After the BEEP, say “dial” (or “call” a name).
• After the BEEP, say number (or name).
Receiving A Call – Accept (And End)
• When an incoming call rings/is announced on Uconnect®, press the Phone button.
• To end a call, press the Phone button
.
ELECTRONICS
76
Page 82 of 140

Bluetooth® STREAMING AUDIO
•If equipped with Uconnect® Voice Com-
mand, your Bluetooth-equipped iPod® de-
vices, cell phones or other media players, may
also be able to stream music to your vehicles
speakers. Your connected device must be
Bluetooth-compatible, and paired with your
radio (see Uconnect® Phone for pairing in-
structions).
• Non-Touch-Screen Radios: Press the
“AUX” button on the radio faceplate until "BT" or “Audio Streaming” is displayed on the radio
screen.
• Touch-Screen-Radios: Press the “RADIO/MEDIA” or “MEDIA” hard-key and then touch
the “AUX” soft-key tab.
VIDEO ENTERTAINMENT SYSTEM (VES™)
System Operation
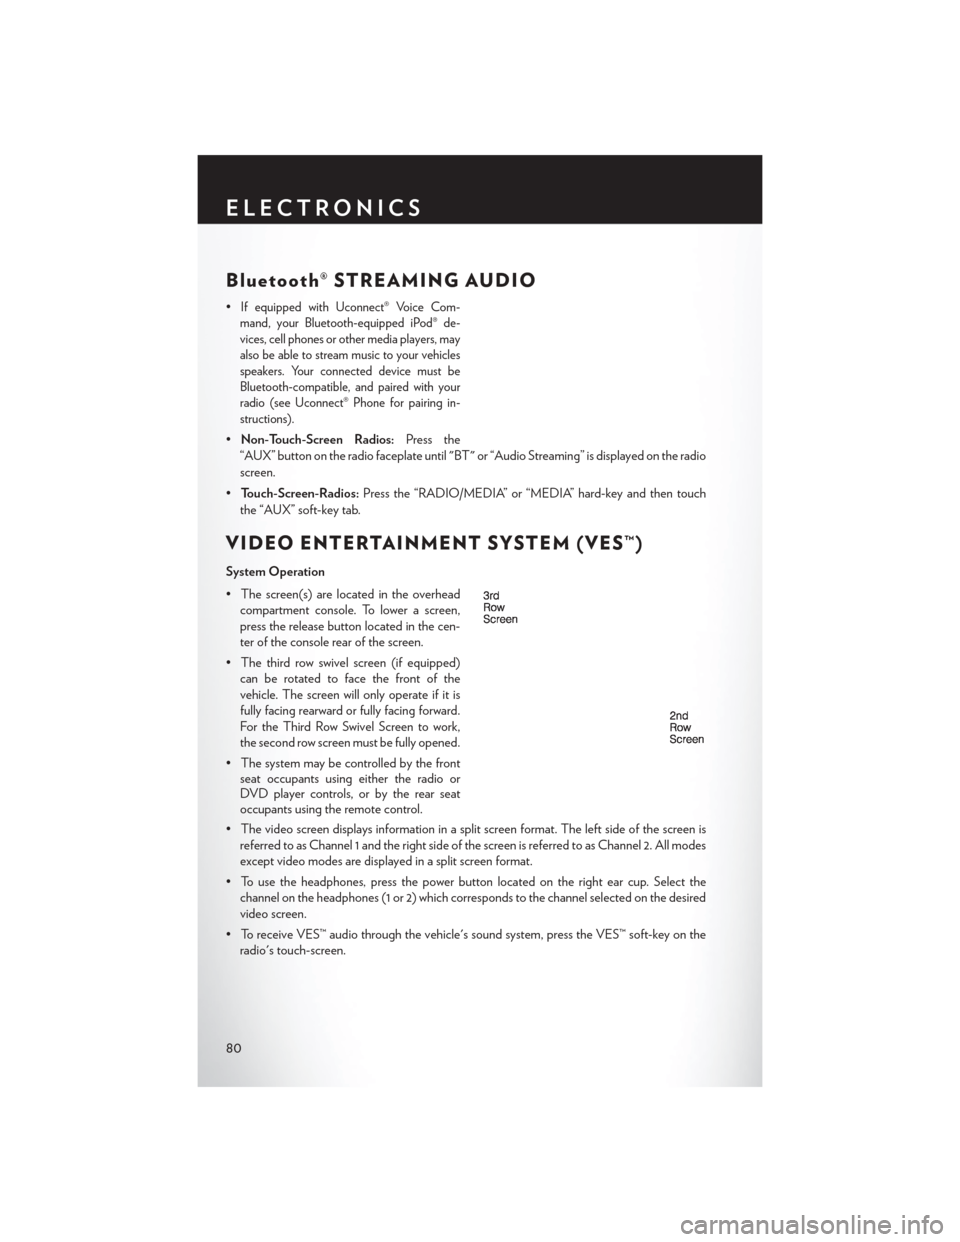
• The screen(s) are located in the overhead compartment console. To lower a screen,
press the release button located in the cen-
ter of the console rear of the screen.
• The third row swivel screen (if equipped) can be rotated to face the front of the
vehicle. The screen will only operate if it is
fully facing rearward or fully facing forward.
For the Third Row Swivel Screen to work,
the second row screen must be fully opened.
• The system may be controlled by the front seat occupants using either the radio or
DVD player controls, or by the rear seat
occupants using the remote control.
• The video screen displays information in a split screen format. The left side of the screen is referred to as Channel 1 and the right side of the screen is referred to as Channel 2. All modes
except video modes are displayed in a split screen format.
• To use the headphones, press the power button located on the right ear cup. Select the channel on the headphones (1 or 2) which corresponds to the channel selected on the desired
video screen.
• To receive VES™ audio through the vehicle's sound system, press the VES™ soft-key on the radio's touch-screen.
ELECTRONICS
80