manual transmission CHRYSLER TOWN AND COUNTRY 2014 5.G Owners Manual
[x] Cancel search | Manufacturer: CHRYSLER, Model Year: 2014, Model line: TOWN AND COUNTRY, Model: CHRYSLER TOWN AND COUNTRY 2014 5.GPages: 703, PDF Size: 5.35 MB
Page 145 of 703
When the vehicle is started, the BSM warning light will
momentarily illuminate in both outside rear view mirrors
to let the driver know that the system is operational.Automatic Transmission Vehicles
The BSM system sensors operate when the vehicle is in
any forward gear or REVERSE and enters stand-by mode
when the vehicle is in PARK.
Manual Transmission Vehicles
The BSM system sensors operate when the vehicle is in
any gear and enters stand-by mode when the Park Brake
is engaged, the vehicle is not in REVERSE, and the
vehicle is stationary.
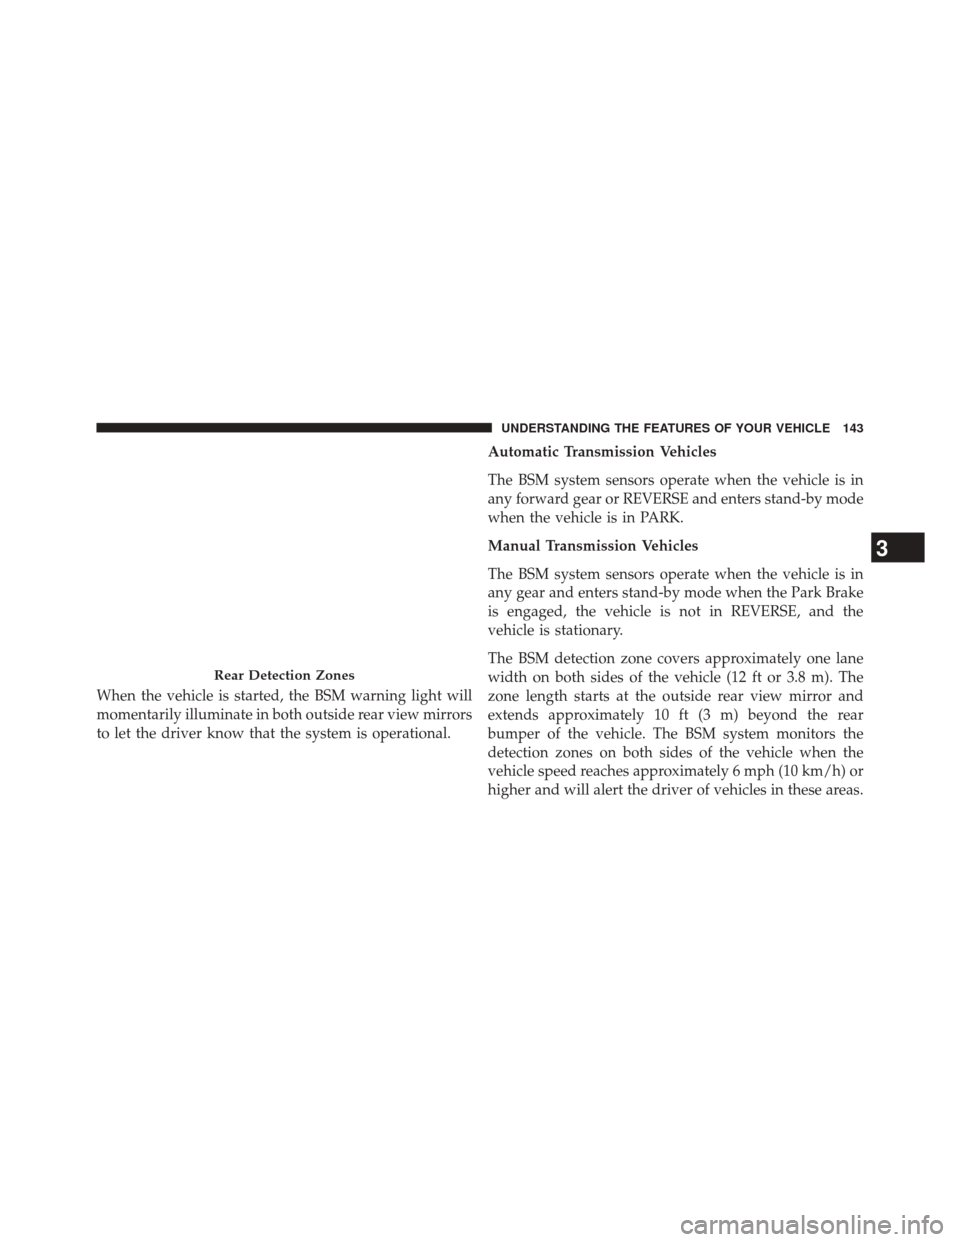
The BSM detection zone covers approximately one lane
width on both sides of the vehicle (12 ft or 3.8 m). The
zone length starts at the outside rear view mirror and
extends approximately 10 ft (3 m) beyond the rear
bumper of the vehicle. The BSM system monitors the
detection zones on both sides of the vehicle when the
vehicle speed reaches approximately 6 mph (10 km/h) or
higher and will alert the driver of vehicles in these areas.
Rear Detection Zones
3
UNDERSTANDING THE FEATURES OF YOUR VEHICLE 143
Page 258 of 703
WARNING!(Continued)
•Before using ParkSense®, it is strongly recom-
mended that the ball mount and hitch ball assem-
bly is disconnected from the vehicle when the
vehicle is not used for towing. Failure to do so can
result in injury or damage to vehicles or obstacles
because the hitch ball will be much closer to the
obstacle than the rear fascia when the loudspeaker
sounds the continuous tone. Also, the sensors
could detect the ball mount and hitch ball assem-
bly, depending on its size and shape, giving a false
indication that an obstacle is behind the vehicle.
PARKVIEW® REAR BACK UP CAMERA — IF
EQUIPPED
Your vehicle may be equipped with the ParkView® Rear
Back Up Camera that allows you to see an on-screen
image of the rear surroundings of your vehicle whenever
the shift lever is put into REVERSE. The image will be displayed on the touchscreen along with a caution note to
“check entire surroundings” across the top of the screen.
After five seconds this note will disappear. The
ParkView® camera is located on the rear of the vehicle
above the rear license plate.
When the vehicle is shifted out of REVERSE, the rear
camera mode is exited and the last selected touchscreen
appears again.
If your vehicle is equipped with the Camera Delay feature
and it is turned On, the rear camera image will be dis-
played for up to 10 seconds when the vehicle is shifted out
of REVERSE unless the forward vehicle speed exceeds 8
mph (13 km/h), the transmission is shifted into “PARK” or
the vehicles ignition is cycled to the OFF position.
NOTE:
The programmable features of the Parkview®
Rear Backup Camera can be selected through the touch-
screen. Refer to your “Uconnect® Supplement Manual”
for further information.
256 UNDERSTANDING THE FEATURES OF YOUR VEHICLE
Page 401 of 703
Using The Touchscreen Radio Controls
1. Press the MENU hard-key on the radio faceplate.
2.
Touch the Rear VES™ soft-key to display the Rear VES™
Controls. If a channel list is displayed, press the HIDE
LIST soft-key to display the Rear VES™ Controls screen.
3. Touch the 1 or 2 soft-key and then the DISC soft-key inthe MEDIA column. To exit touch the back arrow at
the top left of the screen.
NOTE:
• To view a DVD on the radio press the RADIO/MEDIA
hard-key, on the radio faceplate, then touch the DISC
tab soft-key and then the VIEW VIDEO soft-key.
• Viewing a DVD on the Touchscreen radio screen is not
available in all states/provinces. If available, the ve-
hicle must be stopped and the shift lever must be in the
PARK position for vehicles with an automatic trans-
mission. In vehicles with a manual transmission the
parking brake must be engaged.
• Touching the screen on a Touchscreen radio while a
DVD is playing brings up basic remote control func-
tions for DVD play such as scene selection, Play, Pause,
FF, RW, and Stop. Pressing the X in the upper corner
will turn off the remote control screen functions.
Rear VES™ Soft-key
4
UNDERSTANDING YOUR INSTRUMENT PANEL 399
Page 404 of 703
3. Touch the 1 or 2 soft-key and then the DISC soft-key inthe VES™ column. To exit touch the back arrow
soft-key at the top left of the screen. NOTE:
•
To view a DVD on the radio press the RADIO/MEDIA
hard-key, on the radio faceplate, then touch the DISC
tab soft-key and then the VIEW VIDEO soft-key.
• Viewing a DVD on the Touchscreen radio screen is not
available in all states/provinces. If available, the ve-
hicle must be stopped and the shift lever must be in the
PARK position for vehicles with an automatic trans-
mission. In vehicles with a manual transmission the
parking brake must be engaged.
Play A Blu-ray™ Disc Using The Blu-ray™ Player
— If Equipped
1. Insert the Blu-ray™ Disc with the label facing up. The Blu-ray™ Player automatically selects the appropriate
mode after the disc is recognized and starts playing
the Blu-ray™ Disc.
Select Channel/Screen 1 And DISC In The VES™
Column
402 UNDERSTANDING YOUR INSTRUMENT PANEL
Page 406 of 703
NOTE:
•To view a Blu-ray™ Disc on the radio press the
RADIO/MEDIA hard-key, on the radio faceplate, then
touch the VES™ Disc tab soft-key and then the VIEW
VIDEO soft-key.
• Viewing a Blu-ray™ Disc on the Touchscreen radio
screen is not available in all states/provinces. If avail-
able, the vehicle must be stopped and the shift lever
must be in the PARK position for vehicles with an
automatic transmission. In vehicles with a manual
transmission the parking brake must be engaged.Listen To An Audio Source While A Video Is
Playing
Ensure the Remote Control and Headphone switch are on
the same channel. If watching a video on Screen 1
(second row), then Channel 2 could be used for audio. If
watching a video on Screen 2 (third row), then Channel 1
could be used for audio.
Using The Remote Control
1. Press the SOURCE button on the Remote Control and the Mode Select Screen will display, unless a video is
playing then only a small banner will appear on the
bottom of the screen.
2. While looking at the video screen, either press Up/ Down/Left/Right on the Remote Control to highlight
the desired audio source or repeatedly press the
SOURCE button on the remote until the desired audio
source appears on the screen.
404 UNDERSTANDING YOUR INSTRUMENT PANEL
Page 474 of 703
The electronically-controlled transmission provides a
precise shift schedule. The transmission electronics are
self-calibrating; therefore, the first few shifts on a new
vehicle may be somewhat abrupt. This is a normal
condition, and precision shifts will develop within a few
hundred miles (kilometers).Only shift from DRIVE to PARK or REVERSE when the
accelerator pedal is released and the vehicle is stopped.
Be sure to keep your foot on the brake pedal when
shifting between these gears.
The transmission shift lever has only PARK, REVERSE,
NEUTRAL, and DRIVE shift positions. Manual down-
shifts can be made using the Electronic Range Select
(ERS) shift control (described later in this section). Mov-
ing the shift lever to the left or right (–/+) while in the
DRIVE position will select the highest available transmis-
sion gear, and will display that gear in the instrument
cluster as 1, 2, 3, etc.
Gear Ranges
DO NOT race the engine when shifting from PARK or
NEUTRAL into another gear range.
NOTE:
After selecting any gear range, wait a moment to
allow the selected gear to engage before accelerating.
This is especially important when the engine is cold.
Shift Lever
472 STARTING AND OPERATING
Page 501 of 703
WARNING!
•If you use a trailer brake controller with your
trailer, your trailer brakes may be activated and
deactivated with the brake switch. If so, when the
brake pedal is released, there may not be enough
brake pressure to hold the vehicle and trailer on a
hill and this could cause a collision with another
vehicle or object behind you. In order to avoid
rolling down the hill while resuming acceleration,
manually activate the trailer brake prior to releas-
ing the brake pedal. Always remember the driver is
responsible for braking the vehicle.
(Continued)
WARNING! (Continued)
•HSA is not a parking brake. If you stop the vehicle
on a hill without putting the transmission in PARK
and using the parking brake, it will roll down the
hill and could cause a collision with another ve-
hicle or object. Always remember to use the park-
ing brake while parking on a hill, and that the
driver is responsible for braking the vehicle.
HSA Off
If you wish to turn off the HSA system, it can be done
using the Customer Programmable Features in the Elec-
tronic Vehicle Information Center (EVIC). Refer to “Elec-
tronic Vehicle Information Center (EVIC)” in “Under-
standing Your Instrument Panel” for further information.
5
STARTING AND OPERATING 499
Page 572 of 703
Sealing A Tire With TIREFIT
(A) Whenever You Stop To Use TIREFIT:
1. Pull over to a safe location and turn on the vehicle’sHazard Warning flashers.
2. Verify that the valve stem (on the wheel with the deflated tire) is in a position that is near to the ground.
This will allow the TIREFIT Hoses (6) and (7) to reach
the valve stem and keep the TIREFIT kit flat on the
ground. This will provide the best positioning of the
kit when injecting the sealant into the deflated tire and
running the air pump. Move the vehicle as necessary
to place the valve stem in this position before proceed-
ing.
3. Place the transmission in PARK (auto transmission) or in Gear (manual transmission) and turn Off the igni-
tion.
4. Set the parking brake.
(B) Setting Up To Use TIREFIT:
1. Push in the Mode Select Knob (5) and turn to the Sealant Mode position.
2. Uncoil the Sealant Hose (6) and then remove the cap from the fitting at the end of the hose.
3. Place the TIREFIT kit flat on the ground next to the deflated tire.
4. Remove the cap from the valve stem and then screw the fitting at the end of the Sealant Hose (6) onto the
valve stem.
5. Uncoil the Power Plug (8) and insert the plug into the vehicle’s 12 Volt power outlet.
NOTE: Do not remove foreign objects (e.g., screws or
nails) from the tire.
570 WHAT TO DO IN EMERGENCIES
Page 573 of 703
(C) Injecting TIREFIT Sealant Into The Deflated
Tire:
•Always start the engine before turning ON the TIRE-
FIT kit.
NOTE: Manual transmission vehicles must have the
parking brake engaged and the shift lever in NEUTRAL.
• After pressing the Power Button (4), the sealant (white
fluid) will flow from the Sealant Bottle (1) through the
Sealant Hose (6) and into the tire.
NOTE: Sealant may leak out through the puncture in the
tire.
If the sealant (white fluid) does not flow within0–10
seconds through the Sealant Hose (6):
1. Press the Power Button (4) to turn Off the TIREFIT kit. Disconnect the Sealant Hose (6) from the valve stem.
Make sure the valve stem is free of debris. Reconnect the Sealant Hose (6) to the valve stem. Check that the
Mode Select Knob (5) is in the Sealant Mode position
and not Air Mode. Press the Power Button (4) to turn
On the TIREFIT kit.
2. Connect the Power Plug (8) to a different 12 Volt power outlet in your vehicle or another vehicle, if
available. Make sure the engine is running before
turning ON the TIREFIT kit.
3. The Sealant Bottle (1) may be empty due to previous use. Call for assistance.
NOTE: If the Mode Select Knob (5) is on Air Mode and
the pump is operating, air will dispense from the Air
Pump Hose (7) only, not the Sealant Hose (6).
6
WHAT TO DO IN EMERGENCIES 571
Page 588 of 703
6. Block both the front and rear of the wheel diagonallyopposite of the jacking position. For
example, if changing the right front
tire, block the left rear wheel.
NOTE: Passengers should not remain
in the vehicle when the vehicle is
being jacked.Jacking Instructions
WARNING!
Carefully follow these tire changing warnings to
help prevent personal injury or damage to your
vehicle:
• Always park on a firm, level surface as far from the
edge of the roadway as possible before raising the
vehicle.
• Turn on the Hazard Warning flasher.
• Block the wheel diagonally opposite the wheel to
be raised.
• Set the parking brake firmly and set an automatic
transmission in PARK; a manual transmission in
REVERSE.
• Never start or run the engine with the vehicle on a
jack.
(Continued)
586 WHAT TO DO IN EMERGENCIES