Seat removal CHRYSLER TOWN AND COUNTRY 2016 5.G Owners Manual
[x] Cancel search | Manufacturer: CHRYSLER, Model Year: 2016, Model line: TOWN AND COUNTRY, Model: CHRYSLER TOWN AND COUNTRY 2016 5.GPages: 727, PDF Size: 5.32 MB
Page 99 of 727

WARNING!
Ignoring the Air Bag Warning Light in your instru-
ment panel could mean you won’t have the air bags
to protect you in a collision. If the light does not come
on as a bulb check when the ignition is first placed in
the on position, and stays on after you start the
vehicle, or if it comes on as you drive, have an
authorized dealer service the air bag system immedi-
ately.
Maintaining Your Air Bag System
WARNING!
•Modifications to any part of the air bag system
could cause it to fail when you need it. You could
be injured if the air bag system is not there to
(Continued)
WARNING! (Continued)
protect you. Do not modify the components or
wiring, including adding any kind of badges or
stickers to the steering wheel hub trim cover or the
upper right side of the instrument panel. Do not
modify the front bumper, vehicle body structure, or
add aftermarket side steps or running boards.
• It is dangerous to try to repair any part of the air
bag system yourself. Be sure to tell anyone who
works on your vehicle that it has an air bag system.
• Do not attempt to modify any part of your air bag
system. The air bag may inflate accidentally or may
not function properly if modifications are made.
Take your vehicle to an authorized dealer for any
air bag system service. If your seat, including your
trim cover and cushion, needs to be serviced in any
way (including removal or loosening/tightening of
(Continued)
2
THINGS TO KNOW BEFORE STARTING YOUR VEHICLE 97
Page 205 of 727

NOTE:
•The head restraints should only be removed by quali-
fied technicians, for service purposes only. If either of
the head restraints require removal, see your autho-
rized dealer. •
In the event of deployment of an Active Head Re-
straint, refer to “Occupant Restraints/Resetting Active
Head Restraints (AHR)” in “Things To Know Before
Starting Your Vehicle” for further information.
WARNING!
• All occupants, including the driver, should not
operate a vehicle or sit in a vehicle’s seat until the
head restraints are placed in their proper positions
in order to minimize the risk of neck injury in the
event of a collision.
• Do not place items over the top of the Active Head
Restraint, such as coats, seat covers or portable
DVD players. These items may interfere with the
operation of the Active Head Restraint in the event
of a collision and could result in serious injury or
death.
(Continued)
Active Head Restraint (Tilted)
3
UNDERSTANDING THE FEATURES OF YOUR VEHICLE 203
Page 217 of 727

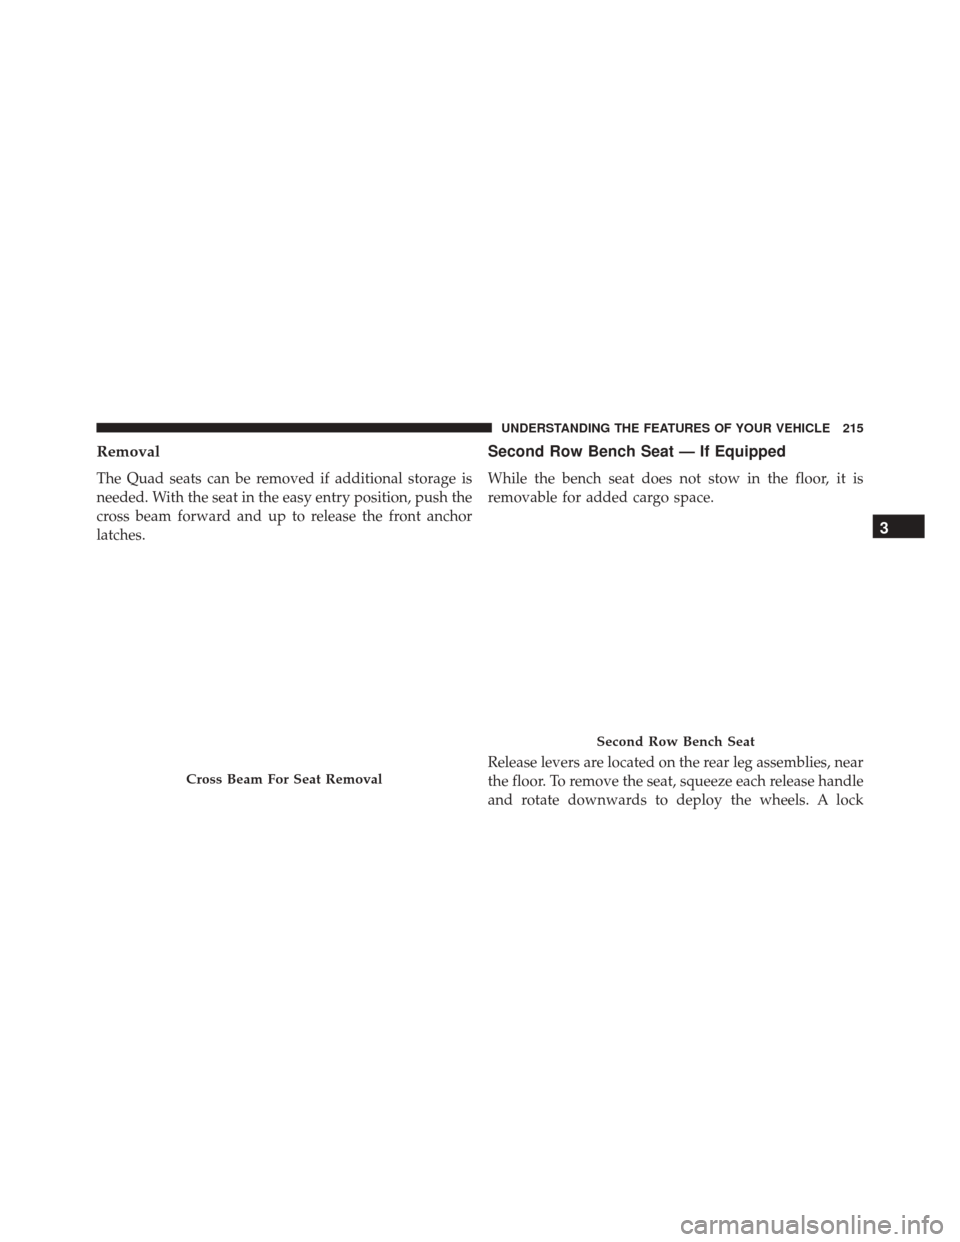
Removal
The Quad seats can be removed if additional storage is
needed. With the seat in the easy entry position, push the
cross beam forward and up to release the front anchor
latches.
Second Row Bench Seat — If Equipped
While the bench seat does not stow in the floor, it is
removable for added cargo space.
Release levers are located on the rear leg assemblies, near
the floor. To remove the seat, squeeze each release handle
and rotate downwards to deploy the wheels. A lock
Cross Beam For Seat Removal
Second Row Bench Seat
3
UNDERSTANDING THE FEATURES OF YOUR VEHICLE 215
Page 667 of 727

Seat Belt Maintenance
Do not bleach, dye, or clean the belts with chemical
solvents or abrasive cleaners. This will weaken the fabric.
Sun damage can also weaken the fabric.
If the belts need cleaning, use MOPAR Total Clean, a mild
soap solution, or lukewarm water. Do not remove the
belts from the vehicle to wash them. Dry with a soft cloth.
Replace the belts if they appear frayed or worn or if the
buckles do not work properly.
WARNING!
A frayed or torn belt could rip apart in a collision and
leave you with no protection. Inspect the belt system
periodically, checking for cuts, frays, or loose parts.
Damaged parts must be replaced immediately. Do
not disassemble or modify the system. Seat belt
(Continued)
WARNING!(Continued)
assemblies must be replaced after a collision if they
have been damaged (i.e., bent retractor, torn web-
bing, etc.).
Cleaning The Instrument Panel Cupholders
Removal
Pull the flexible liner from the cupholder drawer starting
at one edge to ease removal.
Cleaning
The liner is top shelf dishwasher safe, or you may follow
the cleaning procedure below.
Soak the liner in a mixture of medium hot tap water and
one teaspoon of mild liquid dish soap. Let soak for
approximately 30 minutes. After 30 minutes, pull the
liner from the water and dip it back into the water about
six times. This will loosen any remaining debris. Rinse
7
MAINTAINING YOUR VEHICLE 665