Instrument adjustment CHRYSLER VOYAGER 2023 Owners Manual
[x] Cancel search | Manufacturer: CHRYSLER, Model Year: 2023, Model line: VOYAGER, Model: CHRYSLER VOYAGER 2023Pages: 256, PDF Size: 13.97 MB
Page 48 of 256

46GETTING TO KNOW YOUR VEHICLE
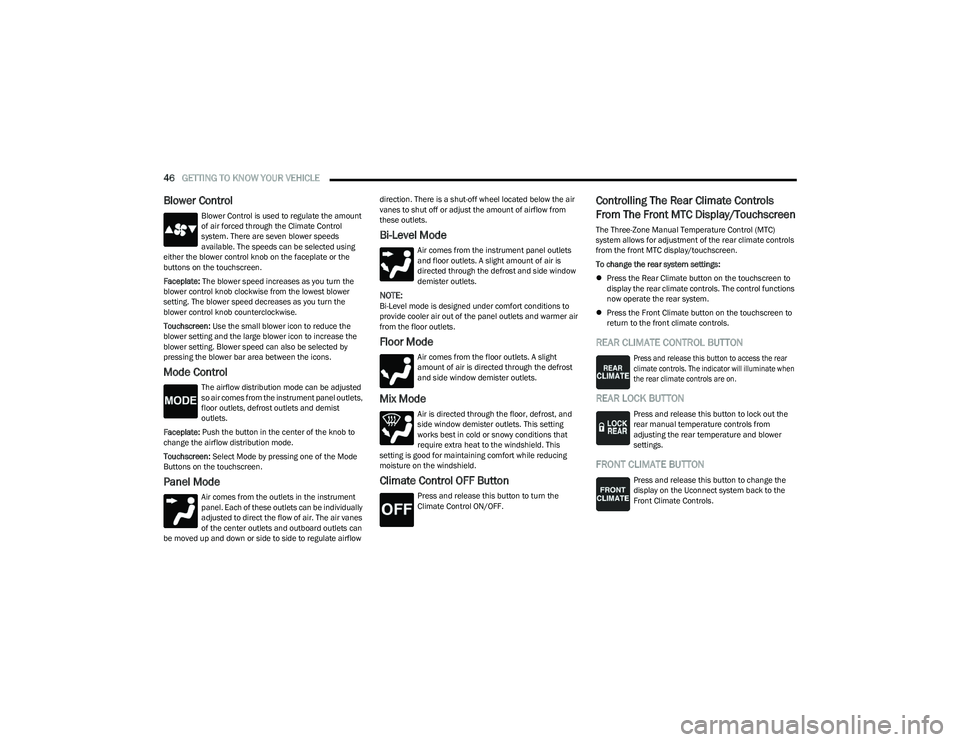
Blower Control
Blower Control is used to regulate the amount
of air forced through the Climate Control
system. There are seven blower speeds
available. The speeds can be selected using
either the blower control knob on the faceplate or the
buttons on the touchscreen.
Faceplate: The blower speed increases as you turn the
blower control knob clockwise from the lowest blower
setting. The blower speed decreases as you turn the
blower control knob counterclockwise.
Touchscreen: Use the small blower icon to reduce the
blower setting and the large blower icon to increase the
blower setting. Blower speed can also be selected by
pressing the blower bar area between the icons.
Mode Control
The airflow distribution mode can be adjusted
so air comes from the instrument panel outlets,
floor outlets, defrost outlets and demist
outlets.
Faceplate: Push the button in the center of the knob to
change the airflow distribution mode.
Touchscreen: Select Mode by pressing one of the Mode
Buttons on the touchscreen.
Panel Mode
Air comes from the outlets in the instrument
panel. Each of these outlets can be individually
adjusted to direct the flow of air. The air vanes
of the center outlets and outboard outlets can
be moved up and down or side to side to regulate airflow direction. There is a shut-off wheel located below the air
vanes to shut off or adjust the amount of airflow from
these outlets.
Bi-Level Mode
Air comes from the instrument panel outlets
and floor outlets. A slight amount of air is
directed through the defrost and side window
demister outlets.
NOTE:Bi-Level mode is designed under comfort conditions to
provide cooler air out of the panel outlets and warmer air
from the floor outlets.
Floor Mode
Air comes from the floor outlets. A slight
amount of air is directed through the defrost
and side window demister outlets.
Mix Mode
Air is directed through the floor, defrost, and
side window demister outlets. This setting
works best in cold or snowy conditions that
require extra heat to the windshield. This
setting is good for maintaining comfort while reducing
moisture on the windshield.
Climate Control OFF Button
Press and release this button to turn the
Climate Control ON/OFF.
Controlling The Rear Climate Controls
From The Front MTC Display/Touchscreen
The Three-Zone Manual Temperature Control (MTC)
system allows for adjustment of the rear climate controls
from the front MTC display/touchscreen.
To change the rear system settings:
Press the Rear Climate button on the touchscreen to
display the rear climate controls. The control functions
now operate the rear system.
Press the Front Climate button on the touchscreen to
return to the front climate controls.
REAR CLIMATE CONTROL BUTTON
Press and release this button to access the rear
climate controls. The indicator will illuminate when
the rear climate controls are on.
REAR LOCK BUTTON
Press and release this button to lock out the
rear manual temperature controls from
adjusting the rear temperature and blower
settings.
FRONT CLIMATE BUTTON
Press and release this button to change the
display on the Uconnect system back to the
Front Climate Controls.
23_RUV_OM_EN_US_t.book Page 46
Page 64 of 256

62GETTING TO KNOW YOUR INSTRUMENT PANEL
PREMIUM INSTRUMENT CLUSTER
D
ESCRIPTIONS
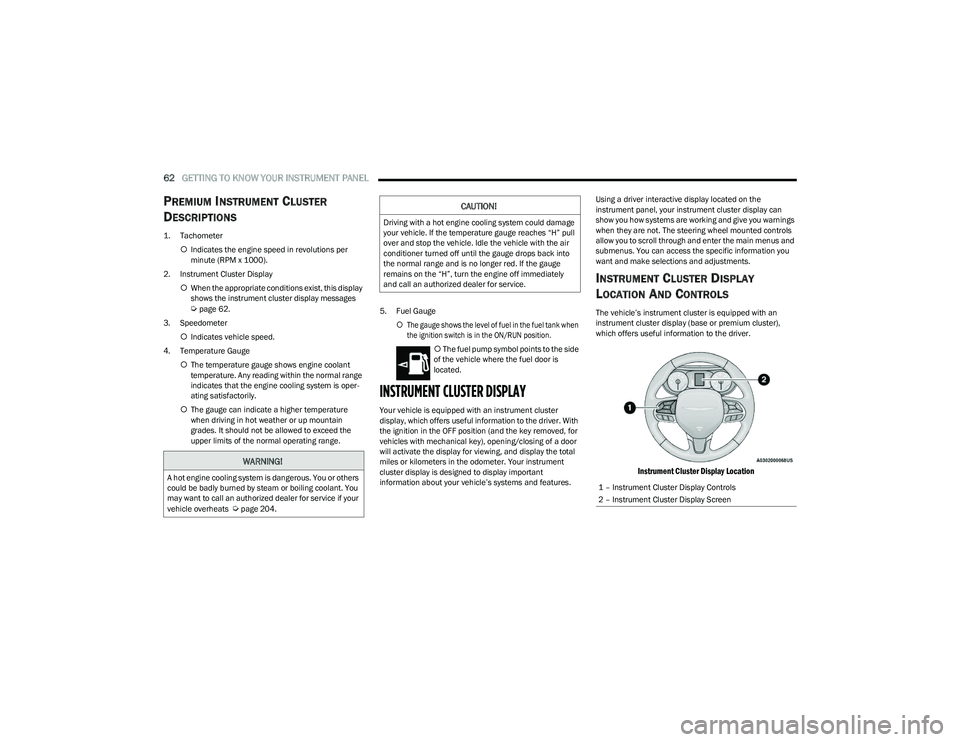
1. Tachometer
Indicates the engine speed in revolutions per
minute (RPM x 1000).
2. Instrument Cluster Display When the appropriate conditions exist, this display
shows the instrument cluster display messages
Úpage 62.
3. Speedometer Indicates vehicle speed.
4. Temperature Gauge The temperature gauge shows engine coolant
temperature. Any reading within the normal range
indicates that the engine cooling system is oper -
ating satisfactorily.
The gauge can indicate a higher temperature
when driving in hot weather or up mountain
grades. It should not be allowed to exceed the
upper limits of the normal operating range. 5. Fuel Gauge
The gauge shows the level of fuel in the fuel tank when
the ignition switch is in the ON/RUN position.
The fuel pump symbol points to the side
of the vehicle where the fuel door is
located.
INSTRUMENT CLUSTER DISPLAY
Your vehicle is equipped with an instrument cluster
display, which offers useful information to the driver. With
the ignition in the OFF position (and the key removed, for
vehicles with mechanical key), opening/closing of a door
will activate the display for viewing, and display the total
miles or kilometers in the odometer. Your instrument
cluster display is designed to display important
information about your vehicle’s systems and features. Using a driver interactive display located on the
instrument panel, your instrument cluster display can
show you how systems are working and give you warnings
when they are not. The steering wheel mounted controls
allow you to scroll through and enter the main menus and
submenus. You can access the specific information you
want and make selections and adjustments.
INSTRUMENT CLUSTER DISPLAY
L
OCATION AND CONTROLS
The vehicle’s instrument cluster is equipped with an
instrument cluster display (base or premium cluster),
which offers useful information to the driver.
Instrument Cluster Display Location
WARNING!
A hot engine cooling system is dangerous. You or others
could be badly burned by steam or boiling coolant. You
may want to call an authorized dealer for service if your
vehicle overheats
Úpage 204.
CAUTION!
Driving with a hot engine cooling system could damage
your vehicle. If the temperature gauge reaches “H” pull
over and stop the vehicle. Idle the vehicle with the air
conditioner turned off until the gauge drops back into
the normal range and is no longer red. If the gauge
remains on the “H”, turn the engine off immediately
and call an authorized dealer for service.
1 – Instrument Cluster Display Controls
2 – Instrument Cluster Display Screen
23_RUV_OM_EN_US_t.book Page 62
Page 89 of 256

STARTING AND OPERATING87
To Activate
Push the on/off button to activate the Cruise Control. The
cruise indicator light in the instrument cluster display will
illuminate. To turn the system off, push the on/off button
a second time. The cruise indicator light will turn off.
The system should be turned off when not in use.
To Set A Desired Speed
Turn the Cruise Control on.
NOTE:The vehicle should be traveling at a steady speed and on
level ground before pushing the SET (+) or SET (-) button.
When the vehicle has reached the desired speed, push
the SET (+) or SET (-) button and release. Release the
accelerator and the vehicle will operate at the selected
speed.
To Vary The Speed Setting
To Increase Or Decrease The Set Speed
When the Cruise Control is set, you can increase speed by
pushing the SET (+) button, or decrease speed by pushing
the SET (-) button. U.S. Speed (mph)
Pushing the SET (+), or SET (-) button once will result in
a 1 mph speed adjustment. Each subsequent tap of
the button results in an adjustment of 1 mph.
If the button is continually pushed, the set speed will
continue to adjust in 5 mph increments until the button
is released. The new set speed is reflected in the instru -
ment cluster display.
Metric Speed (km/h)
Pushing the SET (+), or SET (-) button once will result in
a 1 km/h speed adjustment. Each subsequent tap of
the button results in an adjustment of 1 km/h.
If the button is continually pushed, the set speed will
continue to adjust in 10 km/h increments until the
button is released. The new set speed is reflected in
the instrument cluster display.
To Accelerate For Passing
Press the accelerator as you would normally. When the
pedal is released, the vehicle will return to the set speed.
USING CRUISE CONTROL ON HILLS
The transmission may downshift on hills to maintain the
vehicle set speed.
The Cruise Control system maintains speed up and down
hills. A slight speed change on moderate hills is normal.
On steep hills, a greater speed loss or gain may occur so it
may be preferable to drive without Cruise Control.
To Resume Speed
To resume a previously set speed, push the RES button
and release. Resume can be used at any speed above
20 mph (32 km/h).
To Deactivate
A tap on the brake pedal, pushing the CANC button, or
normal brake pressure will deactivate the Cruise Control
system without erasing the set speed from memory.
Pushing the on/off button or placing the ignition in the OFF
position erases the set speed from memory.
PARKSENSE REAR PARK ASSIST —
IF EQUIPPED
The ParkSense Rear Park Assist system provides visual
and audible indications of the distance between the rear
fascia and a detected obstacle when backing up (e.g.
during a parking maneuver). If your vehicle is equipped
with an automatic transmission, the vehicle brakes may
be automatically applied and released when performing a
reverse parking maneuver if the system detects a possible
collision with an obstacle.
WARNING!
Leaving the Cruise Control system on when not in use is
dangerous. You could accidentally set the system or
cause it to go faster than you want. You could lose
control and have an accident. Always leave the system
off when you are not using it.
WARNING!
Cruise Control can be dangerous where the system
cannot maintain a constant speed. Your vehicle could
go too fast for the conditions, and you could lose control
and have an accident. Do not use Cruise Control in
heavy traffic or on roads that are winding, icy,
snow-covered or slippery.
4
23_RUV_OM_EN_US_t.book Page 87
Page 133 of 256

SAFETY131
Service FCW Warning
If the system turns off, and the instrument cluster
displays:
FCW Unavailable Service Required
Cruise/FCW Unavailable Service Required
This indicates there is an internal system fault. Although
the vehicle is still drivable under normal conditions, have
the system checked by an authorized dealer.
Pedestrian Emergency Braking (PEB) —
If Equipped
The Pedestrian Emergency Braking (PEB) is a subsystem
of the FCW system that provides the driver with audible
and visual warnings in the instrument cluster display, and
may apply automatic braking when it detects a potential
frontal collision with a pedestrian/cyclist.
If a PEB event begins at a speed below 37 mph (60 km/h),
the system may provide braking to mitigate the potential
collision with a pedestrian/cyclist. If the PEB event stops
the vehicle completely, the system will hold the vehicle at
a standstill for two seconds and then release the brakes.
When the system determines a collision with the
pedestrian in front of you is no longer probable, the
warning message will be deactivated.
The minimum speed for PEB activation is 3 mph (5 km/h). Turning PEB On Or Off
NOTE:
The default status of PEB is “On.” This allows the system to
warn you of a possible frontal collision with the pedestrian.
The PEB button is located in the Uconnect display in the
Controls settings
Úpage 105.
To turn the PEB system off, push the Pedestrian
Emergency Braking OFF button.
To turn the PEB system back on, push the Warning Active
Braking button.
Changing the PEB status to “Off” deactivates the system,
so no warning or active braking will be available in case of
a possible frontal collision with the pedestrian.
NOTE:The PEB system will NOT retain the last setting selected by
the driver after ignition shut down. The system will reset to
the default setting when the vehicle is restarted.
TIRE PRESSURE MONITORING
S
YSTEM (TPMS)
The Tire Pressure Monitoring System (TPMS) will warn
the driver of a low tire pressure based on the vehicle
recommended cold placard pressure.
NOTE:
The TPMS Warning Light will illuminate in the instrument
cluster and a chime will sound when tire pressure is low in one
or more of the four active road tires. In addition, the instrument
cluster will display a graphic showing the pressure values of
each tire with the low tire pressure values in a different color,
or the Uconnect radio will display a TPMS message. When this
occurs you must increase the tire pressure to the recom -
mended cold placard pressure in order for the TPMS Warning
Light to turn off.
The tire pressure will vary with temperature by
approximately 1 psi (7 kPa) for every 12°F (6.5°C). This
means that when the outside temperature decreases, the
tire pressure will decrease. Tire pressure should always be
set based on cold inflation tire pressure. This is defined as
the tire pressure after the vehicle has not been driven for
at least three hours, or driven less than 1 mile (1.6 km)
after a three hour period. The cold tire inflation pressure
must not exceed the maximum inflation pressure molded
into the tire sidewall. The tire pressure will also increase
as the vehicle is driven. This is normal and there should be
no adjustment for this increased pressure.
See
Úpage 224 for information on how to properly inflate
the vehicle’s tires.
WARNING!
Pedestrian Emergency Braking (PEB) is not intended to
avoid a collision on its own, nor can PEB detect every
type of potential collision with a pedestrian. The driver
has the responsibility to avoid a collision by controlling
the vehicle via braking and steering. Failure to follow
this warning could lead to serious injury or death.
6
23_RUV_OM_EN_US_t.book Page 131