bars Citroen BERLINGO 2014 2.G Owner's Manual
[x] Cancel search | Manufacturer: CITROEN, Model Year: 2014, Model line: BERLINGO, Model: Citroen BERLINGO 2014 2.GPages: 268, PDF Size: 13.39 MB
Page 4 of 268
2
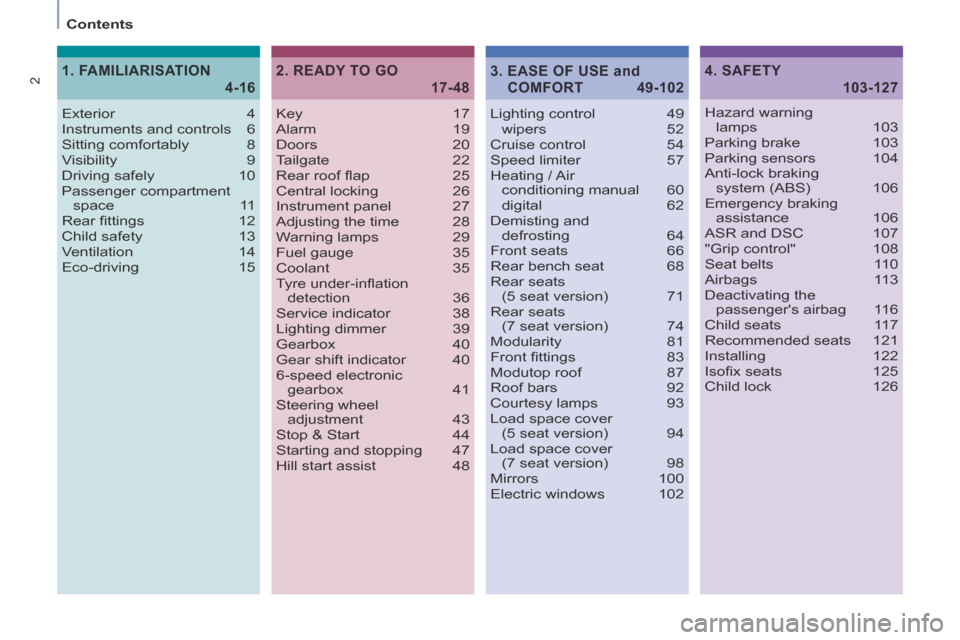
Contents Key 17
Alarm 19
Doors 20
Tailgate 22
Rear roof fl ap 25
Central locking 26
Instrument panel 27
Adjusting the time 28
Warning lamps 29
Fuel gauge 35
Coolant 35
Tyre under-infl ation detection 36
Service indicator 38
Lighting dimmer 39
Gearbox 40
Gear shift indicator 40
6-speed electronic gearbox 41
Steering wheel adjustment 43
Stop & Start 44
Starting and stopping 47
Hill start assist 48 Lighting control 49
wipers
52
Cruise control 54
Speed limiter 57
Heating / Air conditioning manual 60
digital 62
Demisting and defrosting 64
Front seats 66
Rear bench seat 68
Rear seats (5 seat version) 71
Rear seats (7 seat version) 74
Modularity 81
Front fi ttings 83
Modutop roof 87
Roof bars 92
Courtesy lamps 93
Load space cover (5 seat version) 94
Load space cover (7 seat version) 98
Mirrors 100
Electric windows 102
2. READY TO GO
17-48
4. SAFETY
103-127
Exterior 4
Instruments and controls 6
Sitting comfortably 8
Visibility 9
Driving safely 10
Passenger compartment space 11
Rear fi ttings 12
Child safety 13
Ventilation 14
Eco-driving 15
1. FAMILIARISATION
4-16
Hazard warning
lamps 103
Parking brake 103
Parking sensors 104
Anti-lock braking system (ABS) 106
Emergency braking assistance 106
ASR and DSC 107
"Grip control" 108
Seat belts 110
Airbags 113
Deactivating the passenger's airbag 116
Child seats 117
Recommended seats 121
Installing 122
Isofi x seats 125
Child lock 126
3. EASE OF USE and
COMFORT 49-102
Page 14 of 268
3
3
3
3
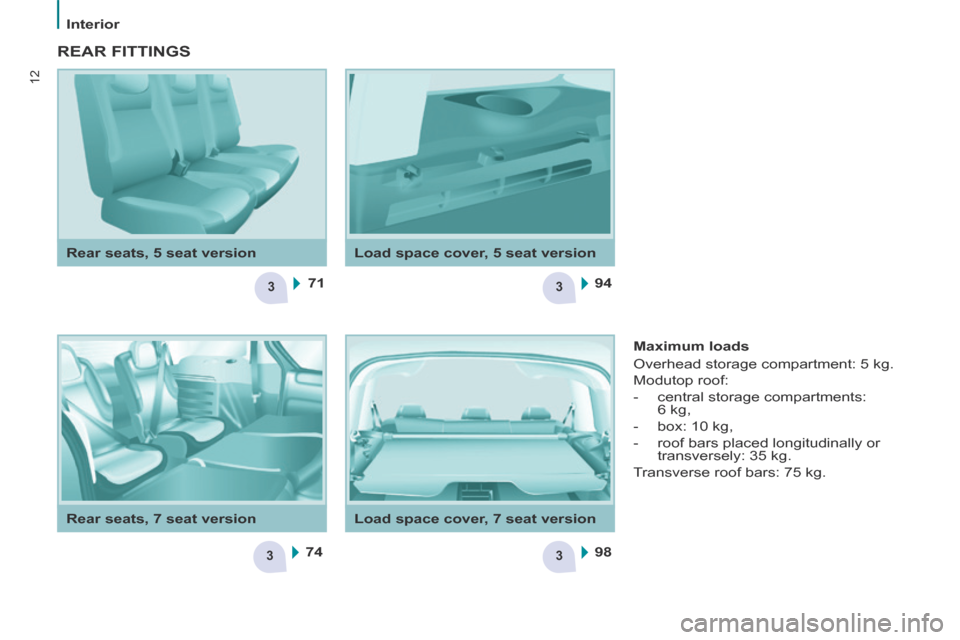
71
74 94
98
12
Interior
Load space cover, 5 seat version
Rear seats, 5 seat version
REAR FITTINGS
Maximum loads
Overhead storage compartment: 5 kg.
Modutop roof:
- central storage compartments:
6 kg,
- box: 10 kg,
- roof bars placed longitudinally or transversely: 35 kg.
Transverse roof bars: 75 kg.
Load space cover, 7 seat version
Rear seats, 7 seat version
Page 18 of 268
16
Limit the causes of excess
consumption
Spread loads throughout the
vehicle; place the heaviest items in
the bottom of the boot, as close as
possible to the rear seats.
Limit the loads carried in the
vehicle and reduce wind resistance
(roof bars, roof rack, bicycle
carrier, trailer...). Use a roof box in
preference.
Remove roof bars and roof racks
after use.
At the end of winter, remove snow
tyres and refi t your summer tyres.
Observe the recommendations
on maintenance
Check the tyre pressures regularly,
when cold, referring to the label in the
door aperture, driver's side.
Carry out this check in particular:
- before a long journey,
- at each change of season,
- after a long period out of use.
Don't forget the spare wheel and the
tyres on any trailer or caravan.
Have your vehicle serviced regularly
(engine oil, oil fi lter, air fi lter,
passenger compartment fi lter...) and
observe the schedule of operations
recommended in the maintenance and
warranty guide. When refuelling, do not continue after
the third cut-off of the nozzle to avoid
any overfl ow.
At the wheel of your new vehicle,
it is only after the fi rst 1 800 miles
(3 000 kilometres) that you will see
the fuel consumption settle down to a
consistent average.
Page 72 of 268
Seats
70
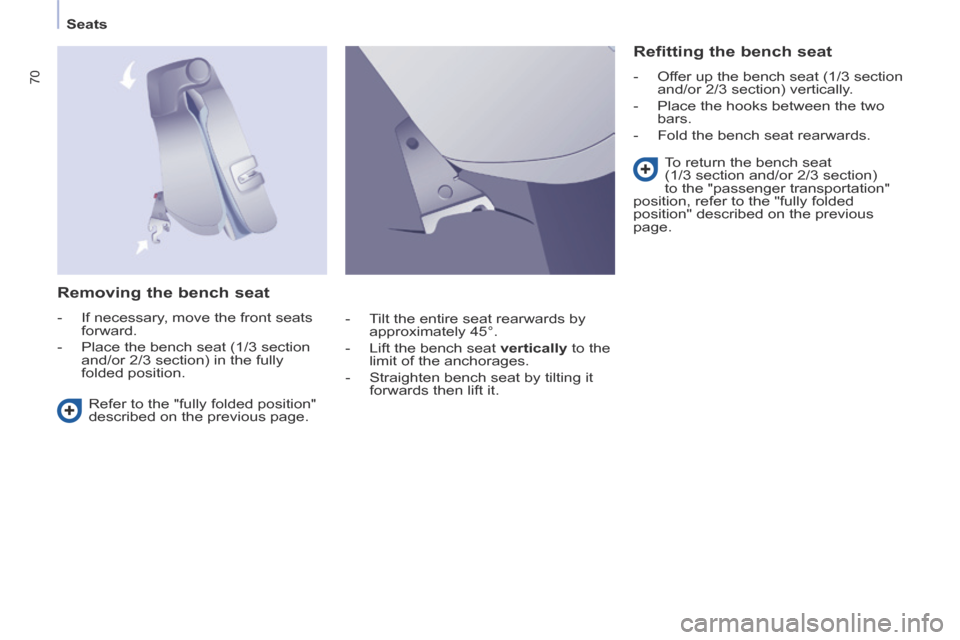
Removing the bench seat
- If necessary, move the front seats forward.
- Place the bench seat (1/3 section and/or 2/3 section) in the fully
folded position.
Refitting the bench seat
- Offer up the bench seat (1/3 section and/or 2/3 section) vertically.
- Place the hooks between the two bars.
- Fold the bench seat rearwards.
Refer to the "fully folded position"
described on the previous page. To return the bench seat
(1/3 section and/or 2/3 section)
to the "passenger transportation"
position, refer to the "fully folded
position" described on the previous
page.
- Tilt the entire seat rearwards by approximately 45°.
- Lift the bench seat vertically to the
limit of the anchorages.
- Straighten bench seat by tilting it forwards then lift it.
Page 75 of 268
Seats
73
EASE OF U
SE and
COMFORT
3
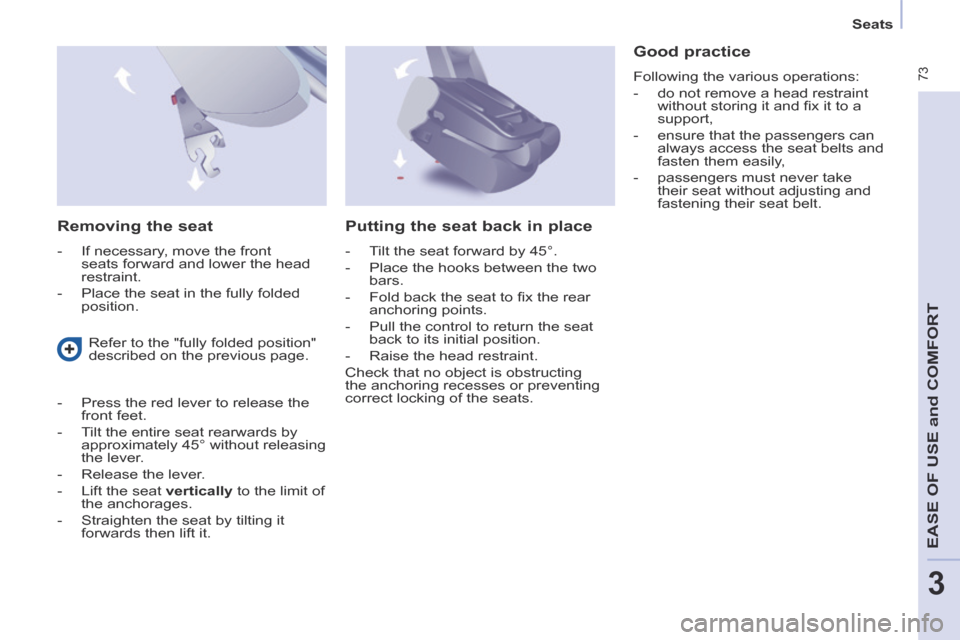
Removing the seat
- If necessary, move the front seats forward and lower the head
restraint.
- Place the seat in the fully folded position.
Good practice
Following the various operations:
- do not remove a head restraint without storing it and fi x it to a
support,
- ensure that the passengers can always access the seat belts and
fasten them easily,
- passengers must never take their seat without adjusting and
fastening their seat belt.
Refer to the "fully folded position"
described on the previous page.
- Press the red lever to release the front feet.
- Tilt the entire seat rearwards by approximately 45° without releasing
the lever.
- Release the lever.
- Lift the seat vertically to the limit of the anchorages.
- Straighten the seat by tilting it forwards then lift it.
Putting the seat back in place
- Tilt the seat forward by 45°.
- Place the hooks between the two bars.
- Fold back the seat to fi x the rear anchoring points.
- Pull the control to return the seat back to its initial position.
- Raise the head restraint.
Check that no object is obstructing
the anchoring recesses or preventing
correct locking of the seats.
Page 81 of 268
Seats
79
EASE OF U
SE and
COMFORT
3
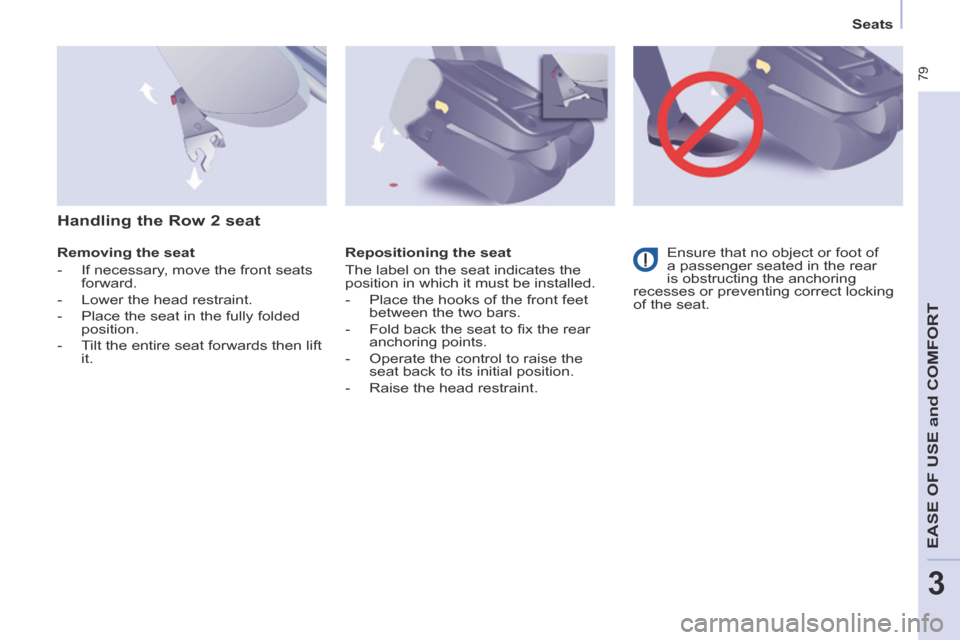
Removing the seat
- If necessary, move the front seats forward.
- Lower the head restraint.
- Place the seat in the fully folded position.
- Tilt the entire seat forwards then lift it. Repositioning the seat
The label on the seat indicates the
position in which it must be installed.
- Place the hooks of the front feet
between the two bars.
- Fold back the seat to fi x the rear anchoring points.
- Operate the control to raise the seat back to its initial position.
- Raise the head restraint. Ensure that no object or foot of
a passenger seated in the rear
is obstructing the anchoring
recesses or preventing correct locking
of the seat.
Handling the Row 2 seat
Page 82 of 268
Seats
80
Handling the Row 3 seat
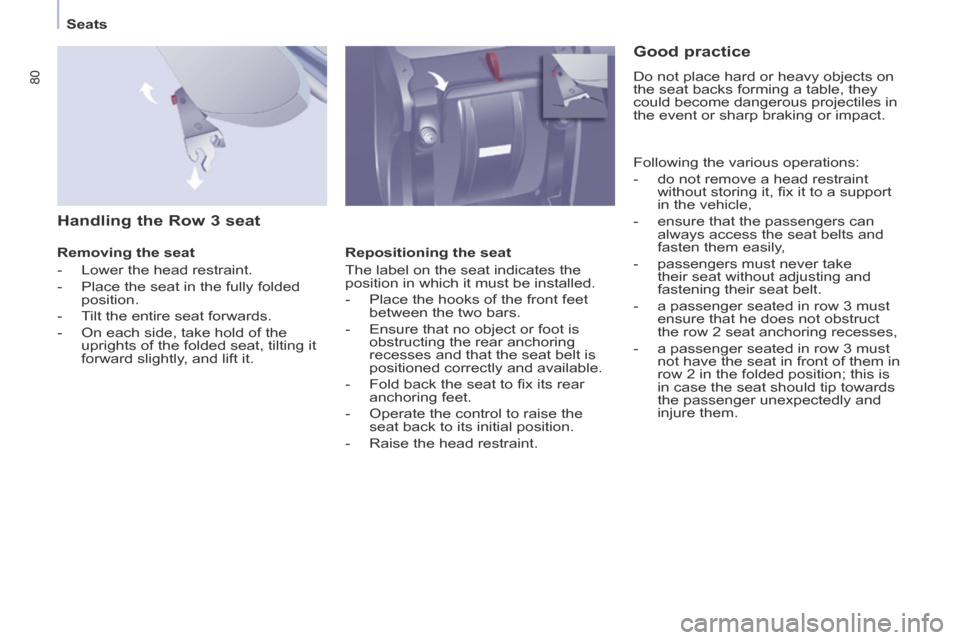
Removing the seat
- Lower the head restraint.
- Place the seat in the fully folded position.
- Tilt the entire seat forwards.
- On each side, take hold of the uprights of the folded seat, tilting it
forward slightly, and lift it. Repositioning the seat
The label on the seat indicates the
position in which it must be installed.
- Place the hooks of the front feet
between the two bars.
- Ensure that no object or foot is obstructing the rear anchoring
recesses and that the seat belt is
positioned correctly and available.
- Fold back the seat to fi x its rear anchoring feet.
- Operate the control to raise the seat back to its initial position.
- Raise the head restraint.
Good practice
Do not place hard or heavy objects on
the seat backs forming a table, they
could become dangerous projectiles in
the event or sharp braking or impact.
Following the various operations:
- do not remove a head restraint without storing it, fi x it to a support
in the vehicle,
- ensure that the passengers can always access the seat belts and
fasten them easily,
- passengers must never take their seat without adjusting and
fastening their seat belt.
- a passenger seated in row 3 must ensure that he does not obstruct
the row 2 seat anchoring recesses,
- a passenger seated in row 3 must not have the seat in front of them in
row 2 in the folded position; this is
in case the seat should tip towards
the passenger unexpectedly and
injure them.
Page 93 of 268
Practical information
91
EASE OF U
SE and
COMFORT
3
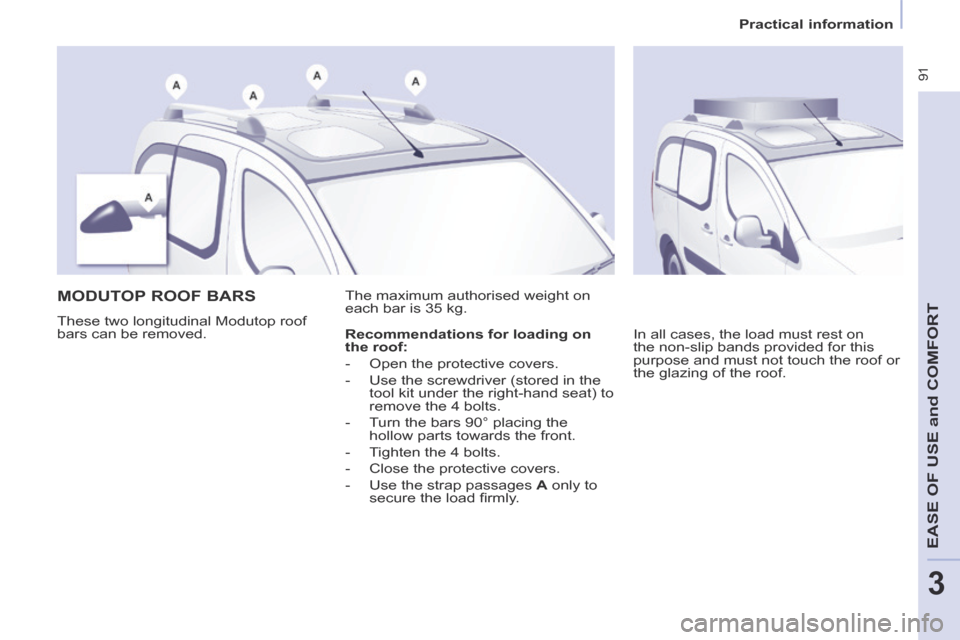
MODUTOP ROOF BARS
These two longitudinal Modutop roof
bars can be removed. The maximum authorised weight on
each bar is 35 kg.
In all cases, the load must rest on
the non-slip bands provided for this
purpose and must not touch the roof or
the glazing of the roof.
Recommendations for loading on
the roof:
- Open the protective covers.
- Use the screwdriver (stored in the
tool kit under the right-hand seat) to
remove the 4 bolts.
- Turn the bars 90° placing the hollow parts towards the front.
- Tighten the 4 bolts.
- Close the protective covers.
- Use the strap passages A only to
secure the load fi rmly.
Page 94 of 268
Practical information
92
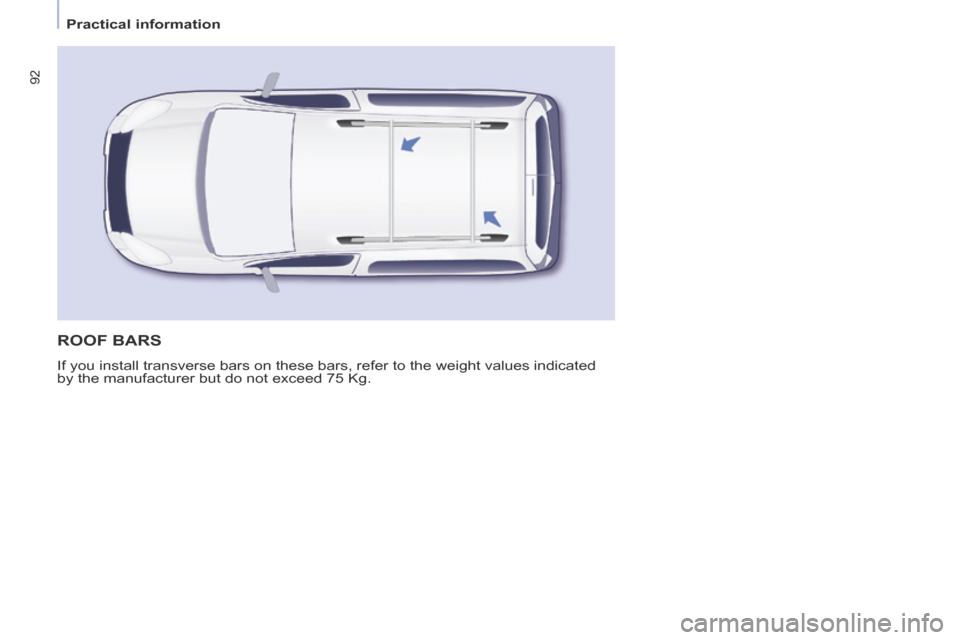
ROOF BARS
If you install transverse bars on these bars, refer to the weight values\
indicated
by the manufacturer but do not exceed 75 Kg.
Page 131 of 268
129
Towing a trailer
ACCESSORIES
5
Good Practice
In certain cases of particularly arduous
use (towing the maximum load up a
steep slope in high temperatures), the
engine automatically limits its power.
In this case, the air conditioning is
automatically cut off to save engine
power. Tyres
Check the tyre pressures of the
towing vehicle (see the "Identifi cation
markings" section of chapter 8) and of
the trailer, observing the recommended
pressures.
See the "Levels" section of chapter 6.
If the coolant temperature
warning lamp comes on, stop
the vehicle and switch off the
engine as soon as possible. Brakes
Towing increases the braking distance.
Drive at a moderate speed, change
down early and brake gradually.
Towbar
We recommend the use of genuine
CITROËN towbars and their
harnesses, which have been tested
and approved from the design stage of
your vehicle, and that you entrust the
fi tting of this equipment to a CITROËN
dealer.
If this equipment is not fi tted by a
CITROËN dealer, it is imperative
that it is fi tted using the electrical
pre-equipment installed at the rear of
the vehicle and in accordance with the
manufacturer's instructions.
In accordance with the general
instructions a reminder of which has
been given above, we draw your
attention to the risk associated with
fi tting a towbar or electrical accessory
not recommended by CITROËN.
Fitting such equipment could result in
the failure of your vehicle's electronic
system. Please obtain information from
the Manufacturer before fi tting this type
of equipment.
Side wind
Sensitivity to side wind is increased.
Drive smoothly and at a moderate
speed.
ABS/DSC
The ABS or DSC systems only control
the vehicle, not the trailer or caravan.
Rear parking sensors
The parking sensors system does not
function while the vehicle is towing.