ignition Citroen BERLINGO MULTISPACE RHD 2015.5 2.G Workshop Manual
[x] Cancel search | Manufacturer: CITROEN, Model Year: 2015.5, Model line: BERLINGO MULTISPACE RHD, Model: Citroen BERLINGO MULTISPACE RHD 2015.5 2.GPages: 292, PDF Size: 10.74 MB
Page 192 of 292

190
Berlingo-2-VP_en_Chap08_aide-rapide_ed02-2015Berlingo-2-VP_en_Chap08_aide-rapide_ed02-2015
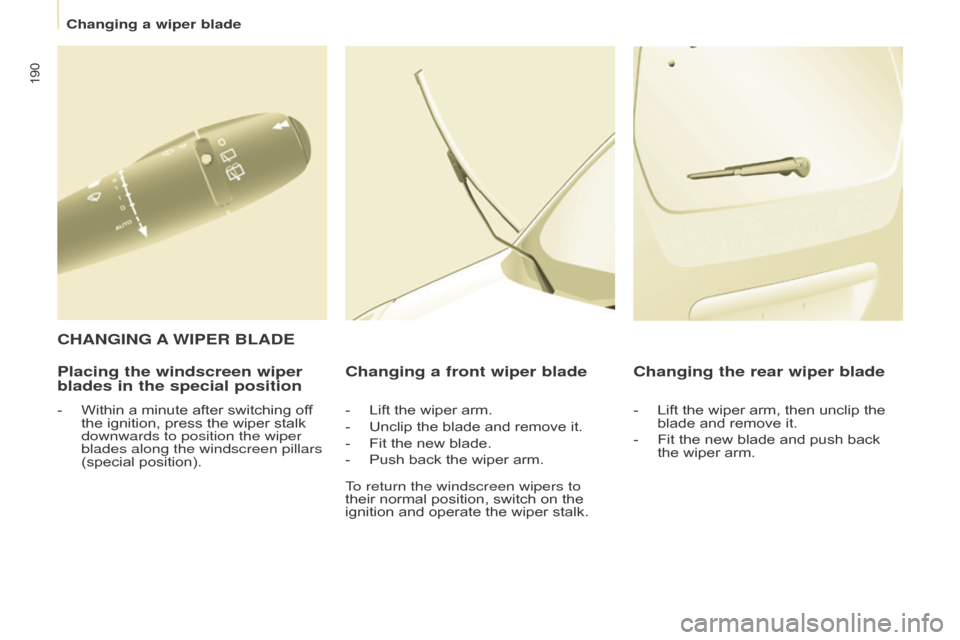
Placing the windscreen wiper
blades in the special positionChanging a front wiper blade
- Lift
the wiper arm.
-
Unclip
the blade and remove it.
-
Fit
the new blade.
-
Push
back the wiper arm.
Changing the rear wiper blade
- Lift the wiper arm, then unclip the blade
and remove it.
-
Fit
the new blade and push back
the
wiper arm.
CHANGING A WIPER BLADE
- Within a minute after switching off the
ignition, press the wiper stalk
downwards to position the wiper
blades along the windscreen pilla
rs
(special
position). To return the windscreen wipers to
their
normal position, switch on the
ignition
and operate the wiper stalk.
Changing a wiper blade
Page 261 of 292

Audio and Telematics
259
Berlingo-2-VP_en_Chap10a_SMEGplus_ed02-2015
The services available depend on
the network, the SIM card and the
c
ompatibility of the Bluetooth telephone
u
sed. Check the telephone manual and
w
ith your network provider for details of
t
he services available to you.
The
ability of the system to connect
w
ith only one profile depends on the
telephone.
The three profiles may all
c
onnect by default.
Visit
www.citroen.co.uk for more information
(
compatibility, additional help, ...).
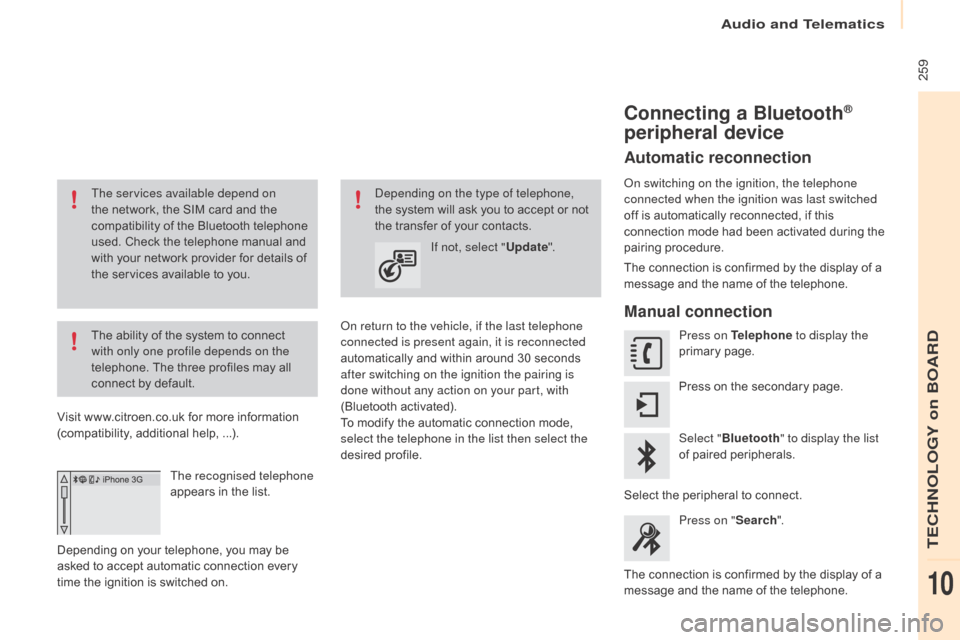
The recognised telephone
appears
in the list.
Depending
on your telephone, you may be
a
sked
to accept automatic connection every
t
ime
the ignition is switched on.
on r
eturn to the vehicle, if the last telephone
connected is present again, it is reconnected
automatically
and within around 30 seconds
a
fter switching on the ignition the pairing is
done without any action on your part, with
(Bluetooth
a
ctivated).
To
modify the automatic connection mode,
s
elect the telephone in the list then select the
desired
p
rofile.depending on the type of telephone,
the system will ask you to accept or not
t
he transfer of your contacts.
If not, select " Update".
Connecting a Bluetooth®
peripheral device
Automatic reconnection
on switching on the ignition, the telephone
connected when the ignition was last switched
off
is automatically reconnected, if this
c
onnection mode had been activated during the
pa
iring
p
rocedure.
The
connection is confirmed by the display of a
m
essage and the name of the telephone.
Manual connection
Press on Telephone to display the
primary pag e.
Press
on the secondary page.
Select " Bluetooth " to display the list
of
paired peripherals.
Select
the peripheral to connect.
Press on " Search".
The
connection is confirmed by the display of a
m
essage
and the name of the telephone.
TECHNOLOGY on BOARD
10
Page 276 of 292

Audio and Telematics
274
Berlingo-2-VP_en_Chap10b_Rd45_ed02-2015
Media
USB player
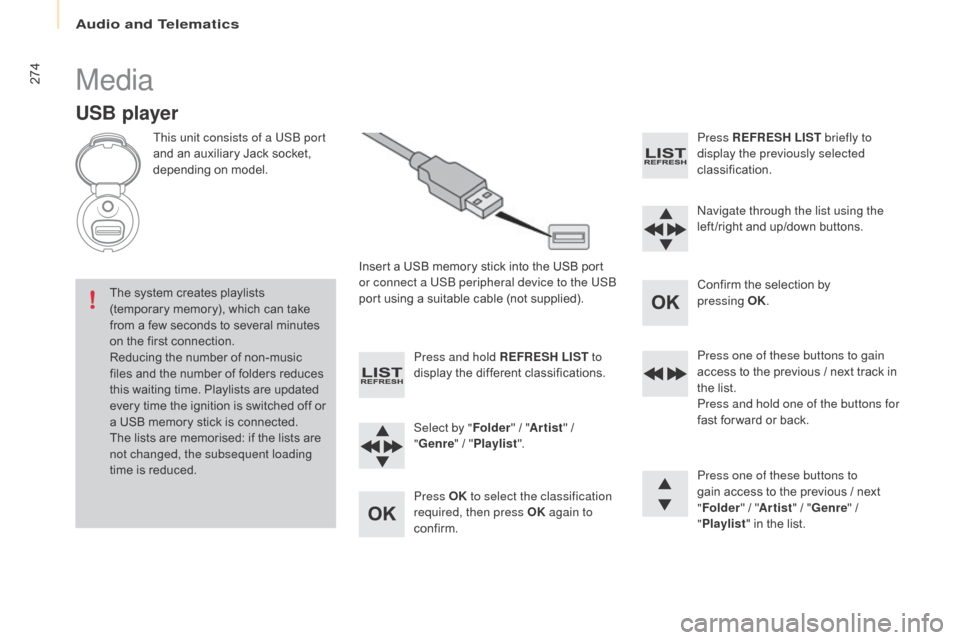
This unit consists of a USB port
and an auxiliary Jack socket,
d
epending on model.
Insert
a USB memory stick into the USB port
o
r connect a USB peripheral device to the USB
port
using a suitable cable (not supplied).
The
system creates playlists
(
temporary memory), which can take
f
rom
a
few seconds to several minutes
o
n
the
first connection.
Reducing
the number of non-music
f
iles
and the number of folders reduces
t
his
waiting time. Playlists are updated
e
very
time the ignition is switched off or
a
USB
memory stick is connected.
The
lists are memorised: if the lists are
n
ot changed, the subsequent loading
time
is
reduced. Press and hold REFRESH LIST
to
display
the different classifications.
Select by " Folder"
/ "Artist "
/
"G
enre"
/
"Pl
aylist".
Press OK to select the classification
required, then press OK again to
confirm. Press REFRESH LIST
briefly to
display the previously selected
classification.
na
vigate through the list using the
left /right
and up/down buttons.
Confirm
the selection by
p
ressing
OK.
Press one of these buttons to gain
access
to the previous / next track in
t
he list.
Press and hold one of the buttons for
fast
for ward or back.
Press one of these buttons to
gain
access to the previous / next
"Fo
lder"
/ "Artist "
/ "Genre "
/
"Pl
aylist"
in the list.
Page 280 of 292

Audio and Telematics
278
Berlingo-2-VP_en_Chap10b_Rd45_ed02-2015
Telephone
Pairing a Bluetooth® telephone
Screen C
(Available according to model and version)
As a safety measure and because they require prolonged attention on the part
of the driver, the operations for pairing
of
the Bluetooth mobile telephone with
t
he Bluetooth hands-free system of
y
our audio equipment must be carried
o
ut with the vehicle stationary and the
ignition
o
n.
Go
to
www.citroen.co.uk for more information
(
compatibility, more help, ...).
ac
tivate the telephone's Bluetooth function
and ensure that it is "visible to all" (telephone
configuration).
Press the MENU
button. In
the menu, select:
- "Bluetooth : Telephone - Audio "
-
"Bluetooth configuration "
-
"Perform a Bluetooth search "
A
window is displayed with a message that a
s
earch is in progress.
The services available depend on
the
network, the SIM card and the
c
ompatibility of the Bluetooth device
u
sed.
Consult
your telephone's manual and
y
our operator to find out which services
are
available to you.
*
If
your telephone is fully compatible. The first 4 telephones recognised are displayed
in
this window.
The " Telephone "
menu permits access to the
f
ollowing functions in particular: "Directory " *,
" Calls list ", "Consult the paired equipment ".Select
the telephone to be connected from the l
ist. Only one telephone can be connected at
a
time.
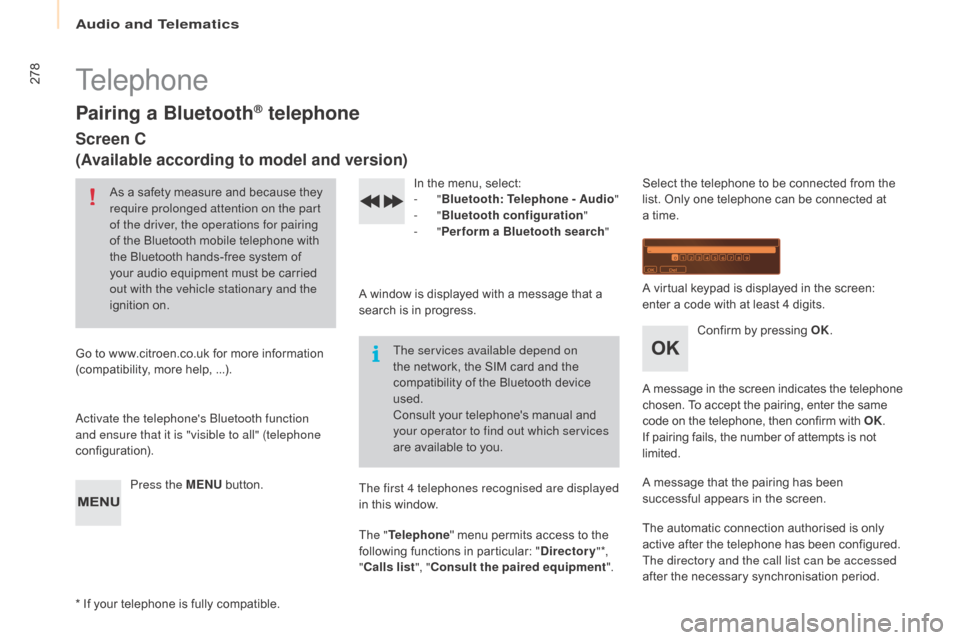
A
virtual keypad is displayed in the screen:
e
nter a code with at least 4 digits.
Confirm
by pressing OK.
A
message
in
the
screen
indicates
the
telephone
c
hosen. To accept the pairing, enter the same
c
ode on the telephone, then confirm with OK.
If
pairing fails, the number of attempts is not
l
imited.
A
message that the pairing has been
s
uccessful appears in the screen.
The
automatic connection authorised is only
a
ctive after the telephone has been configured.
The directory and the call list can be accessed
after
the necessary synchronisation period.