buttons CITROEN C-ELYSÉE 2023 Owners Manual
[x] Cancel search | Manufacturer: CITROEN, Model Year: 2023, Model line: C-ELYSÉE, Model: CITROEN C-ELYSÉE 2023Pages: 180, PDF Size: 4.77 MB
Page 16 of 180
14
Dashboard instruments
Setting the date and time
With instrument panel
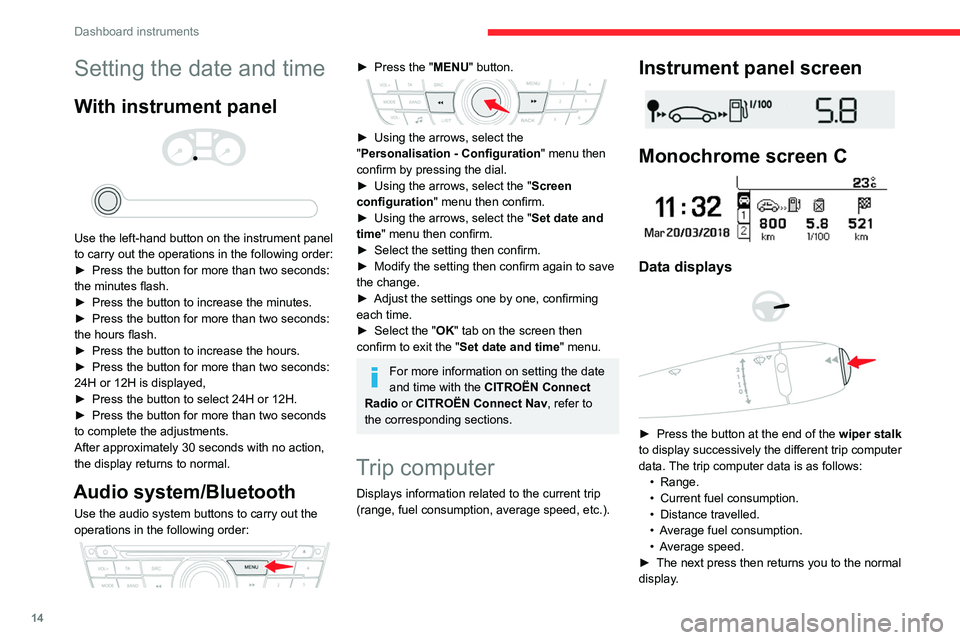
Use the left-hand button on the instrument panel
to carry out the operations in the following order:
►
Press the button for more than two seconds:
the minutes flash.
►
Press the button to increase the minutes.
►
Press the button for more than two seconds:
the hours flash.
►
Press the button to increase the hours.
►
Press the button for more than two seconds:
24H or 12H is displayed,
►
Press the button to select 24H or 12H.
►
Press the button for more than two seconds
to complete the adjustments.
After approximately 30 seconds with no action,
the display returns to normal.
Audio system/Bluetooth
Use the audio system buttons to carry out the
operations in the following order:
► Press the " MENU" button.
► Using the arrows, select the
" Personalisation - Configuration " menu then
confirm by pressing the dial.
►
Using the arrows, select the " Screen
configuration " menu then confirm.
►
Using the arrows, select the " Set date and
time
" menu then confirm.
►
Select the setting then confirm.
►
Modify the setting then confirm again to save
the change.
►
Adjust the settings one by one, confirming
each time.
►
Select the "
OK" tab on the screen then
confirm to exit the "Set date and time" menu.
For more information on setting the date
and time with the CITROËN Connect
Radio or CITROËN Connect Nav, refer to
the corresponding sections.
Trip computer
Displays information related to the current trip
(range, fuel consumption, average speed, etc.).
Instrument panel screen
Monochrome screen C
Data displays
► Press the button at the end of the wiper stalk
to display successively the different trip computer
data. The trip computer data is as follows: •
Range.
•
Current fuel consumption.
•
Distance travelled.
•
A
verage fuel consumption.
•
A
verage speed.
►
The next press then returns you to the normal
display
.
Page 17 of 180
15
Dashboard instruments
1Reset
► Hold the control down for more than two
seconds to reset the distance travelled, the
average fuel consumption and the average
speed.
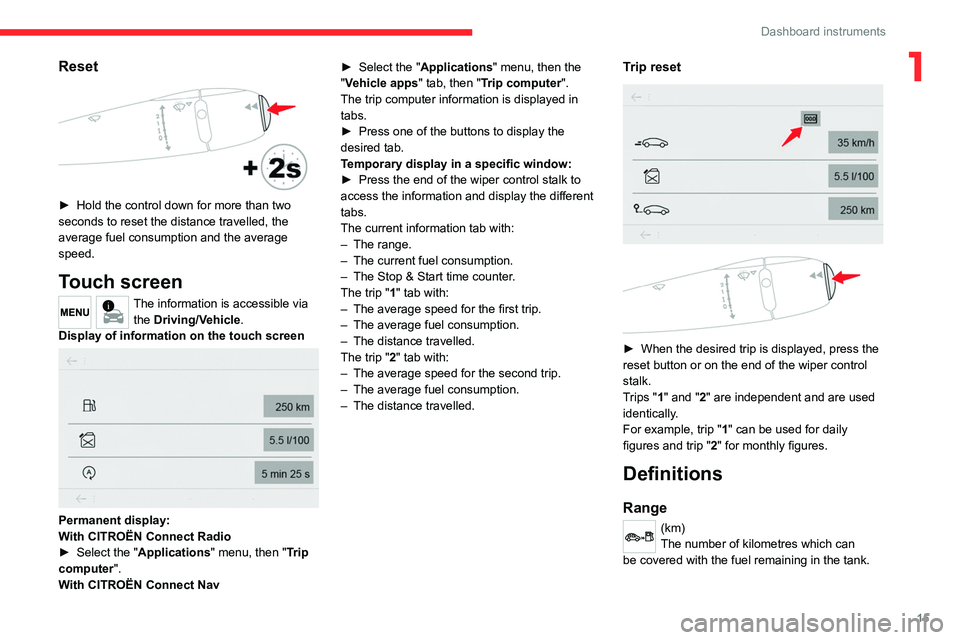
Touch screen
The information is accessible via the Driving/Vehicle.
Display of information on the touch screen
Permanent display:
With CITROËN Connect Radio
►
Select the "
Applications" menu, then "Trip
computer".
With CITROËN Connect Nav ►
Select the "
Applications" menu, then the
"Vehicle apps" tab, then "Trip computer".
The trip computer information is displayed in
tabs.
►
Press one of the buttons to display the
desired tab.
T
emporary display in a specific window:
►
Press the end of the wiper control stalk to
access the information and display the different
tabs.
The current information tab with:
–
The range.
–
The current fuel consumption.
–
The Stop & Start time counter
.
The trip "1" tab with:
–
The average speed for the first trip.
–
The average fuel consumption.
–
The distance travelled.
The trip "
2" tab with:
–
The average speed for the second trip.
–
The average fuel consumption.
–
The distance travelled.
Trip reset
► When the desired trip is displayed, press the
reset button or on the end of the wiper control
stalk.
T
rips "1" and "2" are independent and are used
identically.
For example, trip "1" can be used for daily
figures and trip " 2" for monthly figures.
Definitions
Range
(km)
The number of kilometres which can
be covered with the fuel remaining in the tank.
Page 20 of 180
18
Access
Locking the vehicle
Normal locking
► Press the locking button.
The locking, and the activation of the alarm
depending on version, is confirmed by the
lighting of the direction indicators.
An access (door or boot) that is not properly closed prevents locking of the
vehicle. However, if the vehicle is fitted with
an alarm, it will be activated after 45
seconds.
If the vehicle is unlocked but the doors or boot
are not subsequently opened, the vehicle
will automatically lock itself again after about
30
seconds. If the vehicle is fitted with an
alarm, it will be reactivated automatically.
Locating your vehicle
This function allows you to identify your vehicle
from a distance, particularly in poor light. Your
vehicle must be locked.
► Press the closed padlock button on
the remote control.
This will switch on the courtesy lights and the
direction indicators will flash for a few seconds.
Advice
Remote control
The remote control is a sensitive, high-
frequency device; avoid handling it in your
pocket, due to the risk of unintentionally
unlocking the vehicle.
Avoid pressing the remote control buttons
while out of range of the vehicle, due to
the risk of rendering the remote control
inoperative. It would then be necessary to
reset it.
The remote control does not work
when the
key is in the ignition switch, even when the
ignition is switched off.
Anti-theft protection
Do not modify the electronic vehicle
immobiliser, as this might result in
malfunctions.
Locking the vehicle
Driving with the doors locked could make
it more difficult for the emergency services
to enter the passenger compartment in an
emergency.
As a safety precaution, remove the key from
the ignition when leaving the vehicle, even for
a short time.
Purchasing a second-hand vehicle
Have the key codes memorised by a
CITROËN dealer, to ensure that the keys in
your possession are the only ones able to
start the vehicle.
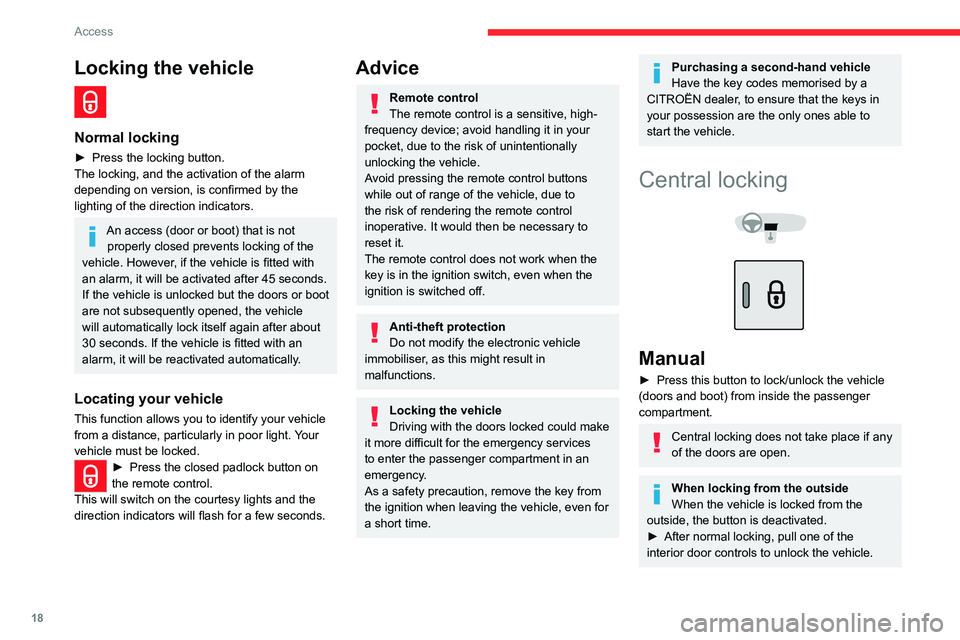
Central locking
Manual
► Press this button to lock/unlock the vehicle
(doors and boot) from inside the passenger
compartment.
Central locking does not take place if any
of the doors are open.
When locking from the outside
When the vehicle is locked from the
outside, the button is deactivated.
►
After normal locking, pull one of the
interior door controls to unlock the vehicle.
Page 30 of 180
28
Ease of use and comfort
– in summer, to lower the temperature,
– increase the effectiveness of the demisting in
winter
, above 3°C.
Switching on
► Press button 5 to activate/deactivate the air
conditioning.
The control lights up when the system is
activated.
The air conditioning does not operate when the air flow adjustment dial is in
position " 0".
Faster cool air
When the air conditioning is activated, to obtain
cool air more quickly, you can use recirculation
of the interior air for a few moments.
► Move manual co ntrol 4 to the left for
the "Recirculation of interior air" position.
► Then, move manual control 4 to the
right to return to the "Exterior air intake"
position.
Switching off
► Press button 5 again, the associated indicator
lamp goes off.
Switching the system off could result in
discomfort (humidity, misting).
Electronic air conditioning
(with display screen)
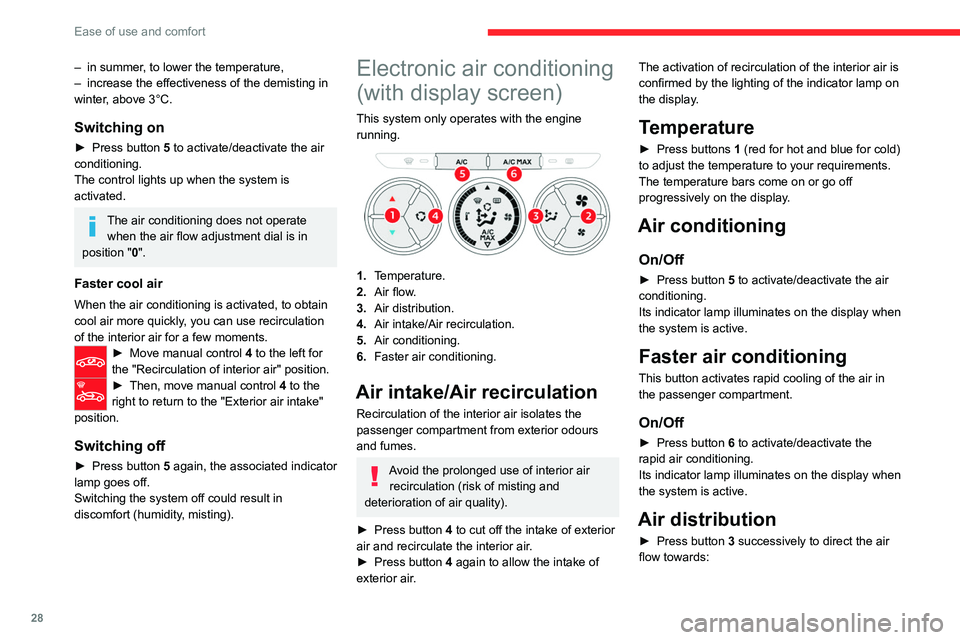
This system only operates with the engine
running.
1. Temperature.
2. Air flow.
3. Air distribution.
4. Air intake/Air recirculation.
5. Air conditioning.
6. Faster air conditioning.
Air intake/Air recirculation
Recirculation of the interior air isolates the
passenger compartment from exterior odours
and fumes.
Avoid the prolonged use of interior air
recirculation (risk of misting and
deterioration of air quality).
►
Press button
4 to cut off the intake of exterior
air and recirculate the interior air.
►
Press button
4 again to allow the intake of
exterior air. The activation of recirculation of the interior air is
confirmed by the lighting of the indicator lamp on
the display.
Temperature
► Press buttons
1 (red for hot and blue for cold)
to adjust the temperature to your requirements.
The temperature bars come on or go off
progressively on the display.
Air conditioning
On/Off
► Press button 5 to activate/deactivate the air
conditioning.
Its indicator lamp illuminates on the display when
the system is active.
Faster air conditioning
This button activates rapid cooling of the air in
the passenger compartment.
On/Off
► Press button 6 to activate/deactivate the
rapid air conditioning.
Its indicator lamp illuminates on the display when
the system is active.
Air distribution
► Press button 3 successively to direct the air
flow towards:
Page 31 of 180
29
Ease of use and comfort
3• windscreen and side windows (demisting or
defrosting),
•
the windscreen, side windows and air vents,
•
the windscreen, side windows, air vents and
footwells,
•
the windscreen, side windows and footwells,
•
the footwells,
•
the air vents and footwells,
•
the air vents.
Air flow
► Press one of the buttons 2 to increase/
decrease the air flow.
The air flow bars light up/go off gradually.
Deactivating the system
► Press the "small fan" button 2 until all the
bars in the display are off.
This action deactivates all functions of the air
conditioning system.
Temperature is no longer regulated. A slight flow
of air can still be felt, resulting from the forward
movement of the vehicle.
Pressing the "small fan" button 2 again
reactivates the system.
Avoid driving for long periods with the system deactivated (risk of misting and
deterioration of air quality).
Front demist - defrost
These markings on the control panel indicate the control positions for rapid
demisting or defrosting of the windscreen and
side windows.
With the manual air
conditioning system
(without screen)
► Put the temperature and air flow
controls to the dedicated marked position.
► Put the air intake control to the
"Exterior air intake" position (manual
control moved to the right).
► Put the air distribution control to the
"Windscreen" position.
► Switch on the air conditioning by
pressing the appropriate button; the
lighting of the associated control comes on.
With the electronic air
conditioning system (with
screen)
► Press this button to activate/deactivate
the system.
The lighting of the indicator lamp in the button
indicates that the system is activated.
With Stop & Start, when demisting has
been activated, STOP mode is not
available.
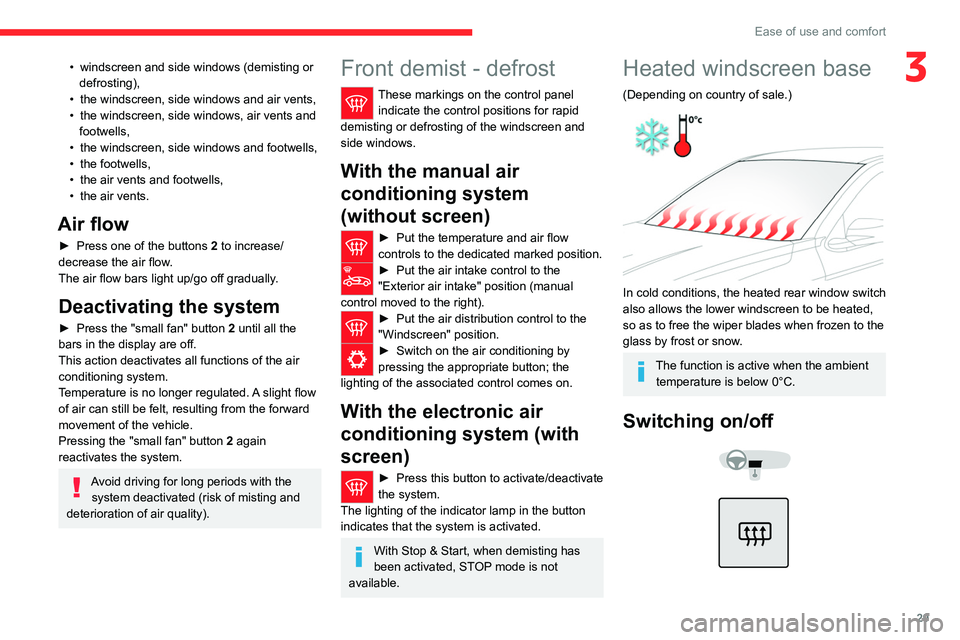
Heated windscreen base
(Depending on country of sale.)
In cold conditions, the heated rear window switch
also allows the lower windscreen to be heated,
so as to free the wiper blades when frozen to the
glass by frost or snow.
The function is active when the ambient temperature is below 0°C.
Switching on/off
Page 66 of 180
64
Driving
► Pressing 4-II again temporarily pauses the
function (pause).
Adjusting the limit speed setting
You do not have to switch the speed limiter on in
order to set the speed.
To modify the limit speed setting based on the
vehicle’s current speed:
►
For steps of +/- 1
mph (1 km/h), briefly
press
2-SET- or 3-SET+ repeatedly.
►
For steps of +/- 5
mph (5 km/h), press and
hold
2-SET- or 3-SET+.
Temporarily exceeding the
speed setting
► Fully depress the accelerator pedal.
The speed limiter is temporarily deactivated and
the displayed speed setting flashes.
►
Release the accelerator pedal to return to
below the speed setting.
When exceeding the speed is not due to the
driver's action (e.g.
in case of a steep slope), an
audible signal is triggered immediately.
On a steep descent or in the event of
sharp acceleration, the speed limiter will
not be able to prevent the vehicle from
exceeding the speed setting.
If necessary, apply the brakes to control your
vehicle’s speed.
When the vehicle speed returns to the speed
setting level, the speed limiter operates again:
the speed setting display becomes fixed again.
Switching off
► Turn the thumbwheel 1 to the "OFF" position:
speed limiter information is no longer displayed.
Malfunction
In the event of a malfunction, dashes are
displayed flashing and then fixed instead of the
speed setting.
Have it checked by a CITROËN dealer or a
qualified workshop.
Cruise control - Specific
recommendations
The cruise control function does not
guarantee compliance with the maximum
authorised speed and the safety distance
between vehicles, the driver remains
responsible for their driving.
In the interest of public safety, only use cruise
control if the traffic conditions enable vehicles
to drive at a steady speed and maintain an
adequate safety distance.
Remain vigilant while cruise control is
activated. If you press and hold one of the
speed setting modification buttons, your
vehicle may change speed very abruptly.
When descending a steep hill , the cruise
control system cannot prevent the vehicle
from exceeding the set speed. Brake if
necessary to control the vehicle speed.
On steep climbs or when towing, the set
speed may not be reached or maintained.
Exceeding the programmed speed
setting
You can temporarily exceed the speed
setting by pressing the accelerator pedal (the
programmed speed flashes).
To return to the speed setting, release the
accelerator pedal (when the set speed is
reached again, the displayed speed stops
flashing).
Operating limits
Never use the system in the following
situations:
–
In an urban area with the risk of
pedestrians crossing the road.
–
In heavy traffic (except versions with the
Stop & Go function).
–
On winding or steep roads.
–
On slippery or flooded roads.
–
In poor weather conditions.
–
In the event of restricted visibility for the
driver
.
–
Driving on a speed circuit.
–
Driving on a rolling road.
Page 105 of 180
103
Bluetooth® audio system
10Mute on: cut the sound by simultaneously
pressing the volume up and down
buttons.
Radio: select the previous / next preset
radio station.
USB: select the genre / artist / folder from the list
depending on classification.
Select the previous / next item in a menu.
Menus
Screen C
“Multimedia": Media settings, Radio
settings.
“Telephone" : Call, Directory
management, Telephone management,
Hang up.
“Trip computer": Warning log.
“Bluetooth connection " : Connections
management, Search for a device.
“Personalisation-configuration " : Define
the vehicle parameters, Choice of
language, Display configuration, Choice of units,
Date and time adjustment.
Radio
Selecting a station
The external environment (hills, buildings, tunnels, basement car parks,
...) may block reception, including in RDS
mode. This is a normal effect of the way in
which radio waves are transmitted and does
not indicate any failure of the audio
equipment.
Press the SRC/TEL button repeatedly to
select the radio.
Press BAND to select a waveband.
Press LIST to display the list of stations
received, in alphabetical order.
Select the desired radio station by turning
the thumb wheel then confirm by
pressing.
A press changes to the next or previous letter
(e.g. A, B, D, F, G, J, K, ...).
A long press on LIST builds or updates the list of stations; audio reception is cut
momentarily.
RDS
RDS, if displayed, makes it possible to
continue listening to the same radio
station using the alternative frequencies
function. However, in certain conditions,
coverage of an RDS station may not be
assured throughout the entire country as
radio stations do not cover 100% of the
territory. This explains the loss of reception of
the station during a journey.
With the radio displayed on the screen,
press OK to display the contextual menu.
Select "RDS" and confirm to save.
"RDS" is displayed in the screen.
Play TA messages
The TA (Traffic Announcement) function gives priority to TA alert messages. To
operate, this function needs good reception of
a radio station that carries this type of
message. When a traffic report is transmitted,
the current audio source (Radio, CD, USB, ...)
is interrupted automatically to play the TA
message. Normal play of the media
previously playing is resumed at the end of
the message.
Press TA to activate or deactivate the
reception of traffic messages.
Display TEXT INFO
Text info is information transmitted by the radio station related to the current
programme or song.
Page 106 of 180
104
Bluetooth® audio system
Screen C
With the radio displayed on the screen,
press OK to display the contextual menu.
Turn the thumb wheel to select '’RADIO TEXT'', press to save.
Media
Audio CD
Playing a CD
Insert 12 cm diameter circular compact
discs only.
Some anti-pirating systems, on original discs
or CDs copied using a personal recorder, may
cause faults which are no reflection on the
quality of the original player.
Without pressing the EJECT button, insert a CD
in the player, play begins automatically.
To play a disc which has already been inserted, press the SRC/TEL button
several times and select " CD".
Press one of the buttons to select
a track on the CD.
Press LIST to display the list of tracks on
the CD.
Press and hold one of these
buttons for fast forward or fast
back.
CD, USB
Information and advice
The audio system will only play files with extension ".mp3" or ".wma" and a
compression rate that is constant or variable
between 32 Kbps and 320 Kbps.
File names should have less than 20
characters, avoiding special characters
(e.g.: “
? ; ù) so as to avoid any reading or
display problems.
Playlists accepted are types .m3u and
.pls.
The number of files is limited to 5 000 in 500
directories on a maximum of 8 levels.
On a single disc, the CD player can read
up to 255 MP3 files spread over 8
directory levels. However, it is recommended
that this be kept to 2 levels so as to limit the
time taken to access and play the CD.
The folder structure is not observed during
playback.
In order to be able to play a burned CDR
or CDRW, select standards ISO 9660
level 1, 2 or Joliet if possible when burning the
CD.
If the disc is burned in another format, it may not
be played correctly.
It is recommended that the same burning
standard is always used on an individual disc,
with the lowest speed possible (4x maximum) for
the best acoustic quality.
In the particular case of a multi-session CD, the
Joliet standard is recommended.
Do not connect a hard disk or USB
device other than audio players to the
USB port. This may cause damage to your
installation.
Playing a compilation
Insert an MP3 compilation in the CD player or
connect a memory stick to the USB port, directly
or via an extension lead.
The system creates playlists (temporary memory); this operation can take from a
few seconds to several minutes.
The playlists are updated every time the
ignition is switched off or a USB memory stick
is connected.
Play starts automatically after a certain
amount of time depending on the capacity of
the USB memory stick.
Use only USB memory sticks formatted FAT
32 (File Allocation Table).
On first connection, the order suggested is
by folder. When connecting again, the order
previously chosen is retained.
To play a disc or memory stick which has already been inserted, press the SRC/
TEL button repeatedly and select " CD" or "USB".
Page 107 of 180
105
Bluetooth® audio system
10
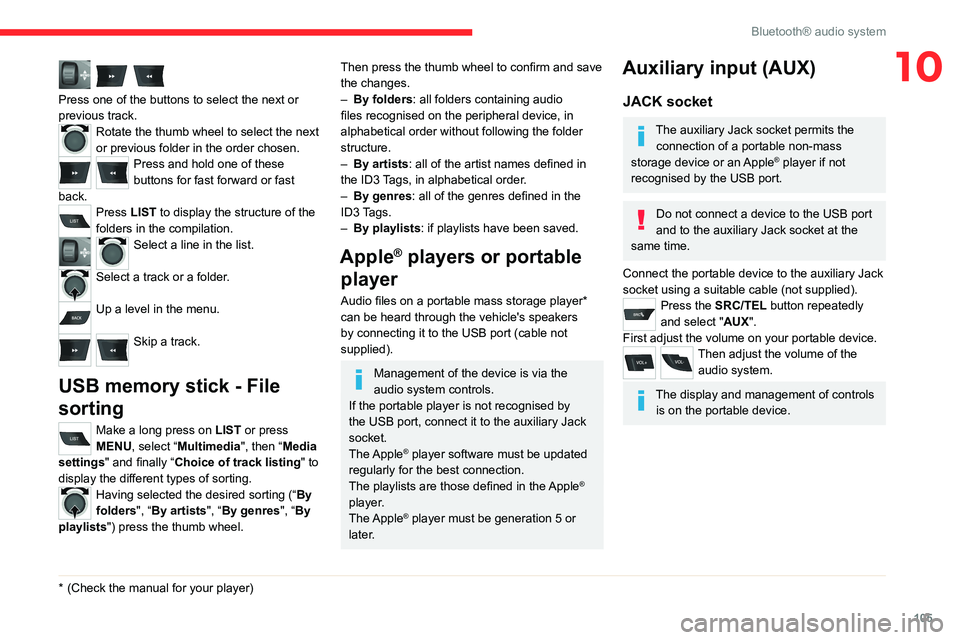
Press one of the buttons to select the next or
previous track.
Rotate the thumb wheel to select the next
or previous folder in the order chosen.
Press and hold one of these
buttons for fast forward or fast
back.
Press LIST to display the structure of the
folders in the compilation.
Select a line in the list.
Select a track or a folder.
Up a level in the menu.
Skip a track.
USB memory stick - File
sorting
Make a long press on LIST or press
MENU, select “Multimedia", then “Media
settings" and finally “ Choice of track listing " to
display the different types of sorting.
Having selected the desired sorting (“ By
folders", “By artists", “By genres", “By
playlists") press the thumb wheel.
* (Check the manua l for your player)
Then press the thumb wheel to confirm and save
the changes.
–
By folders
: all folders containing audio
files recognised on the peripheral device, in
alphabetical order without following the folder
structure.
–
By artists : all of the artist names defined in
the ID3
Tags, in alphabetical order.
–
By genres
: all of the genres defined in the
ID3 Tags.
–
By playlists
: if playlists have been saved.
Apple® players or portable
player
Audio files on a portable mass storage player*
can be heard through the vehicle's speakers
by connecting it to the USB port (cable not
supplied).
Management of the device is via the
audio system controls.
If the portable player is not recognised by
the USB port, connect it to the auxiliary Jack
socket.
The Apple
® player software must be updated
regularly for the best connection.
The playlists are those defined in the Apple
®
player.
The Apple
® player must be generation 5 or
later.
Auxiliary input (AUX)
JACK socket
The auxiliary Jack socket permits the connection of a portable non-mass
storage device or an Apple
® player if not
recognised by the USB port.
Do not connect a device to the USB port
and to the auxiliary Jack socket at the
same time.
Connect the portable device to the auxiliary Jack
socket using a suitable cable (not supplied).
Press the SRC/TEL button repeatedly
and select "AUX".
First adjust the volume on your portable device.
Then adjust the volume of the audio system.
The display and management of controls is on the portable device.
Page 109 of 180
107
Bluetooth® audio system
10
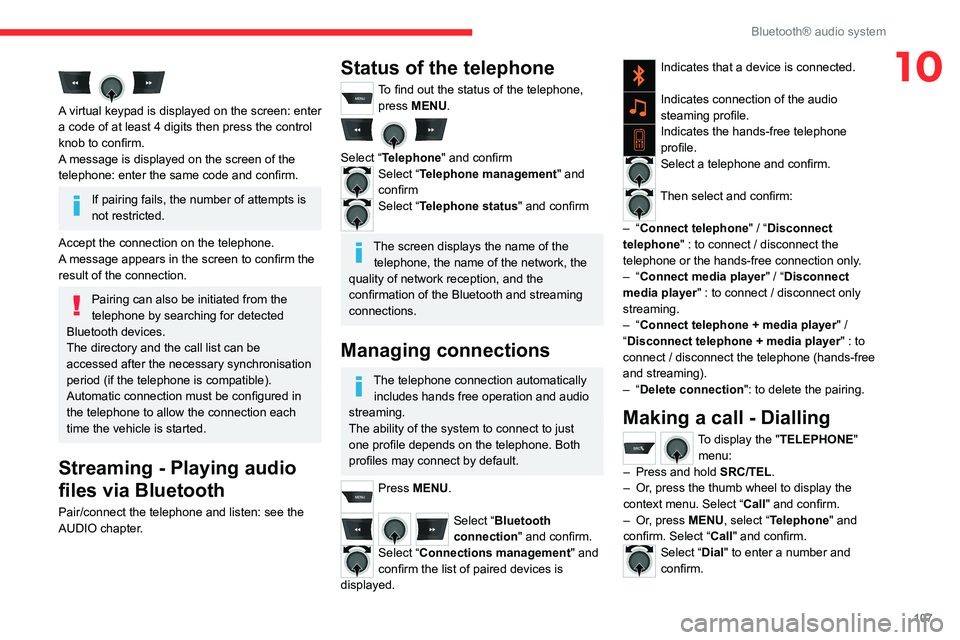
A virtual keypad is displayed on the screen: enter
a code of at least 4 digits then press the control
knob to confirm.
A message is displayed on the screen of the
telephone: enter the same code and confirm.
If pairing fails, the number of attempts is
not restricted.
Accept the connection on the telephone.
A message appears in the screen to confirm the
result of the connection.
Pairing can also be initiated from the
telephone by searching for detected
Bluetooth devices.
The directory and the call list can be
accessed after the necessary synchronisation
period (if the telephone is compatible).
Automatic connection must be configured in
the telephone to allow the connection each
time the vehicle is started.
Streaming - Playing audio
files via Bluetooth
Pair/connect the telephone and listen: see the
AUDIO chapter.
Status of the telephone
To find out the status of the telephone, press MENU.
Select “Telephone" and confirmSelect “Telephone management" and
confirm
Select “Telephone status" and confirm
The screen displays the name of the telephone, the name of the network, the
quality of network reception, and the
confirmation of the Bluetooth and streaming
connections.
Managing connections
The telephone connection automatically includes hands free operation and audio
streaming.
The ability of the system to connect to just
one profile depends on the telephone. Both
profiles may connect by default.
Press MENU.
Select “Bluetooth
connection " and confirm.
Select “Connections management" and
confirm the list of paired devices is
displayed.
Indicates that a device is connected.
Indicates connection of the audio
steaming profile.
Indicates the hands-free telephone
profile.
Select a telephone and confirm.
Then select and confirm:
–
“Connect telephone" / “ Disconnect
telephone" : to connect / disconnect the
telephone or the hands-free connection only.
–
“Connect media player" / “Disconnect
media player" : to connect / disconnect only
streaming.
–
“Connect telephone + media player" /
“Disconnect telephone + media player" : to
connect / disconnect the telephone (hands-free
and streaming).
–
“Delete connection": to delete the pairing.
Making a call - Dialling
To display the " TELEPHONE"
menu:
–
Press and hold SRC/TEL
.
–
Or
, press the thumb wheel to display the
context menu. Select “Call" and confirm.
–
Or
, press MENU, select “Telephone" and
confirm. Select “Call" and confirm.
Select “Dial" to enter a number and
confirm.
Select numbers one at a time using the 7 and 8 buttons and confirm.