snow chains CITROEN C-ELYSÉE 2023 Owners Manual
[x] Cancel search | Manufacturer: CITROEN, Model Year: 2023, Model line: C-ELYSÉE, Model: CITROEN C-ELYSÉE 2023Pages: 180, PDF Size: 4.77 MB
Page 4 of 180
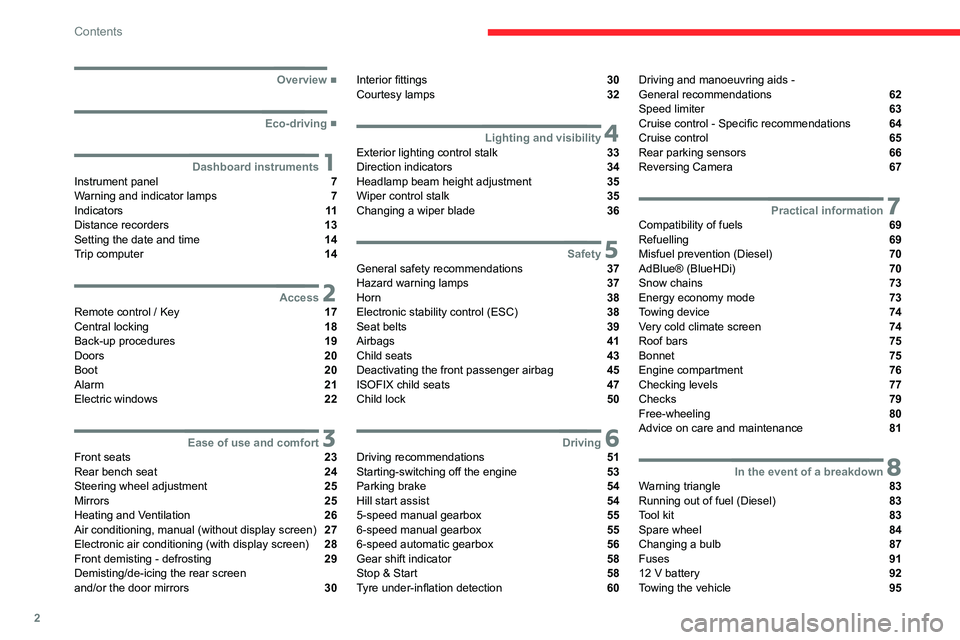
2
Contents
■
Overview
■
Eco-driving
1Dashboard instrumentsInstrument panel 7
Warning and indicator lamps 7
Indicators 11
Distance recorders 13
Setting the date and time 14
Trip computer 14
2AccessRemote control / Key 17
Central locking 18
Back-up procedures 19
Doors 20
Boot 20
Alarm 21
Electric windows 22
3Ease of use and comfortFront seats 23
Rear bench seat 24
Steering wheel adjustment 25
Mirrors 25
Heating and Ventilation 26
Air conditioning, manual (without display screen) 27
Electronic air conditioning (with display screen) 28
Front demisting - defrosting 29
Demisting/de-icing the rear screen
and/or the door mirrors
30
Interior fittings 30
Courtesy lamps 32
4Lighting and visibilityExterior lighting control stalk 33
Direction indicators 34
Headlamp beam height adjustment 35
Wiper control stalk 35
Changing a wiper blade 36
5SafetyGeneral safety recommendations 37
Hazard warning lamps 37
Horn 38
Electronic stability control (ESC) 38
Seat belts 39
Airbags 41
Child seats 43
Deactivating the front passenger airbag 45
ISOFIX child seats 47
Child lock 50
6DrivingDriving recommendations 51
Starting-switching off the engine 53
Parking brake 54
Hill start assist 54
5-speed manual gearbox 55
6-speed manual gearbox 55
6-speed automatic gearbox 56
Gear shift indicator 58
Stop & Start 58
Tyre under-inflation detection 60
Driving and manoeuvring aids -
General recommendations 62
Speed limiter 63
Cruise control - Specific recommendations 64
Cruise control 65
Rear parking sensors 66
Reversing Camera 67
7Practical informationCompatibility of fuels 69
Refuelling 69
Misfuel prevention (Diesel) 70
AdBlue® (BlueHDi) 70
Snow chains 73
Energy economy mode 73
Towing device 74
Very cold climate screen 74
Roof bars 75
Bonnet 75
Engine compartment 76
Checking levels 77
Checks 79
Free-wheeling 80
Advice on care and maintenance 81
8In the event of a breakdownWarning triangle 83
Running out of fuel (Diesel) 83
Tool kit 83
Spare wheel 84
Changing a bulb 87
Fuses 91
12 V battery 92
Towing the vehicle 95
Page 63 of 180
61
Driving
6Otherwise, add 0.3 bar to the pressures
shown on the label.
Snow chains
The system does not have to be
reinitialised after fitting or removing snow
chains.
Under-inflation alert
This is signalled by the fixed illumination of this warning lamp, accompanied by an
audible signal and the display of a message.
►
Reduce speed immediately
, avoid excessive
steering movements and avoid sudden braking.
►
Stop the vehicle as soon as it is safe to do
so.
The loss of pressure detected may not always cause visible deformation of the
tyre.
Do not rely on just a visual check.
►
Using a compressor
, such as the one in
the temporary puncture repair kit, check the
pressures of all four tyres when cold.
►
If it is not possible to carry out this check
immediately
, drive carefully at reduced speed.
►
In the event of a puncture, use the
temporary puncture repair kit or the spare wheel
(depending on equipment).
Driving too slowly may not ensure
optimum monitoring.
The alert is not immediately triggered in the
event of a sudden loss of pressure or tyre
blow-out. This is because analysis of the
values read by the wheel's speed sensors
can take several minutes.
The alert may be delayed at speeds below
25 mph (40 km/h), or when adopting a sporty
driving mode.
The alert is kept active until the system is reinitialised.
Reinitialisation
► The system must be reinitialised after any
adjustment to the pressure of one or more tyres,
and after changing one or more wheels.
Before reinitialising the system, make
sure that the pressures of the four tyres
are correct for the conditions of use of the
vehicle and conform to the values written on
the tyre pressure label.
Check the pressures of the four tyres before
performing the reinitialisation.
The system does not advise if a pressure is
incorrect at the time of reinitialisation.
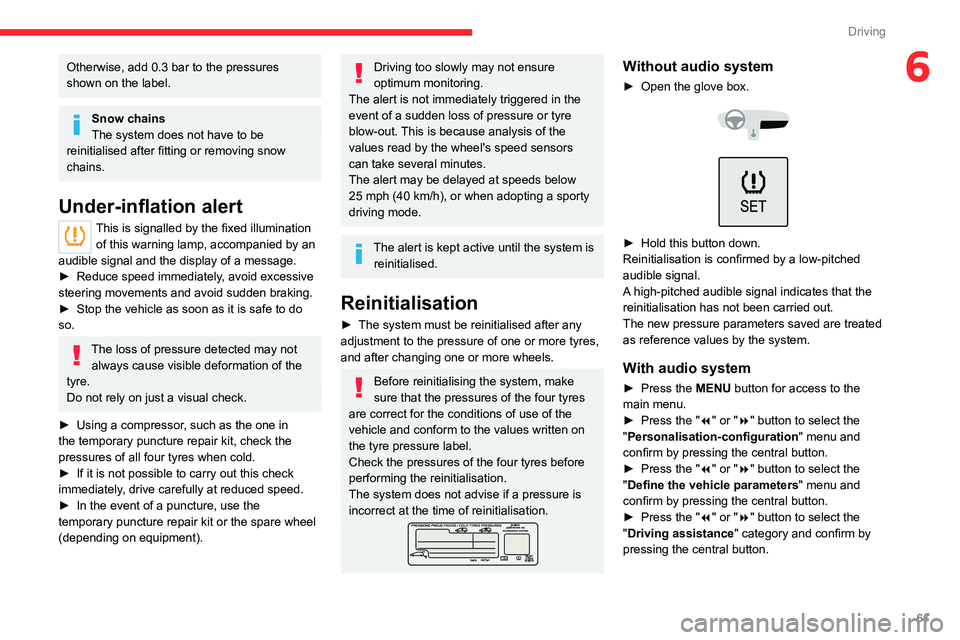
Without audio system
► Open the glove box.
► Hold this button down.
Reinitialisation is confirmed by a low-pitched
audible signal.
A
high-pitched audible signal indicates that the
reinitialisation has not been carried out.
The new pressure parameters saved are treated
as reference values by the system.
With audio system
► Press the MENU button for access to the
main menu.
►
Press the "
7" or "8" button to select the
"Personalisation-configuration " menu and
confirm by pressing the central button.
►
Press the "
7" or "8" button to select the
"Define the vehicle parameters " menu and
confirm by pressing the central button.
►
Press the "
7" or "8" button to select the
"Driving assistance" category and confirm by
pressing the central button.
Page 67 of 180
65
Driving
6– When using a ‘space-saver’ type spare
wheel.
–
When using snow chains, non-slip covers
or studded tyres.
Cruise control
For more information, refer to the
General recommendations on the use
of driving and manoeuvring aids and the
Specific recommendations on cruise
control.
This system automatically maintains the vehicle’s speed at the value programmed
by the driver (speed setting), without the use of
the accelerator pedal.
Cruise control is switched on manually.
It requires a minimum vehicle speed of 25 mph
(40
km/h).
With a manual gearbox, fourth gear must be
engaged.
With an automatic gearbox, mode
D
or second
gear or higher in mode
M
must be engaged.
Cruise control remains active after
changing gear on engines fitted with a
manual gearbox and the Stop & Start
function.
Switching off the ignition cancels any
speed setting.
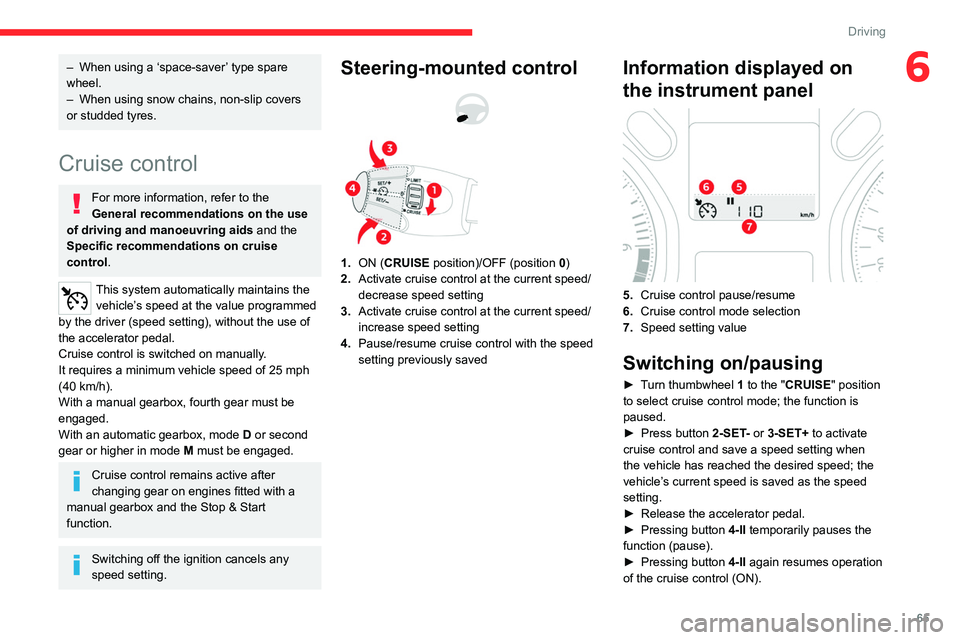
Steering-mounted control
1. ON (CRUISE position)/OFF (position 0)
2. Activate cruise control at the current speed/
decrease speed setting
3. Activate cruise control at the current speed/
increase speed setting
4. Pause/resume cruise control with the speed
setting previously saved
Information displayed on
the instrument panel
5.Cruise control pause/resume
6. Cruise control mode selection
7. Speed setting value
Switching on/pausing
► Turn thumbwheel 1 to the "CRUISE" position
to select cruise control mode; the function is
paused.
►
Press button
2-SET- or 3-SET+ to activate
cruise control and save a speed setting when
the vehicle has reached the desired speed; the
vehicle’s current speed is saved as the speed
setting.
►
Release the accelerator pedal.
►
Pressing button 4-II
temporarily pauses the
function (pause).
►
Pressing button 4-II
again resumes operation
of the cruise control (ON).
Page 75 of 180
73
Practical information
7“Top up AdBlue: Starting impossible” – it is
essential to add at least 10 litres.
Top-up detection may not be instantaneous
after addition. It may take a few minutes of
driving before the top-up detection is effective.
Do not dispose of AdBlue® bottles or
containers in the household waste.
Place them in a container reserved for this
purpose or take them back to where you
purchased them.
Snow chains
In wintry conditions, snow chains improve
traction as well as the behaviour of the vehicle
when braking.
Snow chains must be fitted only to the
front wheels. They must never be fitted to
"space-saver" type spare wheels.
Observe the legislation in force in your
country relating to the use of snow
chains and maximum authorised speeds.
Use only the chains designed to be fitted to the
type of wheel fitted to your vehicle :
Original tyre size Maximum link size 185/65 R15 9 mm
195/55 R16
For more information on snow chains, contact a
CITROËN dealer or a qualified workshop.
Installation tips
► To fit the snow chains during a journey, stop
the vehicle on a flat surface at the side of the
road.
►
Apply the parking brake and position any
wheel chocks under the wheels to prevent
movement of the vehicle.
►
Fit the snow chains following the instructions
provided by the manufacturer
.
►
Move off gently and drive for a few moments,
without exceeding 31
mph (50 km/h).
►
Stop the vehicle and check that the snow
chains are correctly tightened.
It is strongly recommended that you
practise fitting the snow chains on a level
and dry surface before setting off.
Avoid driving with snow chains on roads that have been cleared of snow to avoid
damaging the vehicle's tyres and the road
surface. If the vehicle is fitted with alloy
wheels, check that no part of the chain or its
fixings is in contact with the wheel rim.
Energy economy mode
This system manages the duration of use of
certain functions, in order to conserve a sufficient
level of charge in the battery with the ignition off.
After switching off the engine and for a maximum
cumulative period of around 30 minutes, you can
continue to use functions such as the audio and
telematics system, dipped beam headlamps or
courtesy lamps.
Selecting the mode
A confirmation message is displayed when
energy economy mode is entered, and the active
functions are placed on standby.
If a telephone call is in progress at the
time, it will be maintained for around 10
minutes via the audio system’s hands-free
system.
Exiting the mode
These functions are automatically reactivated the
next time the vehicle is used.
To restore the use of these functions
immediately, start the engine and let it run:
–
For less than 10 minutes, to use the
equipment for approximately 5 minutes.
–
For more than 10 minutes, to use the
equipment for approximately 30 minutes.
Let the engine run for the specified duration to
ensure that the battery charge is sufficient.
Page 157 of 180
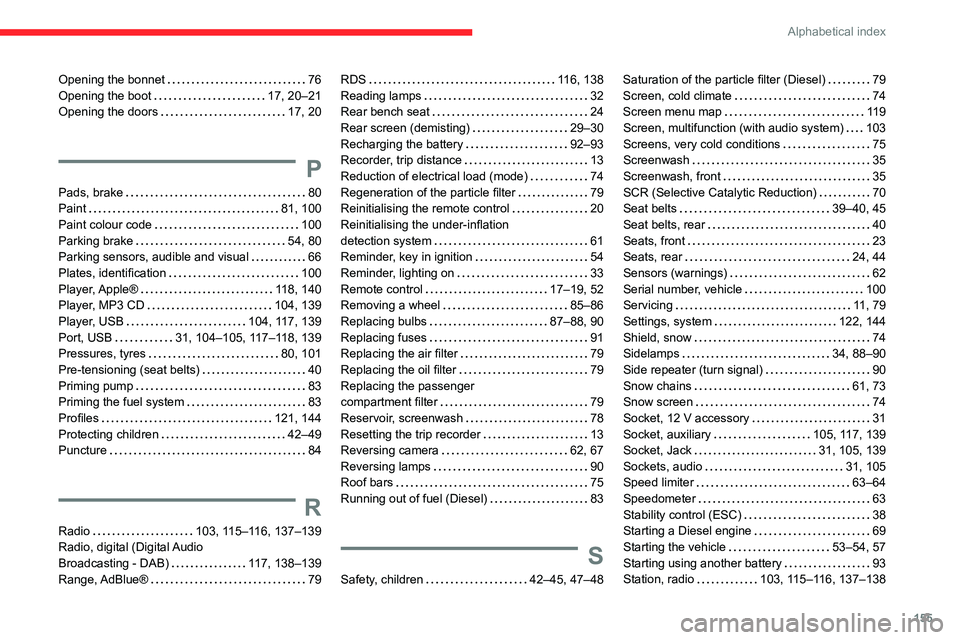
155
Alphabetical index
Opening the bonnet 76
Opening the boot
17, 20–21
Opening the doors
17, 20
P
Pads, brake 80
Paint
81, 100
Paint colour code
100
Parking brake
54, 80
Parking sensors, audible and visual
66
Plates, identification
100
Player, Apple®
118, 140
Player, MP3 CD
104, 139
Player, USB
104, 117, 139
Port, USB
31, 104–105, 117–118, 139
Pressures, tyres
80, 101
Pre-tensioning (seat belts)
40
Priming pump
83
Priming the fuel system
83
Profiles
121, 144
Protecting children
42–49
Puncture
84
R
Radio 103, 115–116, 137–139
Radio, digital (Digital Audio
Broadcasting - DAB)
117, 138–139
Range, AdBlue®
79
RDS 116, 138
Reading lamps
32
Rear bench seat
24
Rear screen (demisting)
29–30
Recharging the battery
92–93
Recorder, trip distance
13
Reduction of electrical load (mode)
74
Regeneration of the particle filter
79
Reinitialising the remote control
20
Reinitialising the under-inflation
detection system
61
Reminder, key in ignition
54
Reminder, lighting on
33
Remote control
17–19, 52
Removing a wheel
85–86
Replacing bulbs
87–88, 90
Replacing fuses
91
Replacing the air filter
79
Replacing the oil filter
79
Replacing the passenger
compartment filter
79
Reservoir, screenwash
78
Resetting the trip recorder
13
Reversing camera
62, 67
Reversing lamps
90
Roof bars
75
Running out of fuel (Diesel)
83
S
Safety, children 42–45, 47–48
Saturation of the particle filter (Diesel) 79
Screen, cold climate
74
Screen menu map
119
Screen, multifunction (with audio system)
103
Screens, very cold conditions
75
Screenwash
35
Screenwash, front
35
SCR (Selective Catalytic Reduction)
70
Seat belts
39–40, 45
Seat belts, rear
40
Seats, front
23
Seats, rear
24, 44
Sensors (warnings)
62
Serial number, vehicle
100
Servicing
11, 79
Settings, system
122, 144
Shield, snow
74
Sidelamps
34, 88–90
Side repeater (turn signal)
90
Snow chains
61, 73
Snow screen
74
Socket, 12 V accessory
31
Socket, auxiliary
105, 117, 139
Socket, Jack
31, 105, 139
Sockets, audio
31, 105
Speed limiter
63–64
Speedometer
63
Stability control (ESC)
38
Starting a Diesel engine
69
Starting the vehicle
53–54, 57
Starting using another battery
93
Station, radio
103, 115–116, 137–138