ESP Citroen C1 2016 1.G User Guide
[x] Cancel search | Manufacturer: CITROEN, Model Year: 2016, Model line: C1, Model: Citroen C1 2016 1.GPages: 269, PDF Size: 7.63 MB
Page 52 of 269

50
C1_en_Chap03_ergonomie-confort_ed01-2016
Mirrors
Manual door mirrors
F Operate the lever in four directions to a
djust the mirror.
Electric door mirrors
Adjustment
F Move control A to the right or to the left to s
elect the corresponding mirror.
F
M
ove control B in all four directions to
adj
ust.
F
R
eturn control A to the central position.
The
objects observed are, in reality,
c
loser than they appear.
Take
this into account in order to
c
orrectly judge the distance of vehicles
a
pproaching from behind.
Demisting - Defrosting
Use the heated rear window switch.
R
efer
to
the "Rear screen demist - defrost"
s
ection.
Folding / Unfolding
When parking, the mirrors can be folded m anually.
The
initial adjustments are retained
w
hen
u
nfolding.
Ease of use and comfort
Page 60 of 269
58
C1_en_Chap03_ergonomie-confort_ed01-2016
For maximum cooling or heating of the cabin, it is possible to go beyond the
m
inimum 14 or maximum 28 value.
F
P
ress the temperature adjustment
b
utton down or up until "LO" or
"HI"
is displayed.
A
setting around 21
gives optimum comfort.
H
owever, depending on your requirements,
a s
etting between 18 and 24 is normal.
On
entering the vehicle, if the interior is very
c
old
or hot, there is no need to change the
v
alue
displayed in order to reach the required
l
evel
of comfort. The system corrects the
t
emperature difference automatically and as
q
uickly as possible.
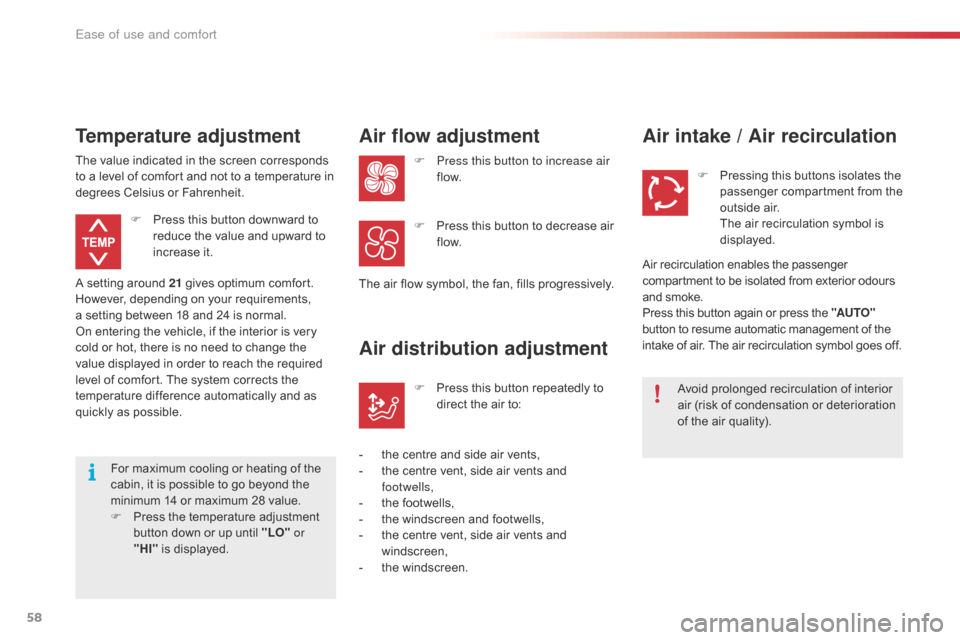
Temperature adjustment
F Press
this button downward to r
educe the value and upward to
inc
rease
it
.
The
value
indicated in the screen corresponds
t
o
a
level
of comfort and not to a temperature in
d
egrees
Celsius or Fahrenheit.
Air flow adjustment
F Press this button to increase air
f low.
The
air
flow symbol, the fan, fills progressively.
F
P
ress this button to decrease air
f
low.
Air distribution adjustment
- the centre and side air vents,
- t he centre vent, side air vents and
f
ootwells,
-
t
he footwells,
-
t
he windscreen and footwells,
-
t
he centre vent, side air vents and
w
indscreen,
-
t
he windscreen.F
P
ress this button repeatedly to
d
irect the air to:
Air intake / Air recirculation
Avoid prolonged recirculation of interior a
ir (risk of condensation or deterioration
o
f the air quality).
F
P
ressing this buttons isolates the
p
assenger compartment from the
o
utside air.
T
he air recirculation symbol is
d
isplayed.
Air
recirculation enables the passenger
c
ompartment to be isolated from exterior odours
a
nd
smoke.
Press
this button again or press the "AUTO"
button
to resume automatic management of the
i
ntake
of air. The air recirculation symbol goes off.
Ease of use and comfort
Page 83 of 269
81
C1_en_Chap04_conduite_ed01-2016
System which reduces fuel consumption by recommending the most appropriate gear.
Gear shift indicator
Operation
Example:
- Y ou are in third gear.
-
Y
ou press the accelerator pedal.
-
T
he system may suggest that you engage
a
higher gear.
Depending
on the driving situation and your
v
ehicle's equipment, the system may advise
y
ou to change gear.
The gear engagement recommendations must
n
ot be considered compulsory. In fact, the
c
onfiguration of the road, the amount of traffic
a
nd safety remain determining factors when
c
hoosing the best gear. Therefore, the driver
r
emains responsible for deciding whether or not
t
o follow the advice given by the system.
This function cannot be deactivated.
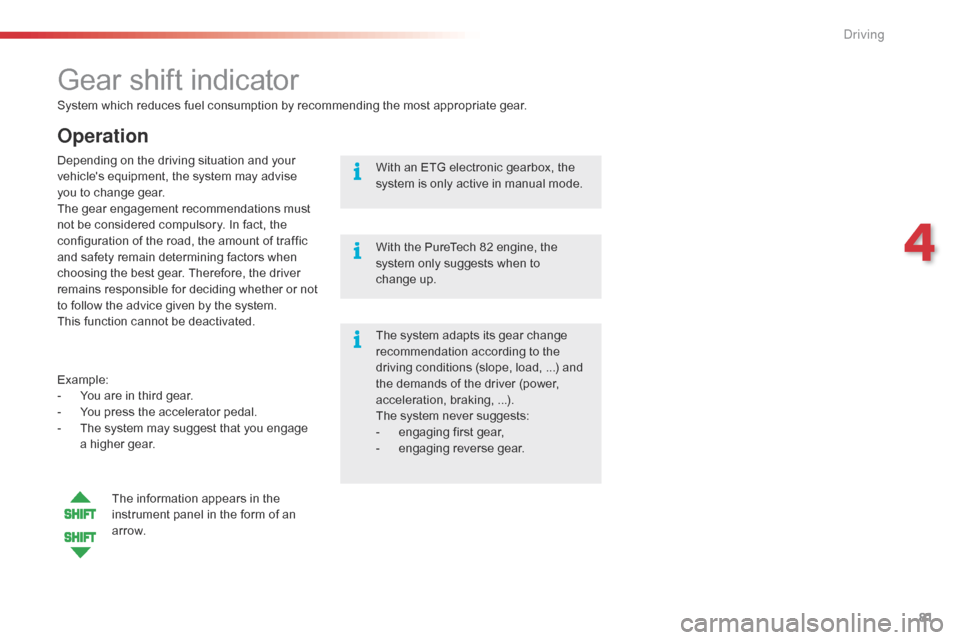
The information appears in the
i
nstrument panel in the form of an
a
r row. The
system adapts its gear change
r
ecommendation according to the d
riving conditions (slope, load, ...) and t
he demands of the driver (power,
a
cceleration, braking, ...).
The
system never suggests:
-
e
ngaging first gear,
-
enga
ging
r
everse
g
ear.
With
an ETG electronic gearbox, the
s
ystem is only active in manual mode.
With the PureTech 82 engine, the
s
ystem only suggests when to
c
hange up.
4
Driving
Page 87 of 269
85
C1_en_Chap04_conduite_ed01-2016
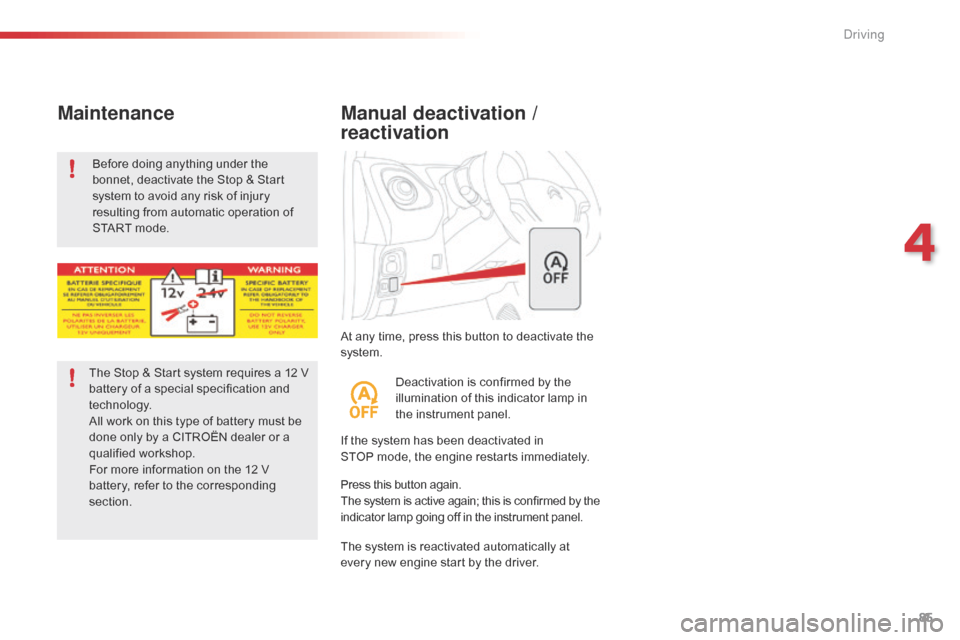
At any time, press this button to deactivate the system.
Manual deactivation /
reactivation
If the system has been deactivated in S TOP mode, the engine restarts immediately.
The
system is reactivated automatically at
e
very new engine start by the driver.
Press
this button again.
The
system is active again; this is confirmed by the
i
ndicator lamp going off in the instrument panel.
Deactivation
is confirmed by the
i
llumination of this indicator lamp in
t
he instrument panel.
Before
doing
anything
under
the
b
onnet,
deactivate
the
Stop
&
Start
s
ystem
to
avoid
any
risk
of
injury
r
esulting
from
automatic
operation
of
S
TART
mode.
Maintenance
The Stop & Start system requires a 12 V b
attery of a special specification and
t
echnology.
All
work on this type of battery must be
d
one only by a CITROËN dealer or a
q
ualified
w
orkshop.
For
more information on the 12 V
b
attery, refer to the corresponding
s
ection.
4
Driving
Page 97 of 269
95
C1_en_Chap04_conduite_ed01-2016
Under-inflation detection
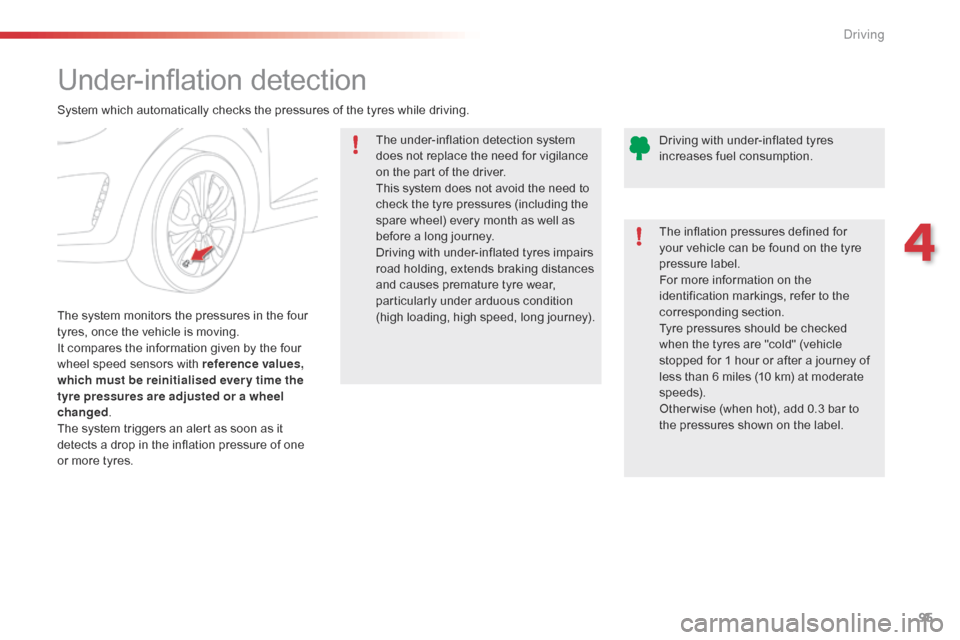
The system monitors the pressures in the four t
yres, once the vehicle is moving.
It
compares the information given by the four
w
heel speed sensors with reference values,
which must be reinitialised ever y time the
tyre pressures are adjusted or a wheel
changed .
The
system triggers an alert as soon as it
d
etects a drop in the inflation pressure of one
o
r more tyres. The
under-inflation detection system
d
oes not replace the need for vigilance
o
n the part of the driver.
This system does not avoid the need to
c
heck the tyre pressures (including the
s
pare wheel) every month as well as
b
efore a long journey.
Driving with under-inflated tyres impairs
r
oad holding, extends braking distances
a
nd causes premature tyre wear, p
articularly under arduous condition (
high loading, high speed, long journey).
System
which automatically checks the pressures of the tyres while driving.
The inflation pressures defined for
y
our vehicle can be found on the tyre
p
ressure label.
For more information on the
i
dentification markings, refer to the c
orresponding s ection.
Tyre pressures should be checked
w
hen the tyres are "cold" (vehicle
s
topped for 1 hour or after a journey of
l
ess than 6 miles (10 km) at moderate
s
peeds).
Other wise
(when hot), add 0.3 bar to
t
he pressures shown on the label.
Driving
with under-inflated tyres
i
ncreases fuel consumption.
4
Driving
Page 101 of 269
99
C1_en_Chap05_eclairage-visibilite_ed01-2016
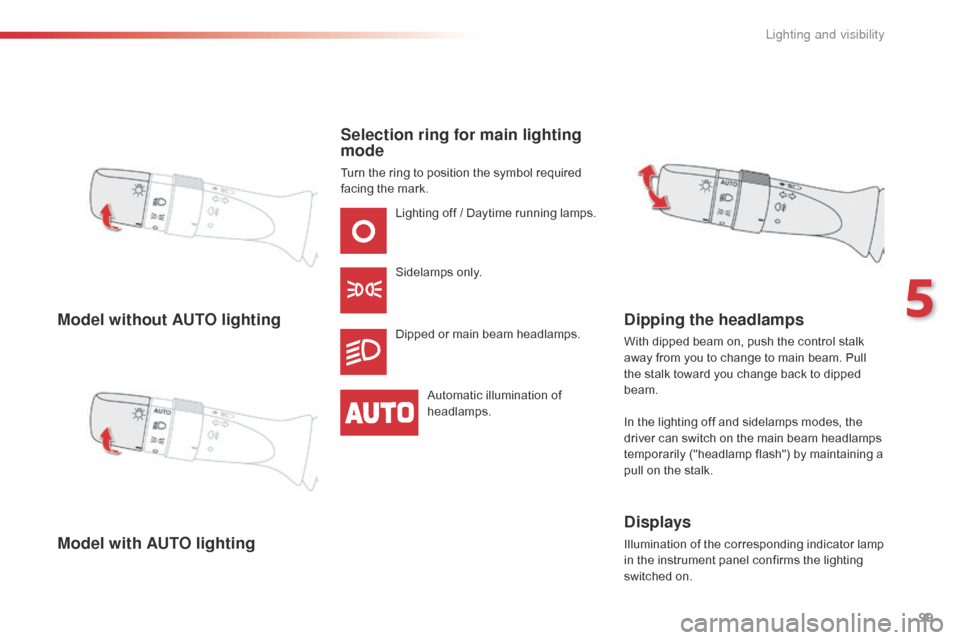
Model without AUTO lighting
Model with AUTO lightingSelection ring for main lighting
mode
Turn the ring to position the symbol required f
acing the mark.
Lighting
off / Daytime running lamps.
Sidelamps
o
nly.
Dipped
or main beam headlamps.
Automatic
illumination of
h
eadlamps.
Dipping the headlamps
With dipped beam on, push the control stalk away from you to change to main beam. Pull
t
he stalk toward you change back to dipped
b
eam.
In
the lighting off and sidelamps modes, the
d
river can switch on the main beam headlamps
t
emporarily ("headlamp flash") by maintaining a
p
ull on the stalk.
Displays
Illumination of the corresponding indicator lamp in the instrument panel confirms the lighting
s
witched on.
5
Lighting and visibility
Page 102 of 269
100
C1_en_Chap05_eclairage-visibilite_ed01-2016
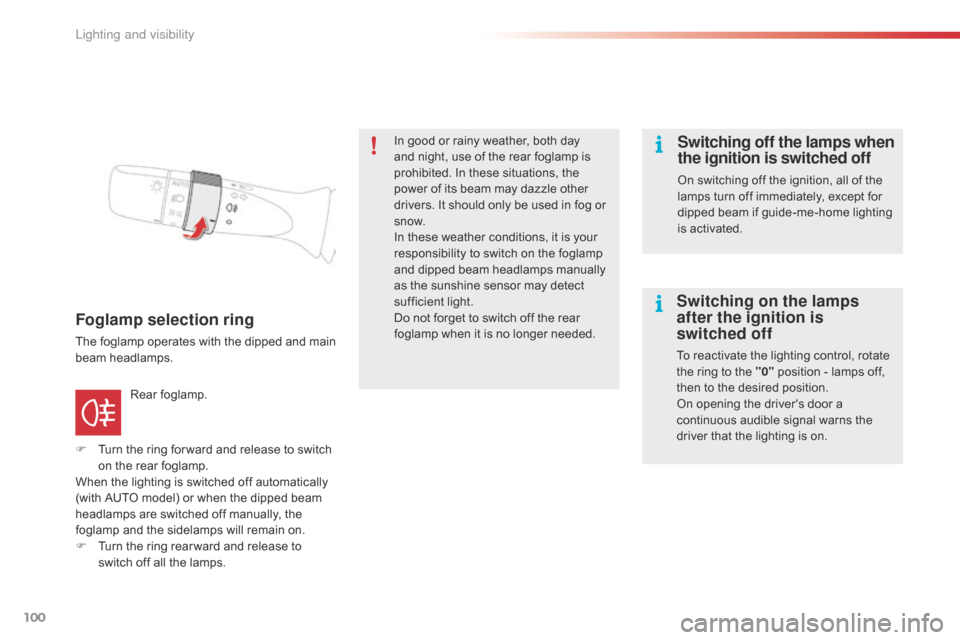
Foglamp selection ring
The foglamp operates with the dipped and main beam h eadlamps.
F
T
urn the ring for ward and release to switch
o
n the rear foglamp.
When
the lighting is switched off automatically
(
with AUTO model) or when the dipped beam
h
eadlamps are switched off manually, the
f
oglamp and the sidelamps will remain on.
F
T
urn the ring rear ward and release to
s
witch off all the lamps.
Rear
fo
glamp. In
good or rainy weather, both day
a
nd night, use of the rear foglamp is
p
rohibited. In these situations, the
p
ower of its beam may dazzle other
d
rivers. It should only be used in fog or
s
now.
In these weather conditions, it is your
r
esponsibility to switch on the foglamp
a
nd dipped beam headlamps manually
a
s the sunshine sensor may detect
s
ufficient light.
Do not forget to switch off the rear f
oglamp when it is no longer needed.
Switching off the lamps when
the ignition is switched off
On switching off the ignition, all of the l
amps turn off immediately, except for
d
ipped beam if guide-me-home lighting
i
s activated.
Switching on the lamps
after the ignition is
switched off
To reactivate the lighting control, rotate the ring to the "0" position - lamps off,
t
hen to the desired position.
On
opening the driver's door a
c
ontinuous audible signal warns the
d
river that the lighting is on.
Lighting and visibility
Page 112 of 269
110
C1_en_Chap06_securite_ed01-2016
Active City Brake
Active City B rake i s a d riving a ssistance s ystem t
hat aims to avoid a frontal collision or reduce
t
he speed of an impact if the driver does not
r
eact or reacts too late (brake application too
l
ate). This
system is designed to improve
d
riving safety.
It
remains the driver's responsibility to
c
ontinuously monitor the state of the
t
raffic and to assess the distances and
r
elative speeds of other vehicles.
Active
City Brake can in no
c
ircumstances replace the need for
v
igilance on the part of the driver.
Never
look at the laser sensor through
a
n optical instrument (magnifying glass,
m
icroscope...) at a distance of less than
1
0 centimetres: risk of eye injury.Automatic
braking occurs later than if
d
one by the driver, so as to intervene
o
nly when there is a high risk of
c
ollision.Principle
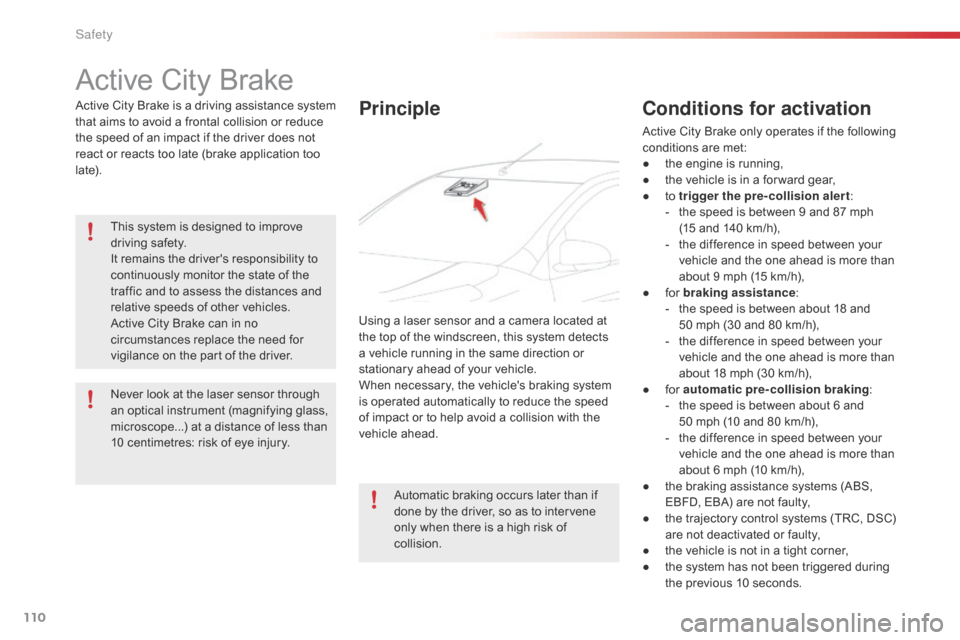
Using a laser sensor and a camera located at the top of the windscreen, this system detects
a
vehicle running in the same direction or
s
tationary ahead of your vehicle.
When
necessary, the vehicle's braking system
i
s operated automatically to reduce the speed
o
f impact or to help avoid a collision with the
v
ehicle
a
head.
Conditions for activation
Active City Brake only operates if the following
c onditions are met:
●
t
he engine is running,
●
t
he vehicle is in a for ward gear,
●
t
o trigger the pre-collision alert :
-
t
he speed is between 9 and 87 mph
(
15 and 140 km/h),
-
t
he difference in speed between your
v
ehicle and the one ahead is more than
a
bout 9 mph (15 km/h),
●
f
or braking assistance :
-
t
he speed is between about 18 and
5
0 mph (30 and 80 km/h),
-
t
he difference in speed between your
v
ehicle and the one ahead is more than
a
bout 18 mph (30 km/h),
●
f
or automatic pre-collision braking:
-
t
he speed is between about 6 and
5
0 mph (10 and 80 km/h),
-
t
he difference in speed between your
v
ehicle and the one ahead is more than
a
bout 6 mph (10 km/h),
●
t
he braking assistance systems (ABS,
E
BFD, EBA) are not faulty,
●
t
he trajectory control systems (TRC, DSC)
a
re not deactivated or faulty,
●
t
he vehicle is not in a tight corner,
●
t
he system has not been triggered during
t
he previous 10 seconds.
Safety
Page 119 of 269
117
C1_en_Chap06_securite_ed01-2016
The driver must ensure that passengers use the seat belts correctly and that they are all
f
astened before setting off.
Wherever
you are seated in the vehicle,
a
lways fasten your seat belt, even for short
journeys.
Do
not interchange the seat belt buckles as
t
hey will not fulfil their role fully.
The
seat belts are fitted with an inertia reel
p
ermitting automatic adjustment of the
l
ength of the strap to your size. The seat belt
i
s stowed automatically when not in use.
Before
and after use, ensure that the seat
b
elt is reeled in correctly.
The
lower part of the strap must be
p
ositioned as low as possible on the pelvis.
The
upper part must be positioned in the
h
ollow of the shoulder.
The
inertia reels are fitted with an automatic
l
ocking device which comes into operation in
t
he event of a collision, emergency braking
o
r if the vehicle rolls over. You can release
t
he device by pulling the strap firmly and
t
hen releasing it so that it reels in slightly.Recommendations for children
Use a suitable child seat if the passenger is less than 12 years old or shorter than one
a
nd a half metres.
Never
use the same seat belt to secure more
t
han one person.
Never
allow a child to travel on your lap.
For
more information on child seats, refer to
t
he corresponding section.
In
order
to
be
effective,
a
seat
belt
must:
-
b
e
tightened
as
close
to
the
body
as
p
ossible,
-
b
e
pulled
in
front
of
you
with
a
smooth
m
ovement,
checking
that
it
does
not
t
wist,
-
b
e
used
to
restrain
only
one
person,
-
n
ot
bear
any
trace
of
cuts
or
fraying,
-
n
ot
be
converted
or
modified
to
avoid
a
ffecting
it
s
p
erformance.
In the event of an impact
Depending on the nature and
seriousness of the impact , the
pretensioning
device may be deployed
b
efore and independently of the airbags.
D
eployment of the pretensioners is
a
ccompanied by a slight discharge of
h
armless smoke and a noise, due to the
a
ctivation of the pyrotechnic cartridge
i
ncorporated in the system.
In
all cases, the airbag warning lamp
c
omes on.
Following
an impact, have the seat belts
s
ystem checked, and if necessary replaced,
b
y a CITROËN dealer or a qualified
w
orkshop.
In
accordance
with
current
safety
r
egulations,
for
all
repairs
on
your
vehicle's
s
eat
belts,
go
to
a
qualified
workshop
with
t
he
skills
and
equipment
needed,
which
a
C
ITROËN
dealer
is
able
to
provide.
Have
your
seat
belts
checked
regularly
by
a
CITROËN
dealer
or
a
qualified
workshop,
p
articularly
if
the
straps
show
signs
of
d
amage.
Clean the seat belt straps with soapy
water
or
a
textile
cleaning
product,
sold
by
C
ITROËN
dealers.
After
folding
or
moving
a
seat
or
rear
bench
s
eat,
ensure
that
the
seat
belt
is
positioned
a
nd
reeled
in
correctly.
Advice
6
Safety
Page 122 of 269

120
C1_en_Chap06_securite_ed01-2016
Lateral airbags
Deployment
They are deployed unilaterally in the event of a serious side impact applied to all or part
o
f the side impact zone B,
perpendicular to
t
he longitudinal centreline of the vehicle on a
h
orizontal plane and directed from the outside
t
owards the inside of the vehicle.
The
lateral airbag inflates between the hip and
s
houlder of the front occupant of the vehicle
a
nd the corresponding door trim panel.
System
which protects the driver and front
p
assenger in the event of a serious side impact
i
n order to limit the risk of injury to the chest,
b
etween the hip and the shoulder.
Each lateral airbag is fitted in the seat backrest
f
rame, door side.
Impact detection zones
A. Front
impact zone.
B. S ide impact zone.
The
lateral airbags may also be
d
eployed during certain front impacts.
Safety