checking oil Citroen C1 2016 1.G Owner's Manual
[x] Cancel search | Manufacturer: CITROEN, Model Year: 2016, Model line: C1, Model: Citroen C1 2016 1.GPages: 269, PDF Size: 7.63 MB
Page 10 of 269
8
C1_en_Chap00b_vue-ensemble_ed01-2016
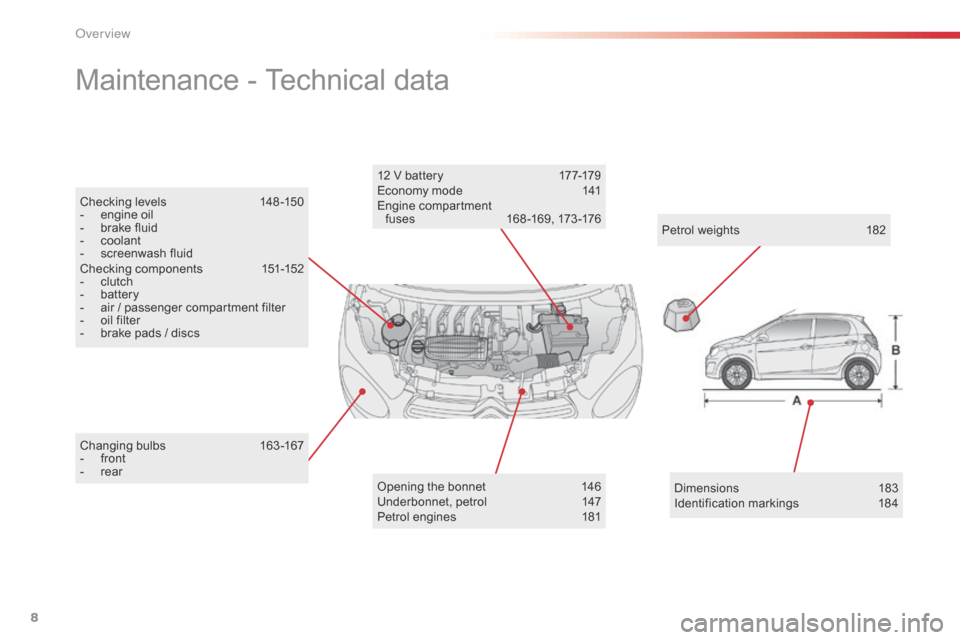
Changing bulbs 1 63-167
- f ront
-
r
ear
Maintenance - Technical data
Opening the bonnet 1 46
Underbonnet, petrol 1 47
Petrol
engines
1
81
12
V battery
1
77-179
Economy mode
1
41
Engine
c
ompartment
f
uses
1
68 -169, 173 -176
Petrol weights
1
82
Checking
levels
1
48 -150
-
e
ngine
oil
-
b
rake
fluid
-
c
oolant
-
s
creenwash
fluid
Checking
components
1
51-152
-
c
lutch
-
b
attery
-
a
ir
/
passenger
compartment
filter
-
o
il
filter
-
b
rake
pads
/
discs
Dimensions 1 83
Identification
ma
rkings
1
84
Over view
Page 150 of 269
148
C1_en_Chap07_info-pratiques_ed01-2016
Checking levels
Take care when working under the bonnet, as certain areas of the engine
m
ay be extremely hot (risk of burns) and
t
he cooling fan could start at any time
(
even with the ignition off).
Engine oil level
The check of the oil level is carried out with the dipstick, located under
t
he bonnet. For the position of the
d
ipstick, refer to the under-bonnet
v
iew on a previous page.
Checking with dipstick
Check all of these levels regularly, in line with the manufacturer's service schedule. Top them up if necessary, unless other wise indicated.
I f a level drops significantly, have the corresponding system checked by a CITROËN dealer or a qualified workshop.
To
ensure the accuracy of the reading,
y
our vehicle must be on a level
s
ur face, with the engine off for at least
3
0 minutes.
It
is normal to top up the oil level between
t
wo services (or oil changes). CITROËN
r
ecommends that you check the level, and top
u
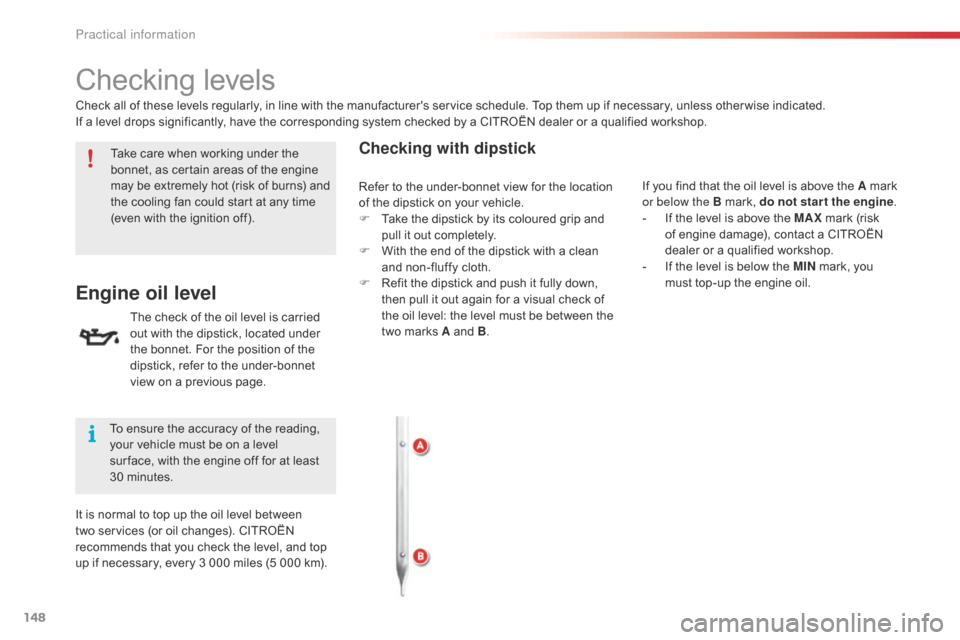
p if necessary, every 3 000 miles (5 000 km). If
you find that the oil level is above the A mark
o
r below the B mark, do not star t the engine.
-
I
f the level is above the MAX
mark (risk
o
f engine damage), contact a CITROËN
d
ealer or a qualified workshop.
-
I
f the level is below the MIN
mark, you
m
ust top-up the engine oil.
Refer
to the under-bonnet view for the location
o
f the dipstick on your vehicle.
F
T
ake the dipstick by its coloured grip and
p
ull it out completely.
F
W
ith the end of the dipstick with a clean
a
nd non-fluffy cloth.
F
R
efit the dipstick and push it fully down,
t
hen pull it out again for a visual check of
t
he oil level: the level must be between the
t
wo marks A and B.
Practical information
Page 151 of 269
149
C1_en_Chap07_info-pratiques_ed01-2016
The brake fluid level should be close to the "MA X" mark. If it is not, check
t
he brake pad wear.
Brake fluid level
Changing the fluid
Refer to the manufacturer's service schedule for details of the interval for this operation.
Fluid specification
The brake fluid must conform to the manufacturer's r ecommendations.
Topping-up the engine oil
Oil grade
The oil must be the correct grade for your
e
ngine and conform to the manufacturer's
r
ecommendations.
Refer
to the under-bonnet view for the location
o
f the oil filler cap on your vehicle.
F
U
nscrew the filler cap for access to the
filler
orifice.
F
P
our in the oil in small quantities, avoiding
s
pills onto the engine (risk of fire).
F
W
ait a few minutes before checking the
l
evel again using the dipstick.
F
T
op-up again if necessary.
F
A
fter checking and topping up, carefully
r
efit the oil filler cap and the dipstick to its
h
ousing.
Engine oil change
Refer to the manufacturer's service schedule for details of the interval for this operation.
In
order to maintain the reliability of the engine
a
nd emissions control system, never use
a
dditives in the engine oil.
7
Practical information
Page 153 of 269
151
C1_en_Chap07_info-pratiques_ed01-2016
Checks
12 V battery
The battery does not require any maintenance.
H owever, check regularly that the terminals a
re correctly tightened (versions without quick
r
elease terminals) and that the connections
a
re clean.Refer to the manufacturer's service schedule for details of the
r
eplacement intervals for these
c
omponents.
Air filter and passenger compartment filter
Replace the oil filter each time the e ngine oil is changed.
Refer
to the manufacturer's
s
ervice schedule for details of
t
he replacement interval for this
c
omponent.
Oil filter
Unless other wise indicated, check these components in accordance with the manufacturer's service schedule and according to your engine.
O ther wise, have them checked by a CITROËN dealer or a qualified workshop.
Depending
on the environment (e.g. dusty
a
tmosphere) and the use of the vehicle
(e.g.
city driving), replace them twice as often
if necessary .
A
clogged passenger compartment filter may
h
ave an adverse effect on the per formance
o
f the air conditioning system and generate
u
ndesirable
o
dours.
When
carrying out any operation on the
12
V battery, refer to the corresponding section
f
or details of the precautions to be taken before
s
tarting work.
Manual gearbox
The gearbox does not require any maintenance (no oil change).
Refer
to the manufacturer's service
s
chedule for the checking interval for
t
his
c
omponent.
Clutch
The clutch is operated mechanically and requires r egular a djustment.
Refer
to the manufacturer's service schedule
f
or information on when the adjustment should
be c
hecked.In
the event of an operating fault
(
difficulty moving off, for example),
c
ontact a CITROËN dealer or a
q
ualified
w
orkshop.
Versions
equipped
with
Stop
&
Start
are
f
itted
with
a
12
V
lead-acid
battery
of
s
pecific
t
echnology
a
nd
s
pecification.
Its
replacement
should
be
carried
out
o
nly
by
a
CITROËN
dealer
or
a
qualified
w
orkshop.
7
Practical information
Page 154 of 269
152
C1_en_Chap07_info-pratiques_ed01-2016
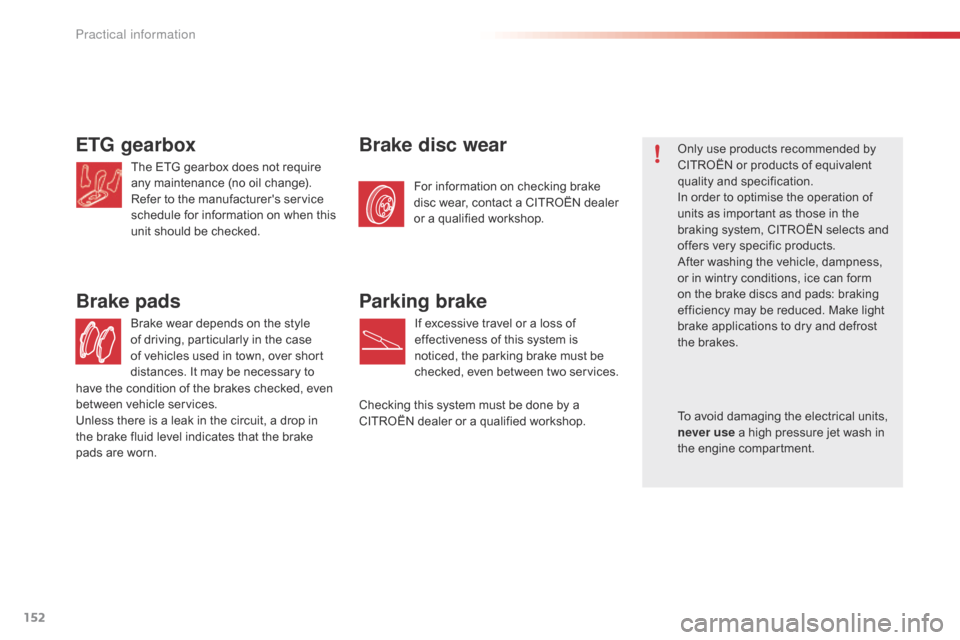
ETG gearbox
The ETG gearbox does not require any maintenance (no oil change).
Refer
to the manufacturer's service
s
chedule for information on when this
u
nit should be checked.
Brake
wear depends on the style
o
f driving, particularly in the case
o
f vehicles used in town, over short
d
istances. It may be necessary to
Brake pads
For information on checking brake disc wear, contact a CITROËN dealer
o
r a qualified workshop.
Brake disc wearOnly use products recommended by CITROËN or products of equivalent
q
uality
an
d
sp
ecification.
In
order to optimise the operation of
u
nits as important as those in the
b
raking system, CITROËN selects and
o
ffers very specific products.
After
washing the vehicle, dampness,
o
r in wintry conditions, ice can form
o
n the brake discs and pads: braking
e
fficiency may be reduced. Make light
b
rake applications to dry and defrost
t
he brakes.
Parking brake
If excessive travel or a loss of effectiveness of this system is
n
oticed, the parking brake must be
c
hecked,
e
ven
b
etween
t
wo services.
Checking
this system must be done by a
C
ITROËN
dealer or a qualified workshop.
have
the
condition
of
the
brakes
checked,
even
b
etween
v
ehicle
s
ervices.
Unless
there
is
a
leak
in
the
circuit,
a
drop
in
t
he
brake
fluid
level
indicates
that
the
brake
p
ads
are
worn. To
avoid damaging the electrical units,
n
ever use a high pressure jet wash in
t
he engine compartment.
Practical information
Page 158 of 269
156
C1_en_Chap08_en-cas-pannes_ed01-2016
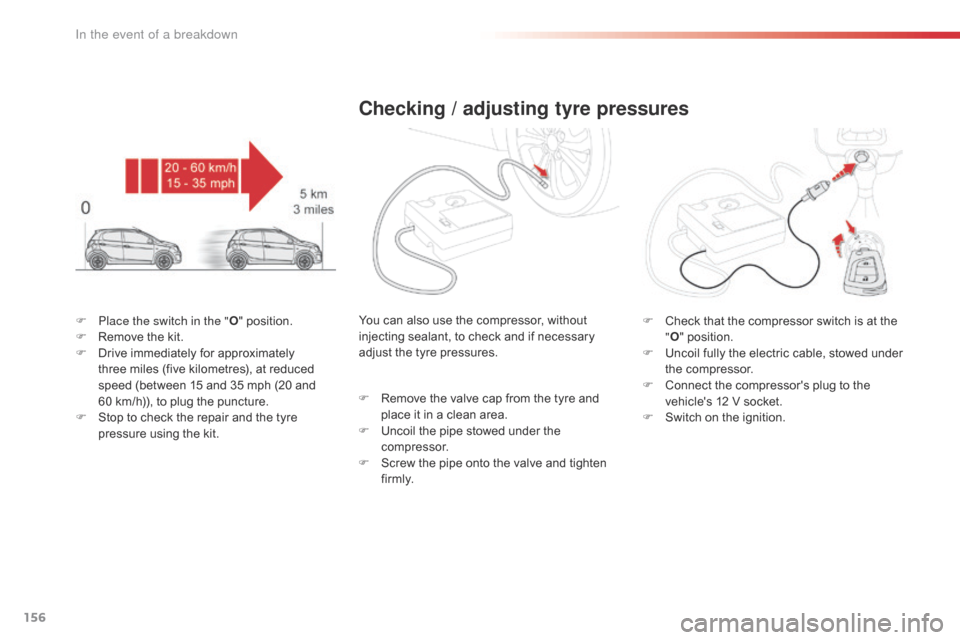
F Place the switch in the "O" position.
F R emove the kit.
F
D
rive immediately for approximately
t
hree miles (five kilometres), at reduced
s
peed (between 15 and 35 mph (20 and
6
0 km/h)), to plug the puncture.
F
S
top to check the repair and the tyre
p
ressure using the kit.
Checking / adjusting tyre pressures
F Check that the compressor switch is at the "O "
position.
F
U
ncoil fully the electric cable, stowed under
t
he compressor.
F
C
onnect the compressor's plug to the
v
ehicle's 12 V socket.
F
S
witch on the ignition.
You
can
also
use
the
compressor,
without
i
njecting
sealant,
to
check
and
if
necessary
a
djust
the
tyre
pressures.
F
R
emove
the
valve
cap
from
the
tyre
and
p
lace
it
in
a
clean
area.
F
U
ncoil
the
pipe
stowed
under
the
c
ompressor.
F
S
crew
the
pipe
onto
the
valve
and
tighten
f
i r m l y.
In the event of a breakdown